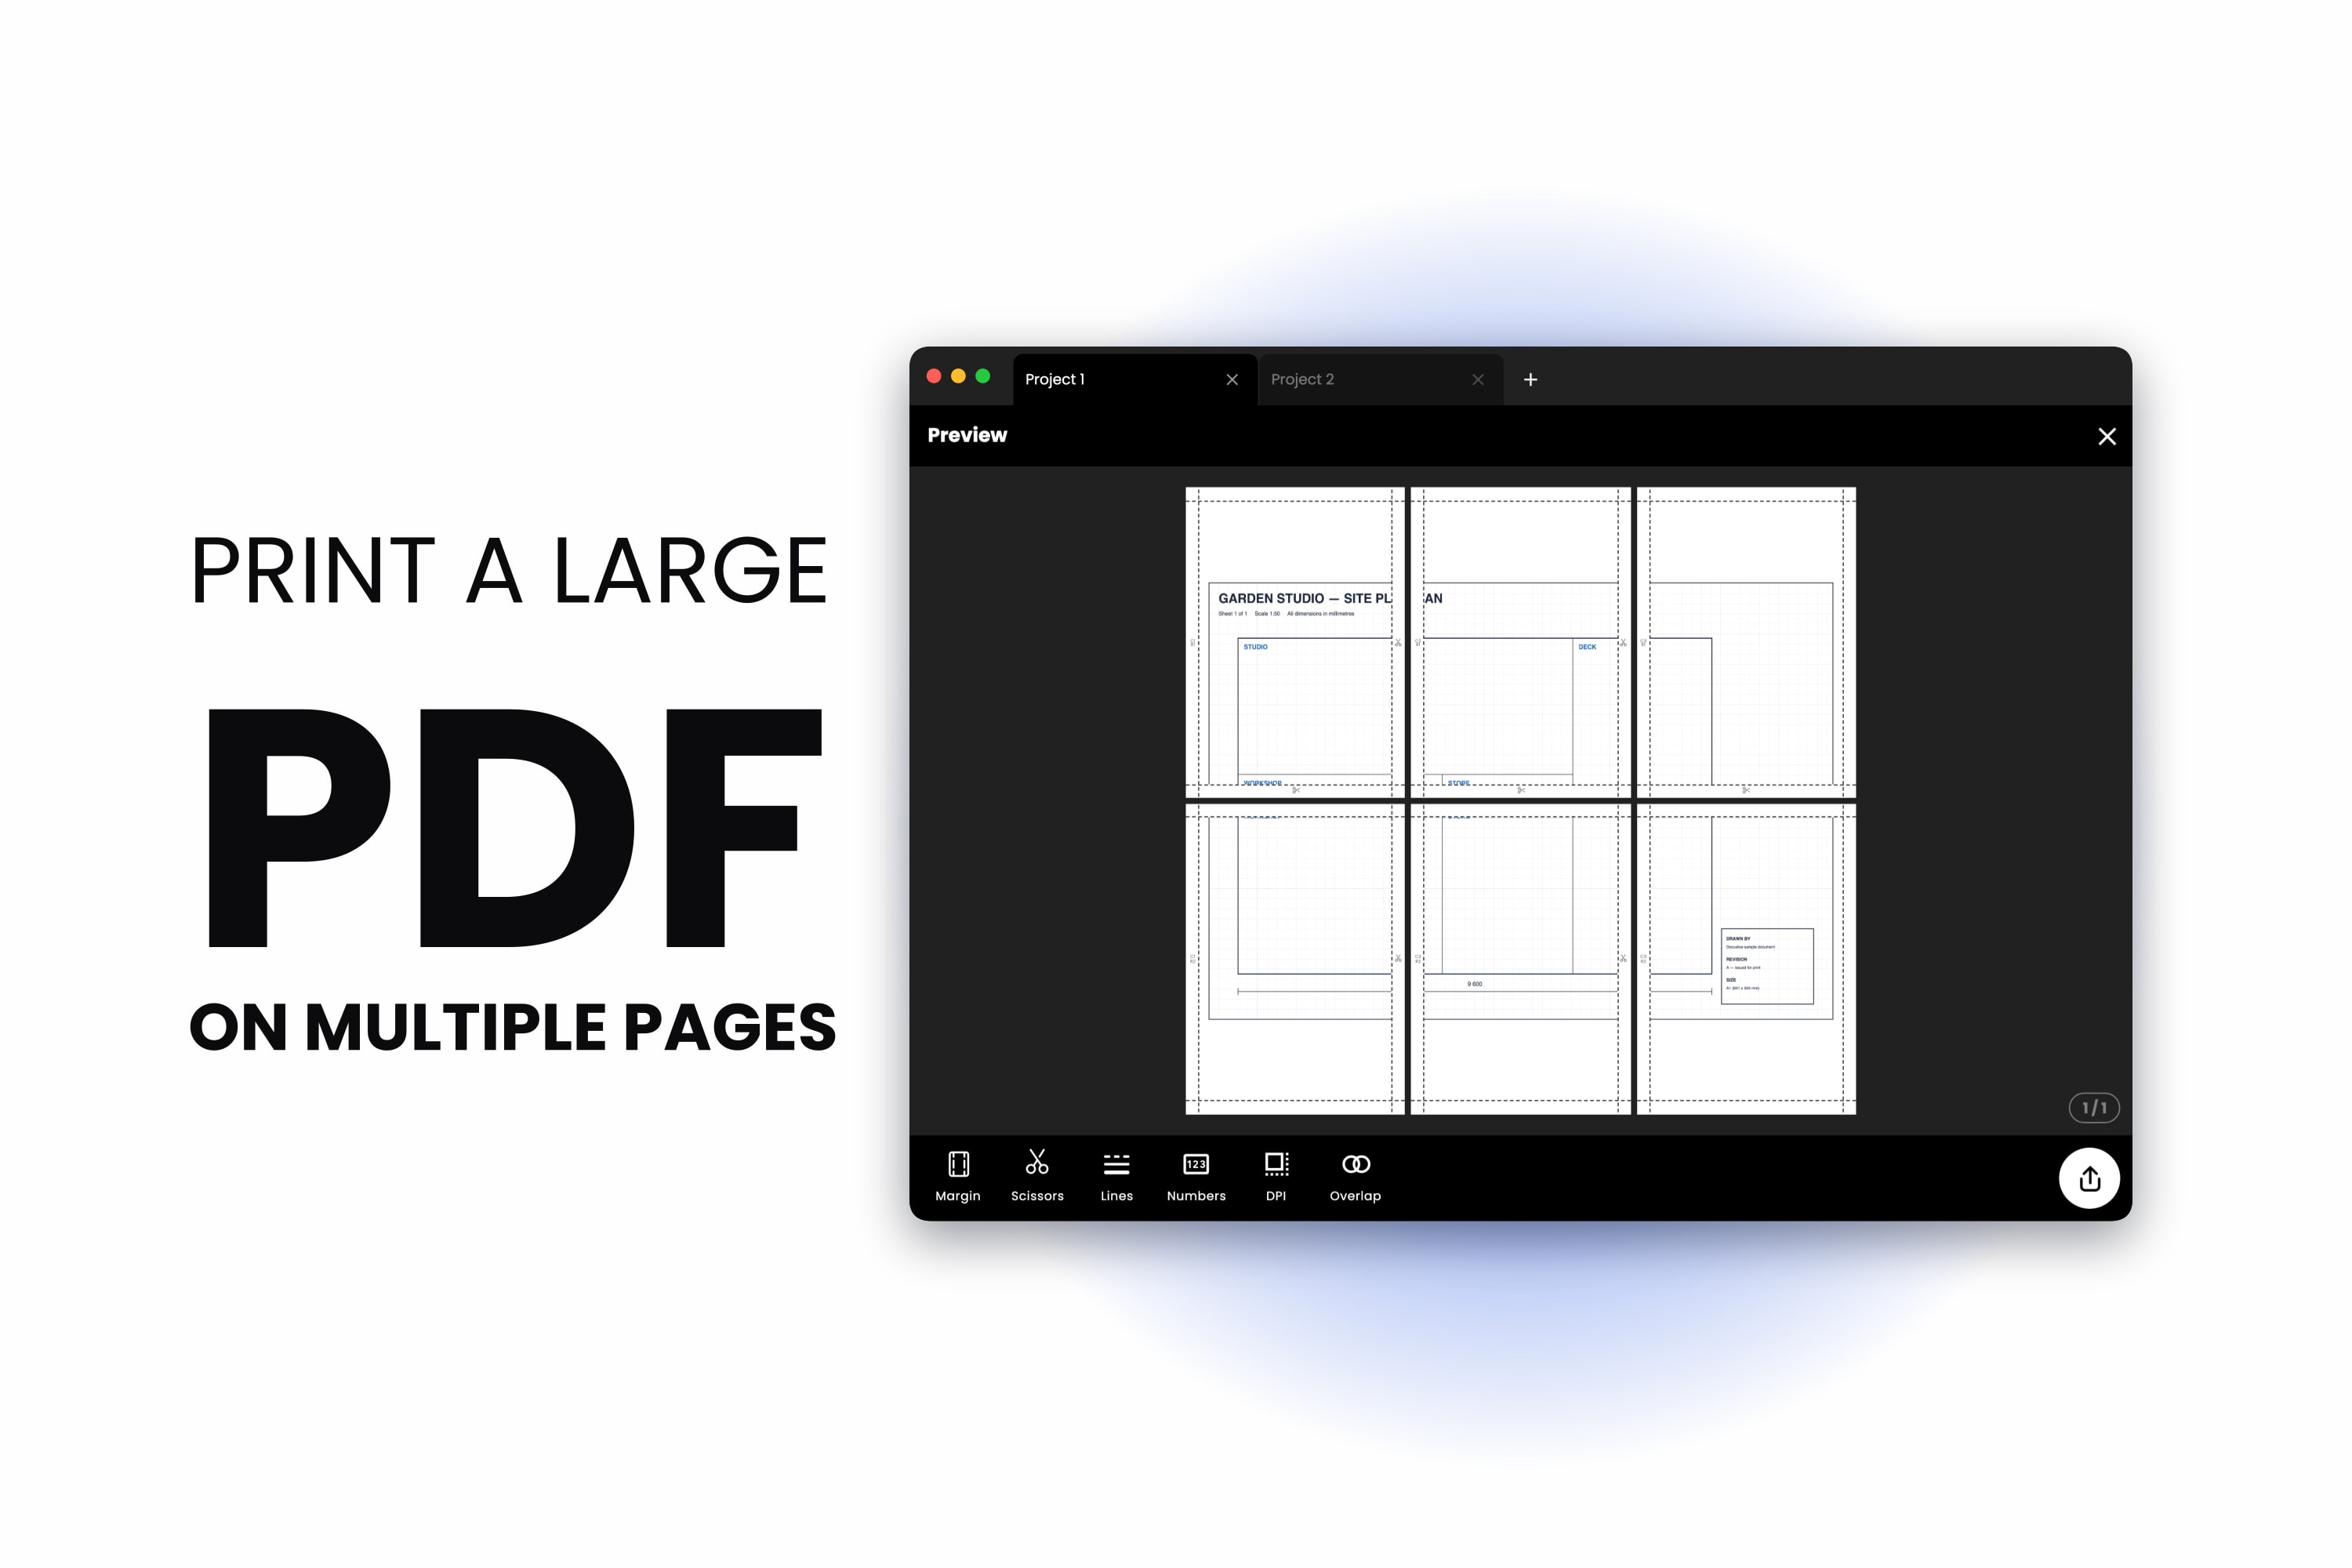
You have a PDF far bigger than anything your printer takes — an A1 floor plan, a conference poster, a wiring diagram, a pattern you paid for. You press Print, the dialog offers Fit to Page, and the whole thing comes out shrunk onto a single sheet of A4. Technically printed, completely unusable.
What you want is tiled printing: the same PDF split across several sheets at full size, so you can trim the edges, tape the sheets together, and end up with the document at the dimensions it was designed for. Here is the whole process, in a browser tab.
Why the Print Dialog Will Not Do It for You
Most print dialogs have two answers for a page larger than the paper: shrink it, or crop it. Preview on Mac, the built-in PDF viewers in Chrome and Edge, and the default Windows print path are all in that group. There is no tiling option to hunt for, because there is no tiling feature.
Adobe Acrobat is the exception. Its Poster setting under Page Sizing & Handling genuinely tiles a PDF and does a reasonable job of it — but it only helps if Acrobat is on the machine in front of you, and depending on version and platform the option can be buried or missing entirely. If you want that route, we wrote it up honestly, including where it stops: How to Tile Print in Adobe Acrobat.
Everything below runs in a browser. Nothing to install, and it behaves the same on a Chromebook, a locked-down work laptop, or a phone.
Step 1 — Drop the PDF In
Open the Docuslice web app, create a project, and drag your PDF onto the canvas — or use the Import PDF button. A single oversized page and a multi-page document both work; the pages come in as items you can place individually.
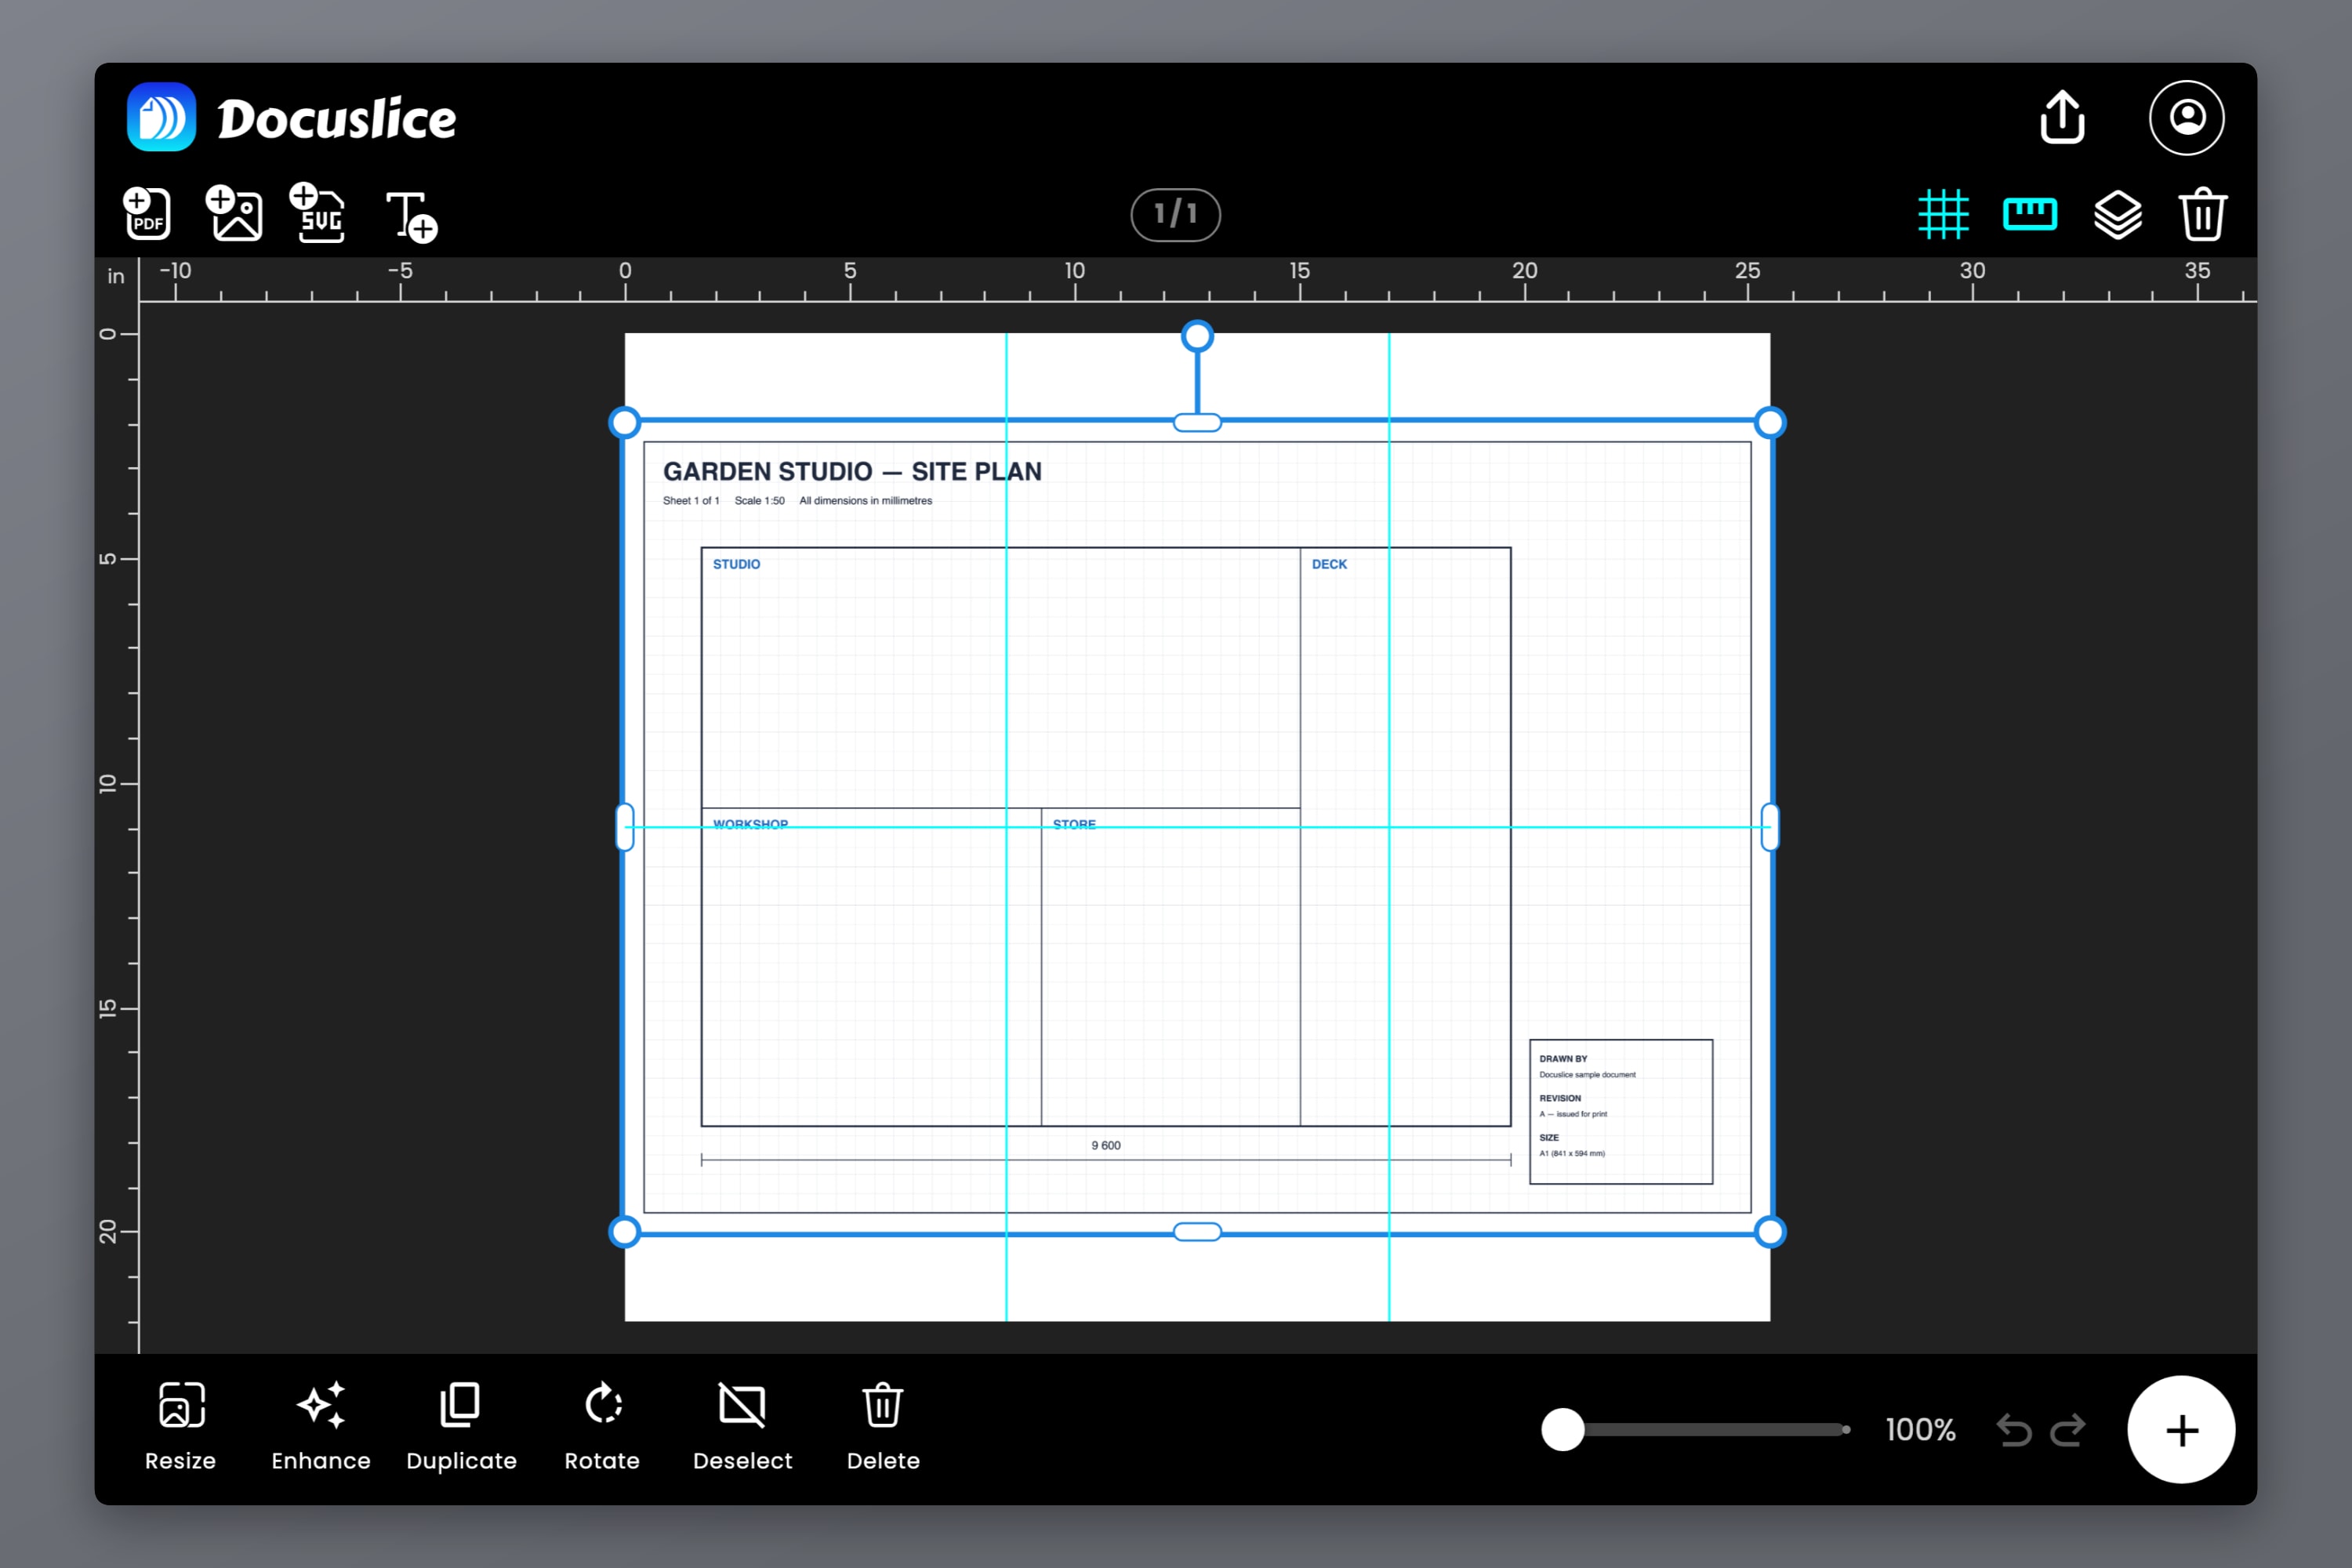
Docuslice keeps your PDF as a PDF rather than flattening it into a screenshot, which matters when it is time to export.
Step 2 — Choose Your Paper Size and Orientation
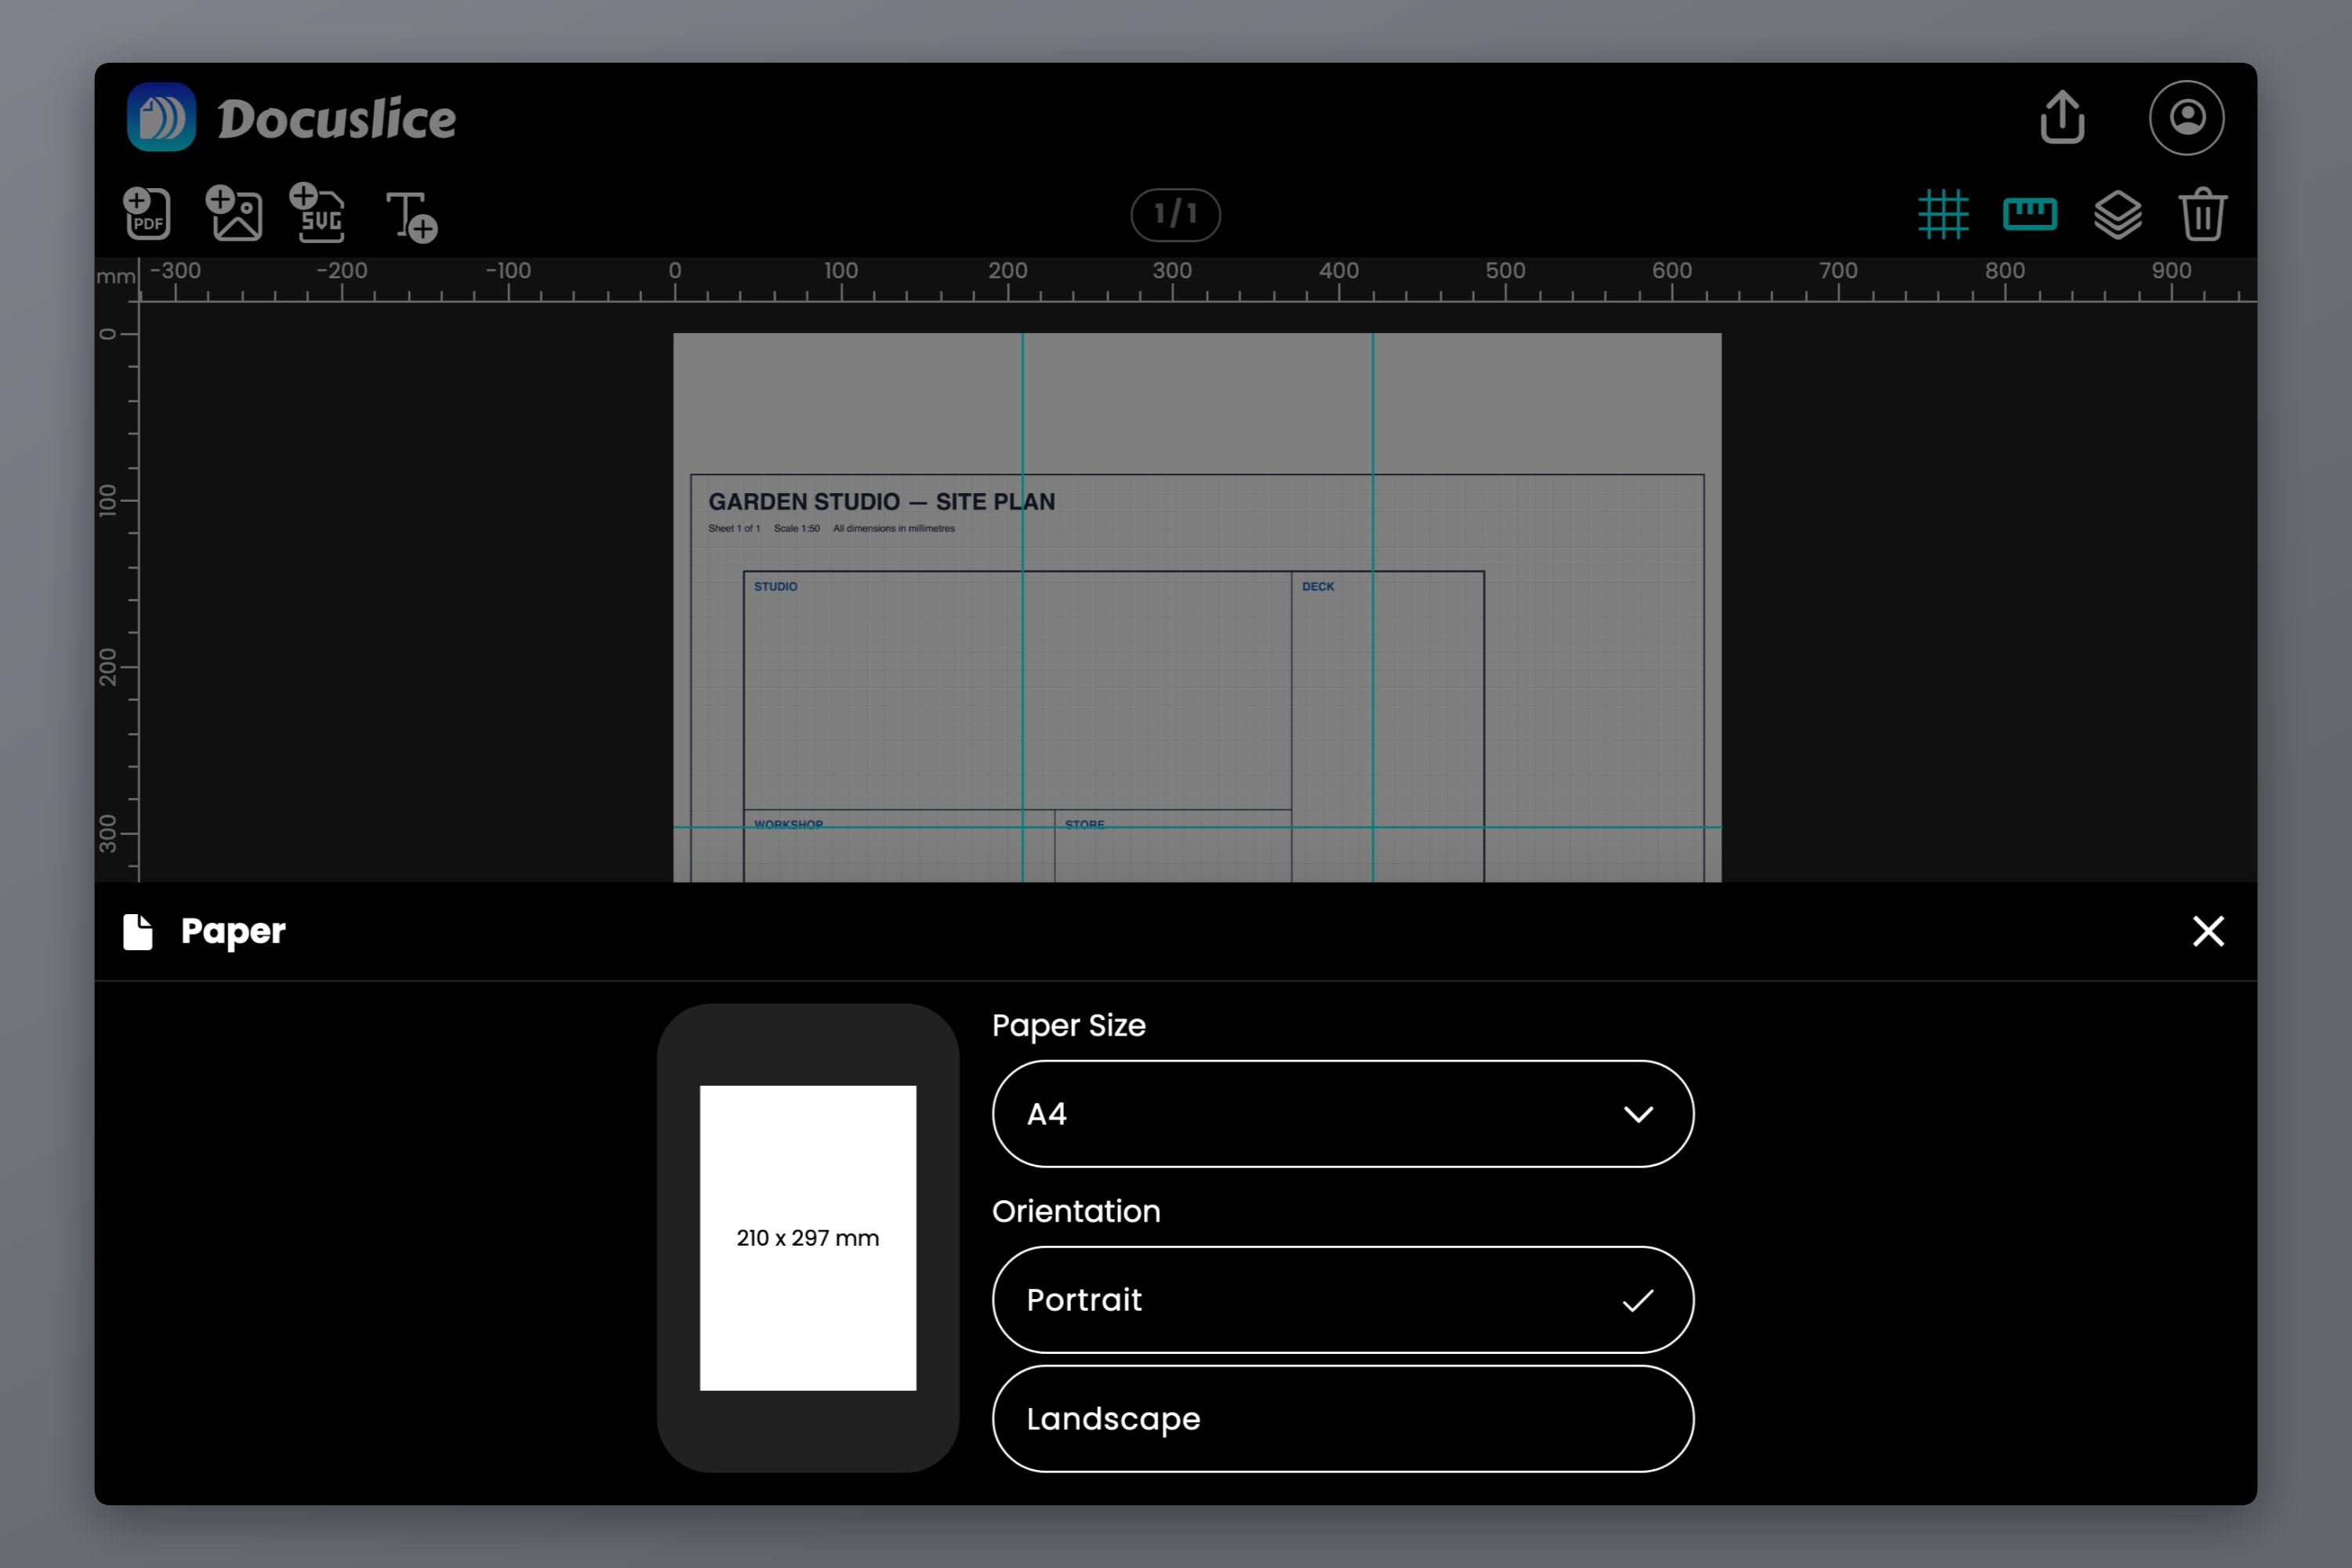
This is the paper in your printer tray, not the size of the finished poster. Open the paper picker and choose it: Letter, Legal, A1 through A6, A3+, Tabloid, Ledger, photo sizes from 2R to 11R, or a Custom size.
Then set the orientation. Portrait and landscape produce genuinely different tile grids for the same finished poster, so try both and take whichever needs fewer sheets.
Step 3 — Decide How Big the Finished Print Should Be
Two ways to say it, for two different jobs.
Grid mode
Pick the tile grid directly — 2 columns by 3 rows, say — and the finished size is whatever those sheets add up to. The fast answer when you just want the thing bigger and the exact millimetres do not matter.
Size mode
Type the finished dimensions — 594 x 841 mm, 24 x 36 inches, 1.5 metres wide — and Docuslice works out the grid needed to cover them. Use this when the size matters: a plan that has to be at scale, a pattern true to life, a poster for a frame you already own. Sheet counts and grids for A2, A1 and A0 are in How to Print a Poster on Multiple Pages at Home.
Tile dividers then appear across the canvas, showing where the cuts will land. Nudge the PDF page until the seams fall somewhere harmless — through open background rather than down the middle of a label.
Step 4 — Read the Export Preview
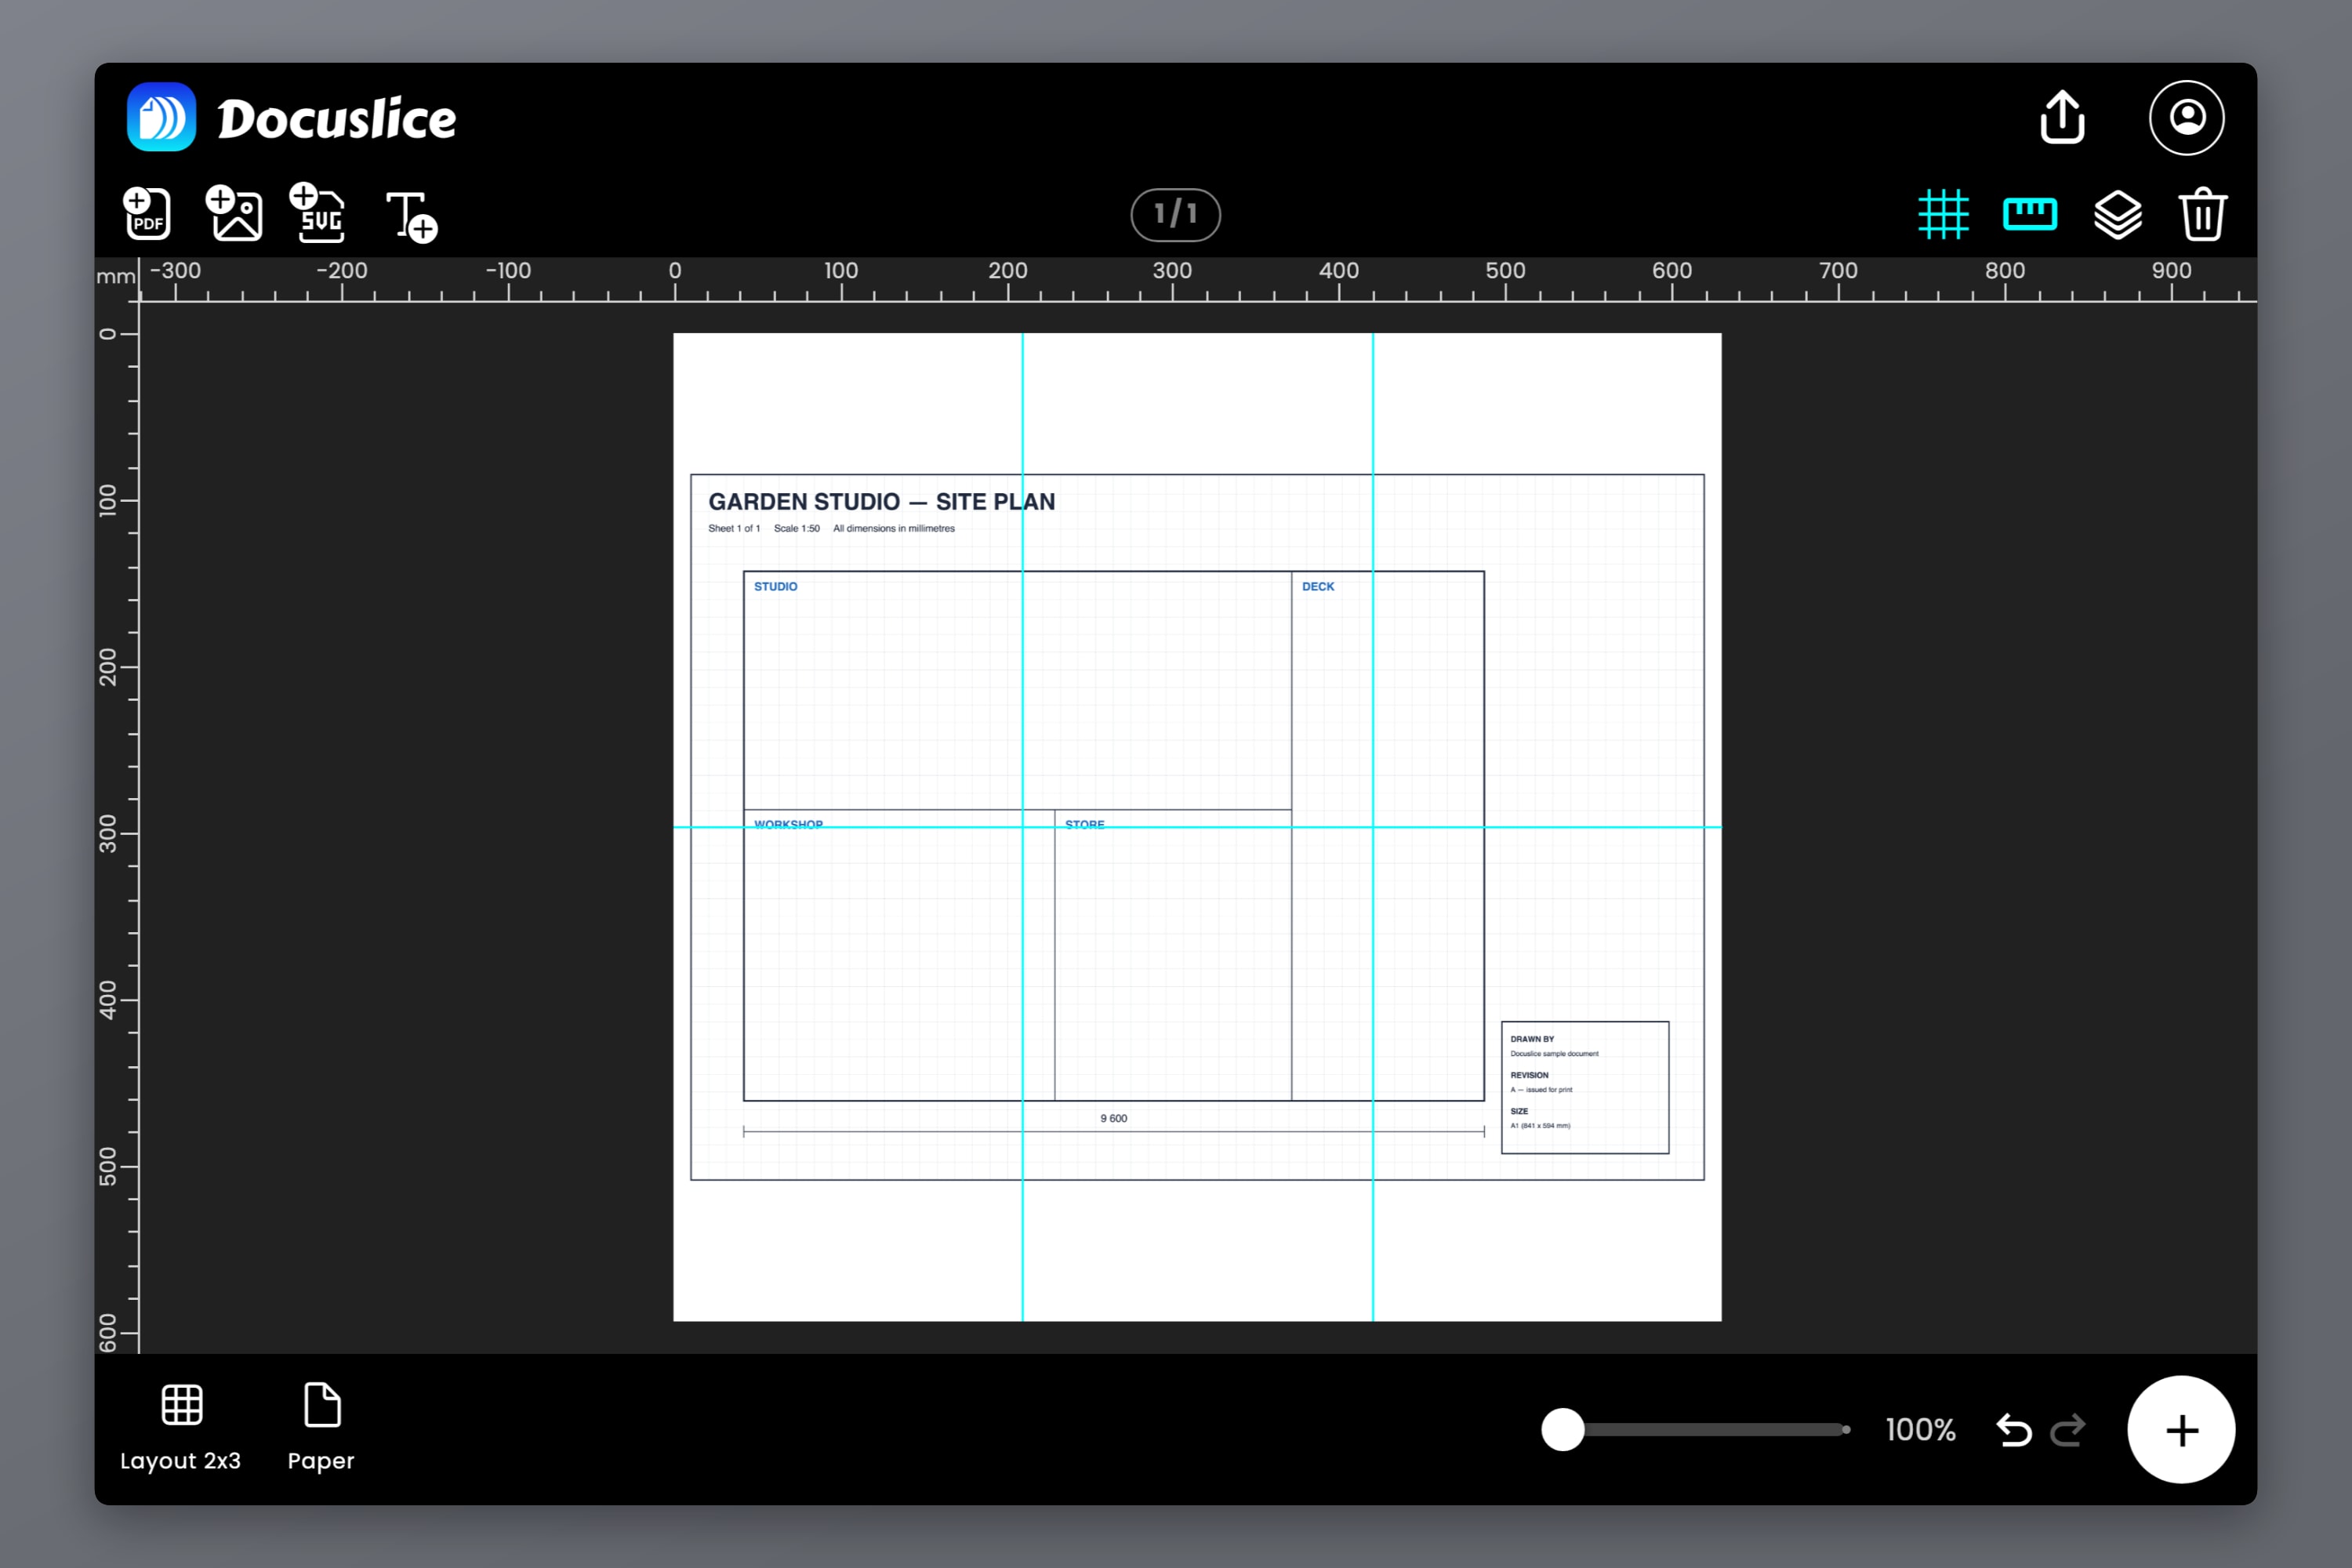
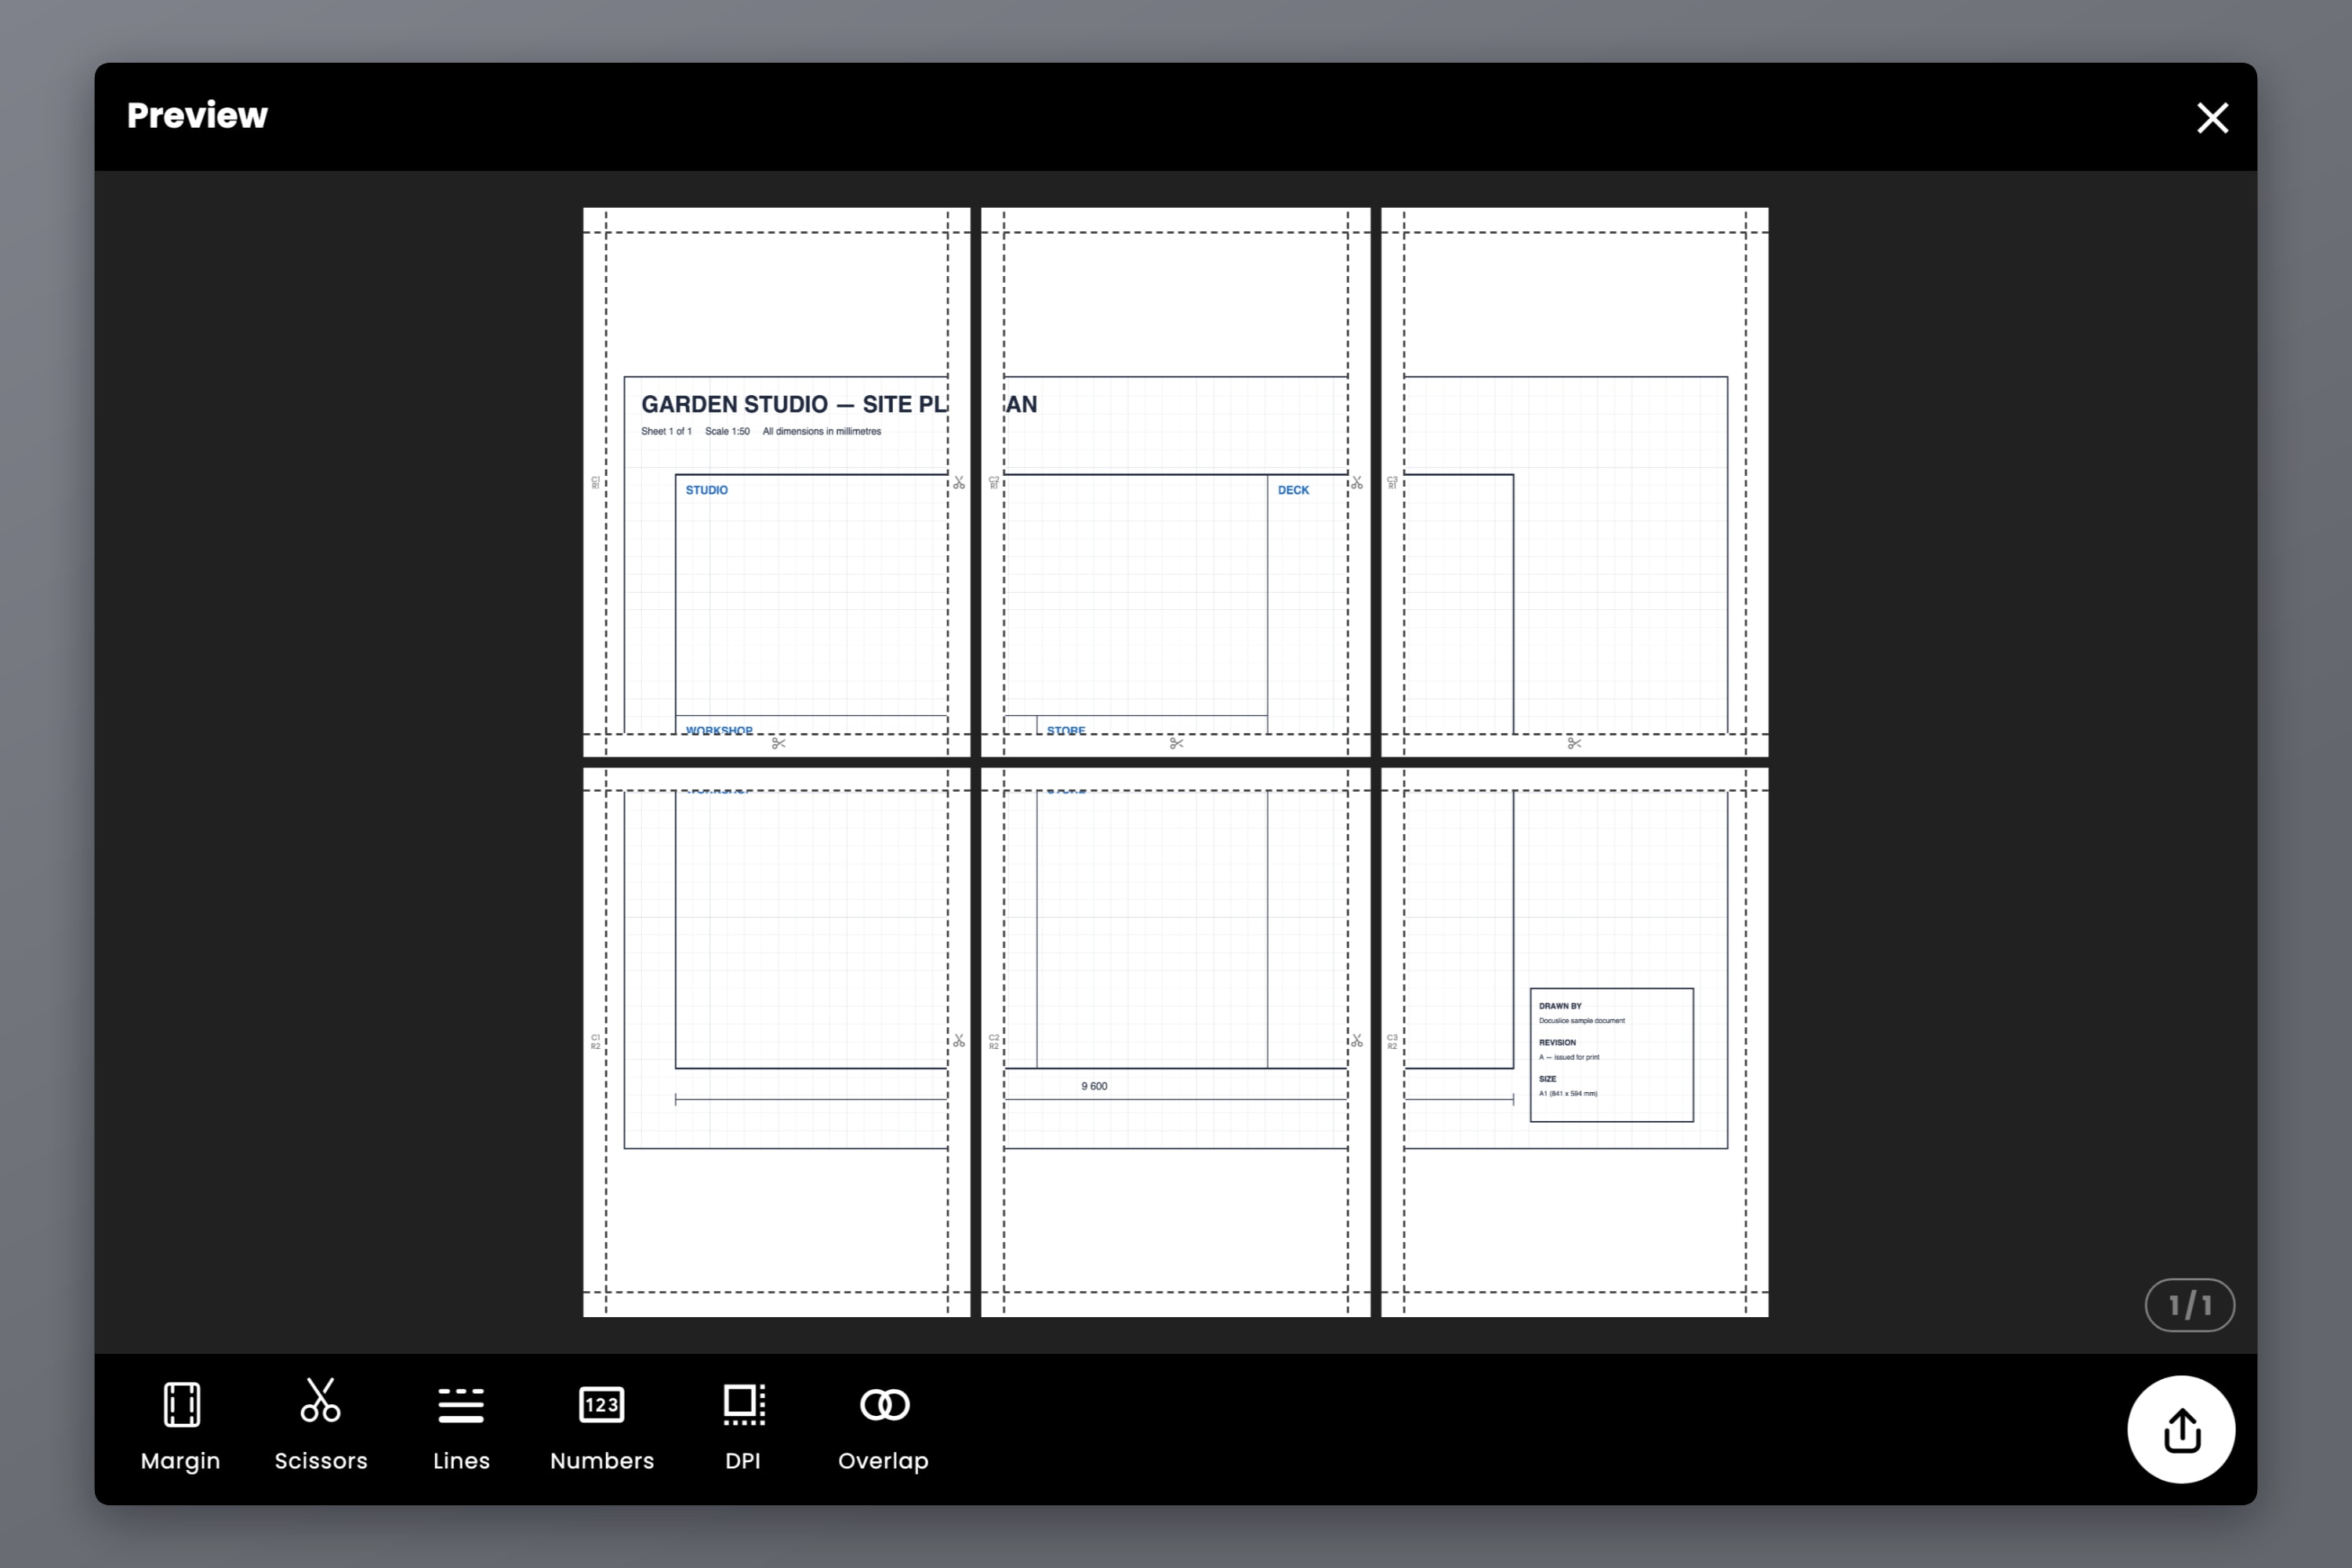
The export preview shows the real page grid and the total tile count before you commit a single sheet of paper. Two settings move that number, and they catch people out:
- Margin — the unprinted band on every sheet, carrying the cut guides and page markings. A larger margin means each sheet holds less of the poster, so the job takes more sheets. The presets are 0.00, 0.25, 0.50, 0.75 and 1.00 in, and the default is 0.50.
- Paper orientation — flipping it can turn a nine-sheet job into a six-sheet one.
The same panel holds Cut Lines (off, dashed or solid lines, dashed or solid corners) and scissor marks, which show you where to trim.
Step 5 — Add Overlap So the Seams Do Not Show
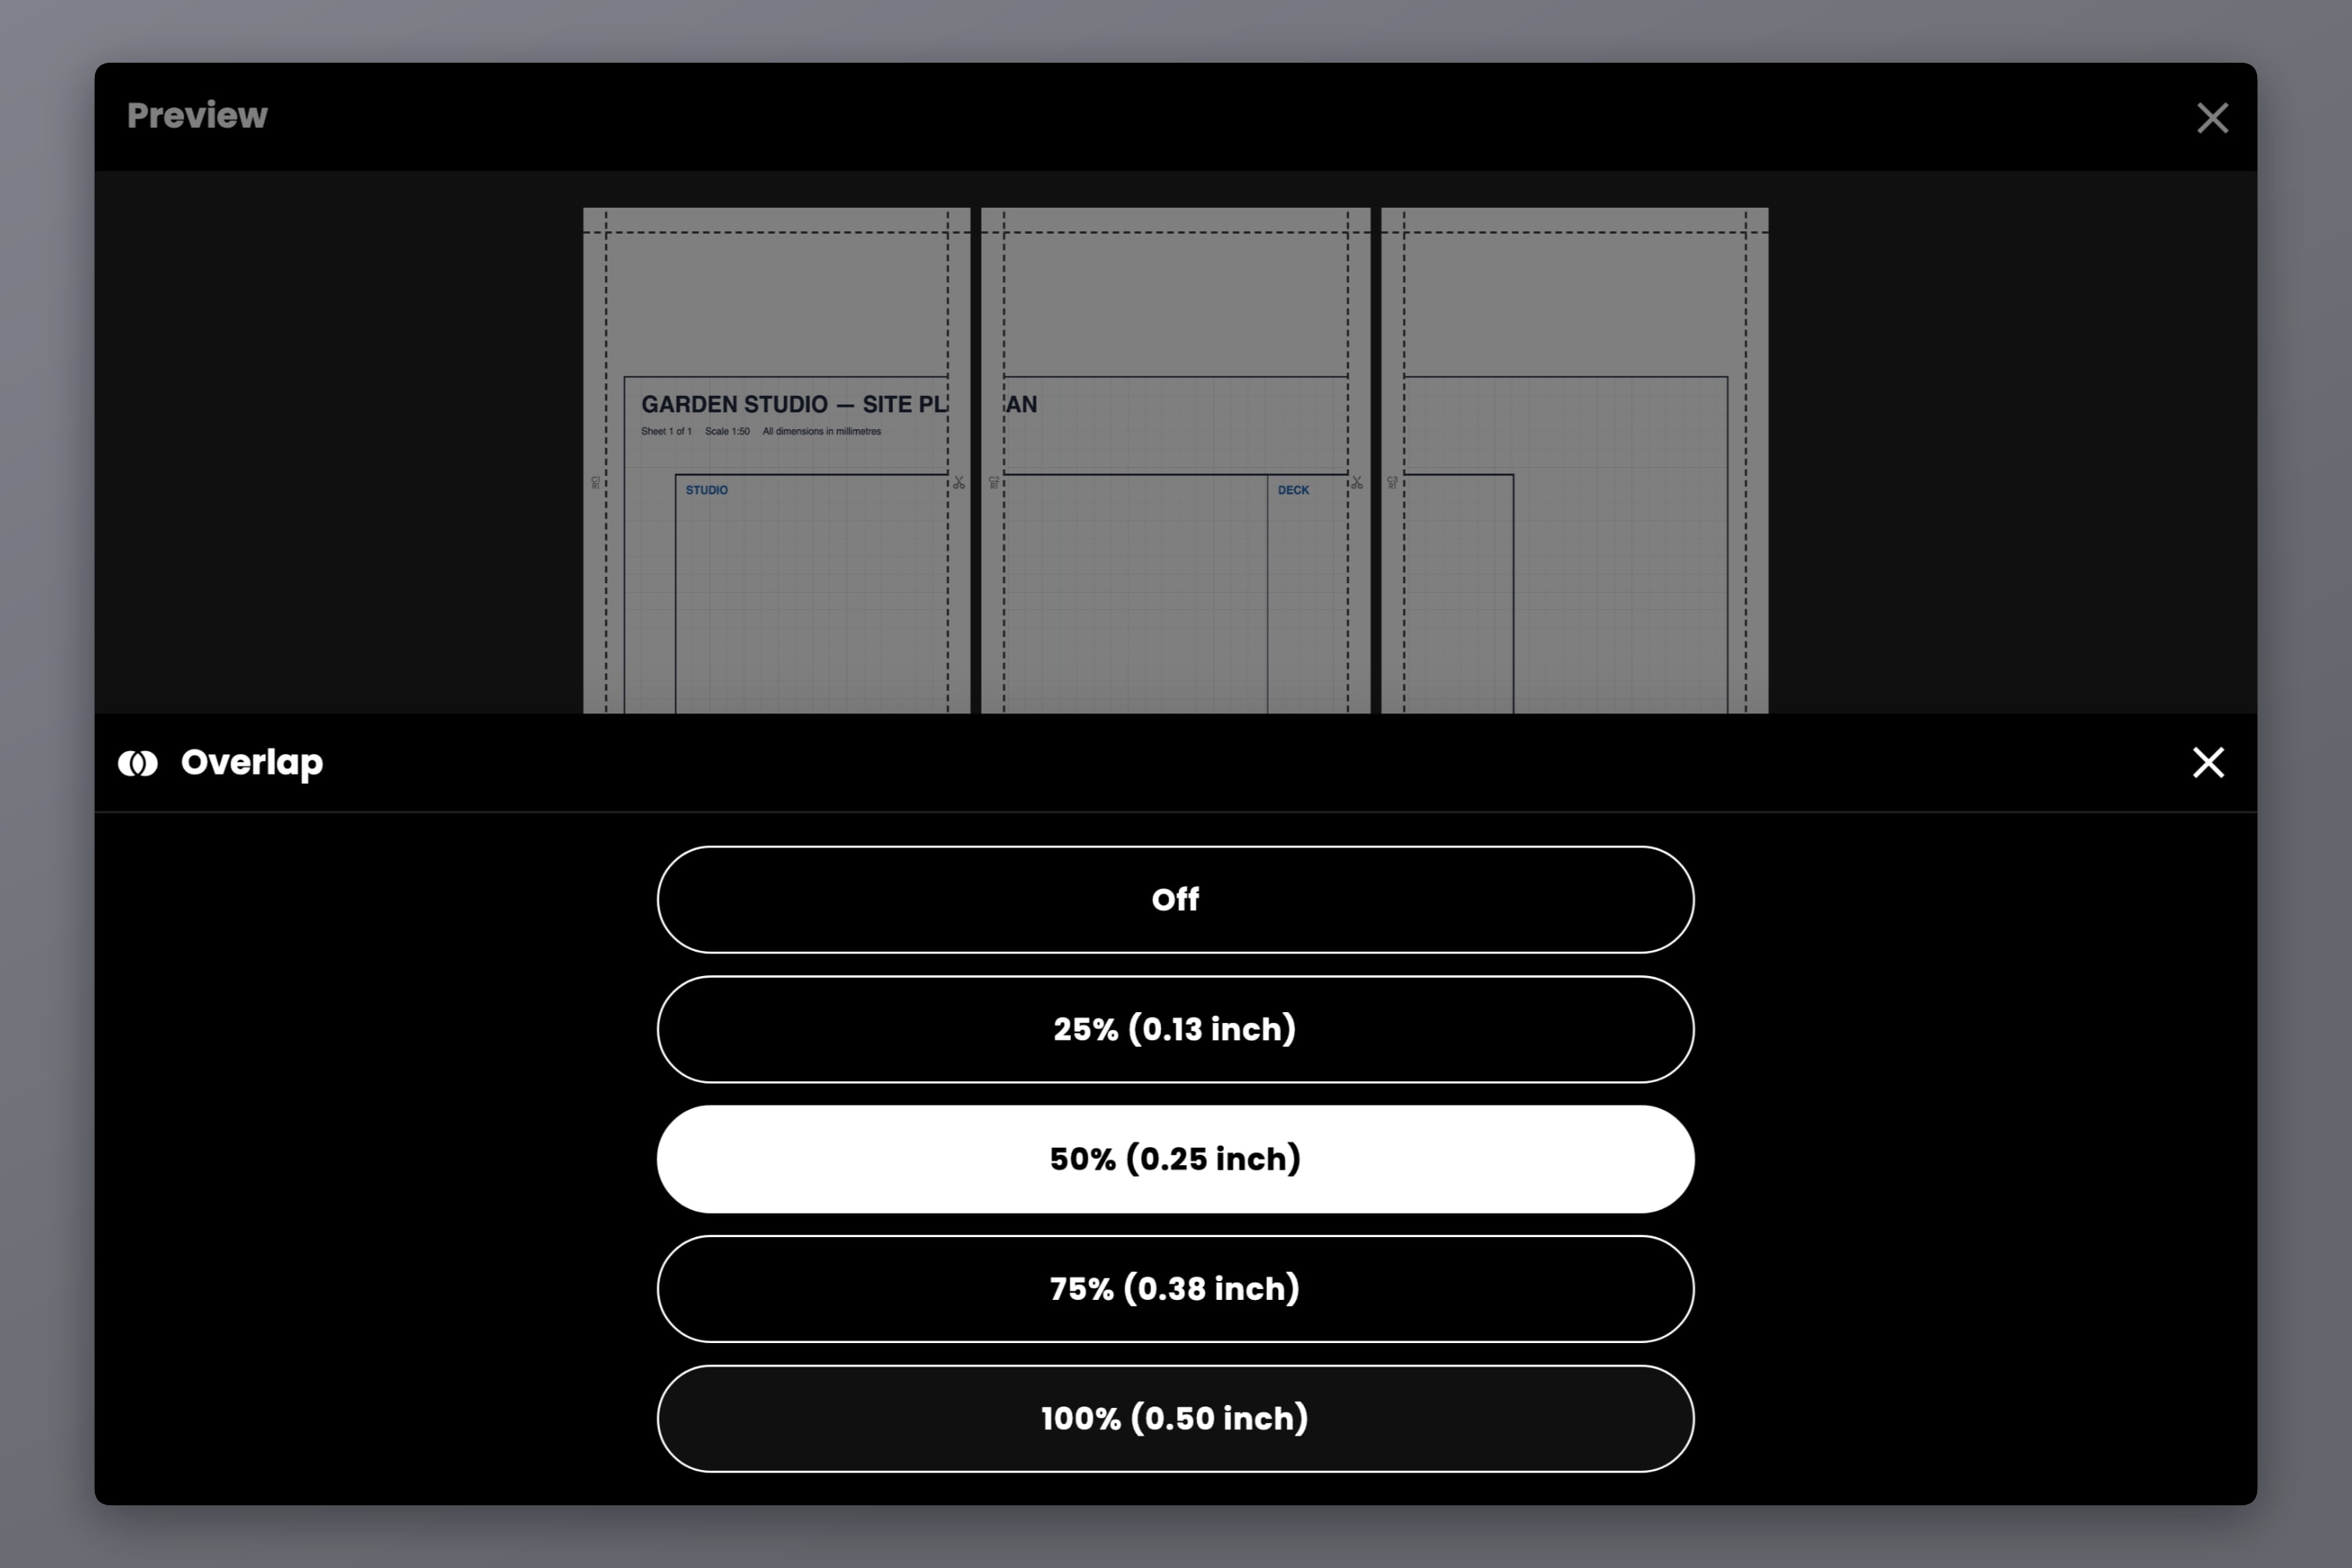
A cut that lands half a millimetre inside the line leaves a thin white gap when you butt two sheets together. Overlap fills each sheet's margin band with the neighbouring sheet's content, so a slightly short cut lands on duplicated artwork instead of blank paper.
The options are Off, 25%, 50%, 75% and 100% — a fraction of the margin rather than an absolute length, so the setting survives a change of paper size. 50% is a good default for tape-behind assembly; 100% suits gluing one sheet on top of the next. Overlap needs a margin to fill, so at 0.00 it does nothing, and it is a paid feature on the Pro and Pro+ plans — both one-time payments, not subscriptions.
Step 6 — Turn On Page Numbers
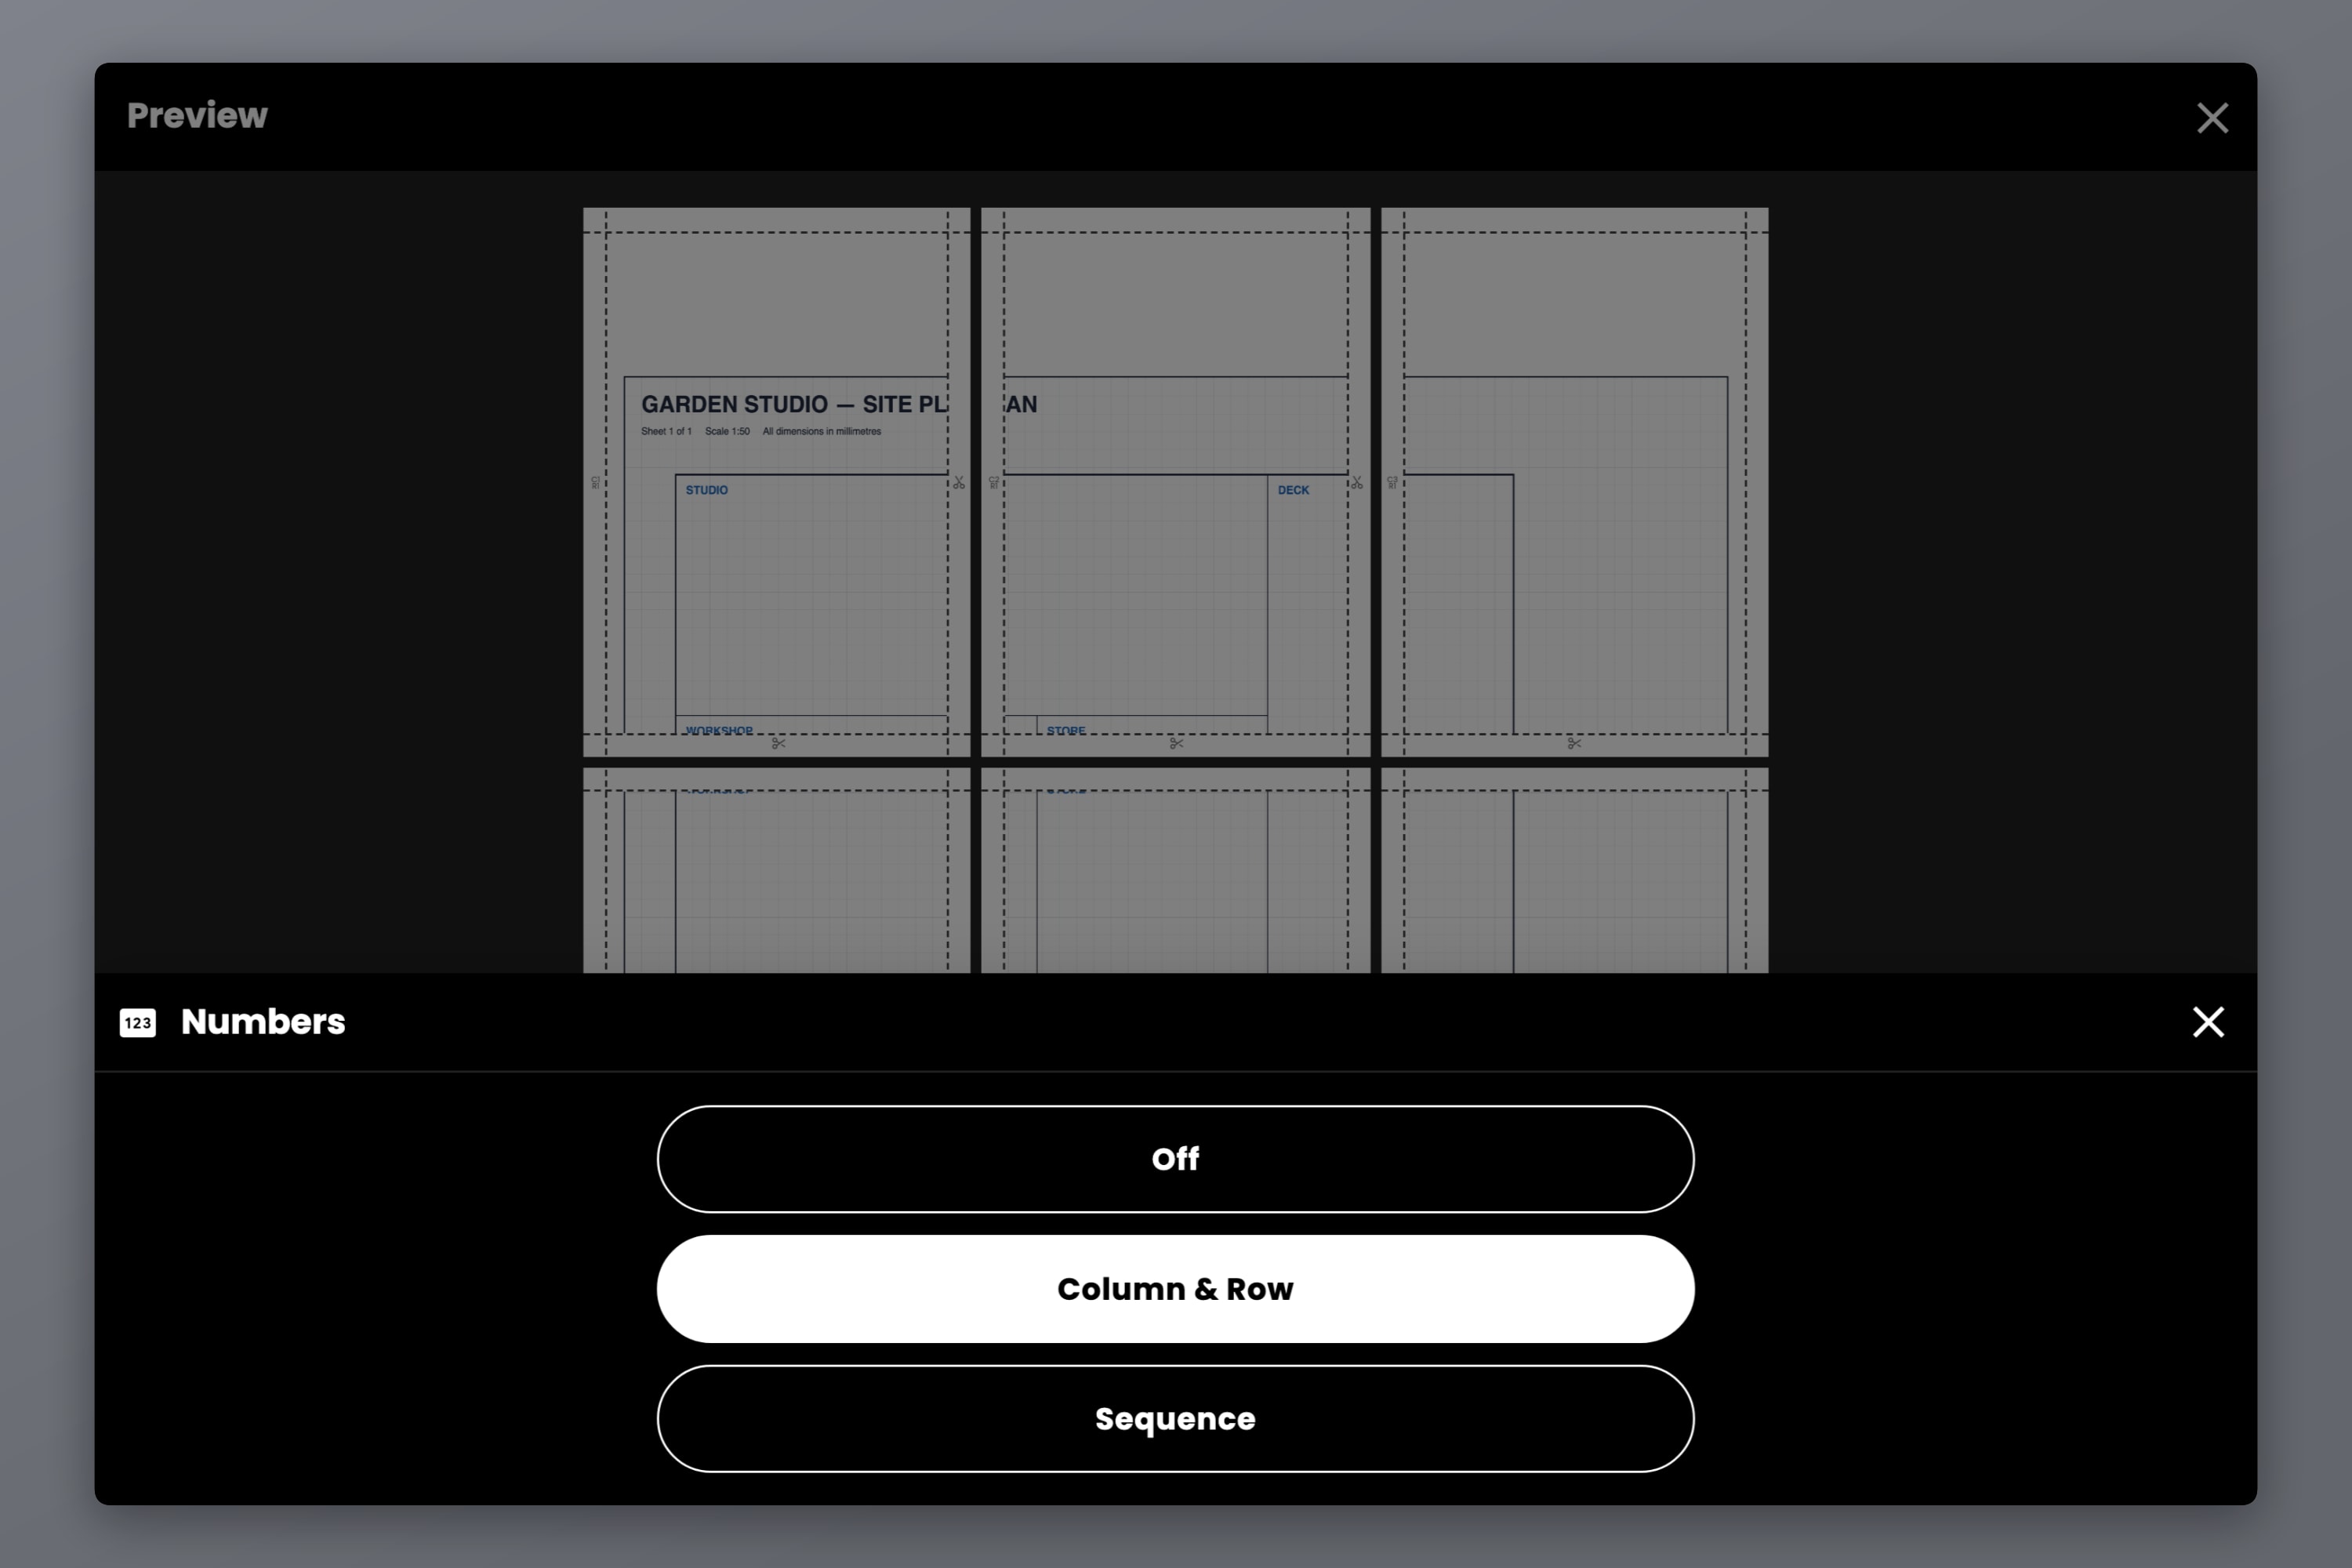
Past about six sheets, a printed stack of tiles all looks identical and reassembly becomes a jigsaw puzzle. Page numbers stamps each tile in its margin:
- Off — no markings.
- Column & Row — grid coordinates such as C2 over R3.
- Sequence — a plain running number across every tile.
Use Column & Row for anything wider than a single column. It prints beside the cut guides, so it is easy to read while you assemble and it tucks away under the seam once the poster is taped together.
Export: Standard PDF, Vector PDF or Images
Three ways out:
- Export as PDF (Standard) — every tile rendered as an image and stitched into one PDF. Free, and the right choice for photo-heavy pages.
- Export as PDF (Vector) — text, shapes, SVG art and imported PDF pages stay true vectors, razor sharp however large the finished print is. This is the one that matters for PDFs, because most oversized PDFs are drawings and type rather than photographs. Full detail: Introducing Vector PDF Export in Docuslice.
- Export as Images — one image file per tile.
There is also an export DPI control: Standard (160), High (300) and Max (600). Standard is free and perfectly good for something you look at from across a room. High and Max are Pro features and earn their keep on anything you read close up.
The One Print Setting That Ruins Everything
In your printer dialog:
- Set the paper size to the same size you chose in Docuslice.
- Set the scale to 100% and turn off Fit to Page, Shrink to Fit and Scale to Paper Size — whatever your driver happens to call it.
This is the single most common reason a tiled print comes out wrong. Docuslice has already done the arithmetic for a full-size print. If the driver scales it a second time, every measurement in the file is off and the tiles will not line up.
Putting It Together
Docuslice prints the overlap strip into each sheet's left and top margin, so the order matters:
- Lay the stack out in reading order, using the page numbers.
- Trim the right and bottom edge of every sheet. Leave the left and top margins intact — those carry the duplicated artwork.
- Lay each trimmed edge over its neighbour's untrimmed one, matching the artwork across the join rather than the paper edges.
- Keep the outside border on until the whole thing is assembled. A poster is far easier to square up while it still has its frame of blank paper.
- Tape from the back so the seams do not catch the light, then trim the outer border last.
FAQ
Yes. Importing the PDF, choosing the paper size, setting the tile grid or an exact finished size, cut lines, scissor marks, page numbers and Export as PDF (Standard) are all free. Overlap, vector PDF export and the higher DPI settings sit on the paid plans, which are one-time payments rather than subscriptions.
No. Acrobat's Poster option works when you have Acrobat in front of you, but it is not the only route and it is not on every device. Docuslice runs in a browser tab, and as an app on iOS, Android, Mac and Windows.
Set your paper size to A4, then set the finished poster size to whatever you need — A3, A2, A1, or any custom measurement. Docuslice spreads the difference across as many A4 sheets as it takes and shows you the count before you print.
If you export as a vector PDF, yes — text, line work and vector art are described mathematically rather than as pixels, so they stay crisp at any size. Photographs embedded in the PDF are still limited by their own resolution.
The export preview shows the exact number before you print, because it depends on the finished size, the paper, the orientation and the margin. As a rough guide with A4 sheets edge to edge: A3 takes 2, A2 takes 4, A1 takes 9. A0 takes 16 if you enter the canvas as 840 x 1188 mm — the exact ISO 841 x 1189 rounds the grid up to 25. The full breakdown, including why A1 does not divide evenly, is in Poster Sizes Explained.
Download Docuslice
Download Docuslice today and print that oversized PDF at the size it was always meant to be.