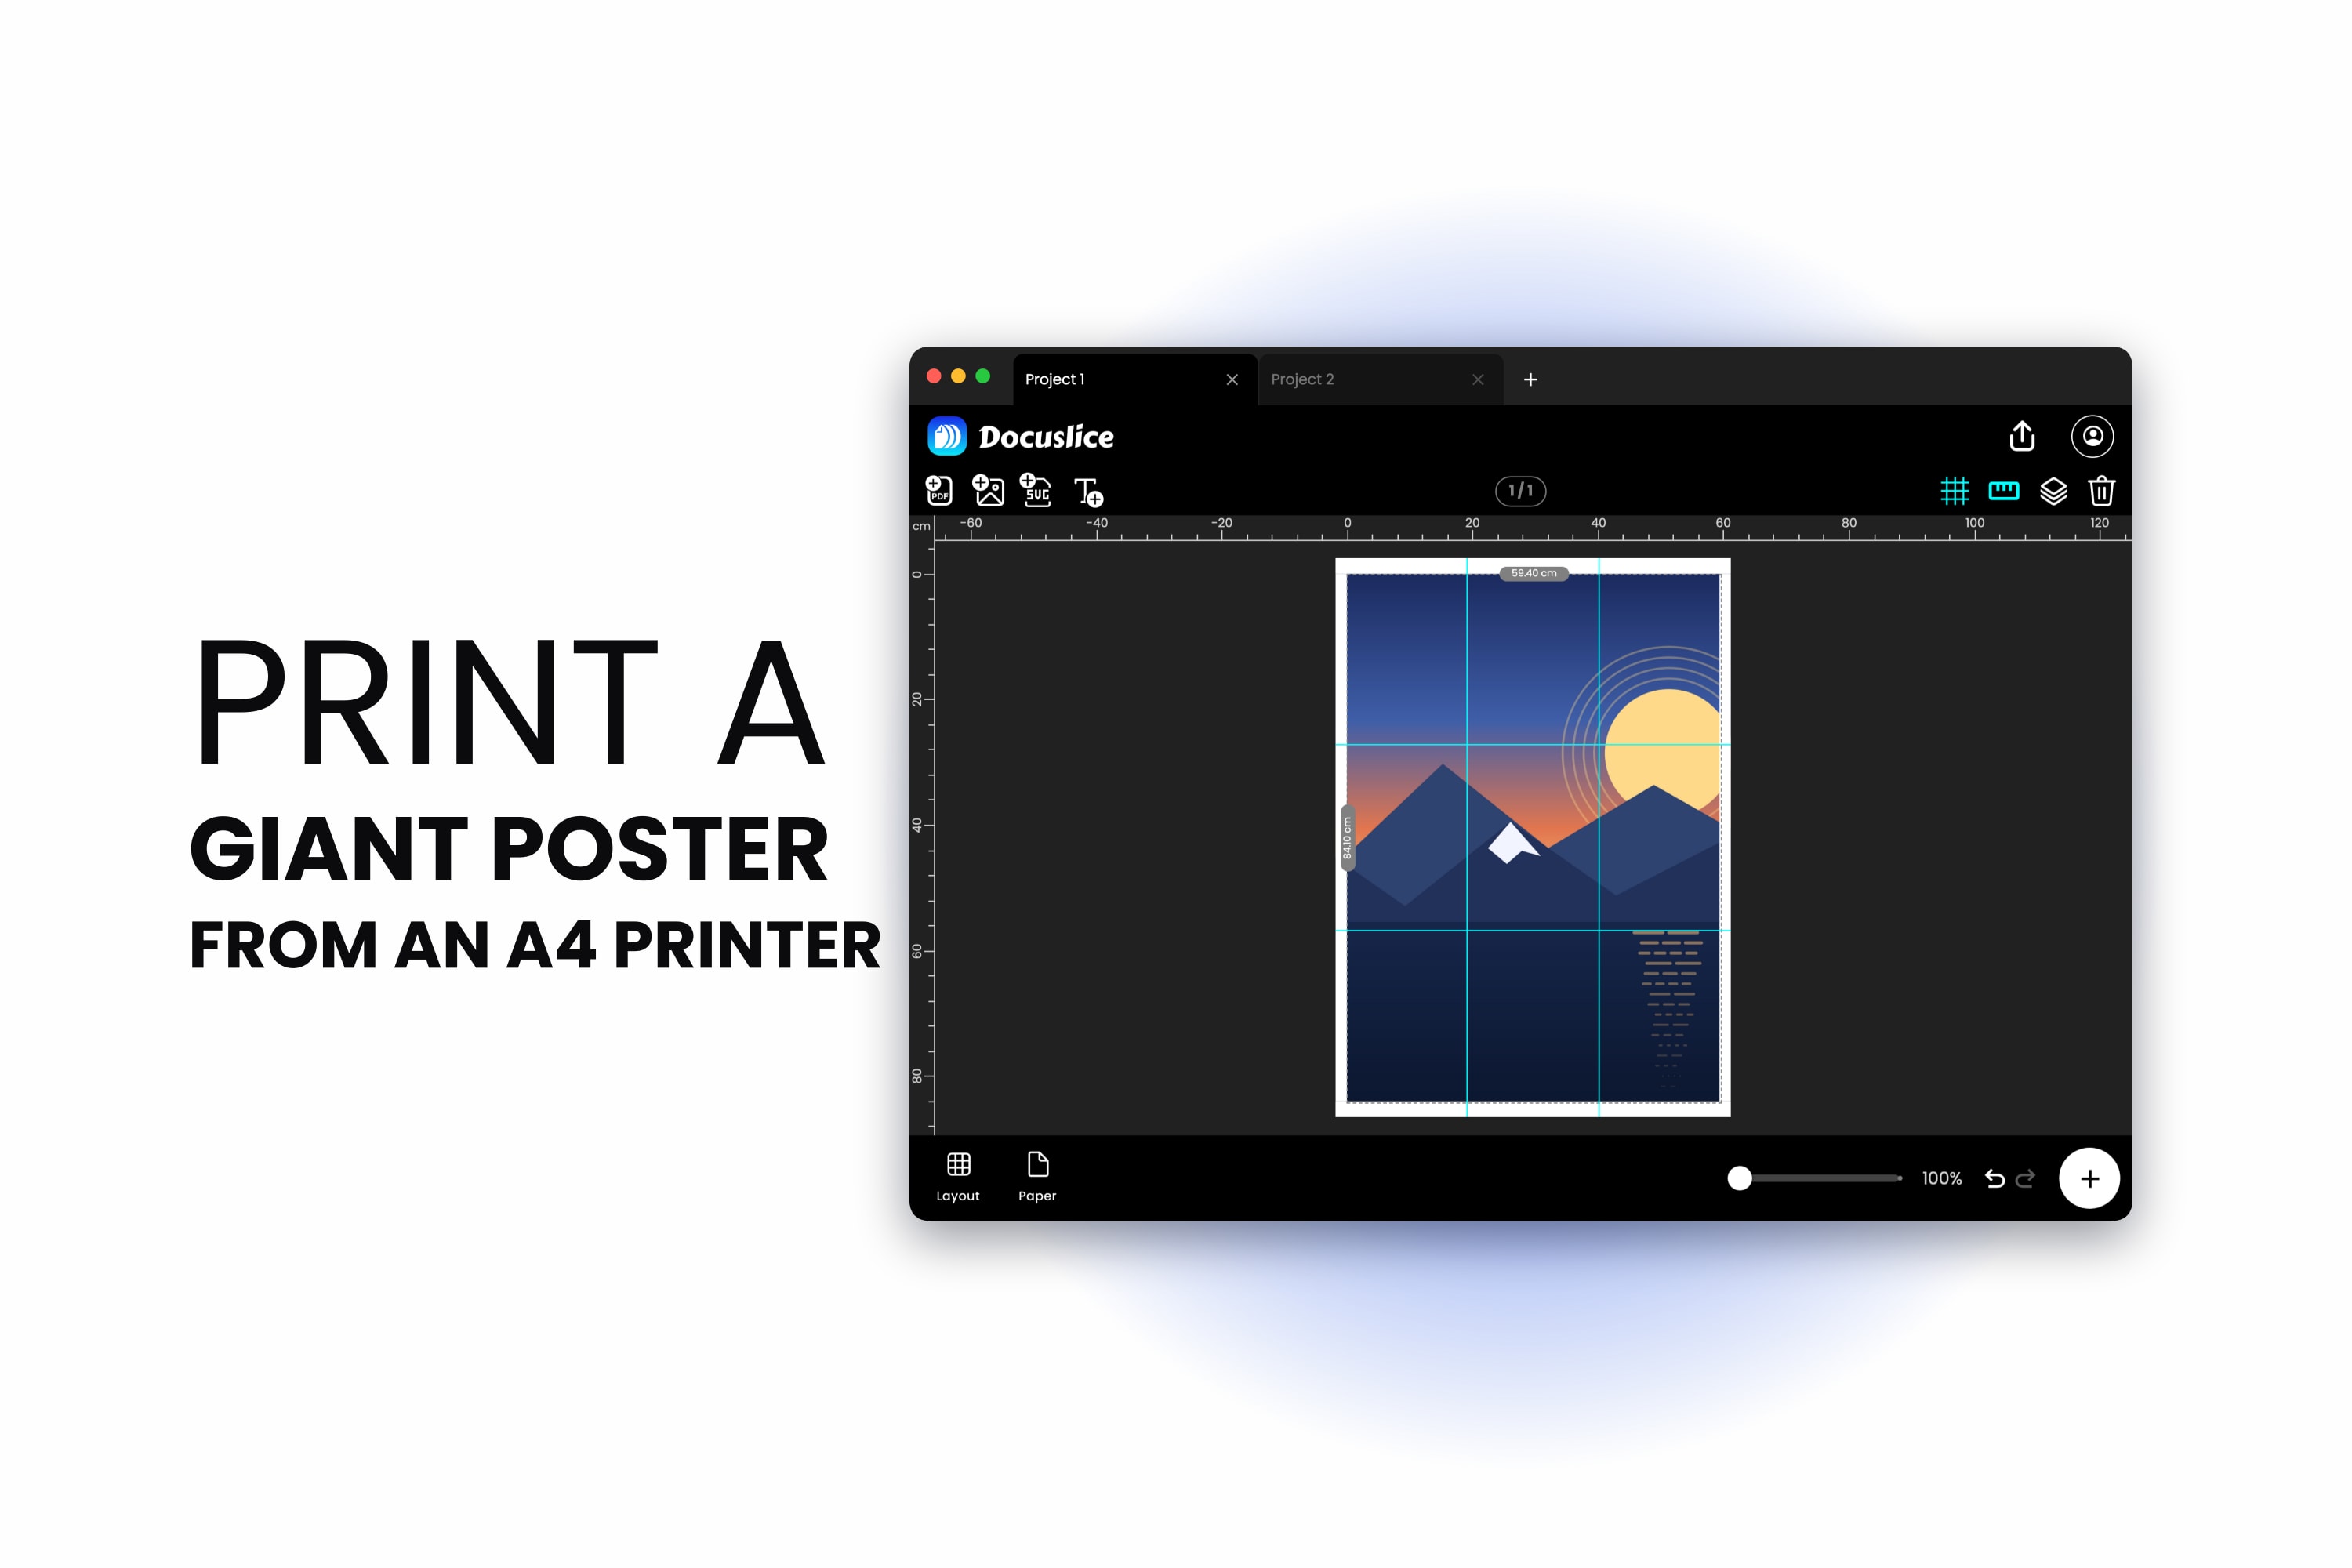
You want something big on the wall. A film poster at proper poster size, a map, a periodic table for the classroom, a photo of a mountain that deserves more than a postcard. Print shops will do it, charge for it and take a few days over it. Meanwhile the printer on your desk takes A4, and A4 is nowhere near big enough.
It is big enough. A poster is just a lot of A4 sheets that have not been taped together yet, and the only real questions are how many and how to keep the joins invisible.
The Size Ladder, With Sheet Counts
The middle number below is the theoretical minimum: how many A4 sheets of area a poster contains. The last number is what you actually print, because tiling uses whole sheets in a rectangular grid and grids have to round up.
| Poster | Millimetres | Inches | A4 sheets by area | A4 grid when tiled |
|---|---|---|---|---|
| A3 | 297 x 420 | 11.7 x 16.5 | 2 | 1 x 2 = 2 sheets |
| A2 | 420 x 594 | 16.5 x 23.4 | 4 | 2 x 2 = 4 sheets |
| A1 | 594 x 841 | 23.4 x 33.1 | 8 | 3 x 3 = 9 sheets |
| A0 | 841 x 1189 | 33.1 x 46.8 | 16 | 4 x 4 = 16 sheets |
Counts assume the sheets are used edge to edge with the print margin set to 0.00, and the A4 turned to whichever orientation gives the smaller grid — landscape for A3, portrait for A2, A1 and A0.
Why A1 Needs Nine Sheets and Not Eight
The A-series doubles in area at every step, but a rectangle's sides only grow by the square root of two — about 1.414 — each time. Step up two sizes and the sides double exactly. Step up one and they do not.
That is why A2 tiles perfectly and A1 does not:
- A2 is 420 x 594 mm. Divide by A4's 210 x 297 and you get exactly 2 and exactly 2. A clean 2 x 2 grid, four sheets, nothing wasted.
- A1 is 594 x 841 mm. Divide by 210 x 297 and you get 2.83 and 2.83. You cannot print 0.83 of a sheet, so the grid rounds up to 3 x 3 — nine sheets to cover a poster containing eight sheets' worth of area. The extra eighth becomes trim.
There is a way to get the theoretical eight. Turn the A4 to landscape (297 x 210) and set the canvas to 594 x 840 mm. That gives 594 / 297 = 2 columns and 840 / 210 = 4 rows exactly — eight sheets, one millimetre short of a true A1 in one direction. One millimetre is thinner than the tape.
The one-millimetre catch on A0
A0 has a similar wrinkle. In theory it is four A4 widths by four A4 heights: 4 x 210 = 840 and 4 x 297 = 1188. But the ISO standard rounds A0 up to 841 x 1189 mm, one millimetre over on each side.
Docuslice rounds the grid up to cover whatever canvas you give it, so a literal 841 x 1189 canvas needs a fifth column and a fifth row to catch that last millimetre — a 5 x 5 grid, 25 sheets, for a poster that is 16 sheets of area. Set the canvas to 840 x 1188 mm and you get the clean 4 x 4 grid instead. Nobody looking at your wall will find the missing millimetre. The same trick works at any size: if the tile count is one row higher than it should be, shave a millimetre off the canvas.
And a note about margins
All of the above assumes a margin of 0.00, meaning each sheet carries a full 210 x 297 mm of poster. Raise the margin and each sheet carries less, so the grid grows — at Docuslice's default 0.50 in, an A1 poster needs a 4 x 4 grid, sixteen sheets rather than nine.
That is not wasted paper exactly. The margin carries your cut guides, page markings and overlap, and gives you something to hold while you trim. Most home printers cannot print to the edge of a sheet anyway, so a small margin is usually the realistic choice — and the export preview always shows the true count.
Step 1 — Set the Canvas to the Poster Size
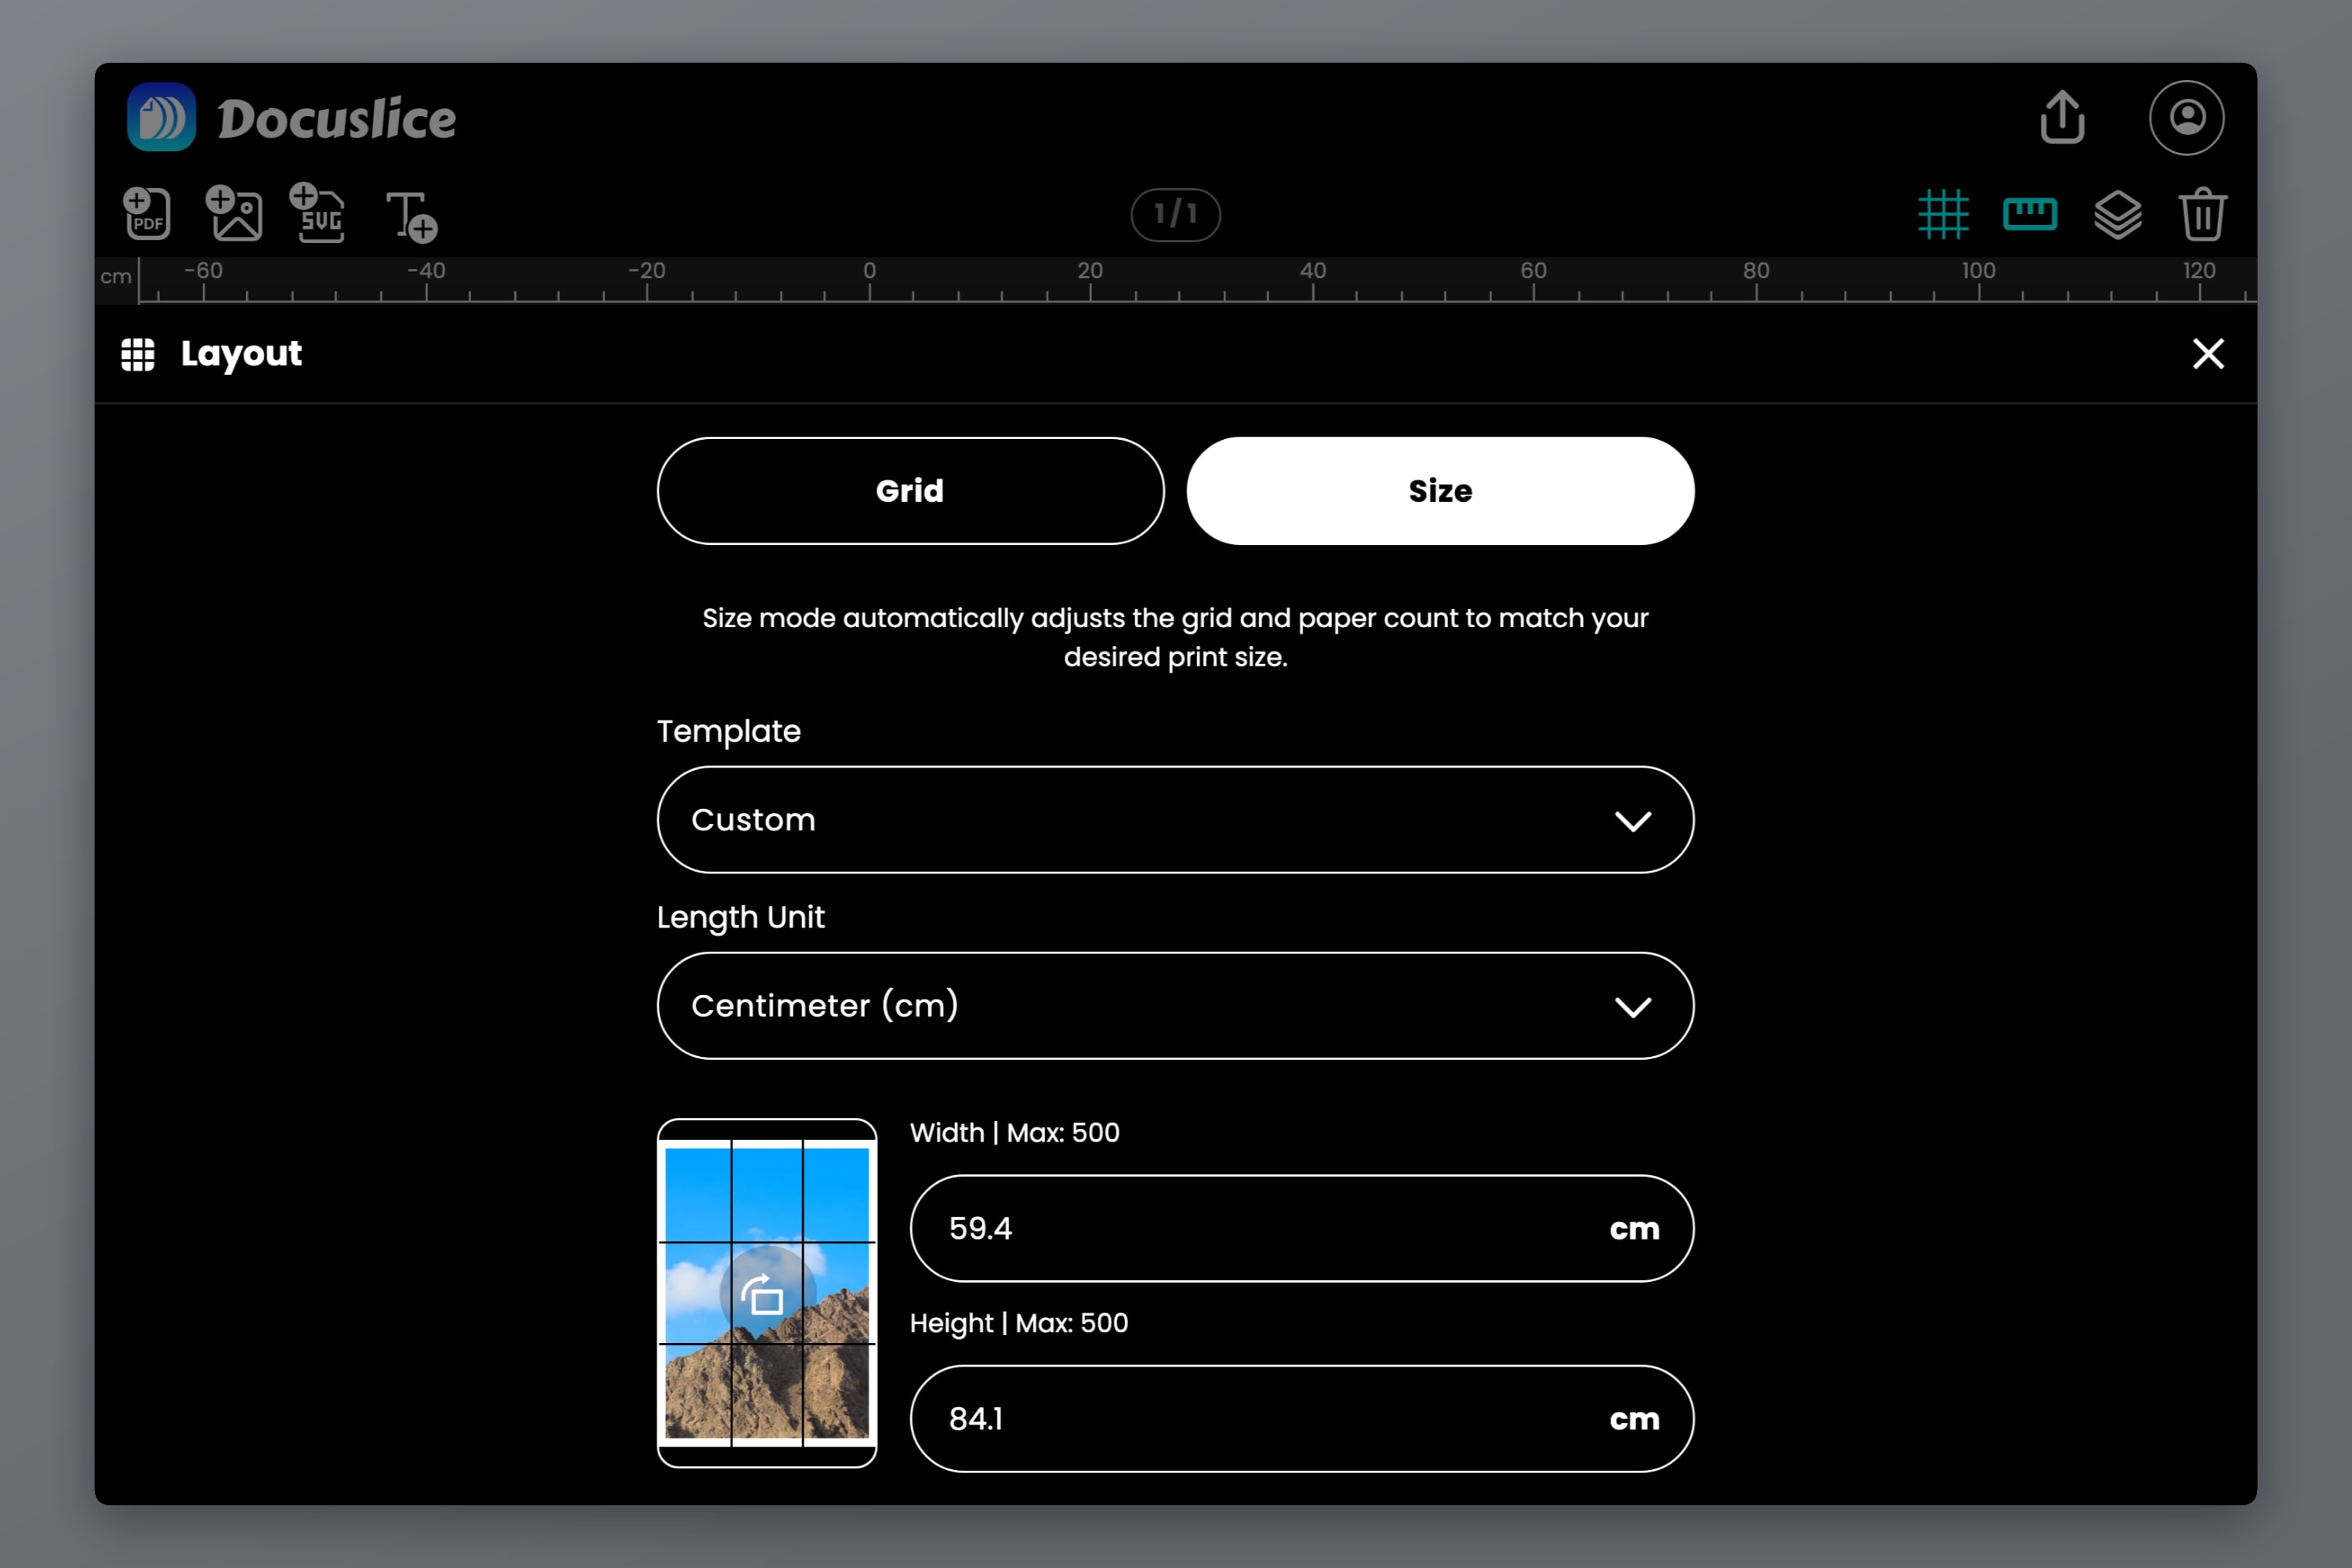
Open the Docuslice web app, create a project, and switch to Size mode. Then either pick a ready-made canvas template — A0, A1, A1+, A2, A3 and A3+ are all there — or type your own width and height in millimetres, centimetres, metres, inches or feet.
Size mode is what makes this a poster rather than a guess: you state the finished real-world dimensions and Docuslice derives everything else. The deep dive lives in How to Print Images on Multiple Pages at a Specific Size Using Docuslice Size Mode.
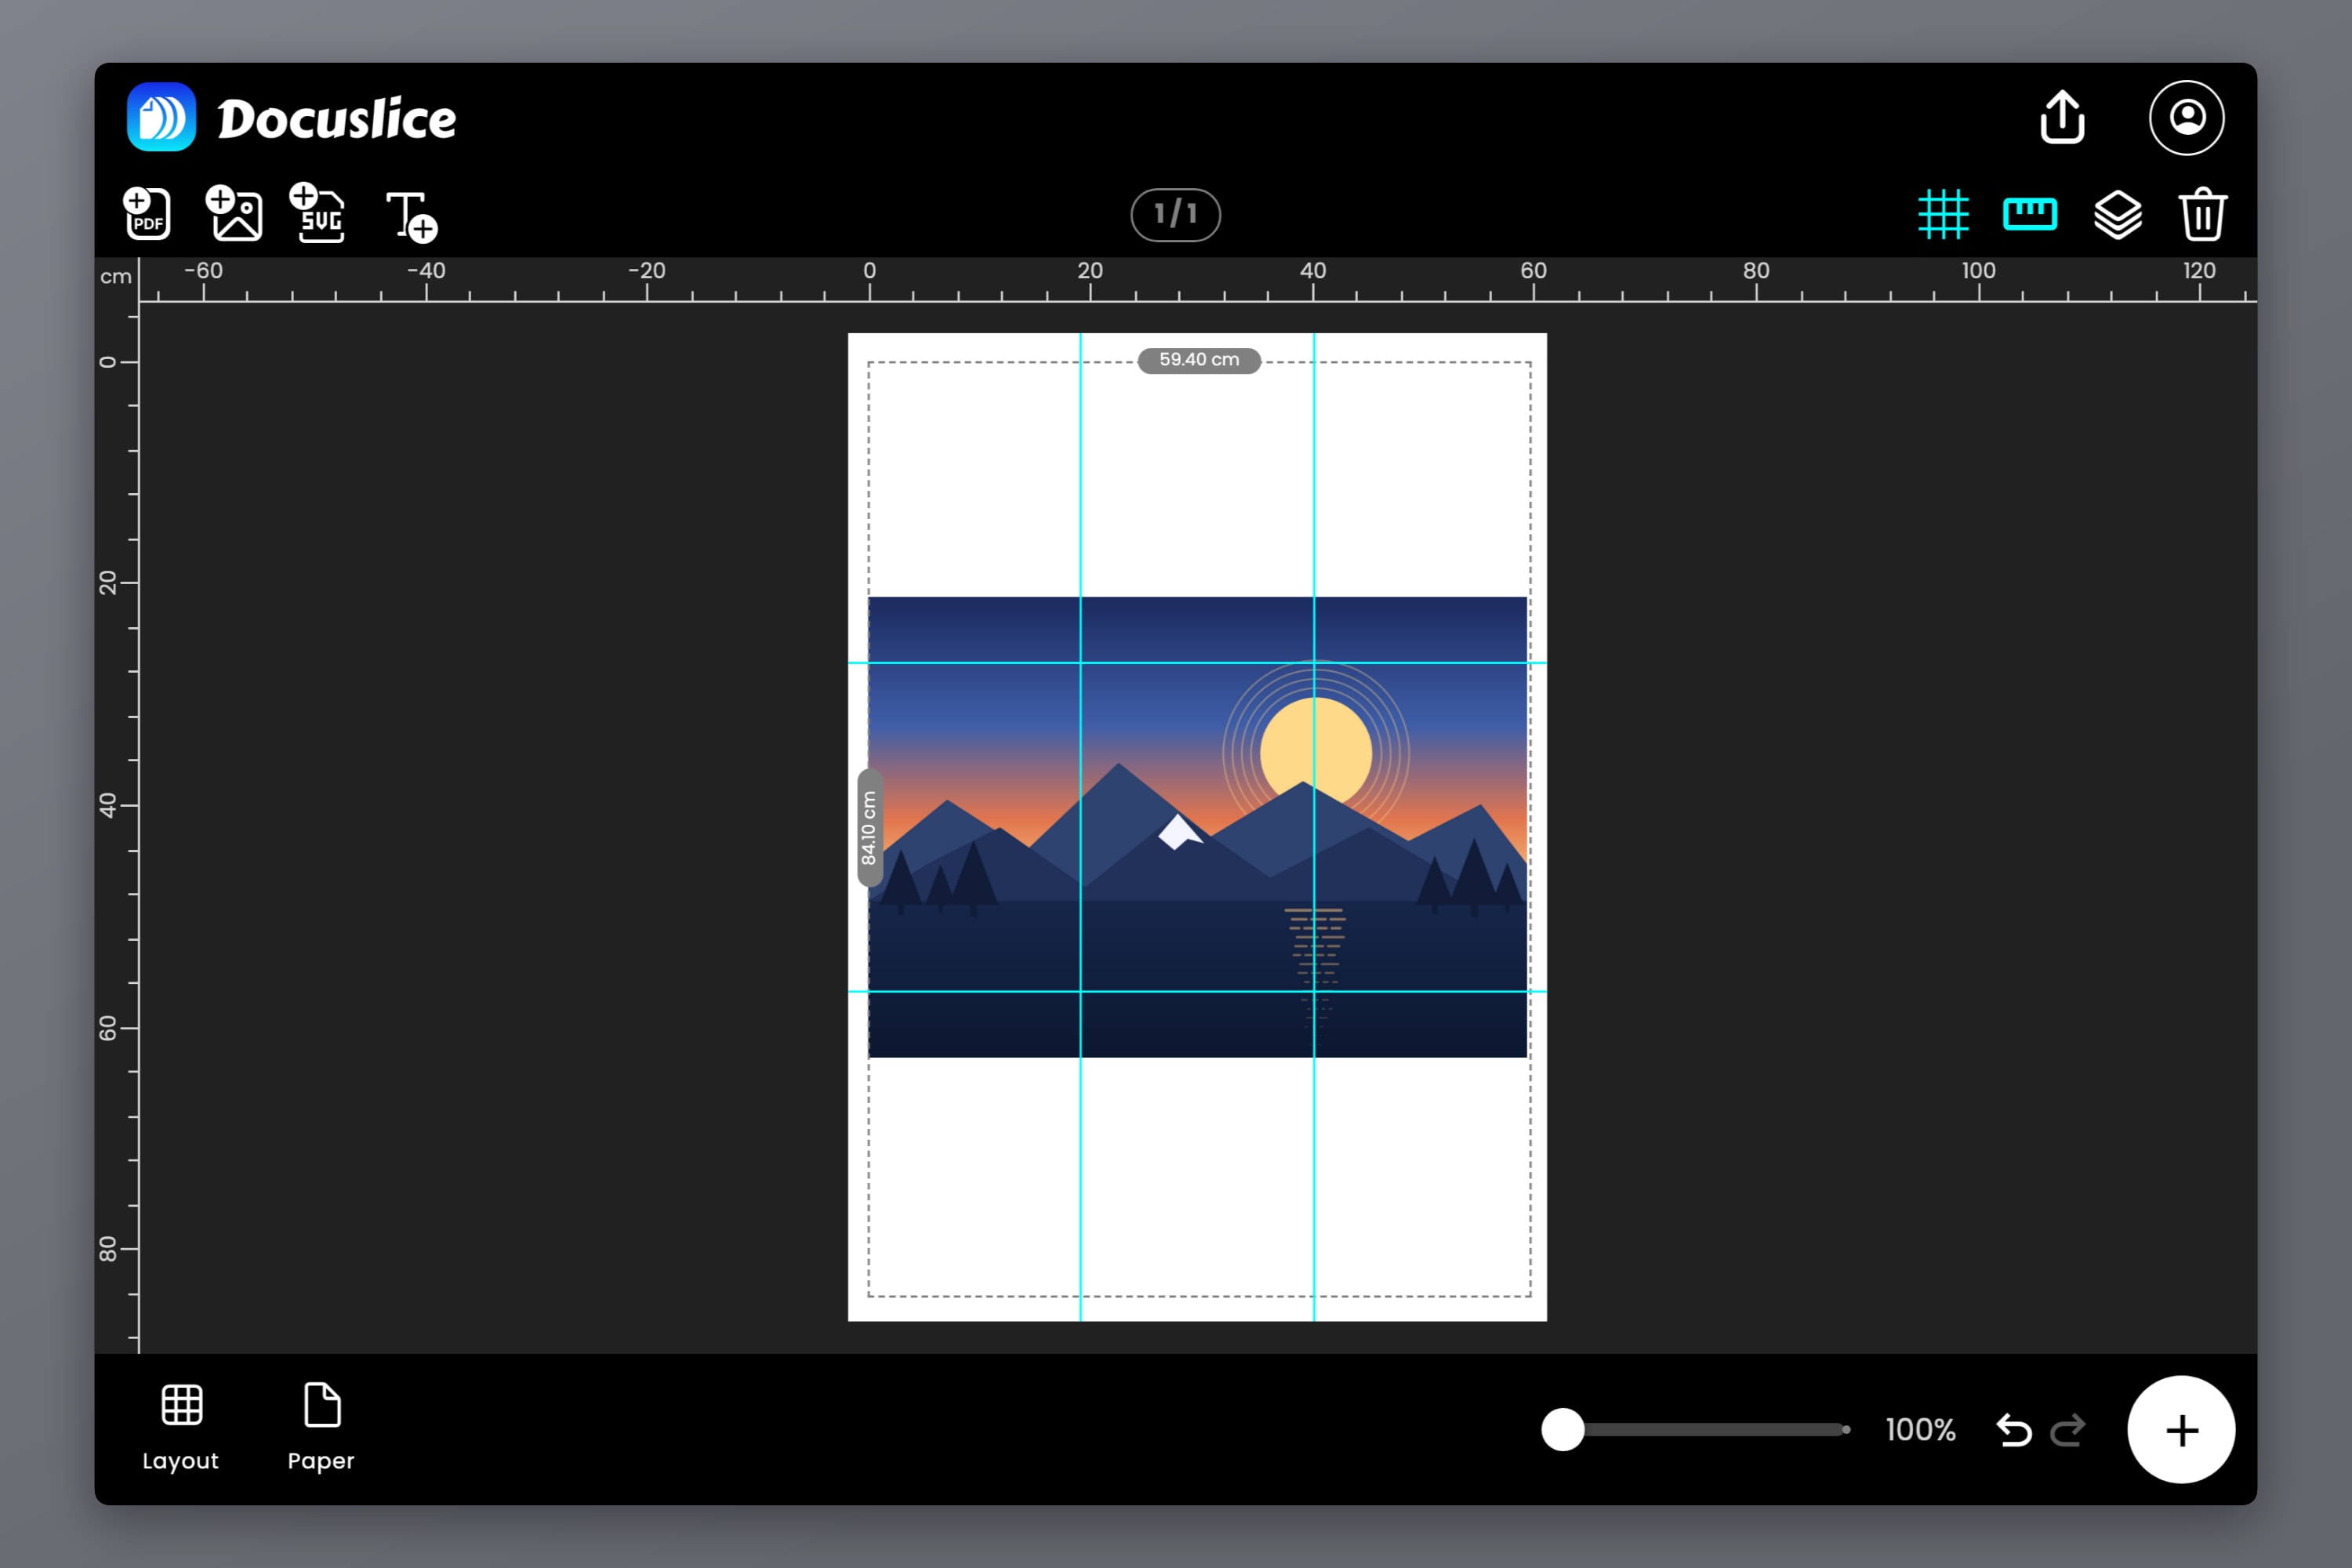
Then bring in your artwork — drag an image or a PDF onto the canvas, or use Import Image or Import PDF — and fit it to the canvas.
Step 2 — Watch the Tile Count as You Change Things
Set the paper size next — the paper actually in your tray. A4, Letter, Legal, A3, A3+, Tabloid, Ledger, the photo sizes, or a custom size.
Now change the orientation and the margin and watch the tile count move. Rotating the paper, shaving a millimetre off the canvas, or dropping the margin from 0.50 in to 0.25 in can each knock a whole row or column off the job — on an A0 that is several sheets of paper and a noticeable amount of ink.
Step 3 — Place the Artwork on the Grid
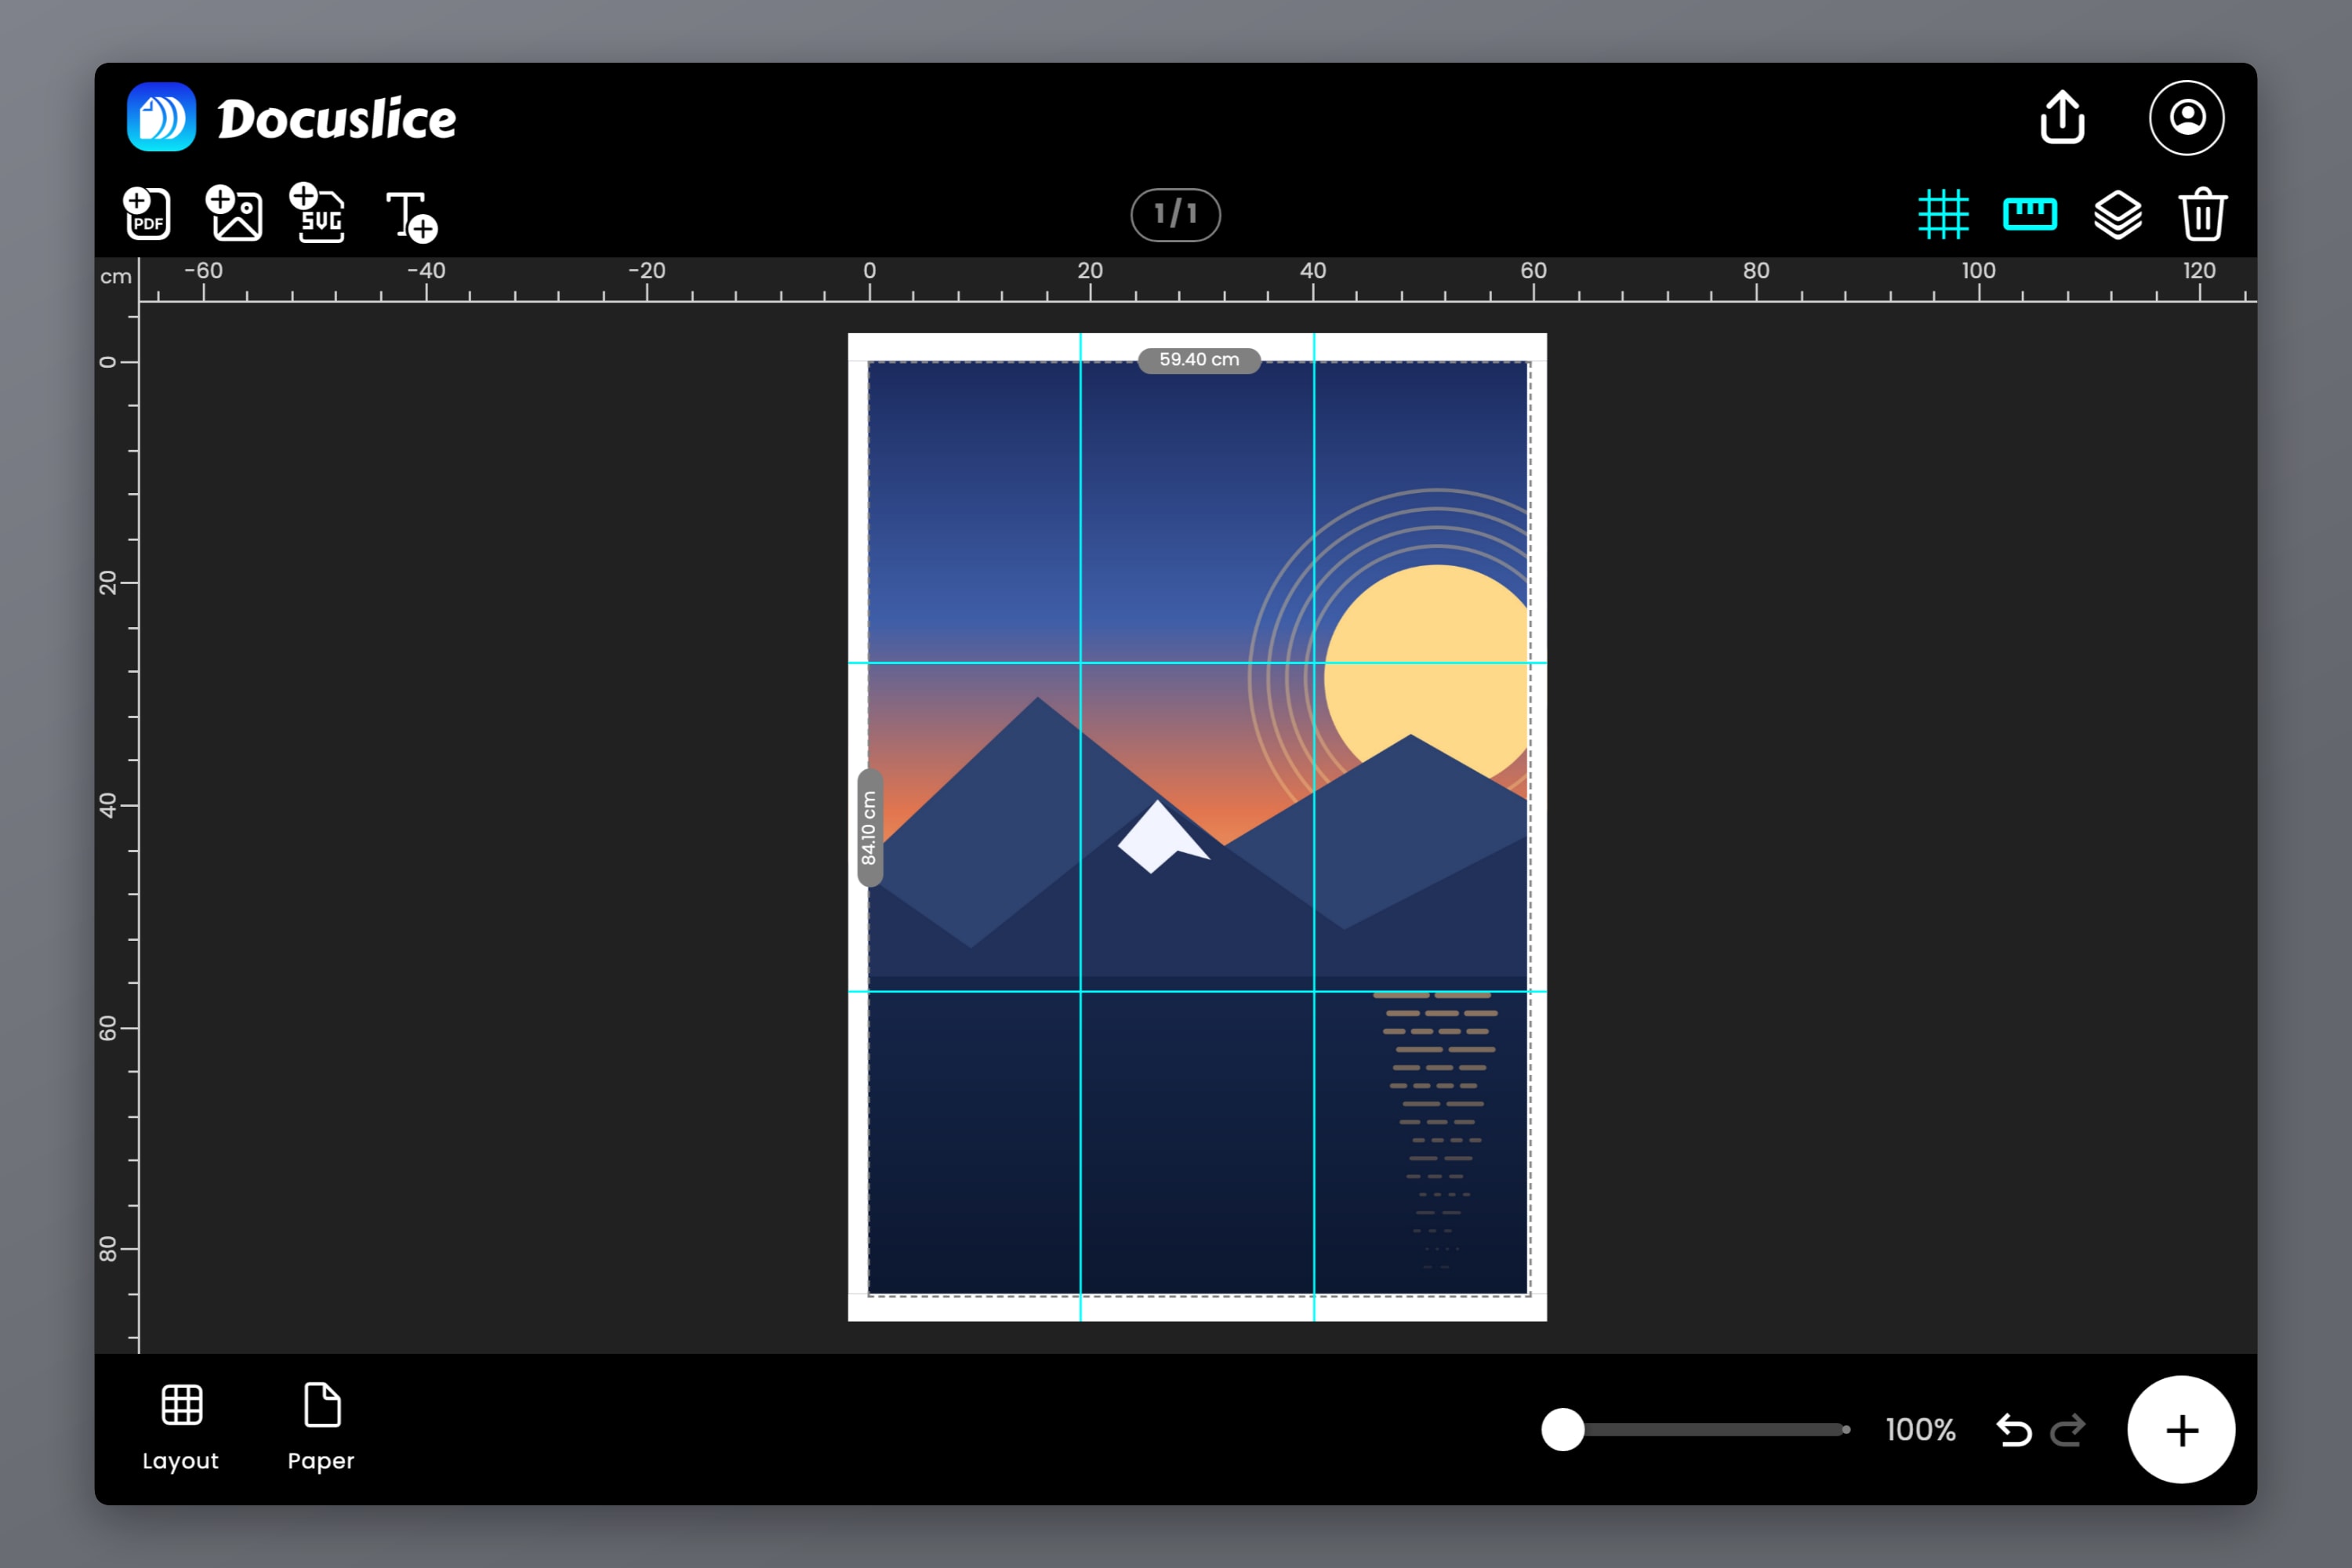
The tile dividers show exactly where every cut will fall. Move and scale your image until the seams land in forgiving places — sky, a flat background, a dark area. A seam through an even tone disappears once taped; a seam through a face, a logo or a line of small text is the first thing a visitor's eye will find. The canvas editor has snapping, rulers, draggable guides and undo/redo, so centring the artwork is a matter of dragging rather than arithmetic.
Step 4 — Turn On Page Numbers Before You Print
For a two-sheet job this is optional. For a sixteen-sheet A0 it is the difference between an afternoon and an evening, because printed tiles from a large poster look almost identical — especially the ones that are mostly background.
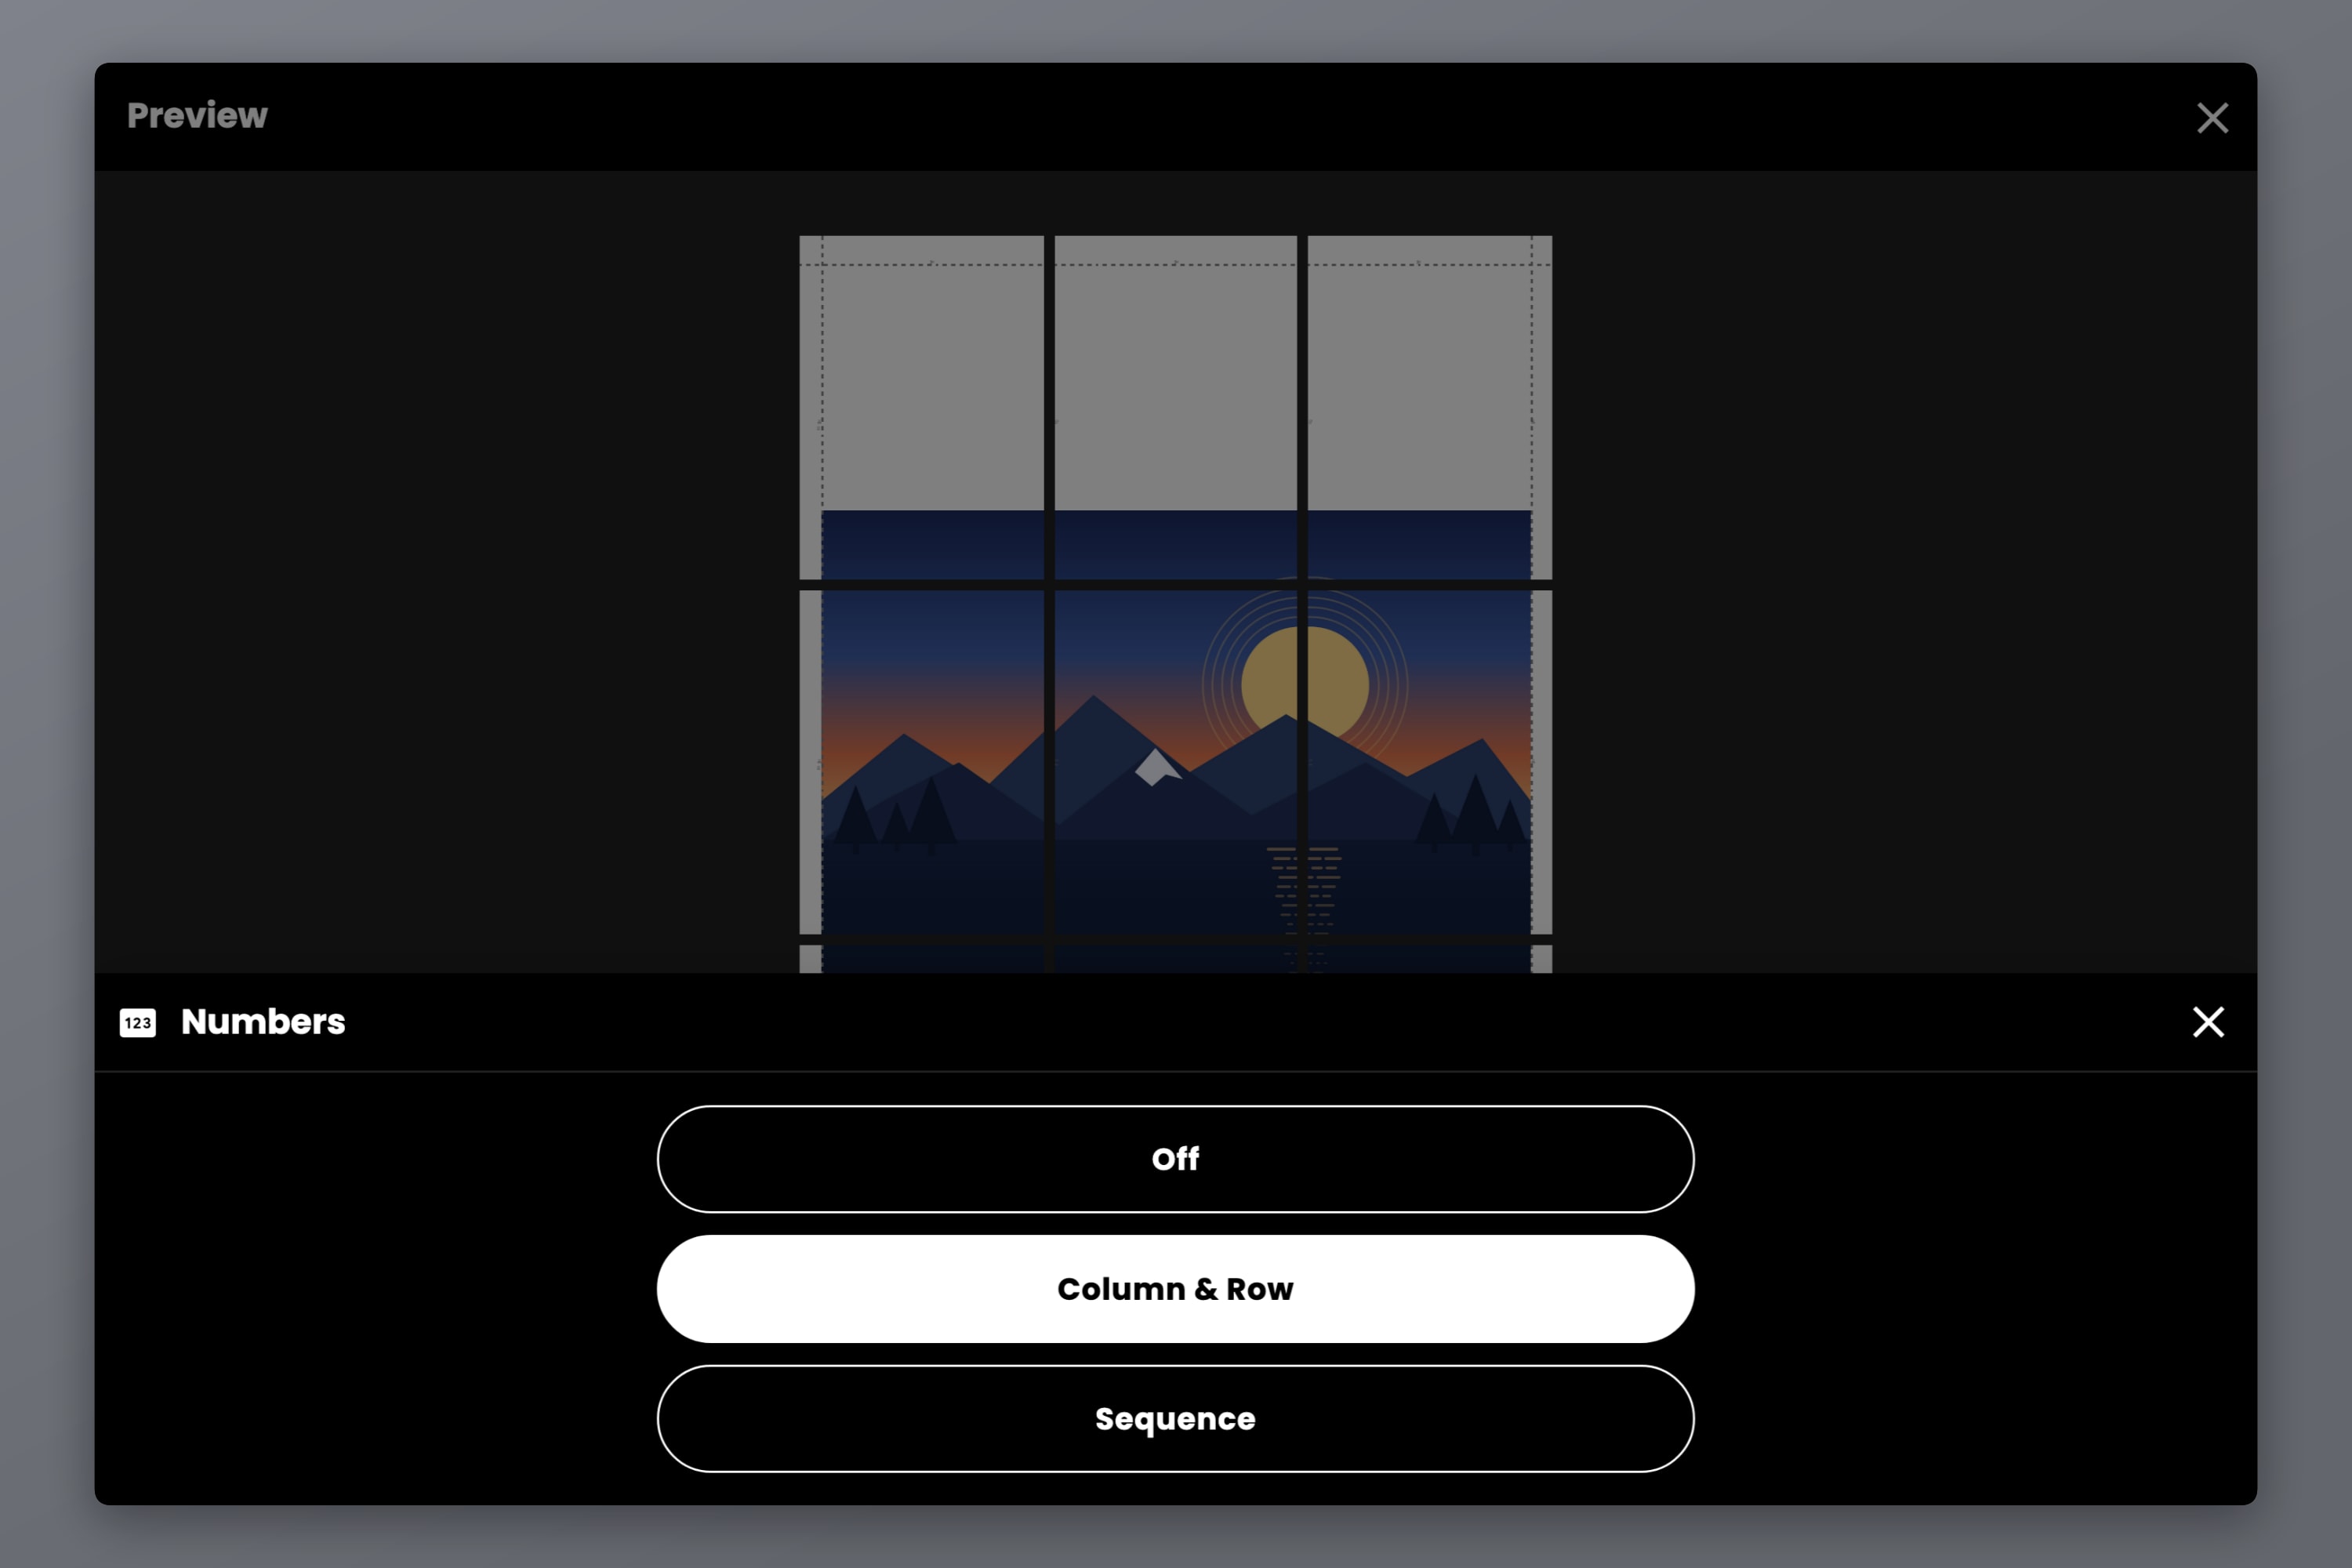
Page numbers stamps each tile in its margin:
- Off — no markings.
- Column & Row — grid coordinates such as C2 over R3. Use this for anything wider than a single column.
- Sequence — a plain running number across every tile.
The marking prints beside the cut guides, so it stays readable while you lay the sheets out and vanishes under the seam once the poster is assembled. Turn on Cut Lines and scissor marks at the same time — dashed lines, solid lines or corner marks — so you know which edge to trim.
Step 5 — Pick an Export DPI to Match the Viewing Distance
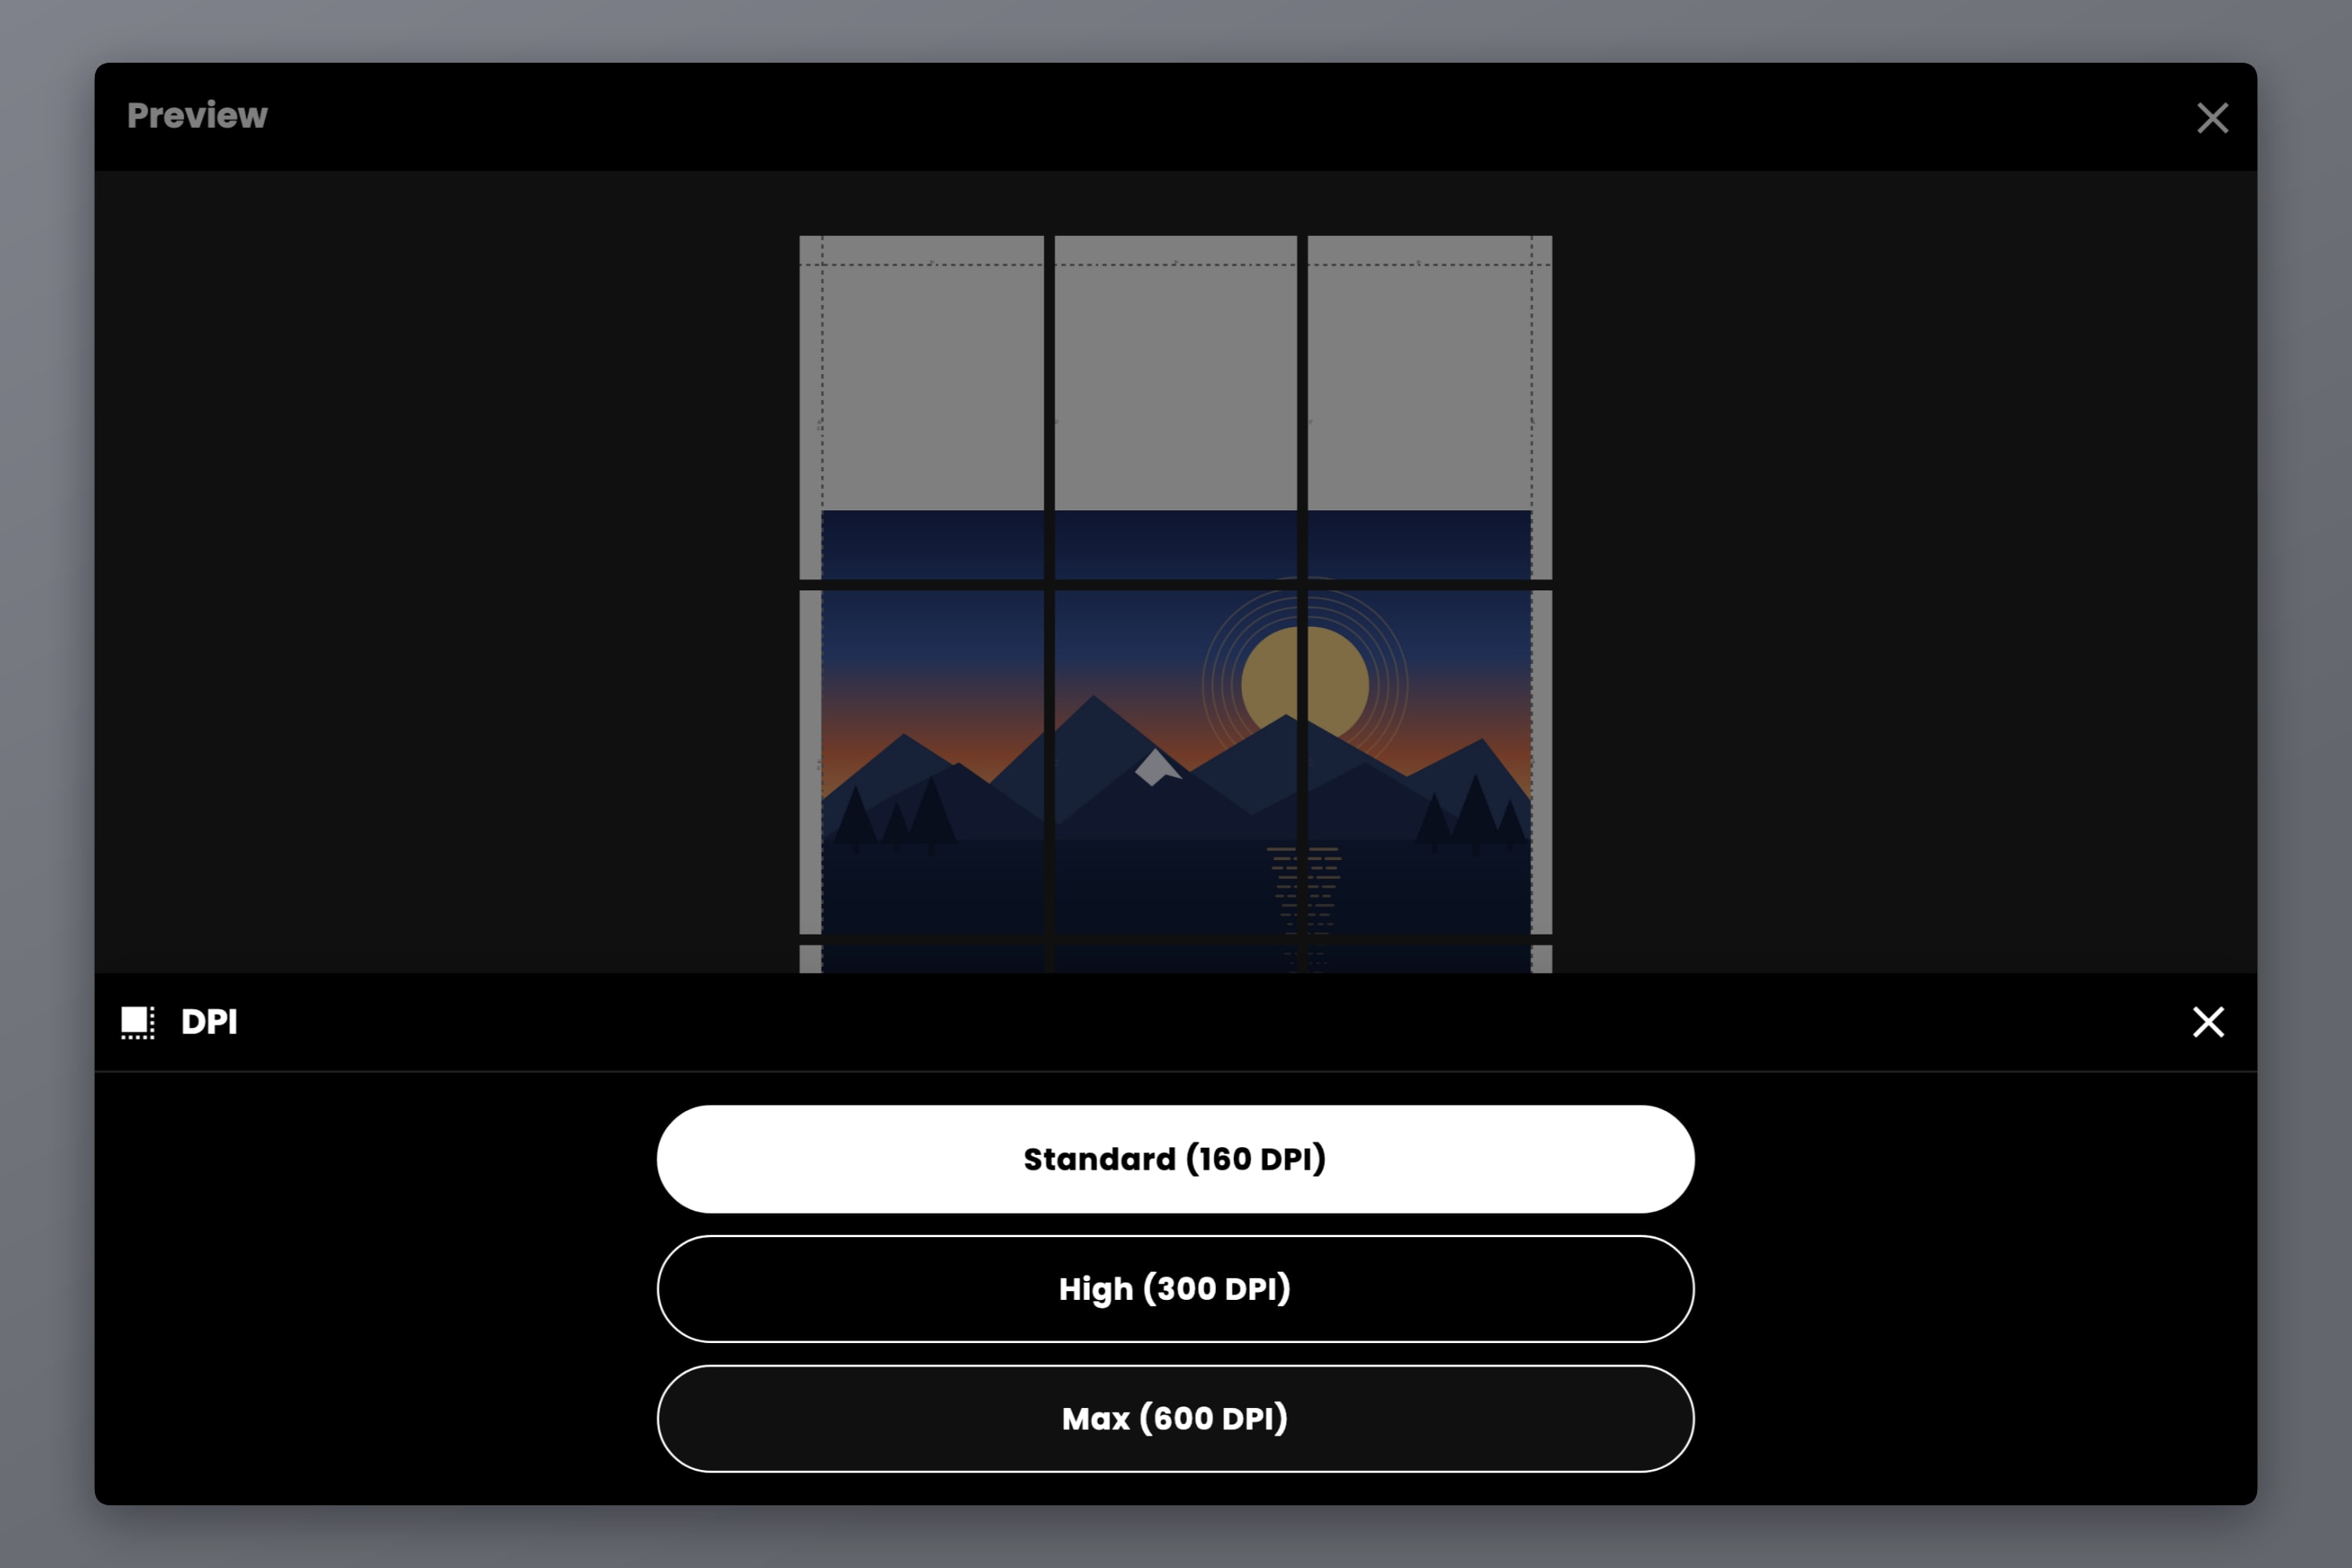
DPI decides how much detail Docuslice packs into each tile. The physical size of the poster never changes — only the amount of information inside it.
- Standard (160 DPI) — the free default. Fine for a poster viewed from a metre or more away, which is most posters.
- High (300 DPI) — print-shop detail. The right pick for small type, thin lines or fine texture, or a poster people stand close to.
- Max (600 DPI) — the sharpest output available, for line art and technical drawings you read at arm's length.
High and Max are Pro and Pro+ features, and those plans are one-time payments — buy once, keep it, no subscription.
Be realistic, though: DPI cannot invent detail your source never had. A 1000-pixel-wide photo blown up to A0 still looks soft at 600 DPI, because the pixels are not there. Start from the largest original you can get, and use Docuslice's AI photo enhancement to upscale a small source before you tile it.
Overlap, Then Export
One last setting. Overlap fills each sheet's margin band with its neighbour's content, so a cut that lands slightly inside the line falls on duplicated artwork rather than white paper. A sixteen-sheet poster has twenty-four seams to get right, and overlap turns "cut perfectly" into "cut roughly and it still looks perfect".
The options are Off, 25%, 50%, 75% and 100% of the margin. 50% suits tape-behind assembly; 100% suits overlapping one sheet on the next. Overlap needs a margin to fill, so it does nothing at 0.00, and it is a Pro feature.
Then export as a PDF or as individual images. For a poster built from photographs, the standard PDF export is the right call. For maps, diagrams, type or line art, Export as PDF (Vector) keeps every line sharp at any size.
Print at 100%, Then Assemble
The rule that ruins every DIY poster: in your print dialog, set the paper size to match the one you chose in Docuslice and set the scale to 100%. Turn off Fit to Page, Shrink to Fit and Scale to Paper Size. Docuslice has already sized every tile for a full-size print, and a second round of scaling in the driver shrinks each sheet slightly, so none of the seams meet. If you are unsure, print one tile and measure it before committing sixteen sheets — the same check applies to a large PDF you are tiling, covered in How to Print a Large PDF on Multiple Pages.
Then lay every sheet out on the floor in its grid position, using the page numbers, before you cut anything. Trim only the inside edges — the ones that meet a neighbour — and leave the outer border on until the poster is whole, because an unbroken border keeps everything square. Work one row at a time, tape from the back, and cut the outer border off last.
FAQ
Sixteen by area, and sixteen in a 4 x 4 grid if you set the canvas to 840 x 1188 mm. Using the exact ISO figure of 841 x 1189 mm pushes the grid to 5 x 5, because the rounding leaves one extra millimetre on each side to cover.
Eight by area, but nine in practice — a 3 x 3 grid — because A1's 594 x 841 mm divides into A4 at 2.83 sheets per side and has to round up. You can get a true eight by turning the A4 to landscape and setting the canvas to 594 x 840 mm.
Yes. Size mode, the paper picker, cut lines, scissor marks, page numbers, Standard (160 DPI) export and both PDF and image export are free. Overlap, vector PDF export and the High and Max DPI settings are on the paid plans, which are one-time payments.
Size mode accepts canvases up to 5 metres per side, so anything up to a wall-sized mural is within reach. The practical limit is your patience with taping, not the app.
Yes. Letter is 8.5 x 11 in, which does not nest into the A-series as neatly, so the grids come out different and you trim a little more. Set the canvas to the poster size you want, choose Letter as the paper, and read the count off the export preview. The full set of equivalents is in Poster Sizes Explained.
Download Docuslice
Download Docuslice today and turn the A4 printer you already own into a poster printer.