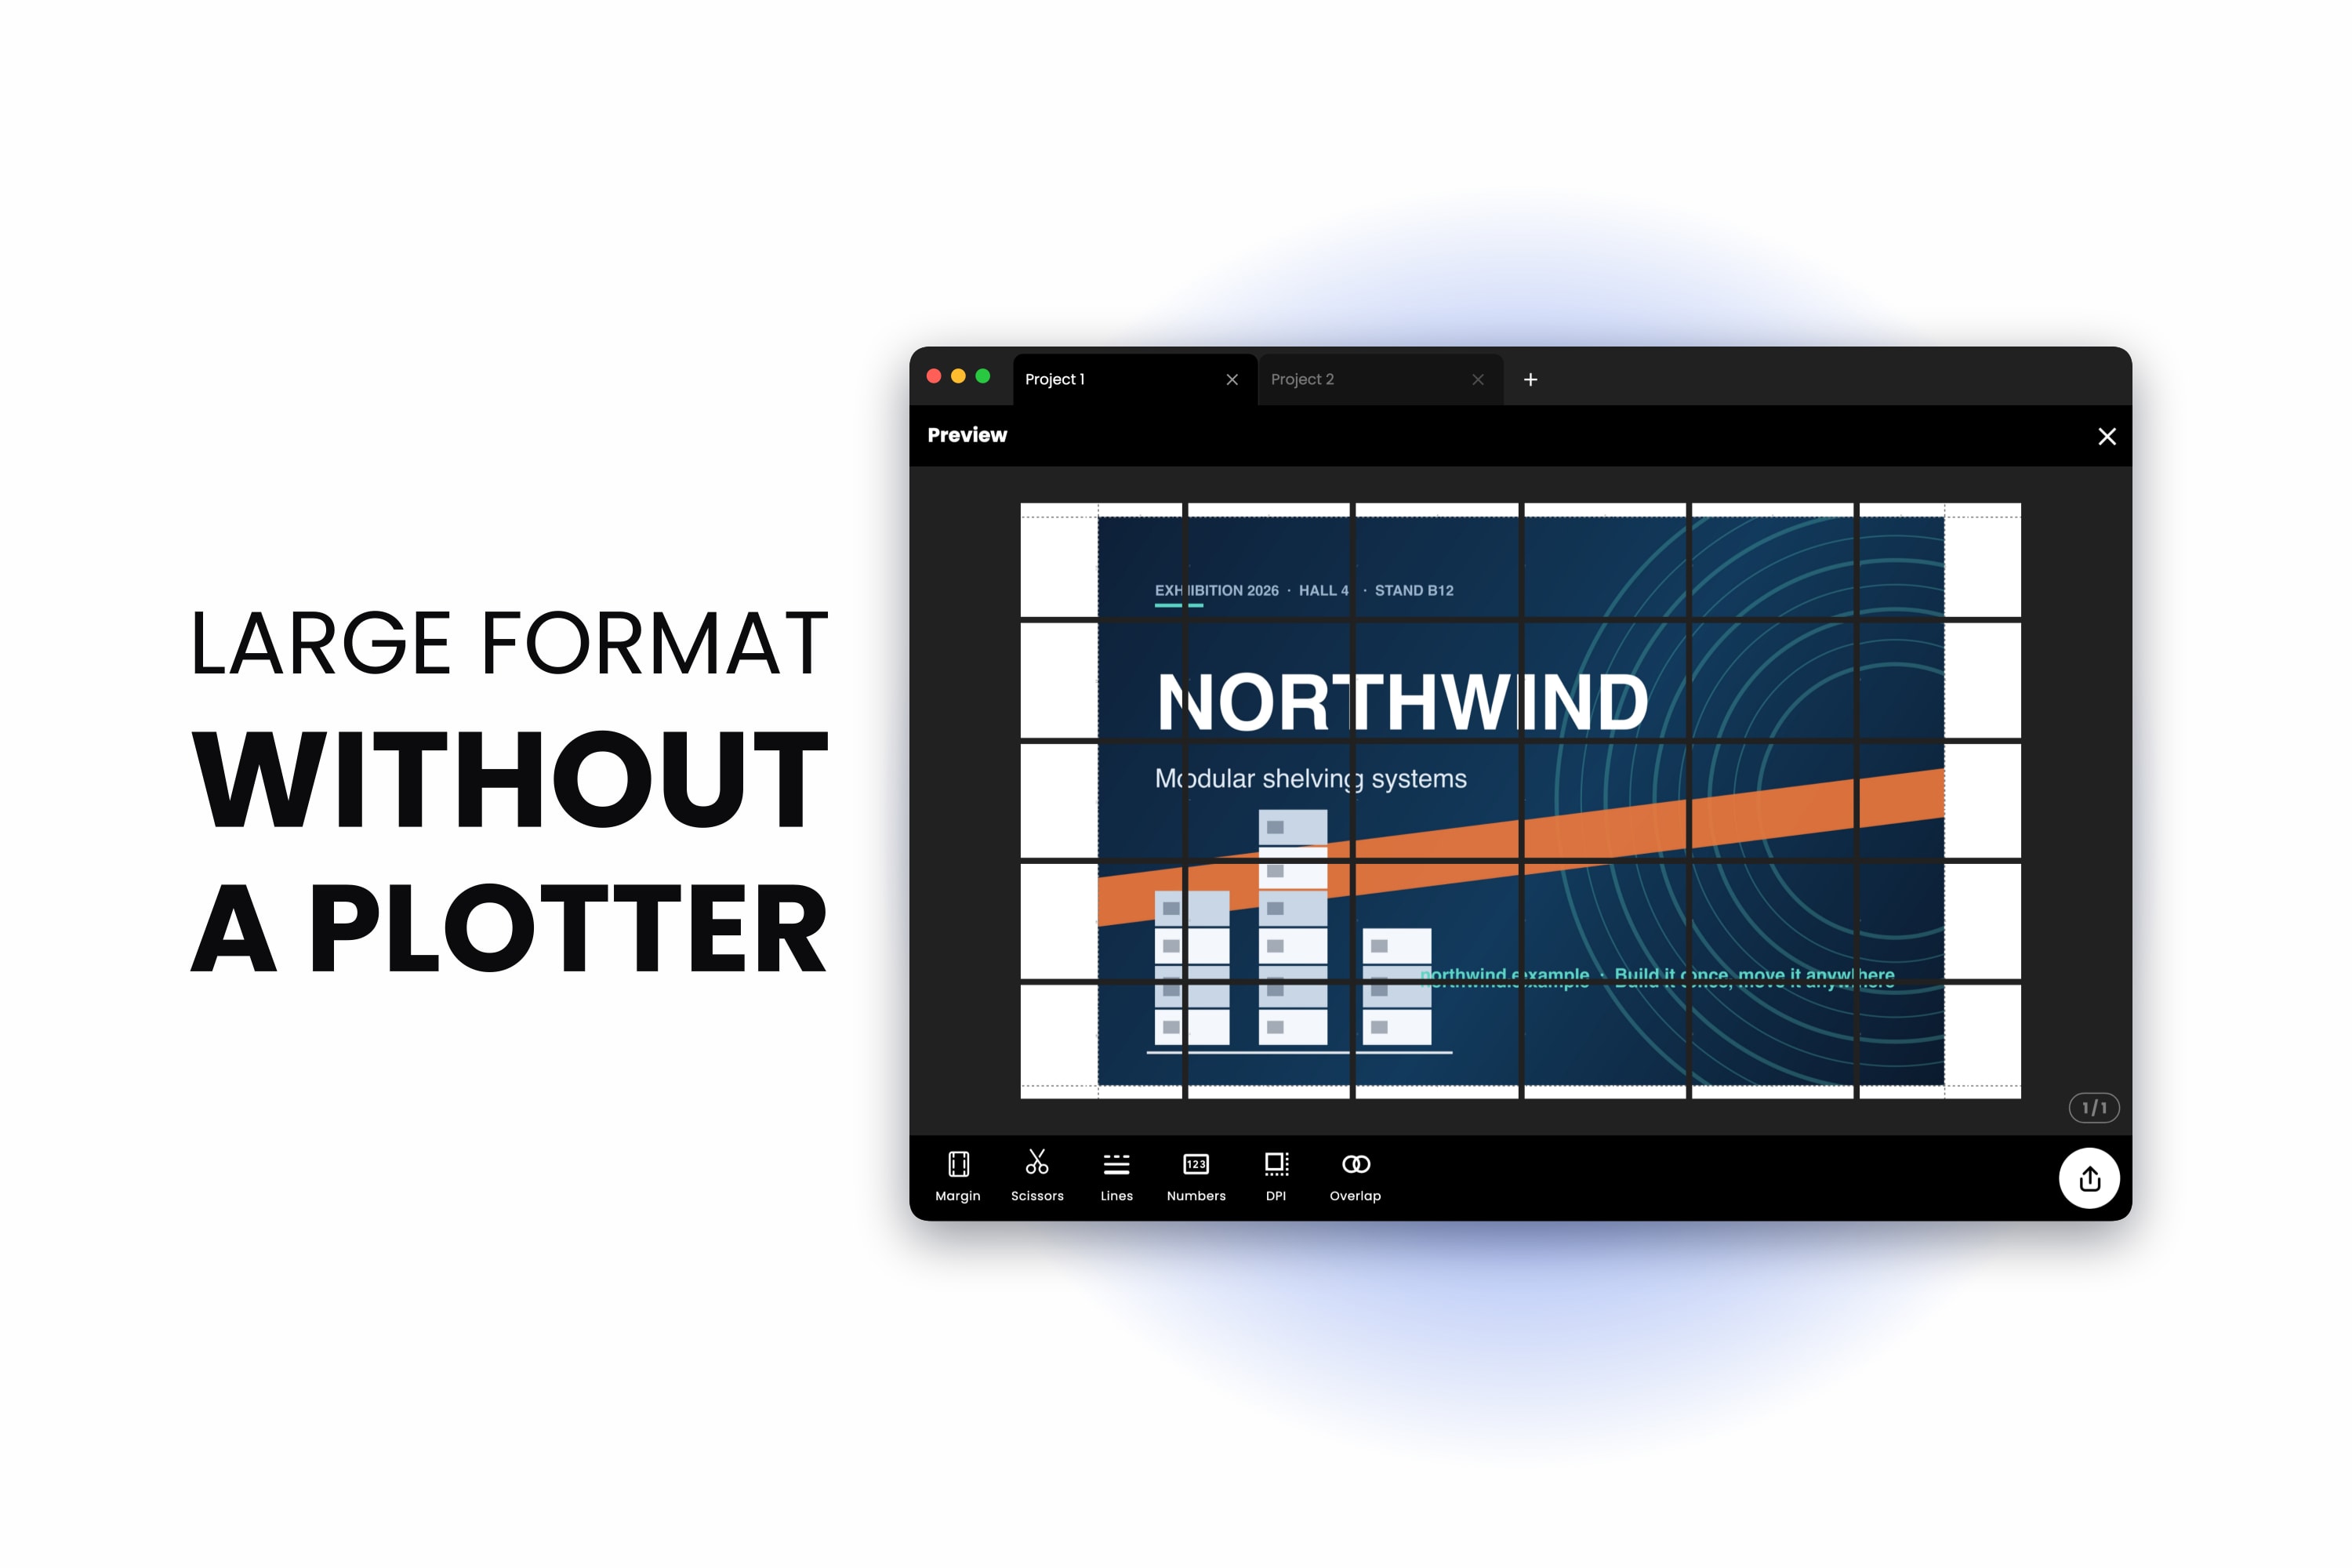
You have something that needs to be a metre and a half wide. A trade show backdrop, a site plan, an event board, a floor decal guide. Every route you have looked at so far costs money you were not planning to spend or takes days you do not have.
There is a fourth route, and the thing standing between you and it is a piece of software, not a piece of hardware.
The three options you were given
Buy a plotter. An entry-level 24-inch desktop plotter — the HP DesignJet T230 and T630, Canon's imagePROGRAF TC-20 and TC-21, Epson's SureColor T3170 — sits at roughly $1,000 to $1,500 new in 2026. That buys you a 24-inch roll width, which is 61 cm. A 100 cm tall panel still does not fit. Ink and roll media are on top, and the machine wants floor space forever.
Rent one. Cheaper up front, and you inherit somebody else's maintenance schedule and calibration. Usually a day rate, usually with a delivery window, and it makes no sense for one job.
Pay a print shop. The normal answer, and often the right one. You pay by area, there is generally a minimum charge, and the turnaround is measured in days unless you pay for rush. Every revision is a new job at a new price — which is what hurts, because the first proof is almost never the final one.
None of the three is unreasonable. They are just all sized for someone printing large format regularly, and most people who need a 150 cm panel need one about twice a year.
The fourth option: the printer you already own
Tiling splits one large document into a grid of ordinary sheets. Each sheet prints at full scale on a printer that has never heard of large format. You trim the edges, tape the backs, and you have the panel.
The printer does not need to be special. It needs to accept A4 or Letter, which is the definition of a printer.
The one honest difference is the seam. Everything else — the size, the scale, the resolution, the colour — is the same job. Whether the seam matters is the whole decision, and the answer is genuinely different for a trade show backdrop seen from three metres than for a photographic print somebody will stand in front of.
Walkthrough: a 150 x 100 cm panel on an A4 printer
This is Docuslice. It runs in a browser tab, and there are apps for iOS, Android, Mac and Windows.
Step 1 — Pick the paper you actually have
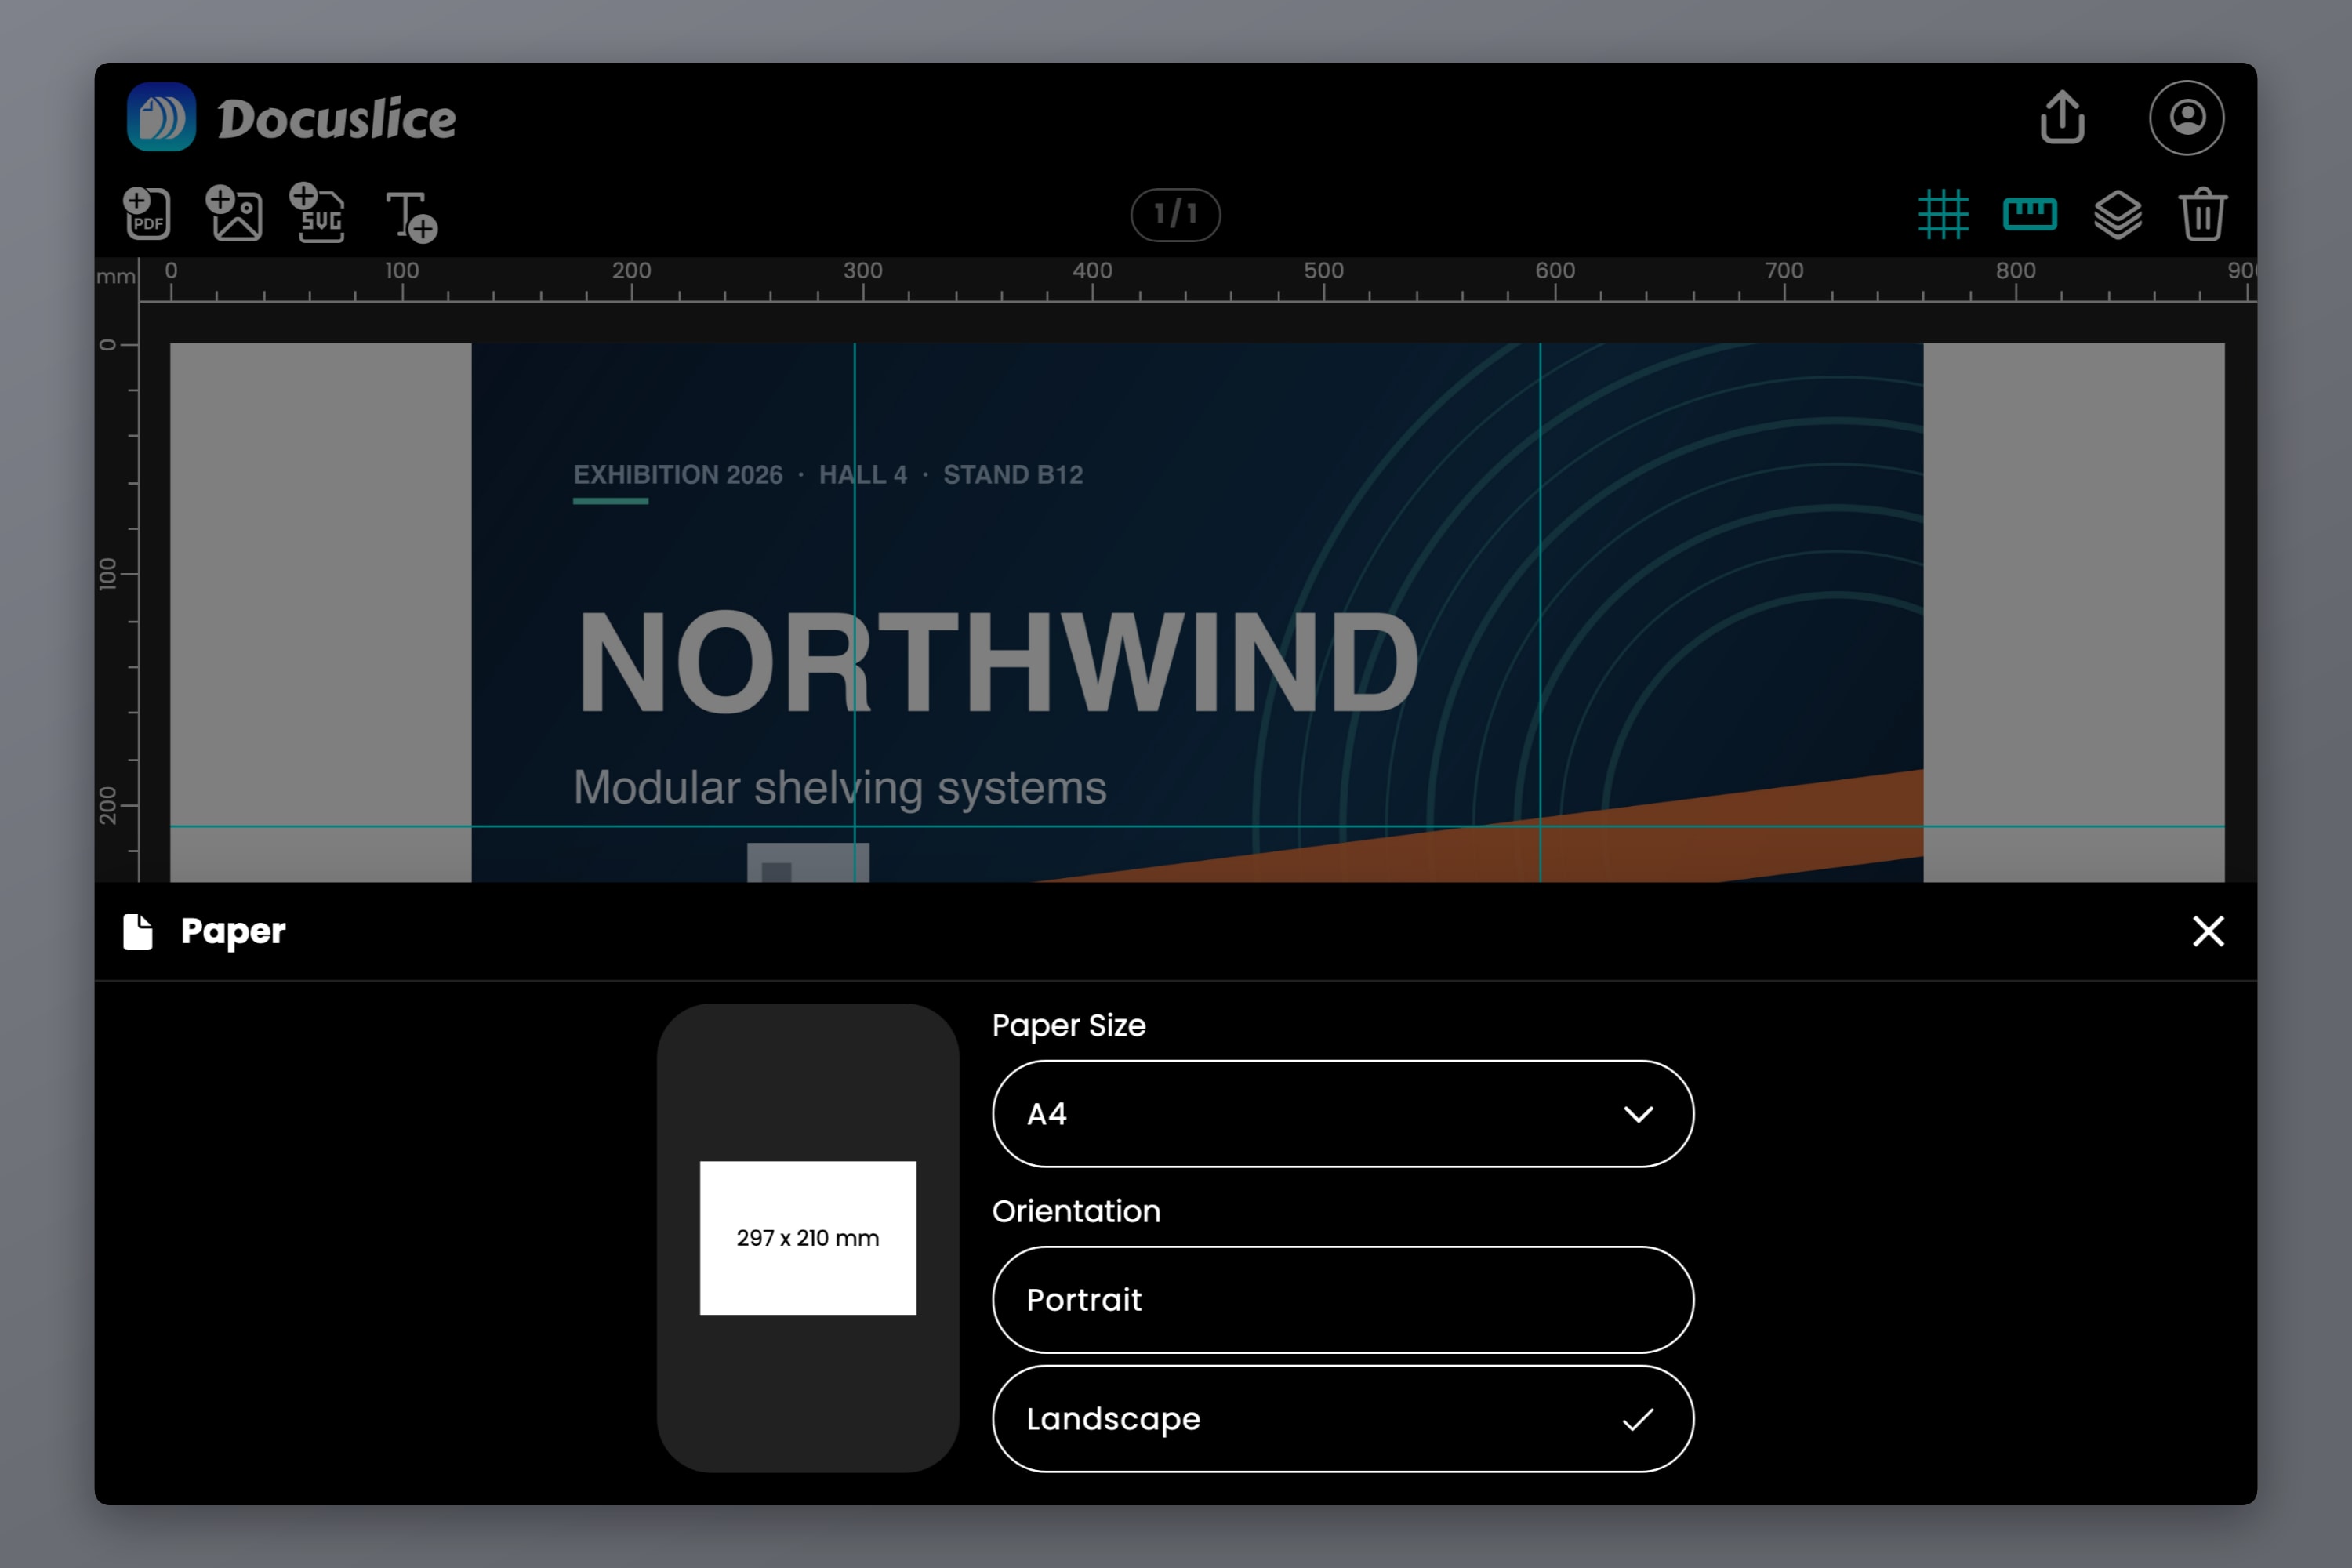
Open the Paper sheet and choose the size and orientation of the paper in your tray. Letter, Legal, A1 through A6, A3+, Tabloid, Ledger, the photo sizes, or a custom size if your printer takes something unusual.
A4 landscape is used here because a landscape sheet spans more of a wide panel per page, which means fewer sheets and fewer vertical seams.
Step 2 — Say how big the finished thing is
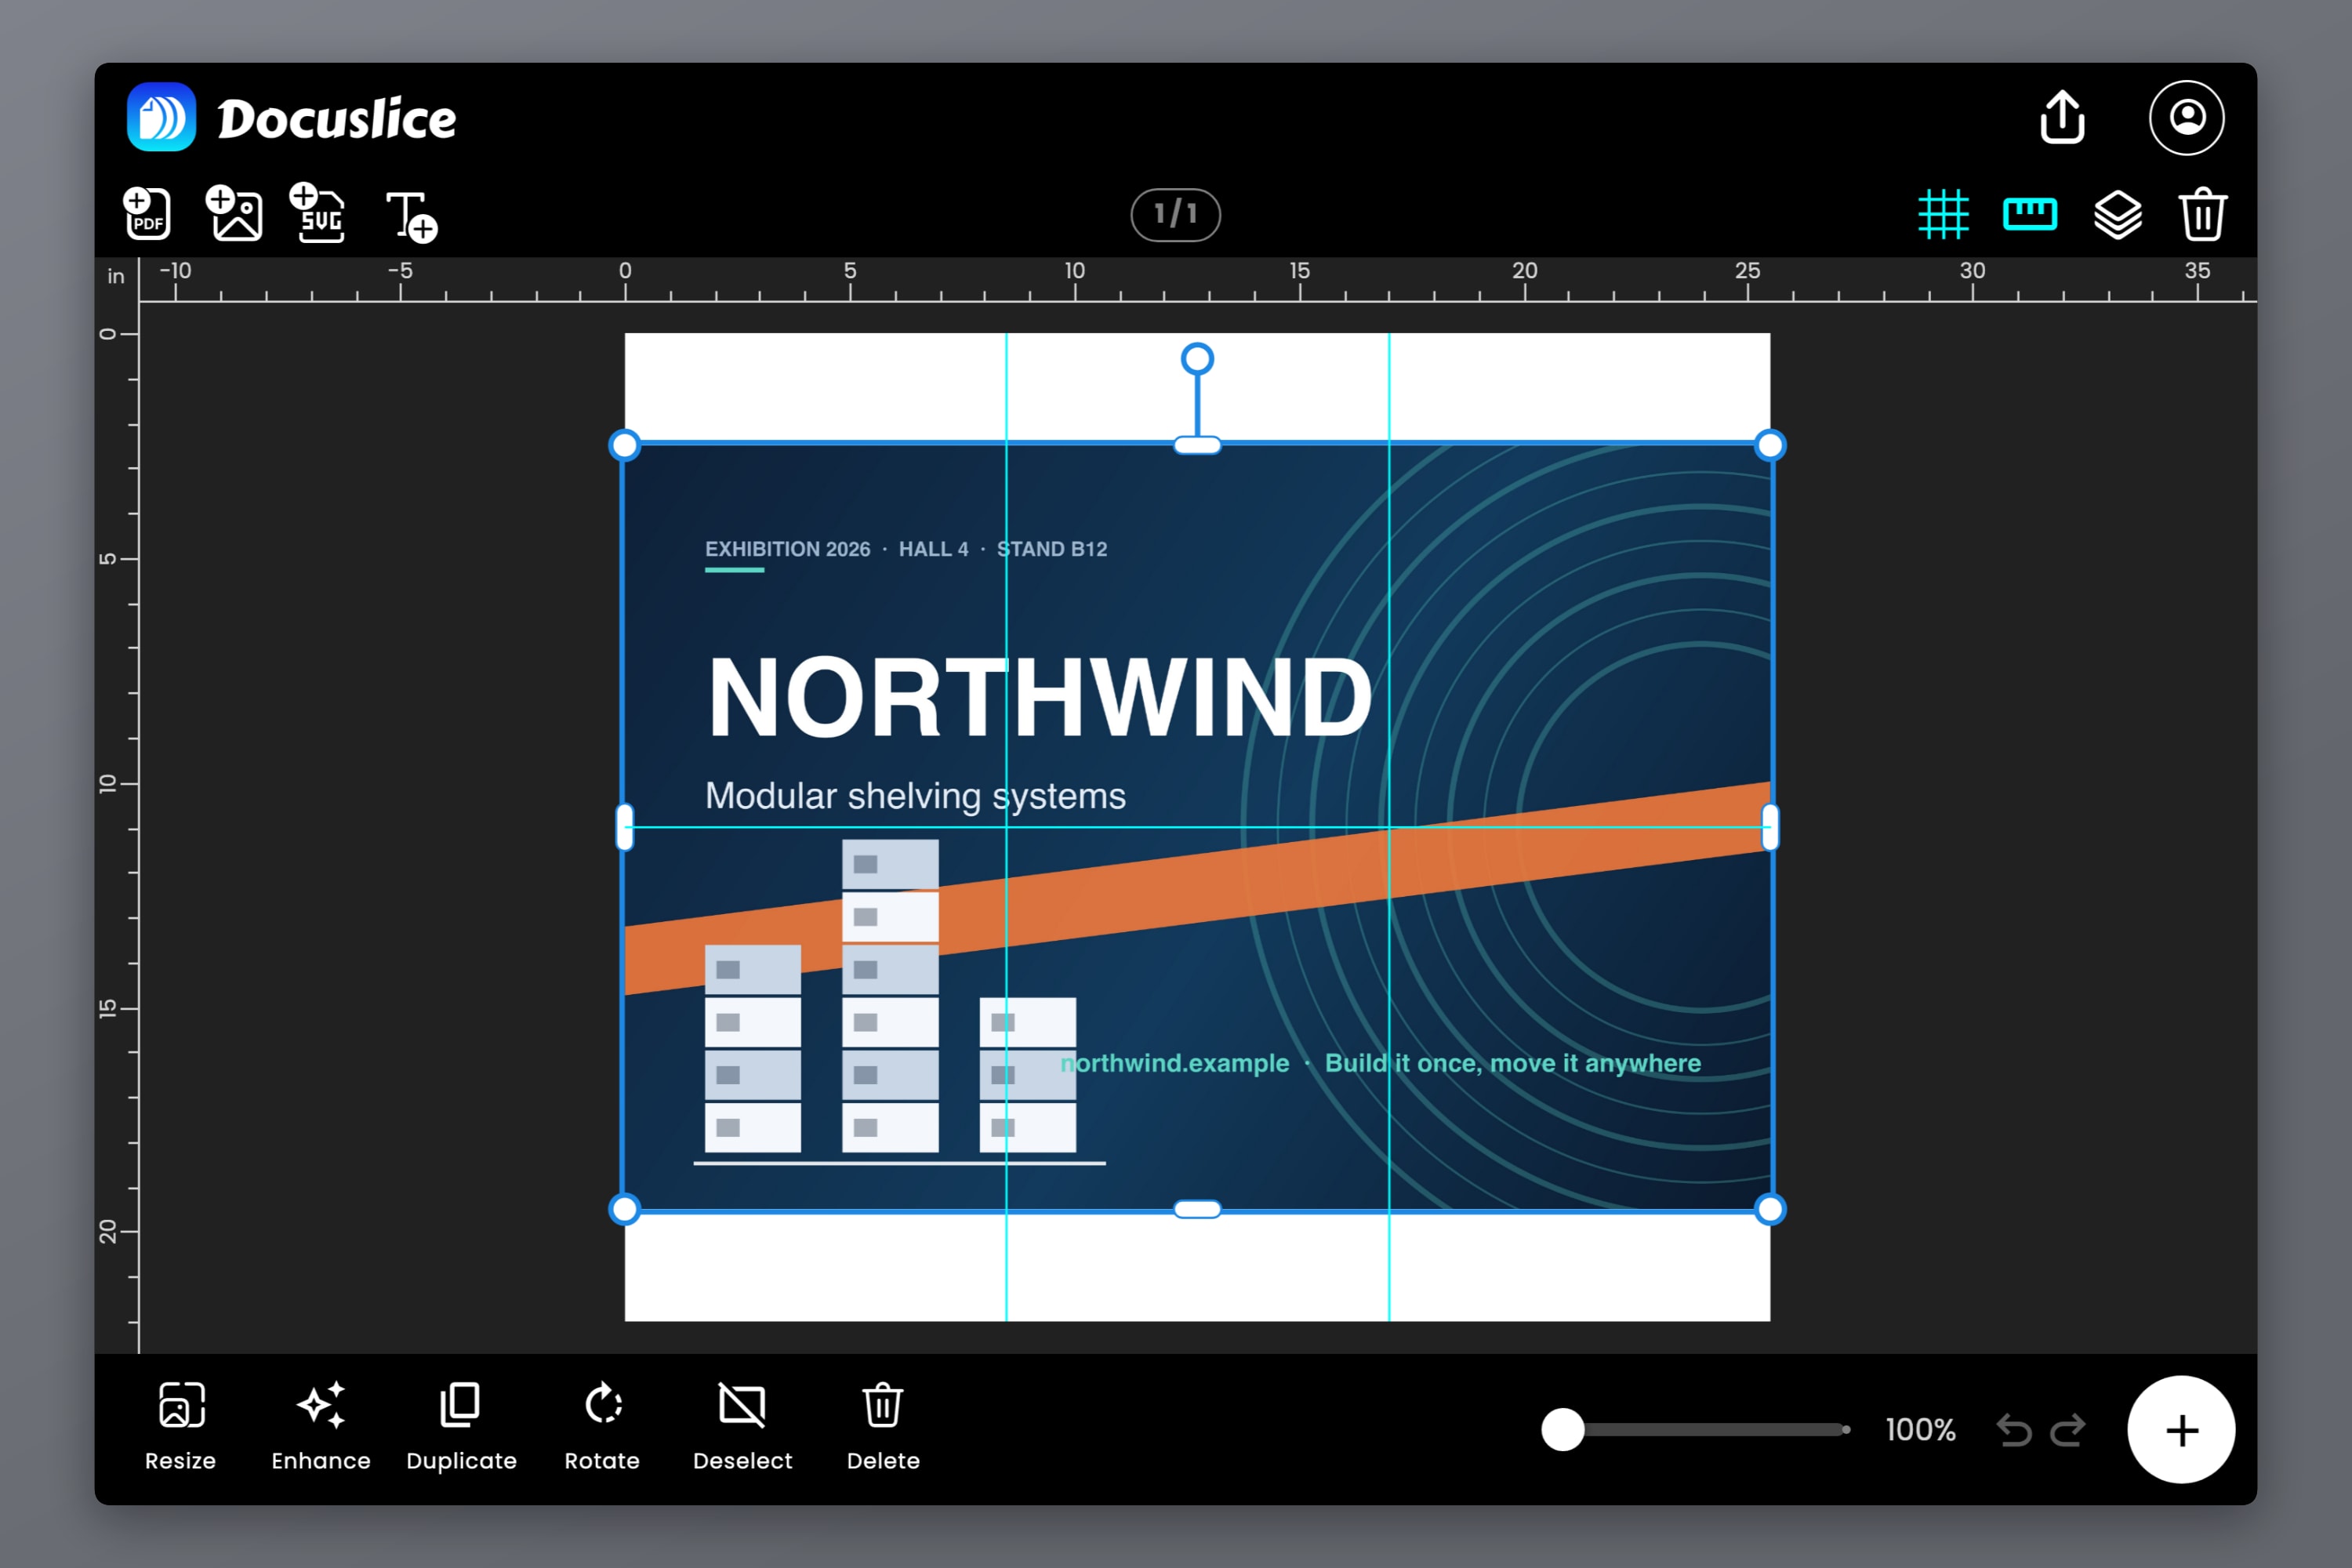
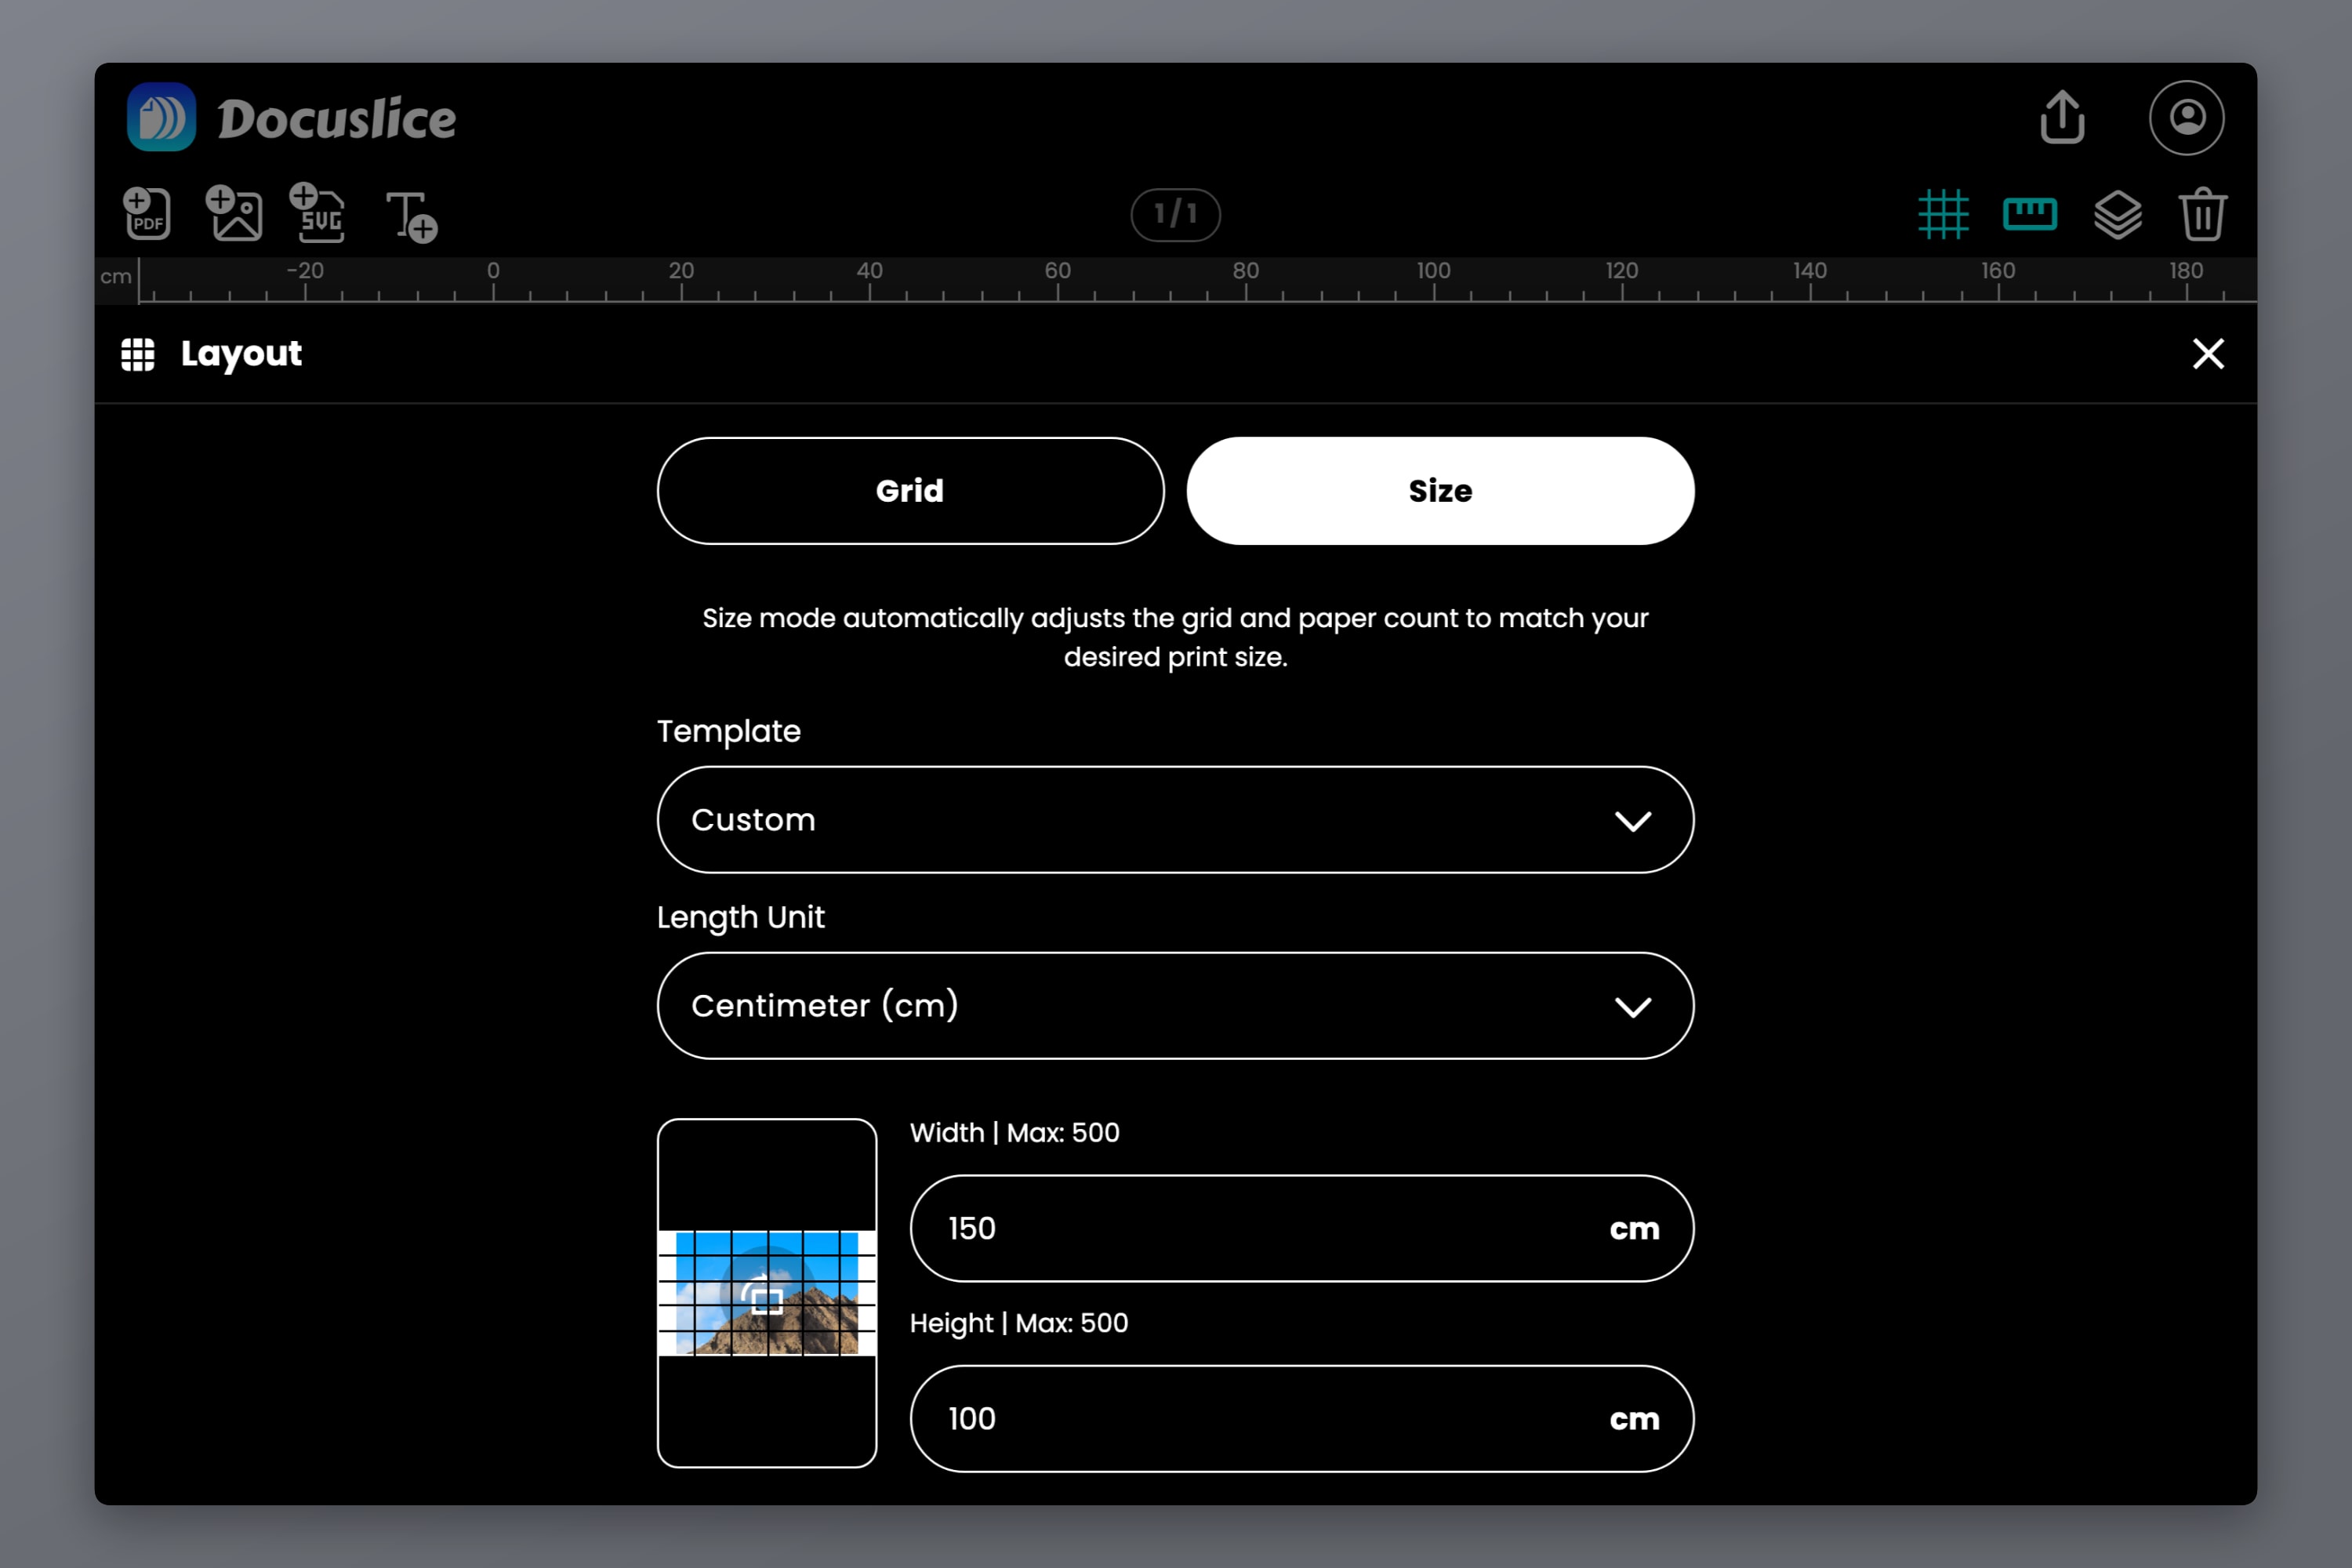
Open Layout and switch to Size. Type the real dimensions — 150 by 100 centimetres here — and pick your unit. Millimetres, centimetres, metres, inches and feet all work, so you can enter whatever the brief was written in instead of converting it.
This is the step the plotter route never gives you. You are not choosing a paper size and hoping; you are stating a finished size and letting the sheet count fall out of it.
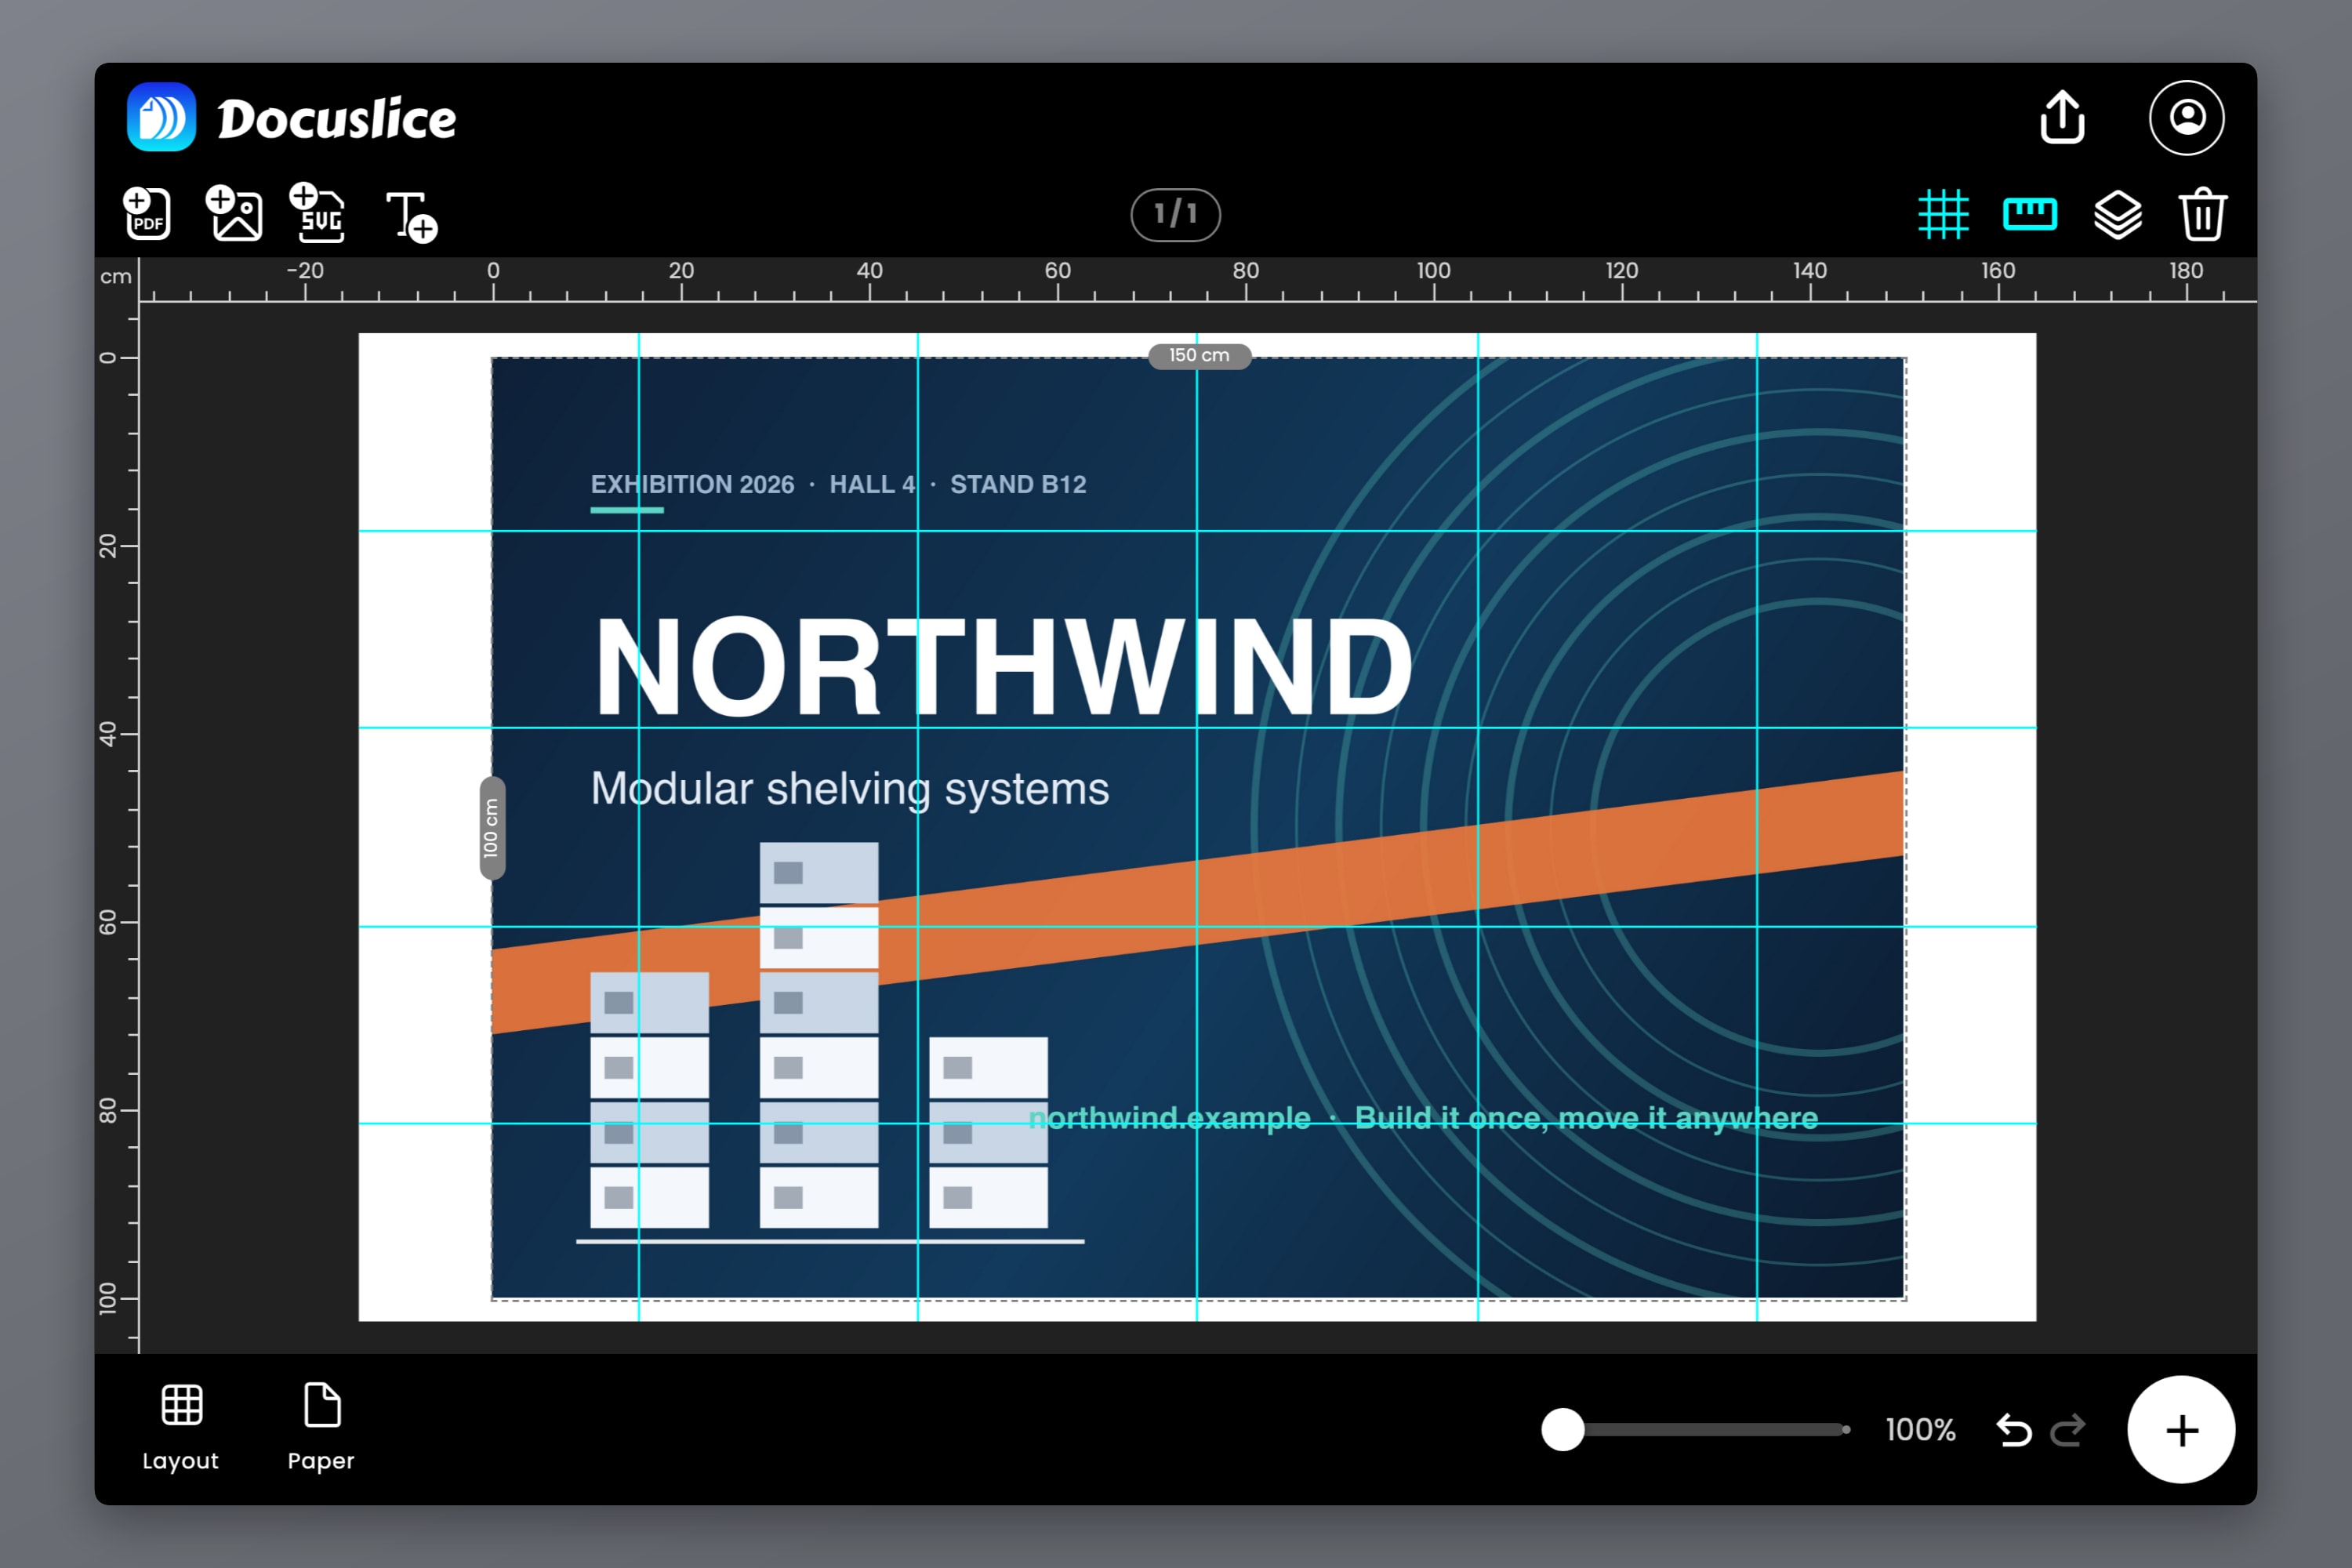
Step 3 — Look at the grid before you commit
The canvas redraws with the tile dividers on it. This is your last cheap chance to move things: if a seam is about to run down the middle of a logo, nudge the artwork or change the paper orientation and watch the grid change.
Step 4 — Check the sheet count
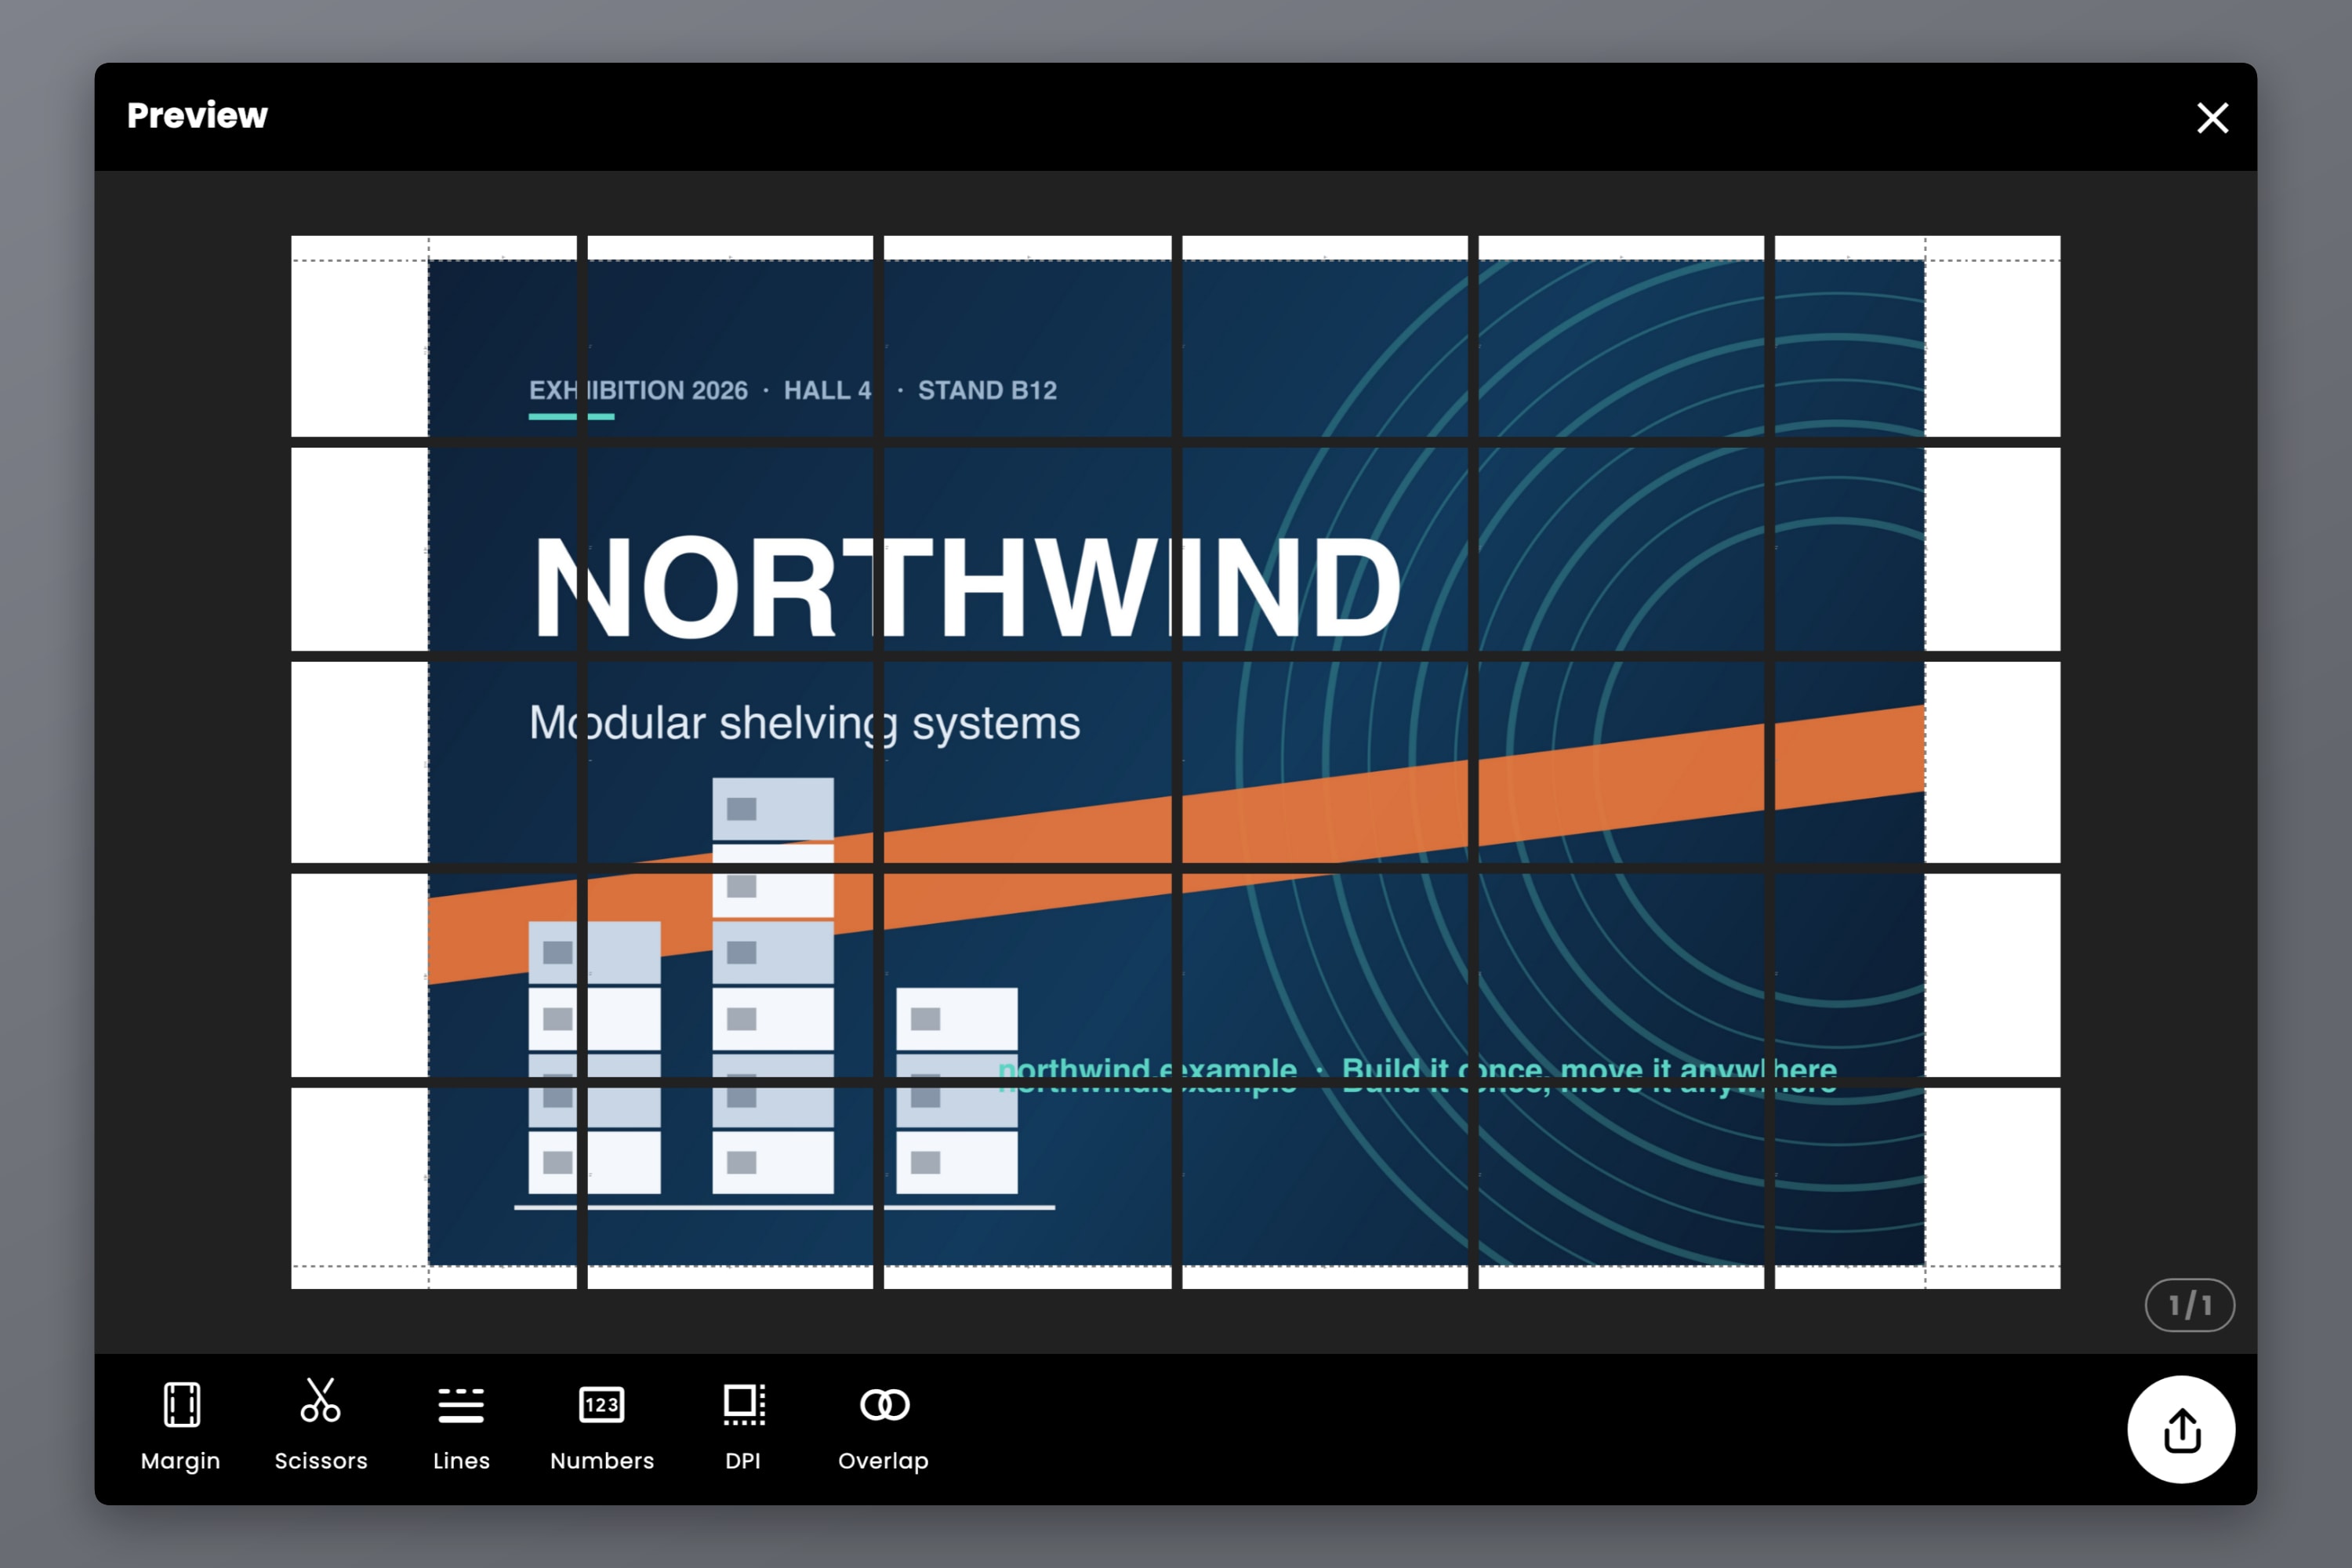
Open the export preview. A 150 x 100 cm panel on A4 landscape comes out as a 6 by 5 grid — 30 sheets.
Thirty sheets sounds like a lot until you price it. Thirty sheets of ordinary paper is a fraction of a ream. Even generous with ink, this is single-digit dollars for a panel that was quoted as a plotter job.
Two things to notice in the preview. The dotted line is the panel; the grid is the paper. Because 150 cm is a shade over five A4 landscape sheets, the grid rounds up to six columns and the panel sits centred, so the outer columns come out part-blank. That is not waste you have to accept — trim it, or nudge the width until the panel fills the grid.
Step 5 — Number the sheets before you print them
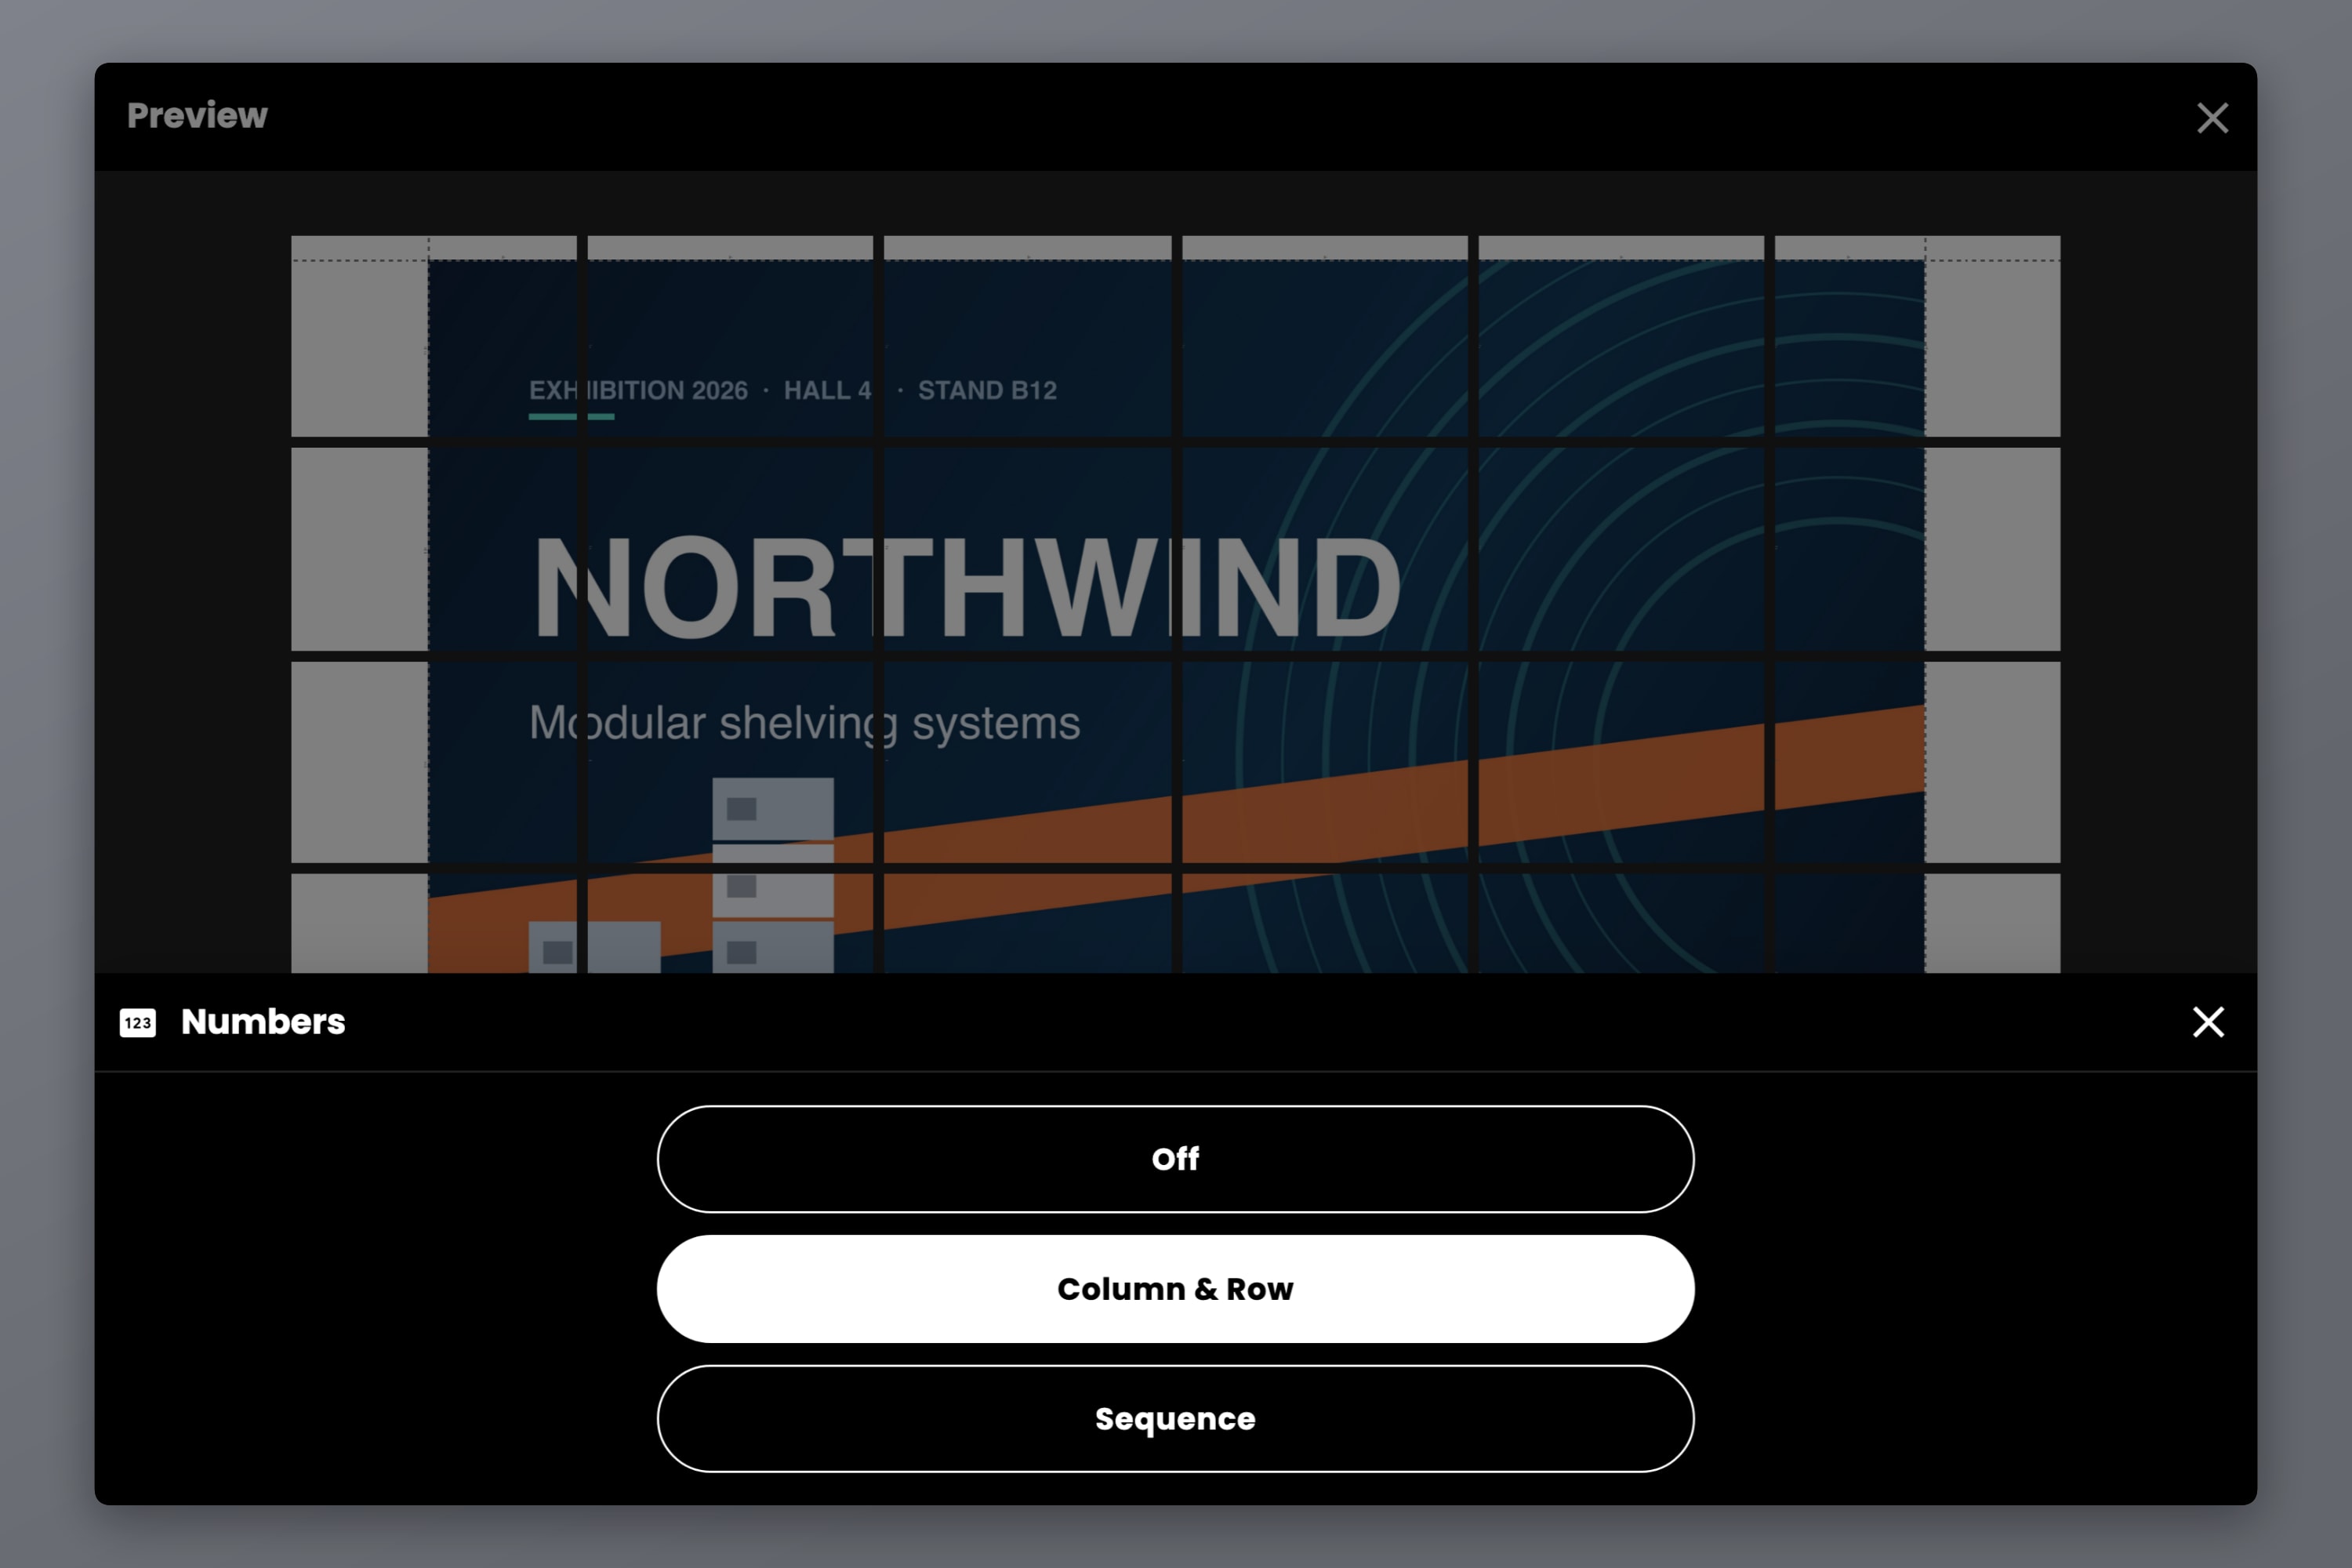
Thirty sheets of dark blue gradient look identical face down on a table. Numbers puts a marker on each tile: Column & Row for grid coordinates, or Sequence for a running count.
Turn this on. It is the difference between a twenty-minute assembly and an afternoon.
Step 6 — Set the resolution to match the viewing distance
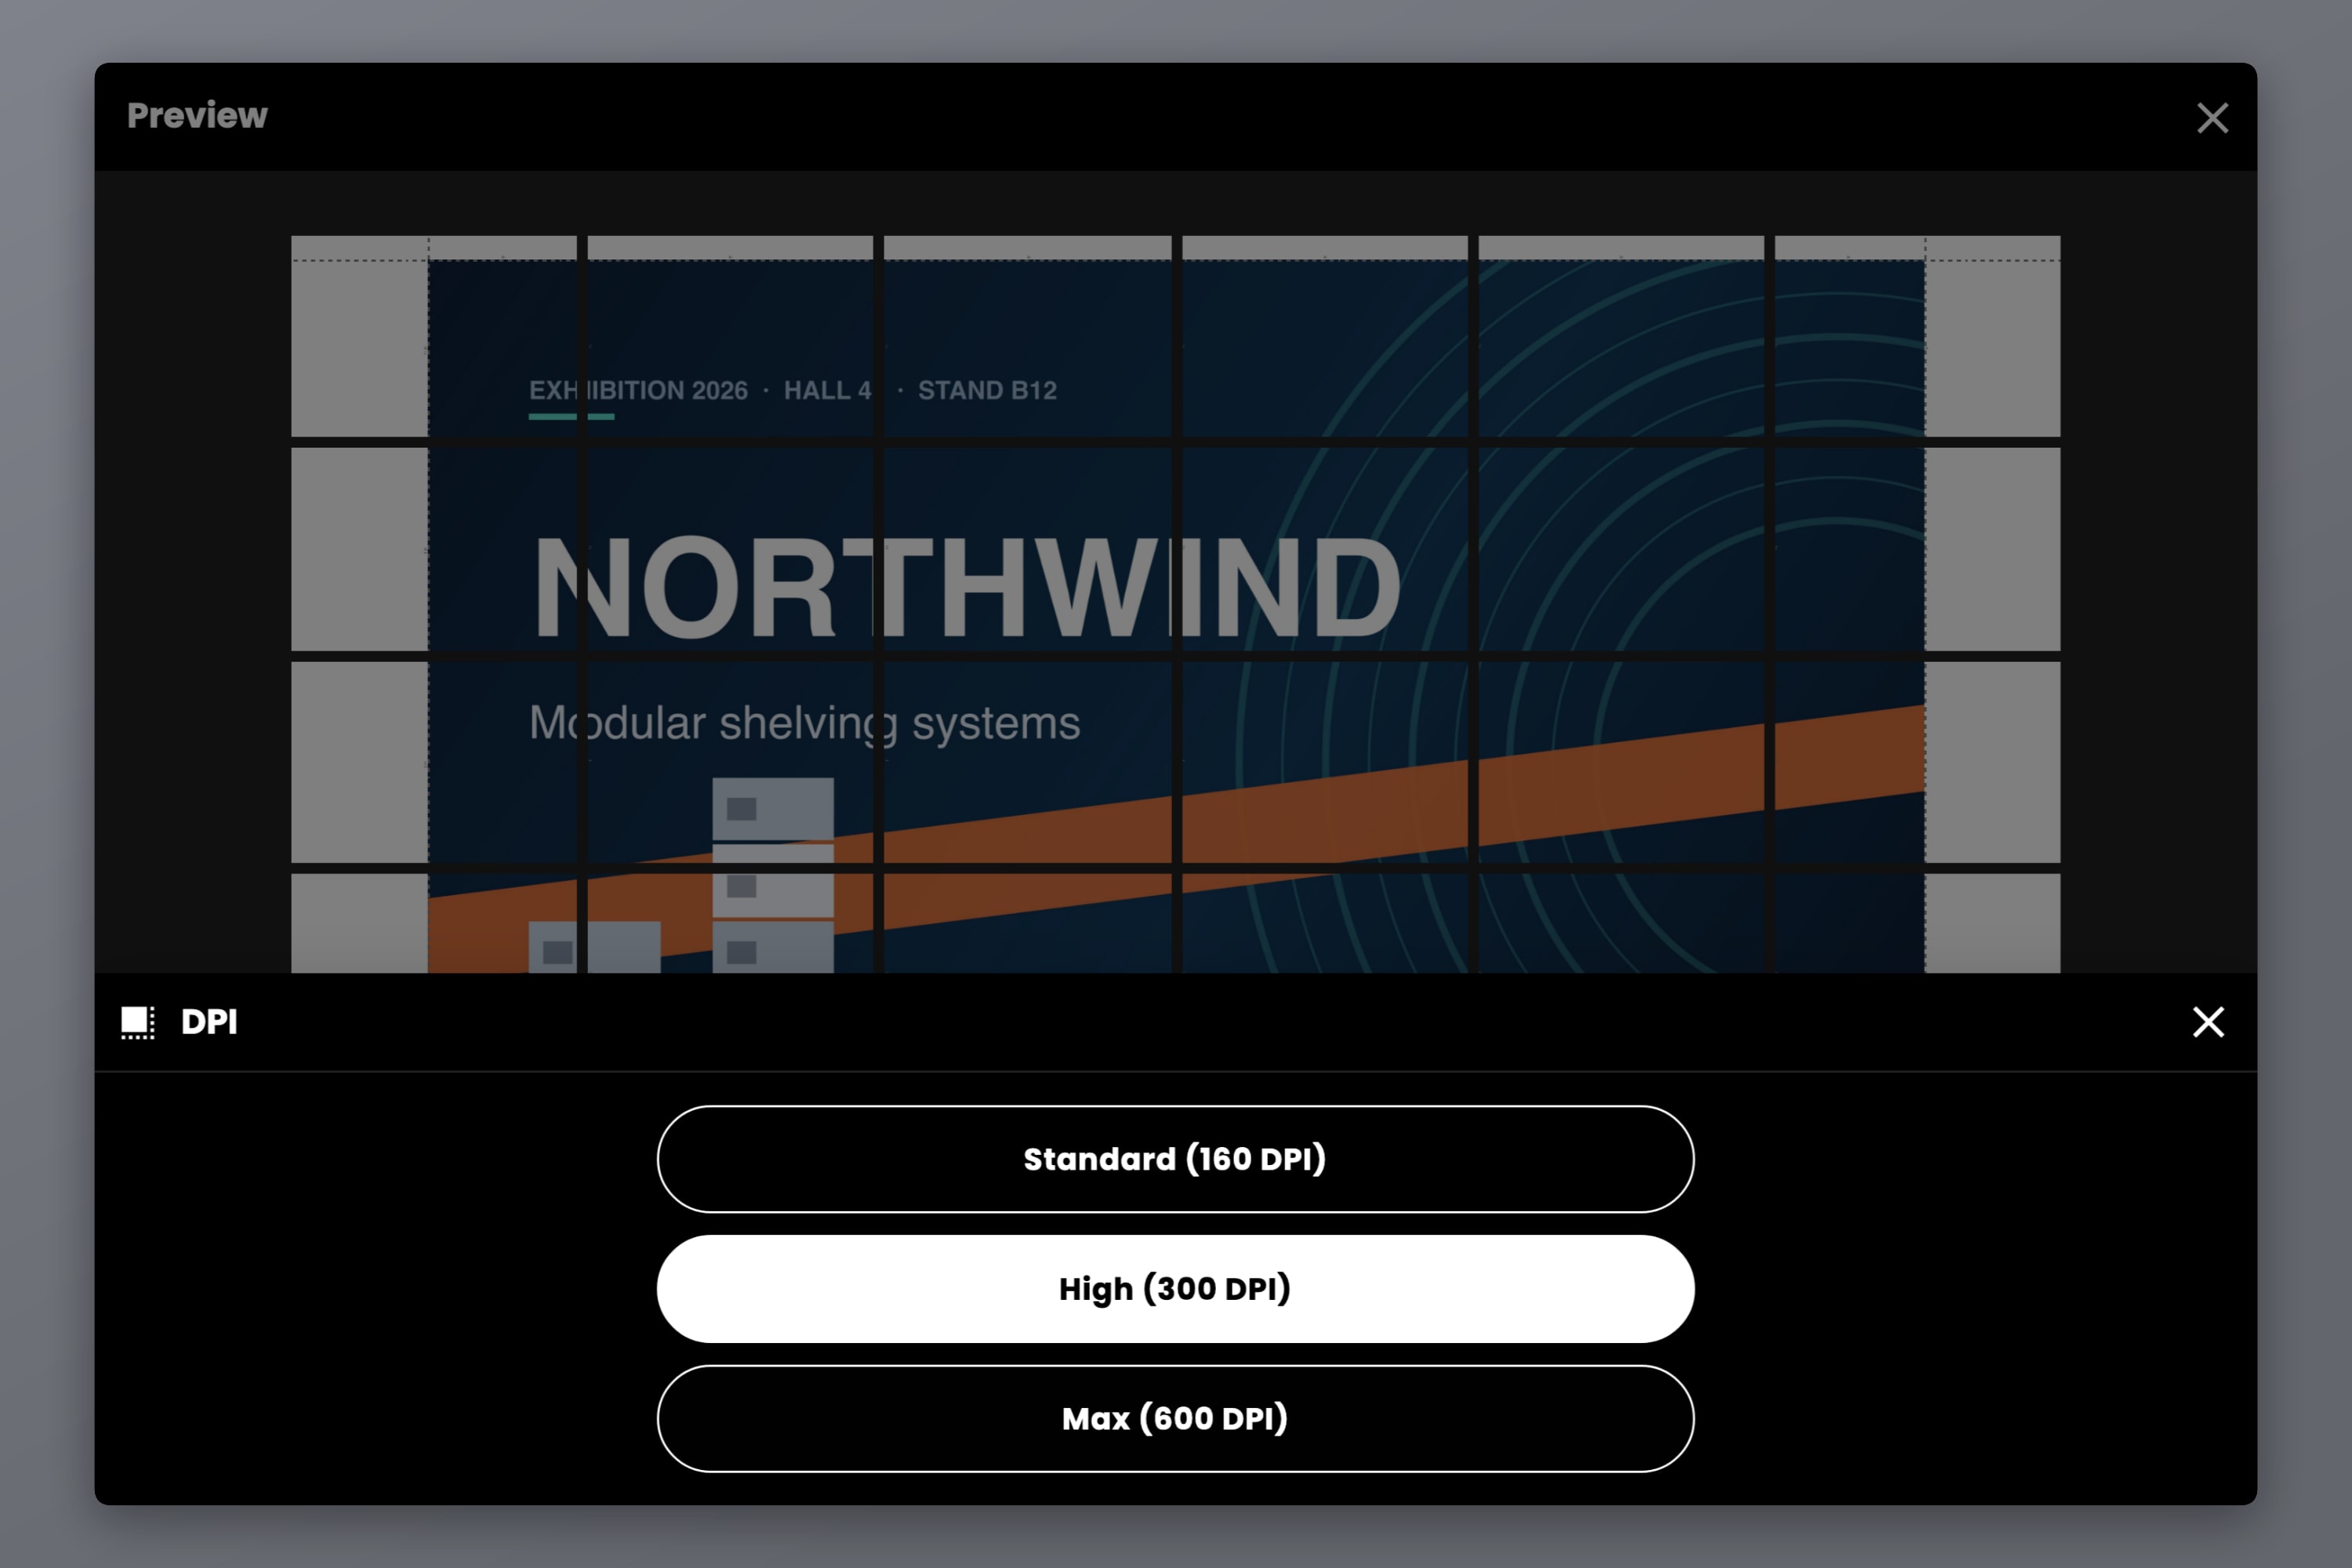
DPI decides how much detail survives into the exported file. Standard at 160 DPI is free and is fine for anything read from more than a couple of metres — which is most backdrops and most boards. High at 300 and Max at 600 are on the paid plans, which are one-time payments rather than subscriptions.
A backdrop nobody gets closer than three metres to does not need 600 DPI. A site plan somebody will read dimensions off does.
Step 7 — Export a file, not a print job
Export as a tiled PDF or as images. Either way you get a numbered file you keep: print it now, print it again next month, mail it, or hand it to a print shop.
If the source is vector — a plan, a diagram, type — vector PDF export on Pro carries the vector content through the tiling instead of rasterising it, so it stays sharp at any size. Introducing Vector PDF Export in Docuslice explains what that does and does not cover.
When a print shop is still the right answer
This is where most pages on this phrase stop being useful, because most of them are print shops. Tiling loses on four things, and they are not small:
Anything that goes outdoors. Paper and tape do not survive weather. Vinyl, mesh and laminate exist for a reason. There is no tiling trick that makes a paper banner rain-proof.
A single continuous photographic surface. A tiled photograph has seams across the image. From three metres nobody notices; at arm's length everybody does. A gallery print, a photo backdrop, anything glossy — pay the print shop.
Volume. Ten copies of a 30-sheet panel is 300 sheets and a whole afternoon of trimming. Tiling is for ones and twos. Past that the shop is cheaper in your time alone.
Substrate. Foam board, roll-up stands, adhesive vinyl, fabric. If the job needs a material, it needs a machine that prints on that material.
What is left over is a large category: internal signage, event boards, backdrops seen from a distance, plans and diagrams, teaching aids, prototypes, proofs of a design before you commit to the real print run. That last one alone justifies keeping this in the toolkit — proofing a 150 cm panel at full size for a few sheets of paper, before you send anything to a shop, catches problems no on-screen preview will.
The four options side by side
| Buy a plotter | Rent one | Print shop | Tile it at home | |
|---|---|---|---|---|
| Up-front cost | ~$1,000–$1,500 entry level | Day rate | None | None |
| Per-job cost | Ink + roll media | Day rate + media | Priced by area, usually a minimum | ~30 sheets of paper + ink |
| Turnaround | Same hour | Delivery window | Days, or pay for rush | Same hour |
| Revisions | Free | Costs another day | A new job at a new price | Free |
| Max width | Roll width — 61 cm on a 24-inch | Roll width | Roll width | Unlimited |
| Seams | None | None | None | Yes |
| Weatherproof | With the right media | With the right media | Yes | No |
| Equipment needed | A plotter | A plotter | None | Any A4 printer |
| Keeps a reusable file | — | — | — | Yes, a numbered PDF |
The row that decides it for most people is not cost — it is revisions. A tiled panel is free to re-print, so the first version does not have to be right.
Frequently asked questions
Tile it. Split the artwork across sheets your existing printer already takes, then trim and tape. The cost is paper and ink; there is no equipment to buy and no minimum order. The trade-off is the seams, which is why it suits signage, plans and boards better than photographic prints.
There is no ceiling, because you are adding sheets rather than widening a roll. A plotter is capped by its roll width — 61 cm on a common 24-inch model. A tiled panel is capped by how many sheets you are willing to tape. Docuslice takes canvas sizes up to 500 cm per side.
At normal viewing distance for signage, close enough that most people never ask. Within one sheet the quality is whatever your printer does, which for text and vector art is usually excellent. What you give up is the continuous surface: the seams are visible up close, and colour can shift slightly between sheets if the printer is running low on one cartridge. Print all the sheets in one run to keep that consistent.
Trim two edges of each sheet rather than all four — right and bottom, say — so each sheet overlaps its neighbour with a clean cut edge on top. Butt the cut edge against the printed area of the sheet underneath and tape on the back. Cut lines and scissor marks in the export give you a straight line to trim to instead of eyeballing it.
Yes. Docuslice runs on iOS and Android as well as in a browser, and export gives you a PDF you can send to any printer the phone can reach — or to a print shop, or to a friend with a printer.
That is one of its better cases, because plans are vector: type and line work stay sharp through tiling rather than turning into enlarged pixels, and vector PDF export on Pro keeps them vector all the way to the file. Giant Blueprint Printing with Docuslice using a Standard Printer covers that case specifically.
Same method, smaller numbers. How to Print a Poster on Multiple Pages at Home walks the whole A-series ladder, and Poster Sizes Explained has the sheet counts for each size.
Try Docuslice
If the job goes outdoors or has to be one continuous photographic surface, call the print shop. For everything else that needed to be big by Thursday, the printer on your desk is already a large format printer — it just prints it in pieces.