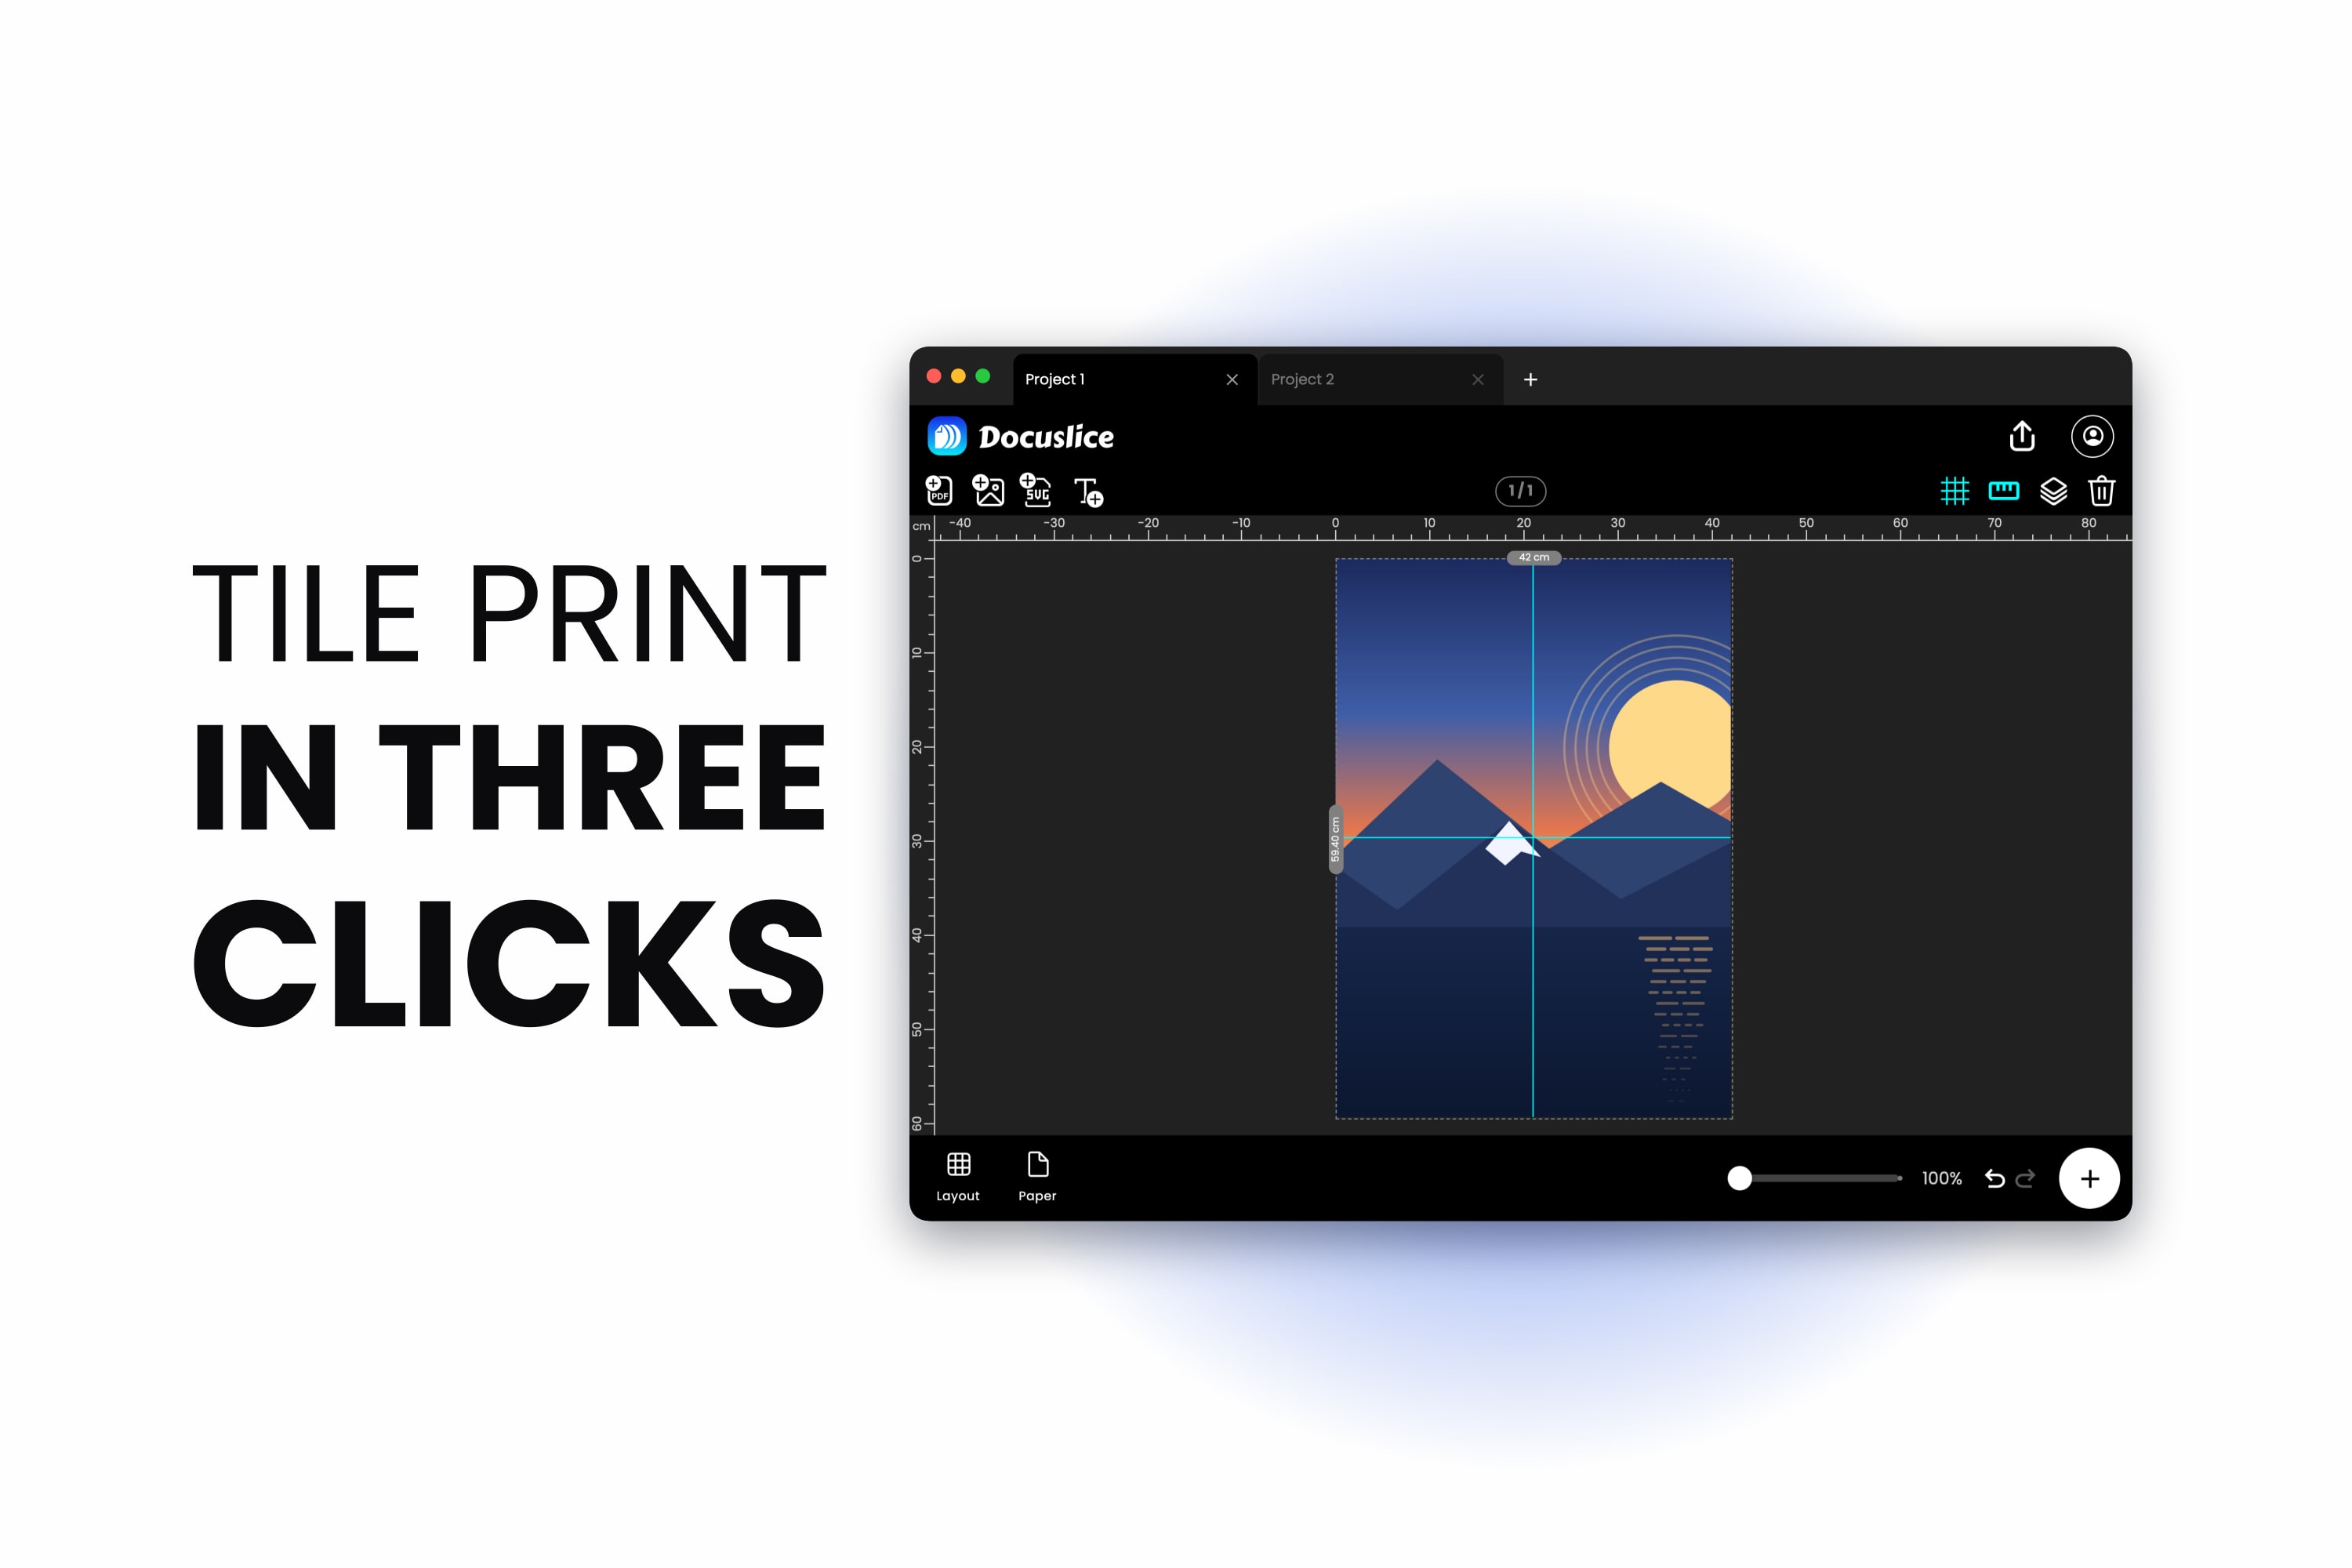
You have the artwork finished in Photoshop, it is going on a wall, and your printer takes A4 or Letter. So you go looking for the print setting that splits the image across sheets.
There is not one — Photoshop has no poster or tile mode, only a manual workflow, and here it is step by step, or skip to the alternative.
Route A — guides, slices, and one file per tile
The route that gives accurate, repeatable divisions.
1. Work out the finished size and the sheet grid. Decide how big the poster is and how many sheets that means. Your grid is set by your printable area, not by the paper size.
2. Measure your actual printable area. Almost no consumer printer prints to the edge. A4 is 210 x 297 mm; the area your printer will put ink on is smaller, and that number is what your tiles have to match. Print a test page and measure it.
3. Set the document to the finished size. Image > Image Size. Enter the poster's physical width and height and your target resolution. Untick Resample to change only the print size; tick it if you genuinely need more pixels.
4. Check the pixel dimensions. A0 at 300 DPI is roughly 9,900 by 14,000 pixels. Every step after this is slower for it.
5. Lay out the guides. View > Guides > New Guide Layout, then set Columns and Rows to your grid. (Older releases listed New Guide Layout directly under the View menu; current versions keep the guide commands in their own Guides submenu.)
6. Fix the guides by hand. New Guide Layout divides the canvas into equal parts; your printable area almost certainly does not. Drag guides individually against the rulers to match the real tile size. This is where the first chunk of time goes.
7. Build the overlap yourself. Guides give exact division lines, so tiles butt up against each other with nothing to spare. You want each tile to carry a strip of its neighbour to trim and glue. Photoshop has no overlap setting anywhere in this workflow: either place a second offset set of guides and reconcile the two, or extend each tile by hand afterwards.
8. Cut the slices. Select the Slice tool, then use Slices From Guides in the options bar to turn every guide intersection into a slice.
9. Check every slice. Switch to the Slice Select tool and walk the grid. On a large image with hand-adjusted guides, one or two slices are usually a pixel or two off.
10. Export the slices. File > Export > Save for Web — listed as "Save for Web (Legacy)" in many versions, with Adobe's current documentation dropping the suffix, so look for either spelling. It is the only export path that writes each slice as its own file: Export As, Quick Export and Export Layers to Files all work on documents, artboards and layers, never slices. Set the format and quality, then save. Photoshop writes an images folder with one file per tile.
11. Name and order the output. The files come out with generated names, and nothing on the tiles says which is which. Rename or sort them before you print.
12. Print each file, one at a time. Open each tile and print it at 100% scale with Scale to Fit Media explicitly off. Any scaling here silently ruins the alignment of the whole poster.
13. If anything is wrong, go back to step 6. A wrong tile size means redoing the guides, the slices and the export.
Thirteen stages, two of them checks rather than work — step 4 reads a number, step 13 is the rework loop. Call it eleven operations on a good run. Steps 6, 7 and 9 eat the afternoon, and step 7 is why hand-tiled posters end up with visible white hairlines at the seams.
Route B — Print Selected Area, one section at a time
Photoshop's Print Settings dialog has a Print Selected Area option that prints only the selected part of the image. It works from an active rectangular selection rather than a box you draw in the dialog, so the selection comes first and the preview only lets you refine it.
- With the Rectangular Marquee tool, select the part of the image you want on this sheet. Set Style to Fixed Size in the options bar and type your tile dimensions if you want every section the same size.
- File > Print.
- Turn on Print Selected Area.
- If the selection needs nudging, drag the triangular handles on the perimeter of the print preview.
- Turn off Scale to Fit Media and set the scale to 100%.
- Print.
- Repeat, moving the selection for each section.
For a two or three sheet job this is quicker than the slice route, and a Fixed Size marquee guarantees every section is the same size. But you are still placing it by eye for each tile, with no overlap, no cut marks, no numbering, and no record of where the previous selection sat. On a larger grid the errors compound, and you find out at assembly time.
What Photoshop genuinely does better than any tiling tool
For a large print, Photoshop remains the right place for:
- Colour management. Assigning and converting profiles, soft proofing against your printer and paper, and rendering intent.
- CMYK. If the job is going to a commercial press, this is not optional and a browser tool does not replace it.
- Output sharpening. Sharpening for the final print size, at the final resolution, is a skilled step and Photoshop is where it belongs.
- Retouching and compositing. Obviously.
- Exact control of resolution and resampling. Bicubic Smoother, Preserve Details, and the rest.
Finish the artwork in Photoshop. It is the splitting-and-printing step that does not need to happen there.
Photoshop vs Docuslice
| Feature | Photoshop (manual) | Docuslice |
|---|---|---|
| Built-in tiling command | ❌ guides and slices by hand | ✅ |
| Done in a handful of steps | ❌ eleven to thirteen | ✅ four |
| Set an exact finished size | ❌ you calculate it | ✅ mm, cm, m, in, ft |
| Set the sheet count directly | ❌ | ✅ grid mode |
| Overlap between tiles | ❌ built by hand | ✅ presets 25–100% |
| Trim guides | ❌ | ✅ cut lines + scissor marks |
| Numbered tiles for assembly | ❌ rename the files yourself | ✅ Column & Row or Sequence |
| Exports every tile in one pass | ❌ one file per slice | ✅ one PDF or image set |
| Prints as a single job | ❌ one file at a time | ✅ |
| Colour management and soft proofing | ✅ | ❌ do it in Photoshop |
| CMYK for commercial press | ✅ | ❌ |
| Output sharpening for final size | ✅ | ❌ |
| Retouching and compositing | ✅ | ❌ basic canvas editor |
| Upscale an undersized source | ✅ manual resampling | ✅ AI photo enhancement |
The same poster, without the thirteen steps
Docuslice does one job — dividing artwork across sheets — with the controls Photoshop's manual route is missing. It runs in the browser, with apps for Mac, Windows, iOS and Android.
Step 1 — Export a flat file from Photoshop and open it
Flatten and export from Photoshop as you normally would, at the resolution you want, then drop the file onto the canvas. It lands at its real dimensions.
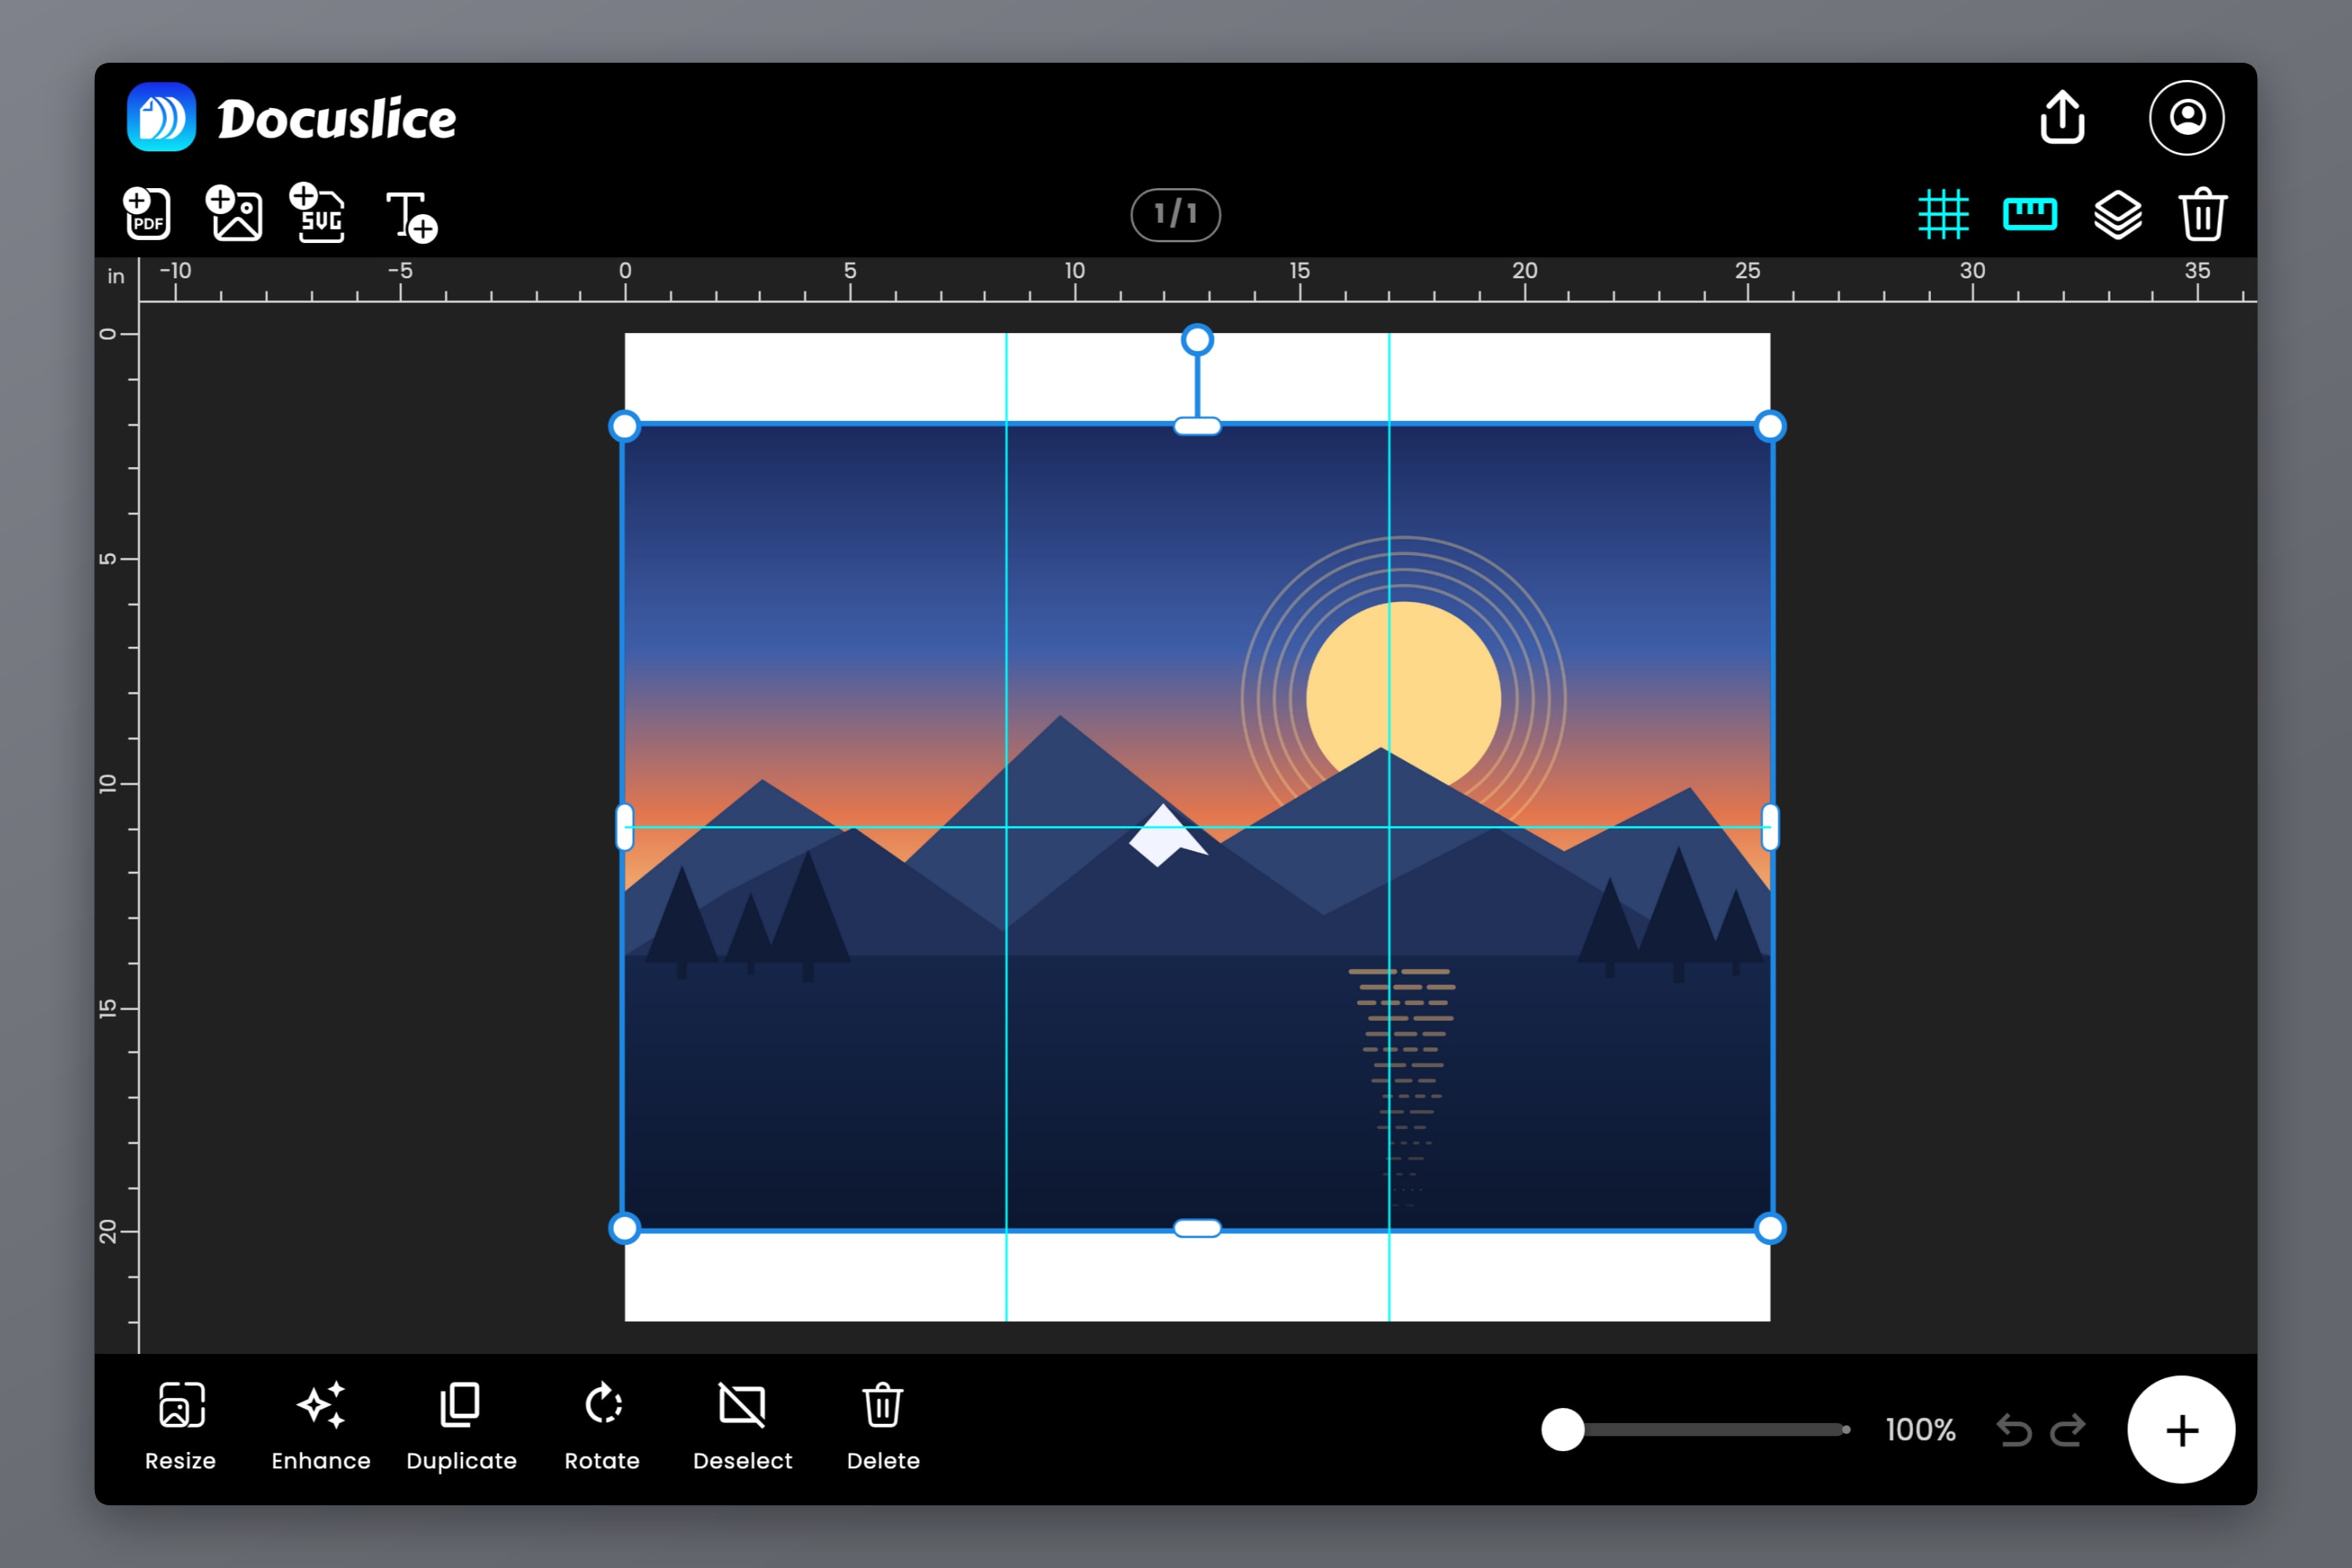
Step 2 — Pick your paper and your finished size
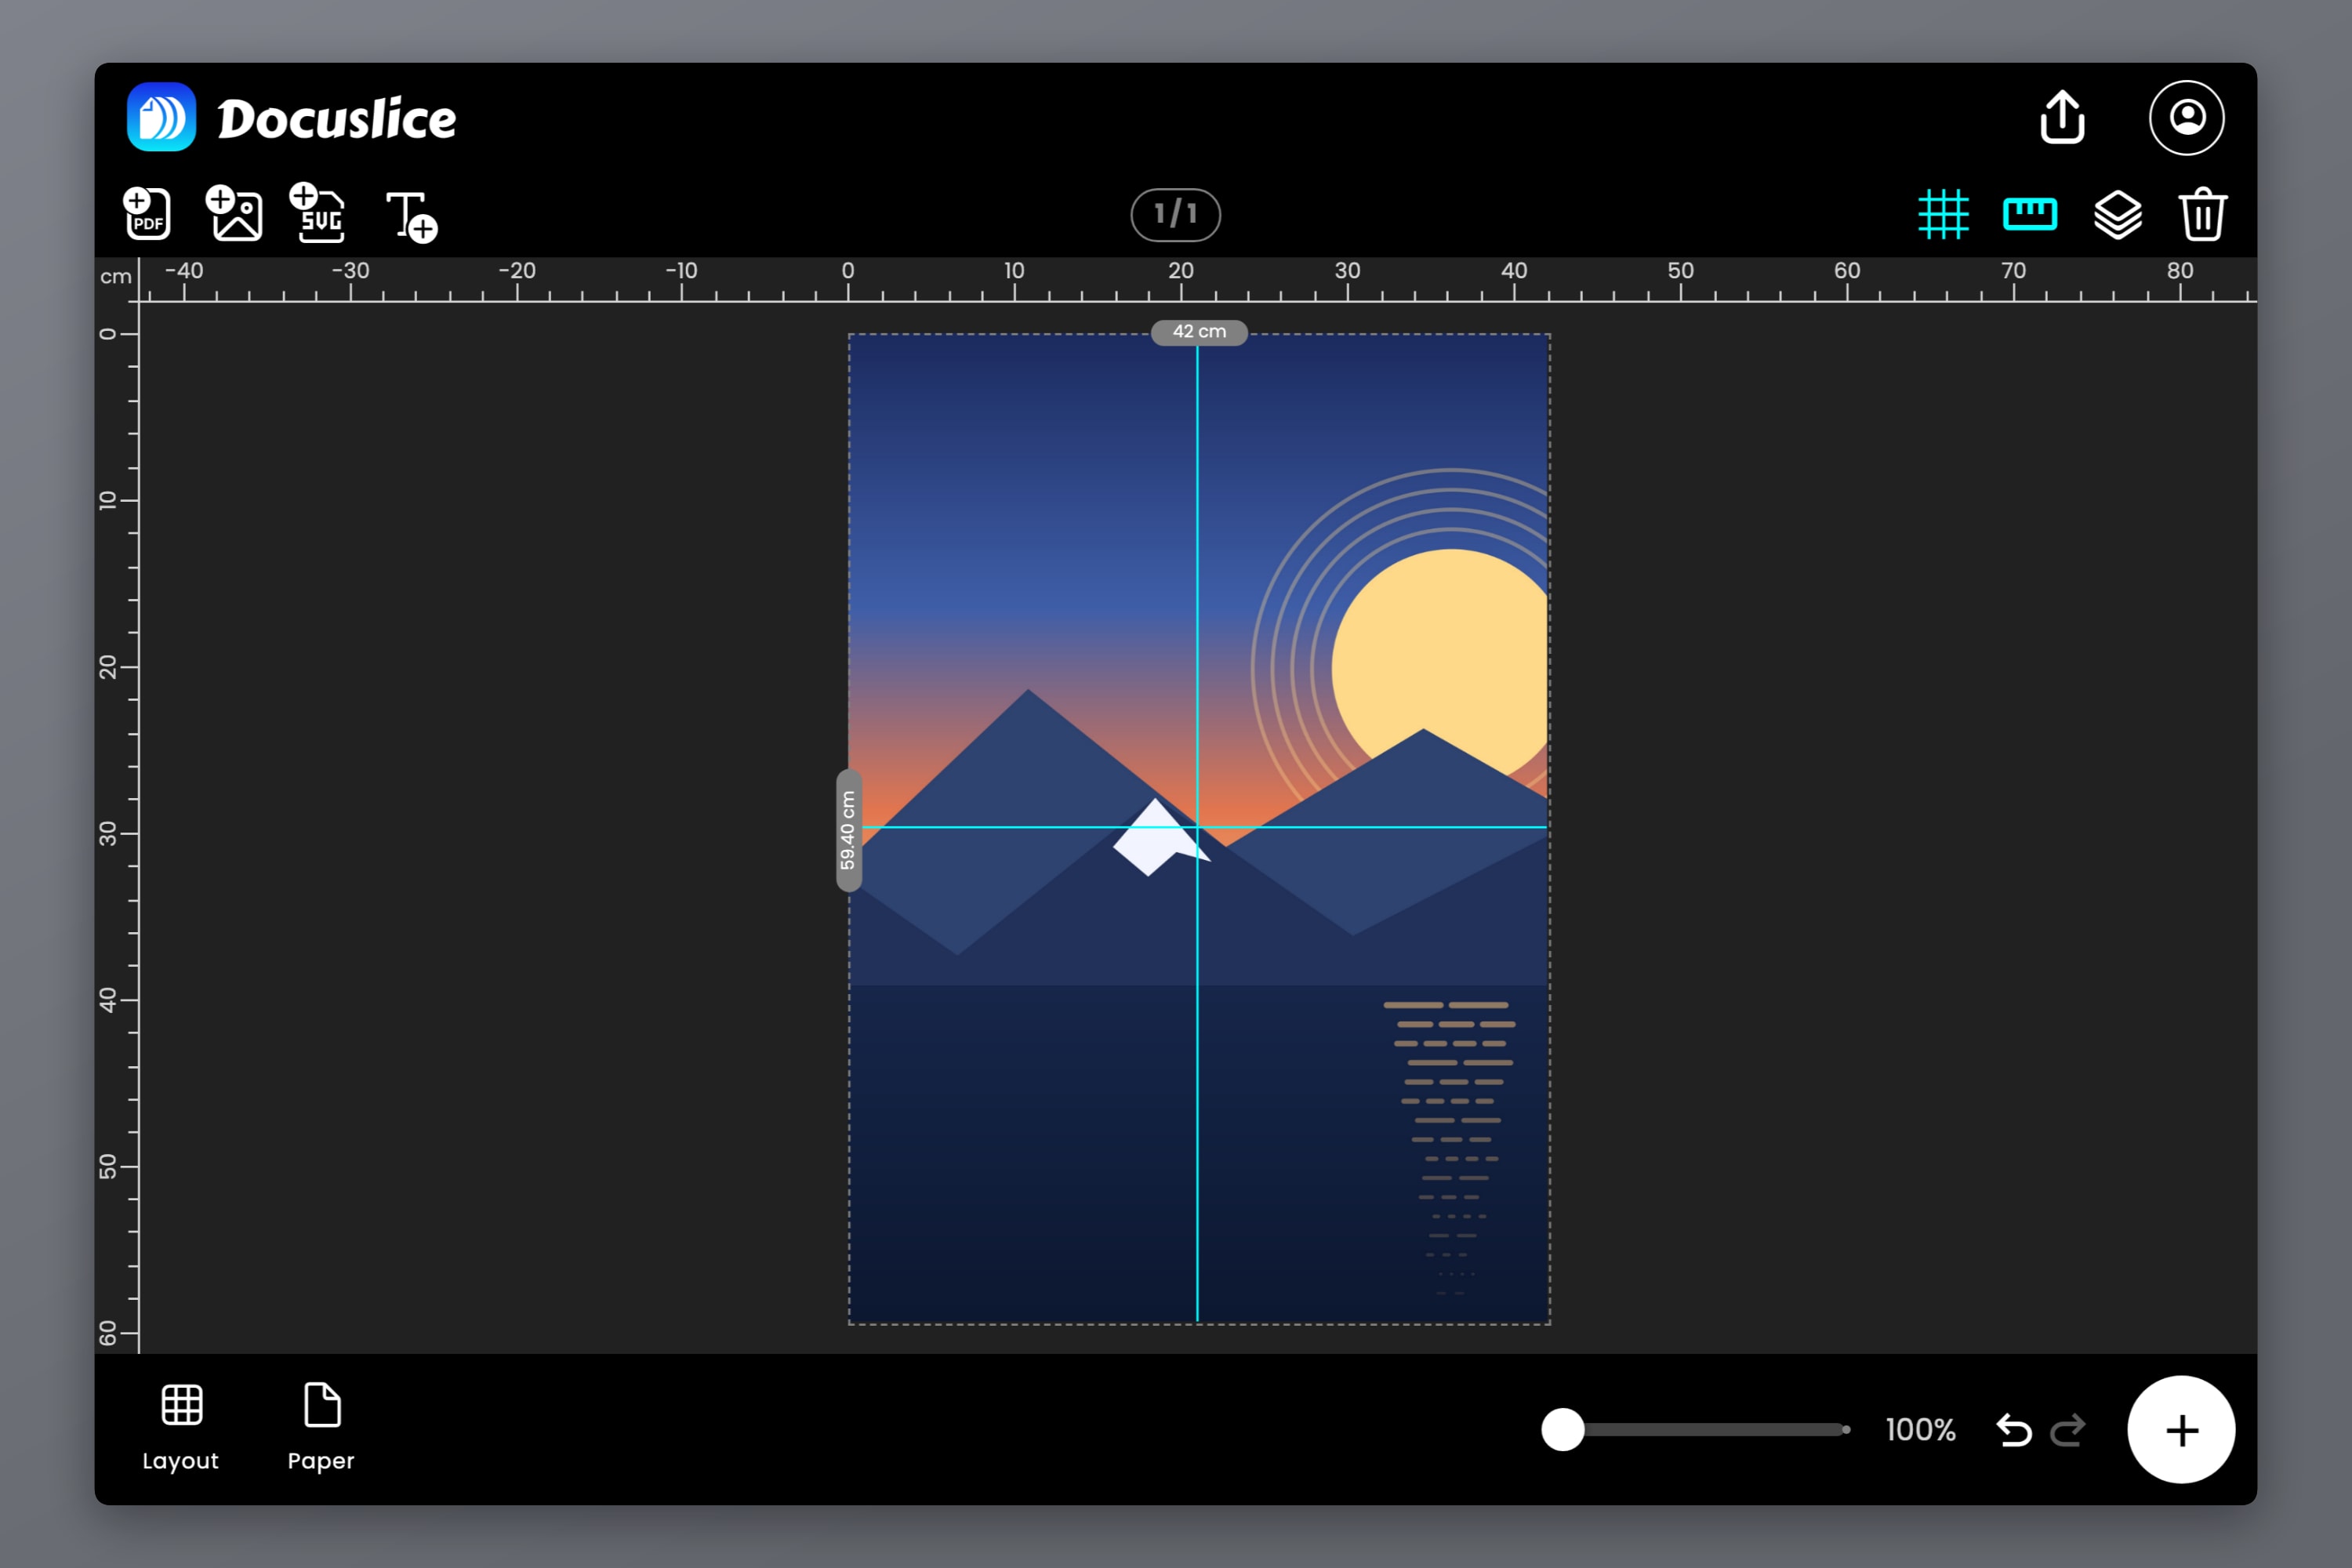
Choose the paper size and orientation: Letter, Legal, A1 through A6, A3+, Tabloid, Ledger, the photo sizes, or a custom size. Then set the finished poster size — size mode takes millimetres, centimetres, metres, inches or feet, so you type the number the wall needs instead of working back from a percentage. Grid mode does the reverse: nominate the number of sheets.
The tile grid redraws live, so step 6 of the manual route does not exist here.
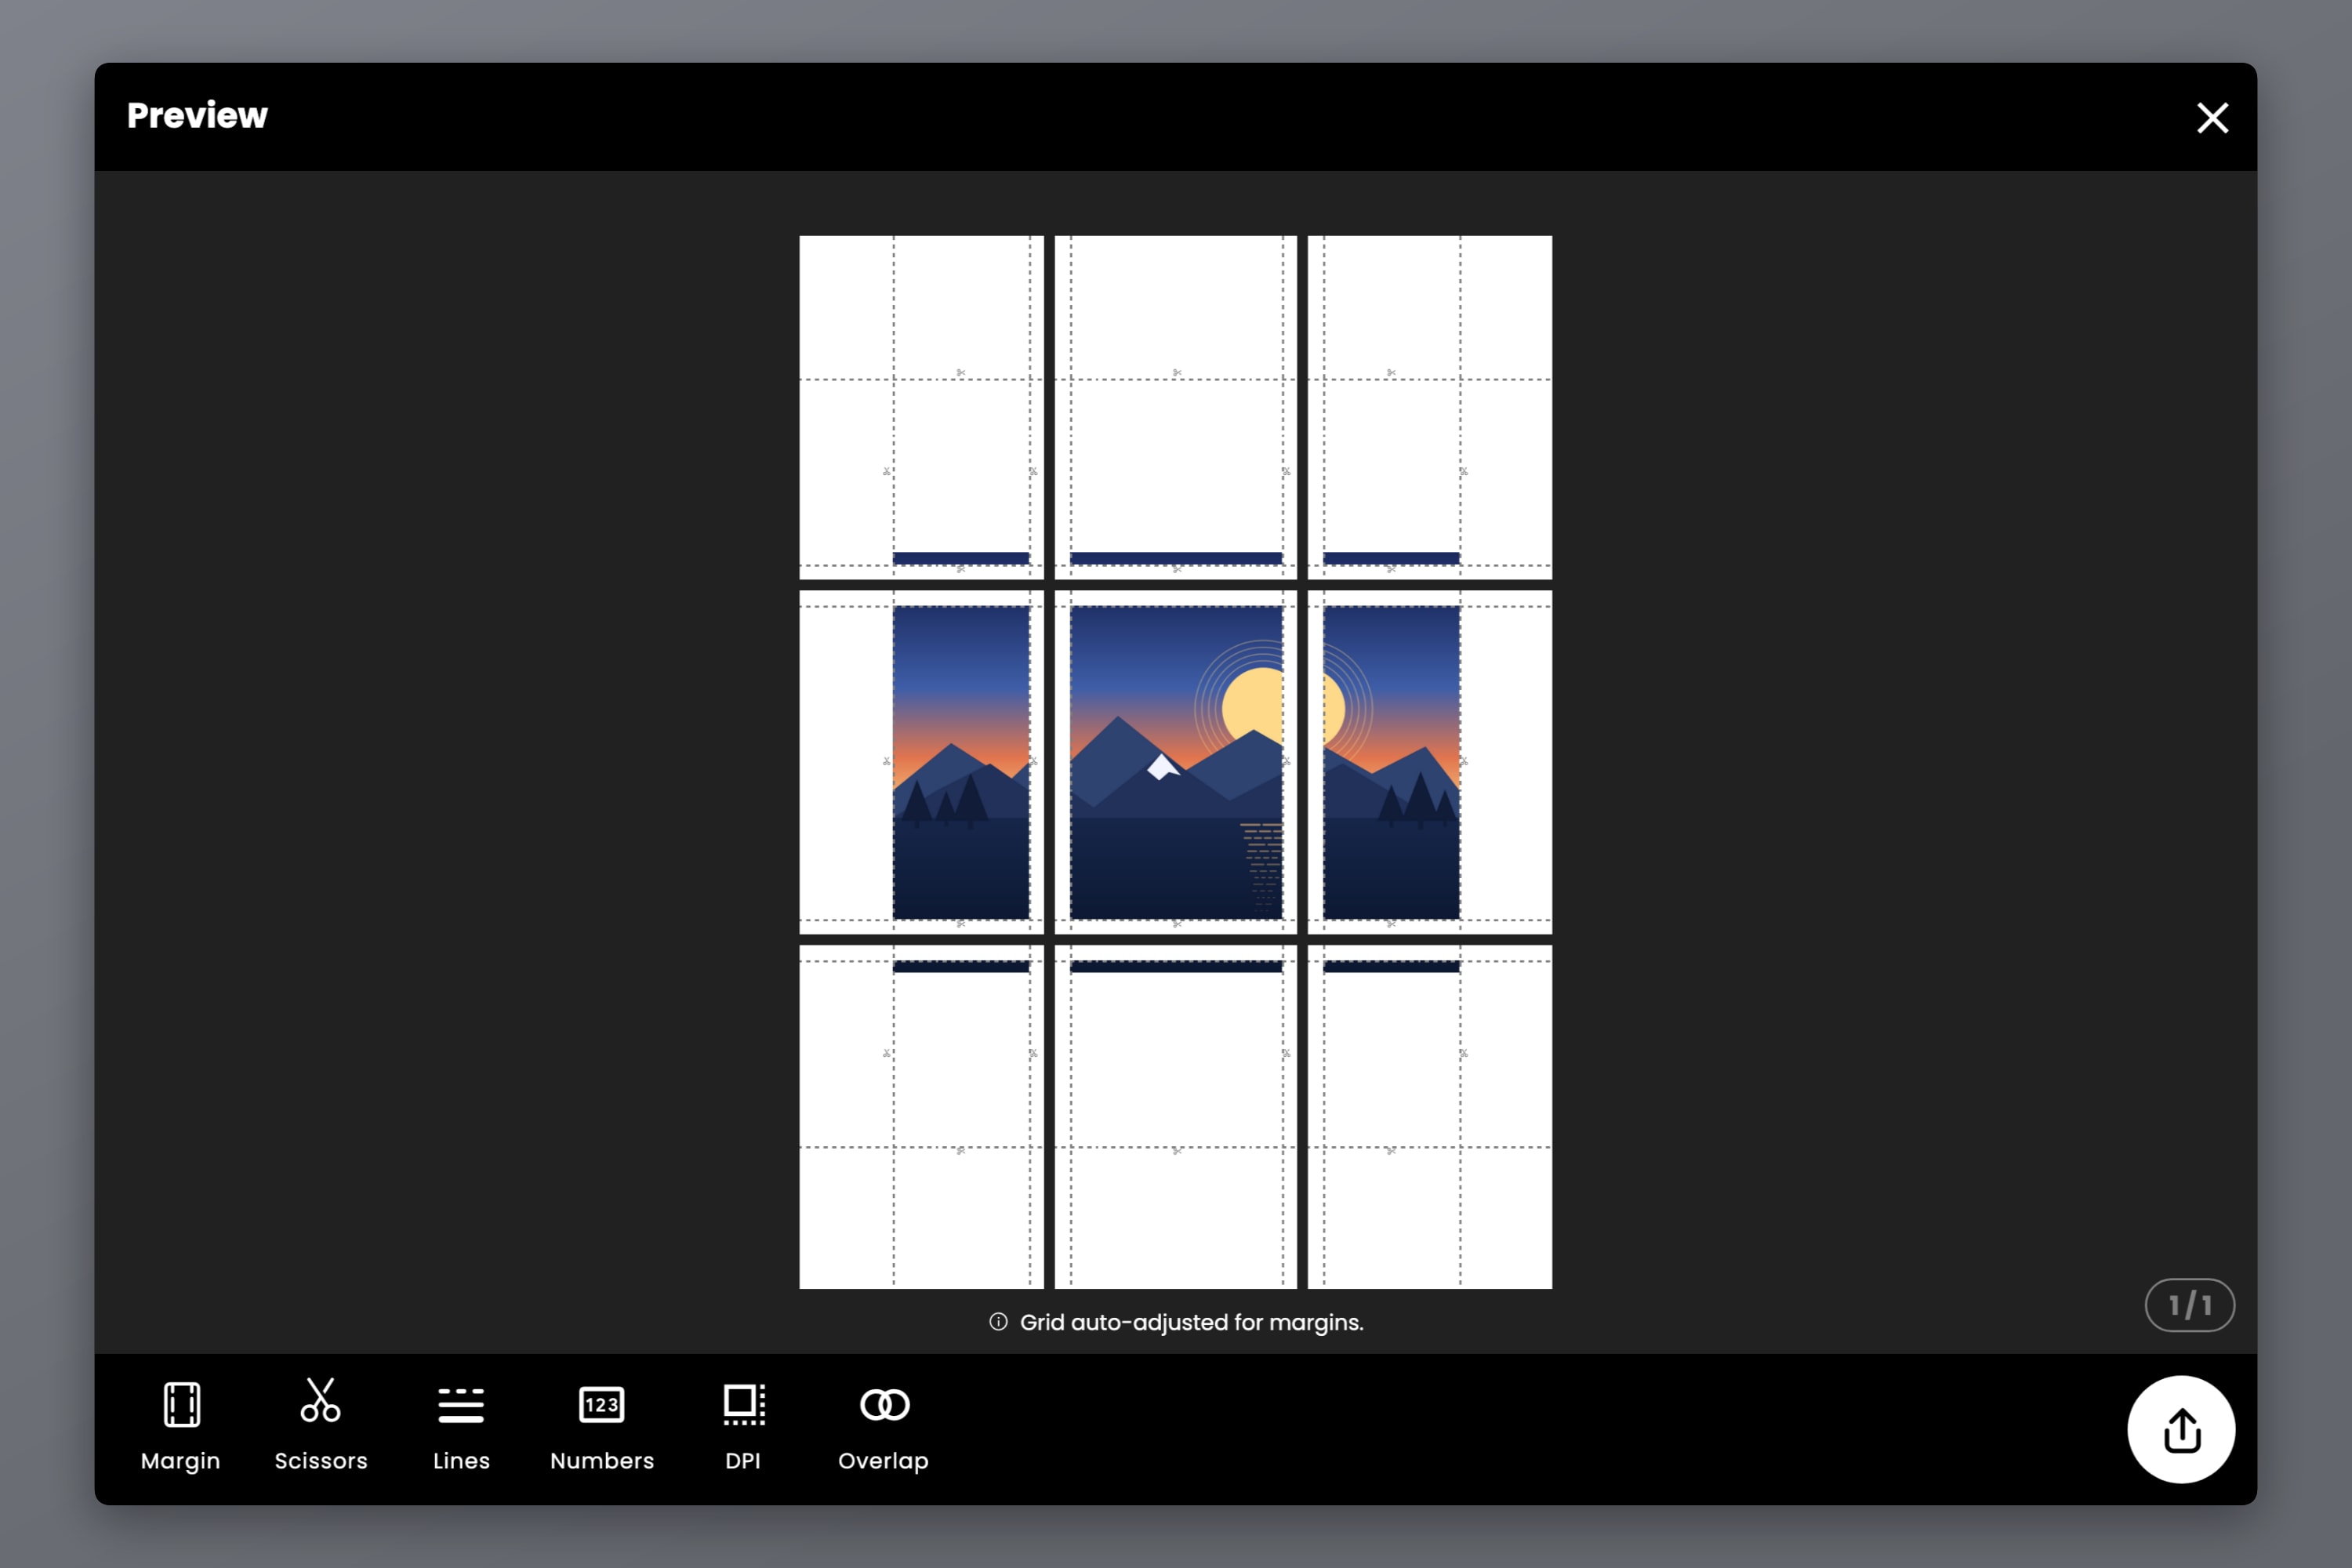
Step 3 — Overlap, cut lines and page numbers, in one panel
The three things Photoshop's slice workflow cannot give you:
- Overlap as a preset — Off, 25%, 50%, 75% or 100% — applied consistently across every tile.
- Cut lines and scissor marks, so you trim against a printed guide rather than a ruler and good intentions.
- Page numbers, either Column & Row grid coordinates or a plain Sequence, printed on each tile so sixteen near-identical sheets reassemble without a puzzle.
Margins are set here too, so the tiles respect your printer's real printable area instead of the theoretical paper size.
Step 4 — Export once
Export as a single tiled PDF or a set of images. One export, every tile inside it, correctly ordered. No per-tile save, no renaming pass, no printing one file at a time.
Two things worth knowing about output quality
Export DPI. Standard at 160 DPI is free and fine for a poster seen from a couple of metres. High at 300 DPI and Max at 600 DPI are on the Pro and Pro+ plans, for anything read up close — fine type, thin lines, technical detail. Only the detail density inside each tile changes; the physical size never does.
Vector PDF export. If your artwork contains vector content — a placed PDF, text added on the canvas — Pro's vector PDF export writes it into the tiled PDF as vector rather than rasterizing it, so it stays sharp at any enlargement. For a purely photographic source this does not apply and export DPI is the control that matters. Introducing Vector PDF Export in Docuslice has the detail.
AI photo enhancement covers the case every large-format printer knows: the source is smaller than the poster needs. It reconstructs plausible detail rather than recovering detail that was never captured — better than a naive resample, not a substitute for a larger original. All paid plans are one-time payments, not subscriptions.
Frequently asked questions
No. The Print dialog offers scaling, positioning, colour management and Print Selected Area, but nothing that divides one image across several sheets. Tiling in Photoshop is a manual workflow, not a feature.
It gets you evenly spaced guides, the first useful step. It does not know your printer's printable area, it does not create overlap, and it does not export anything. It is a starting point for the manual route above.
No. A gutter creates a gap between the regions, not a shared strip of image, which is the opposite of what an assembled poster needs. Overlap has to be built by hand in Photoshop.
Yes, and you should. Retouch, colour manage, sharpen for output and export a flat file from Photoshop, then tile that file. The two tools do different jobs.
That depends on the source resolution, not the tiling. Export DPI controls how much detail lands on each sheet, and AI photo enhancement can reconstruct plausible detail in an undersized source before you tile — better than a naive resample, still not a match for a genuinely larger original. How to Print a Poster on Multiple Pages at Home covers the practical side; Poster Sizes Explained has the sheet counts — an A1 poster tiles onto nine A4 sheets (eight by area, but the grid rounds up) and an A0 onto twenty-five at its exact ISO size of 841 x 1189 mm, or sixteen if you enter the canvas as 840 x 1188 mm.
Try Docuslice
Keep doing the artwork in Photoshop — just let something else handle the slicing, the overlap and the sixteen print jobs.