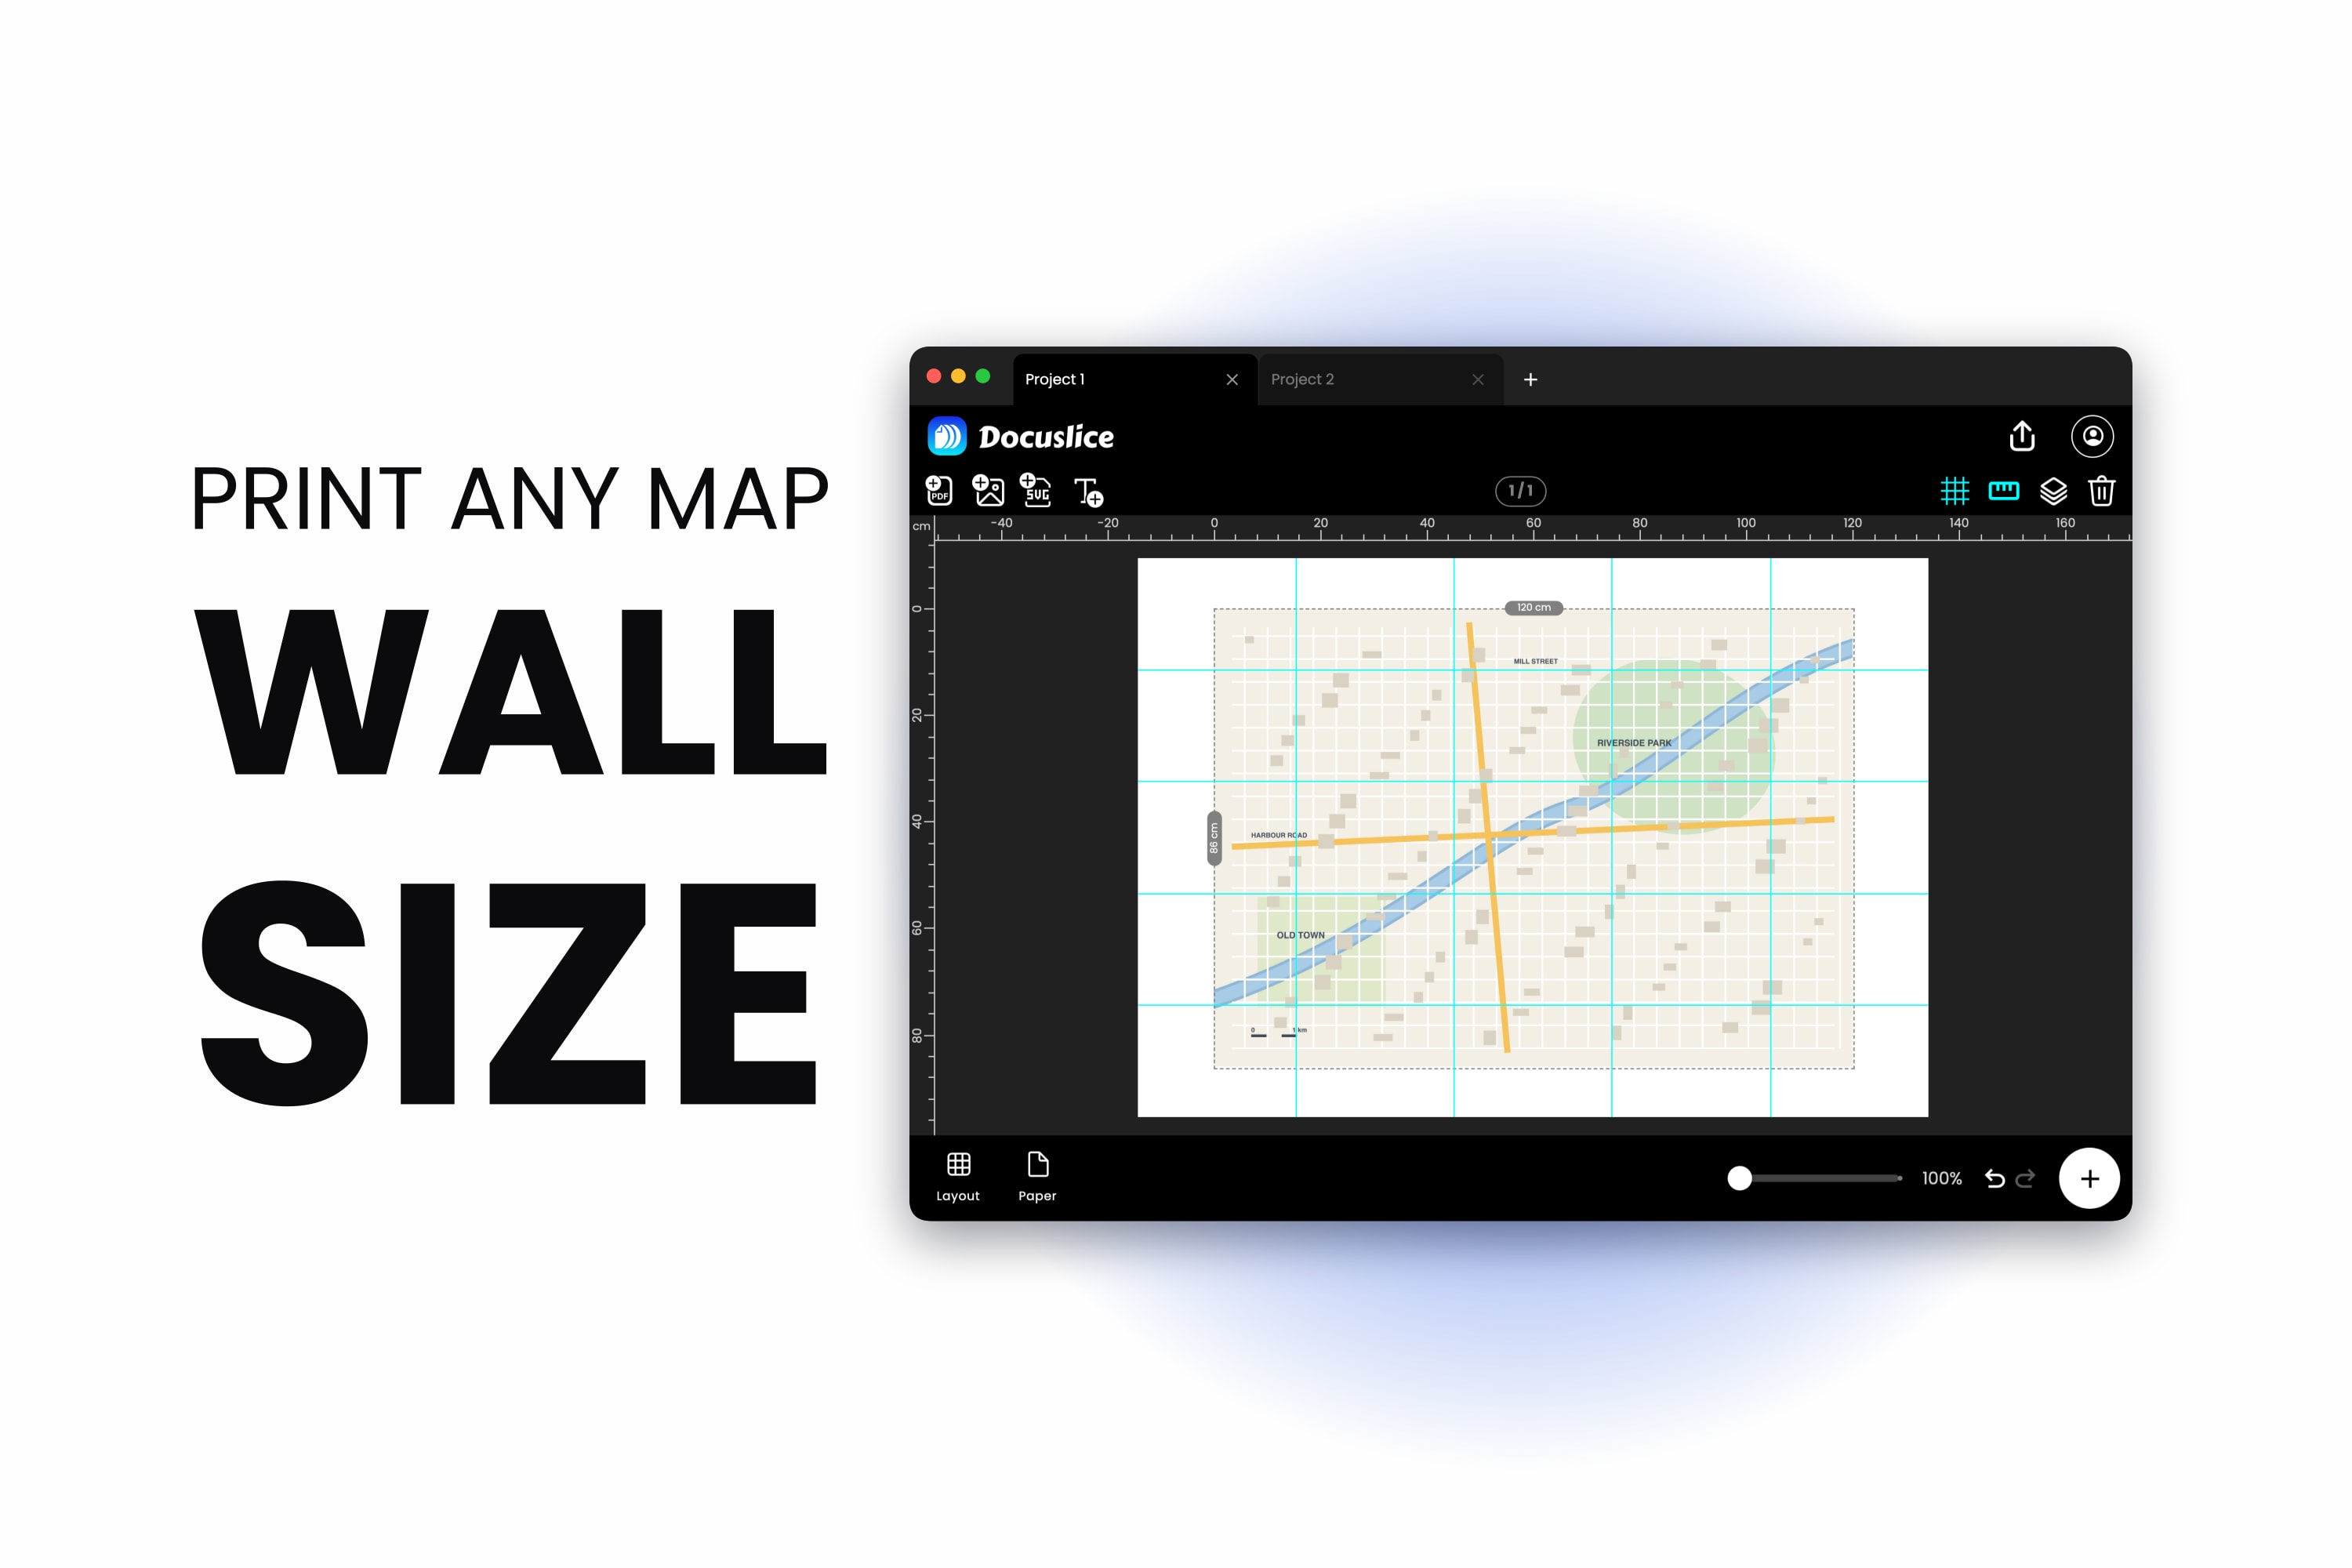
A map is the one thing that is never the right size. Print it to fit a sheet of A4 and the contour lines close up into a grey smudge and the place names disappear. Print it at a size you can actually read and it runs off the page — and the bit that runs off the page is, reliably, the bit you needed.
Two very different people hit this wall. One is packing for a walk or a ride and wants the route on paper at a scale where the junctions are legible, because a phone battery is a single point of failure. The other has a blank wall and wants a map big enough to stand in front of with a coffee.
Both problems have the same solution: stop fitting the map to the paper, and split the map across as many sheets as it needs.
First, a Map You Are Allowed to Print
This guide works with a map image or PDF you already have the right to print — an export from your own GPS or route planning software, an openly licensed map, a scan of a paper map you own, or something you drew yourself.
It is worth ten seconds on the licence of whatever you are about to blow up to a metre wide. Plenty of map data is free to print and share, plenty is not, and the two look identical on screen.
Step 1 — Import the Map
Open Docuslice, start a project, and bring the map in. Drag the file onto the canvas or use the import option — images and PDFs both work, which covers every way a map tends to arrive: a PNG or JPG export, a PDF from a route planner, a scan of a folded paper map.
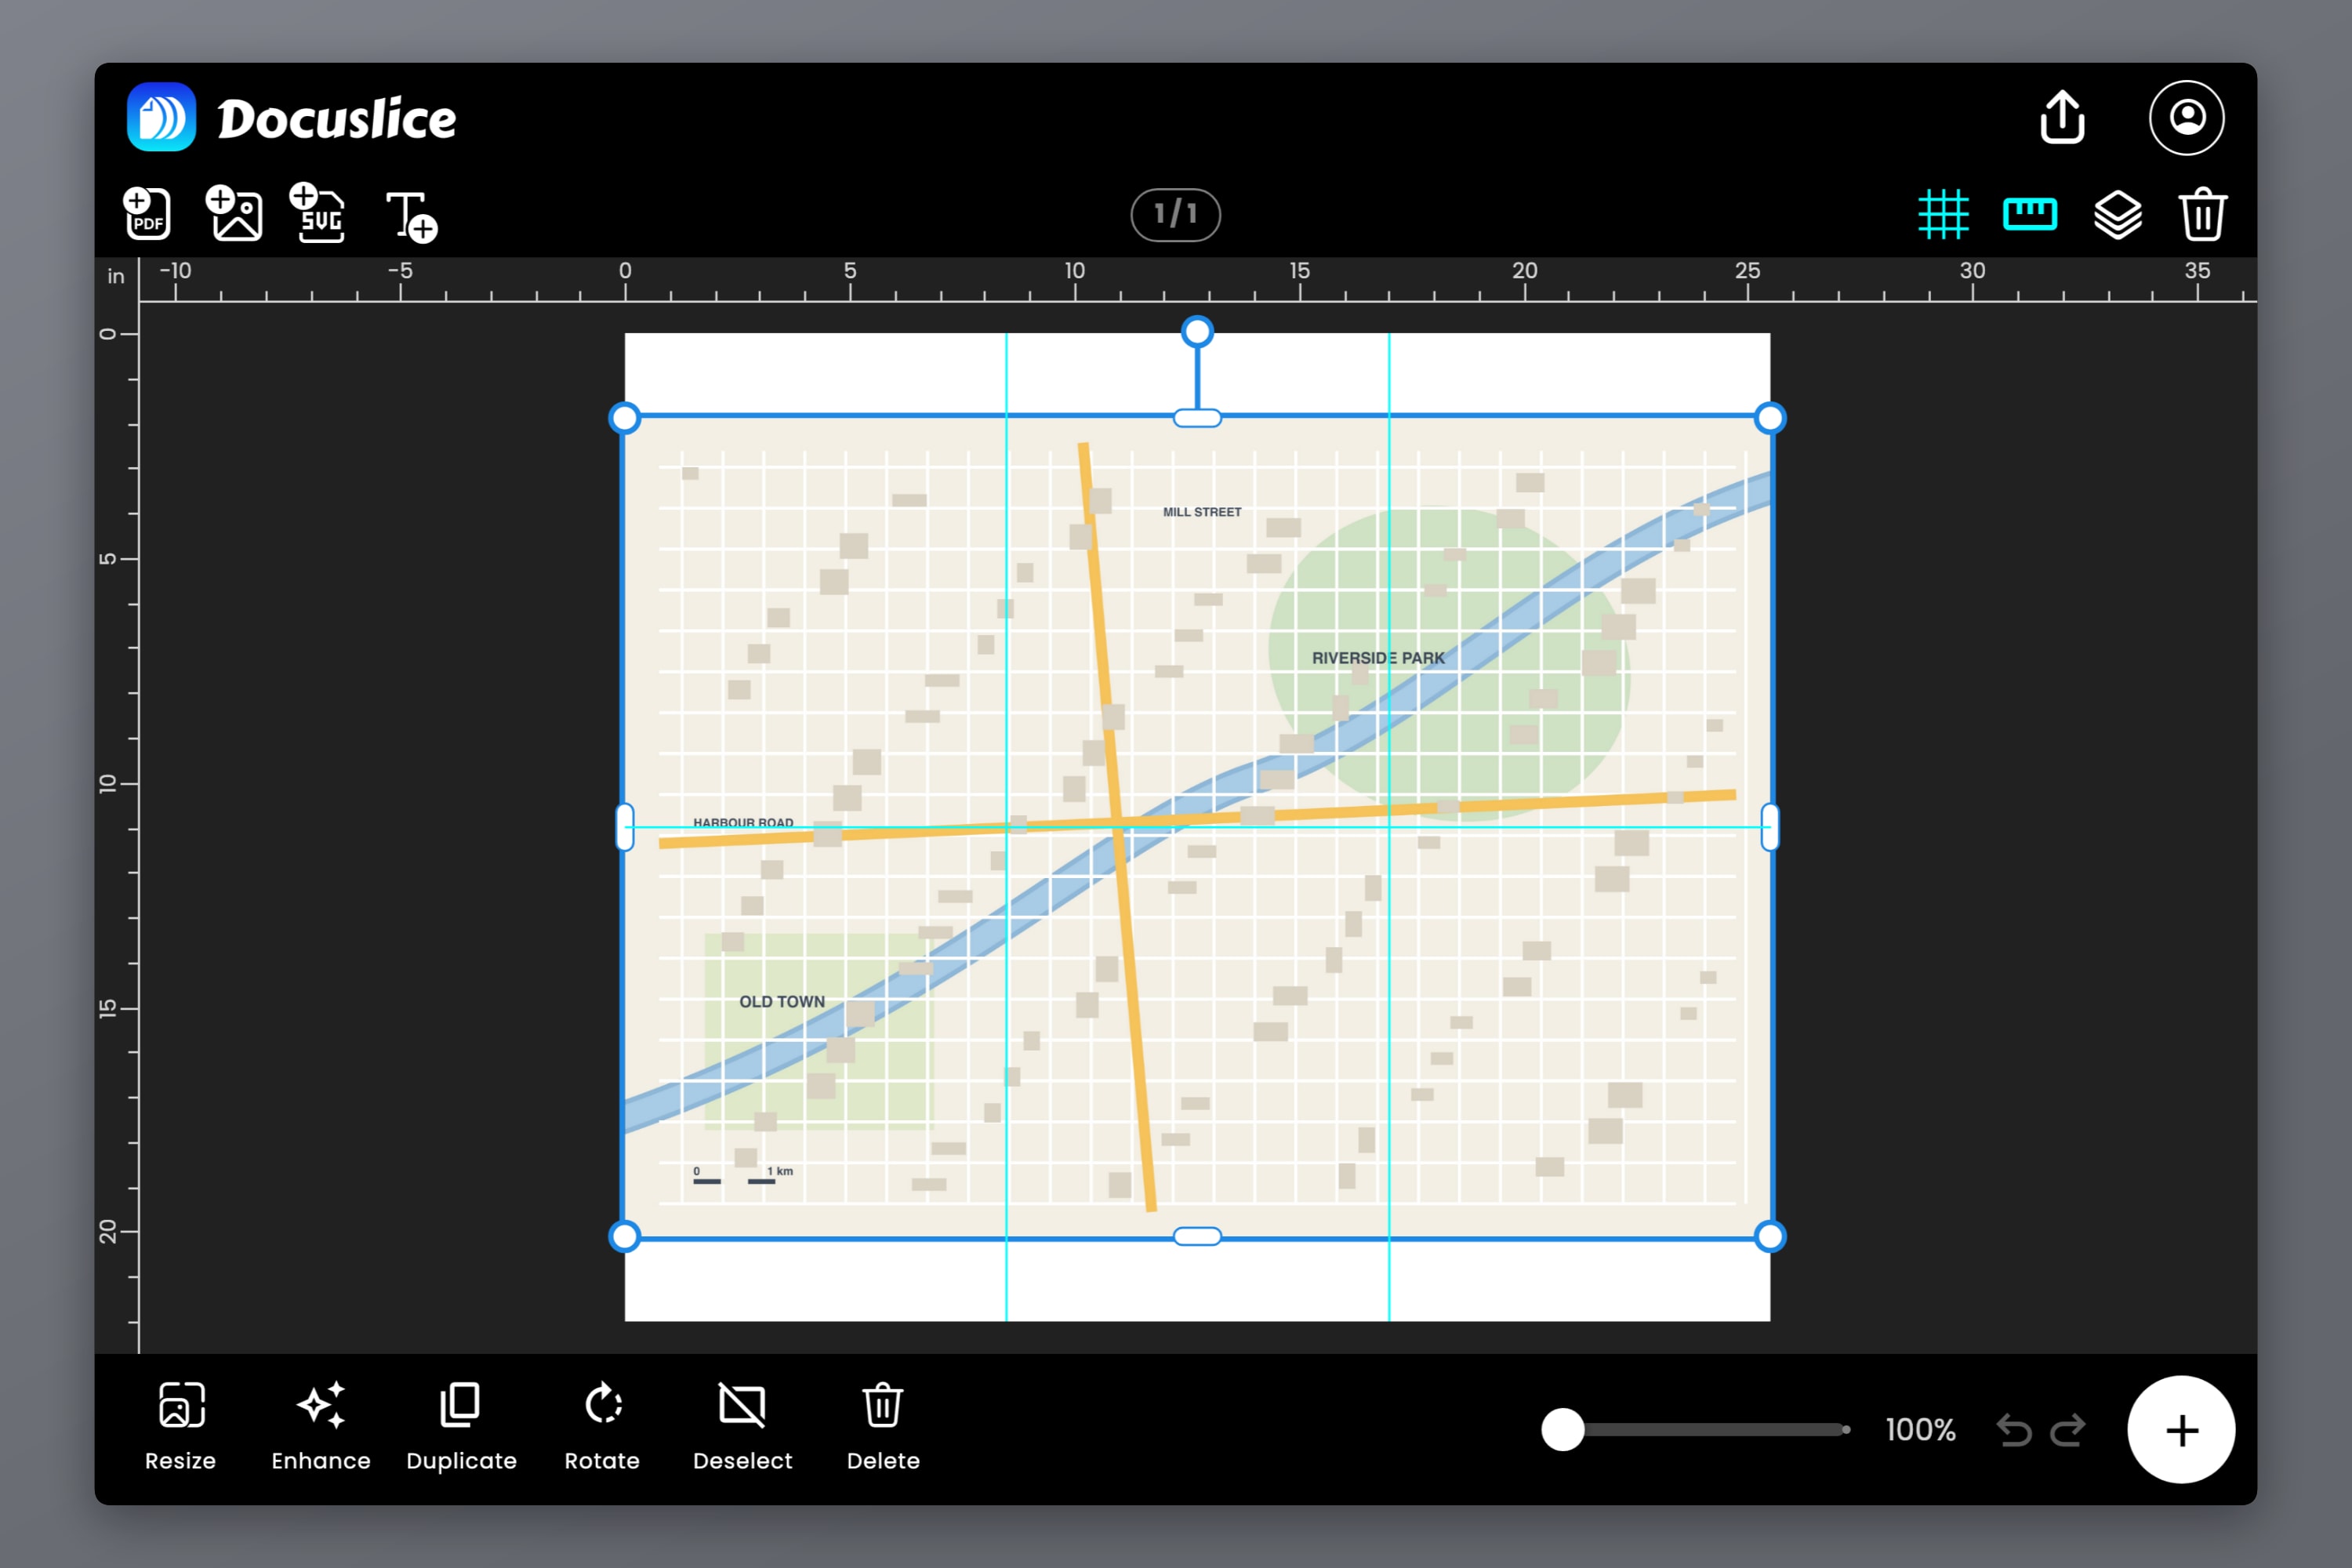
Check one thing before going further: how many pixels the source actually has. Maps punish a weak source, because the interesting parts are thin lines and small type. A 1200 pixel wide screenshot looks fine on a laptop and turns to mush at A2. As a rough guide, an A0 wall map wants somewhere around 5,000 x 7,000 pixels behind it to hold up at reading distance.
If your only copy is a low-resolution scan, Docuslice's AI photo enhancement can rebuild detail before you tile. It is a genuine rescue for an old scanned map — it is not a substitute for finding a better file if one exists.
Step 2 — Decide the Size
This is where the hiker and the wall-map maker part company, so pick your path.
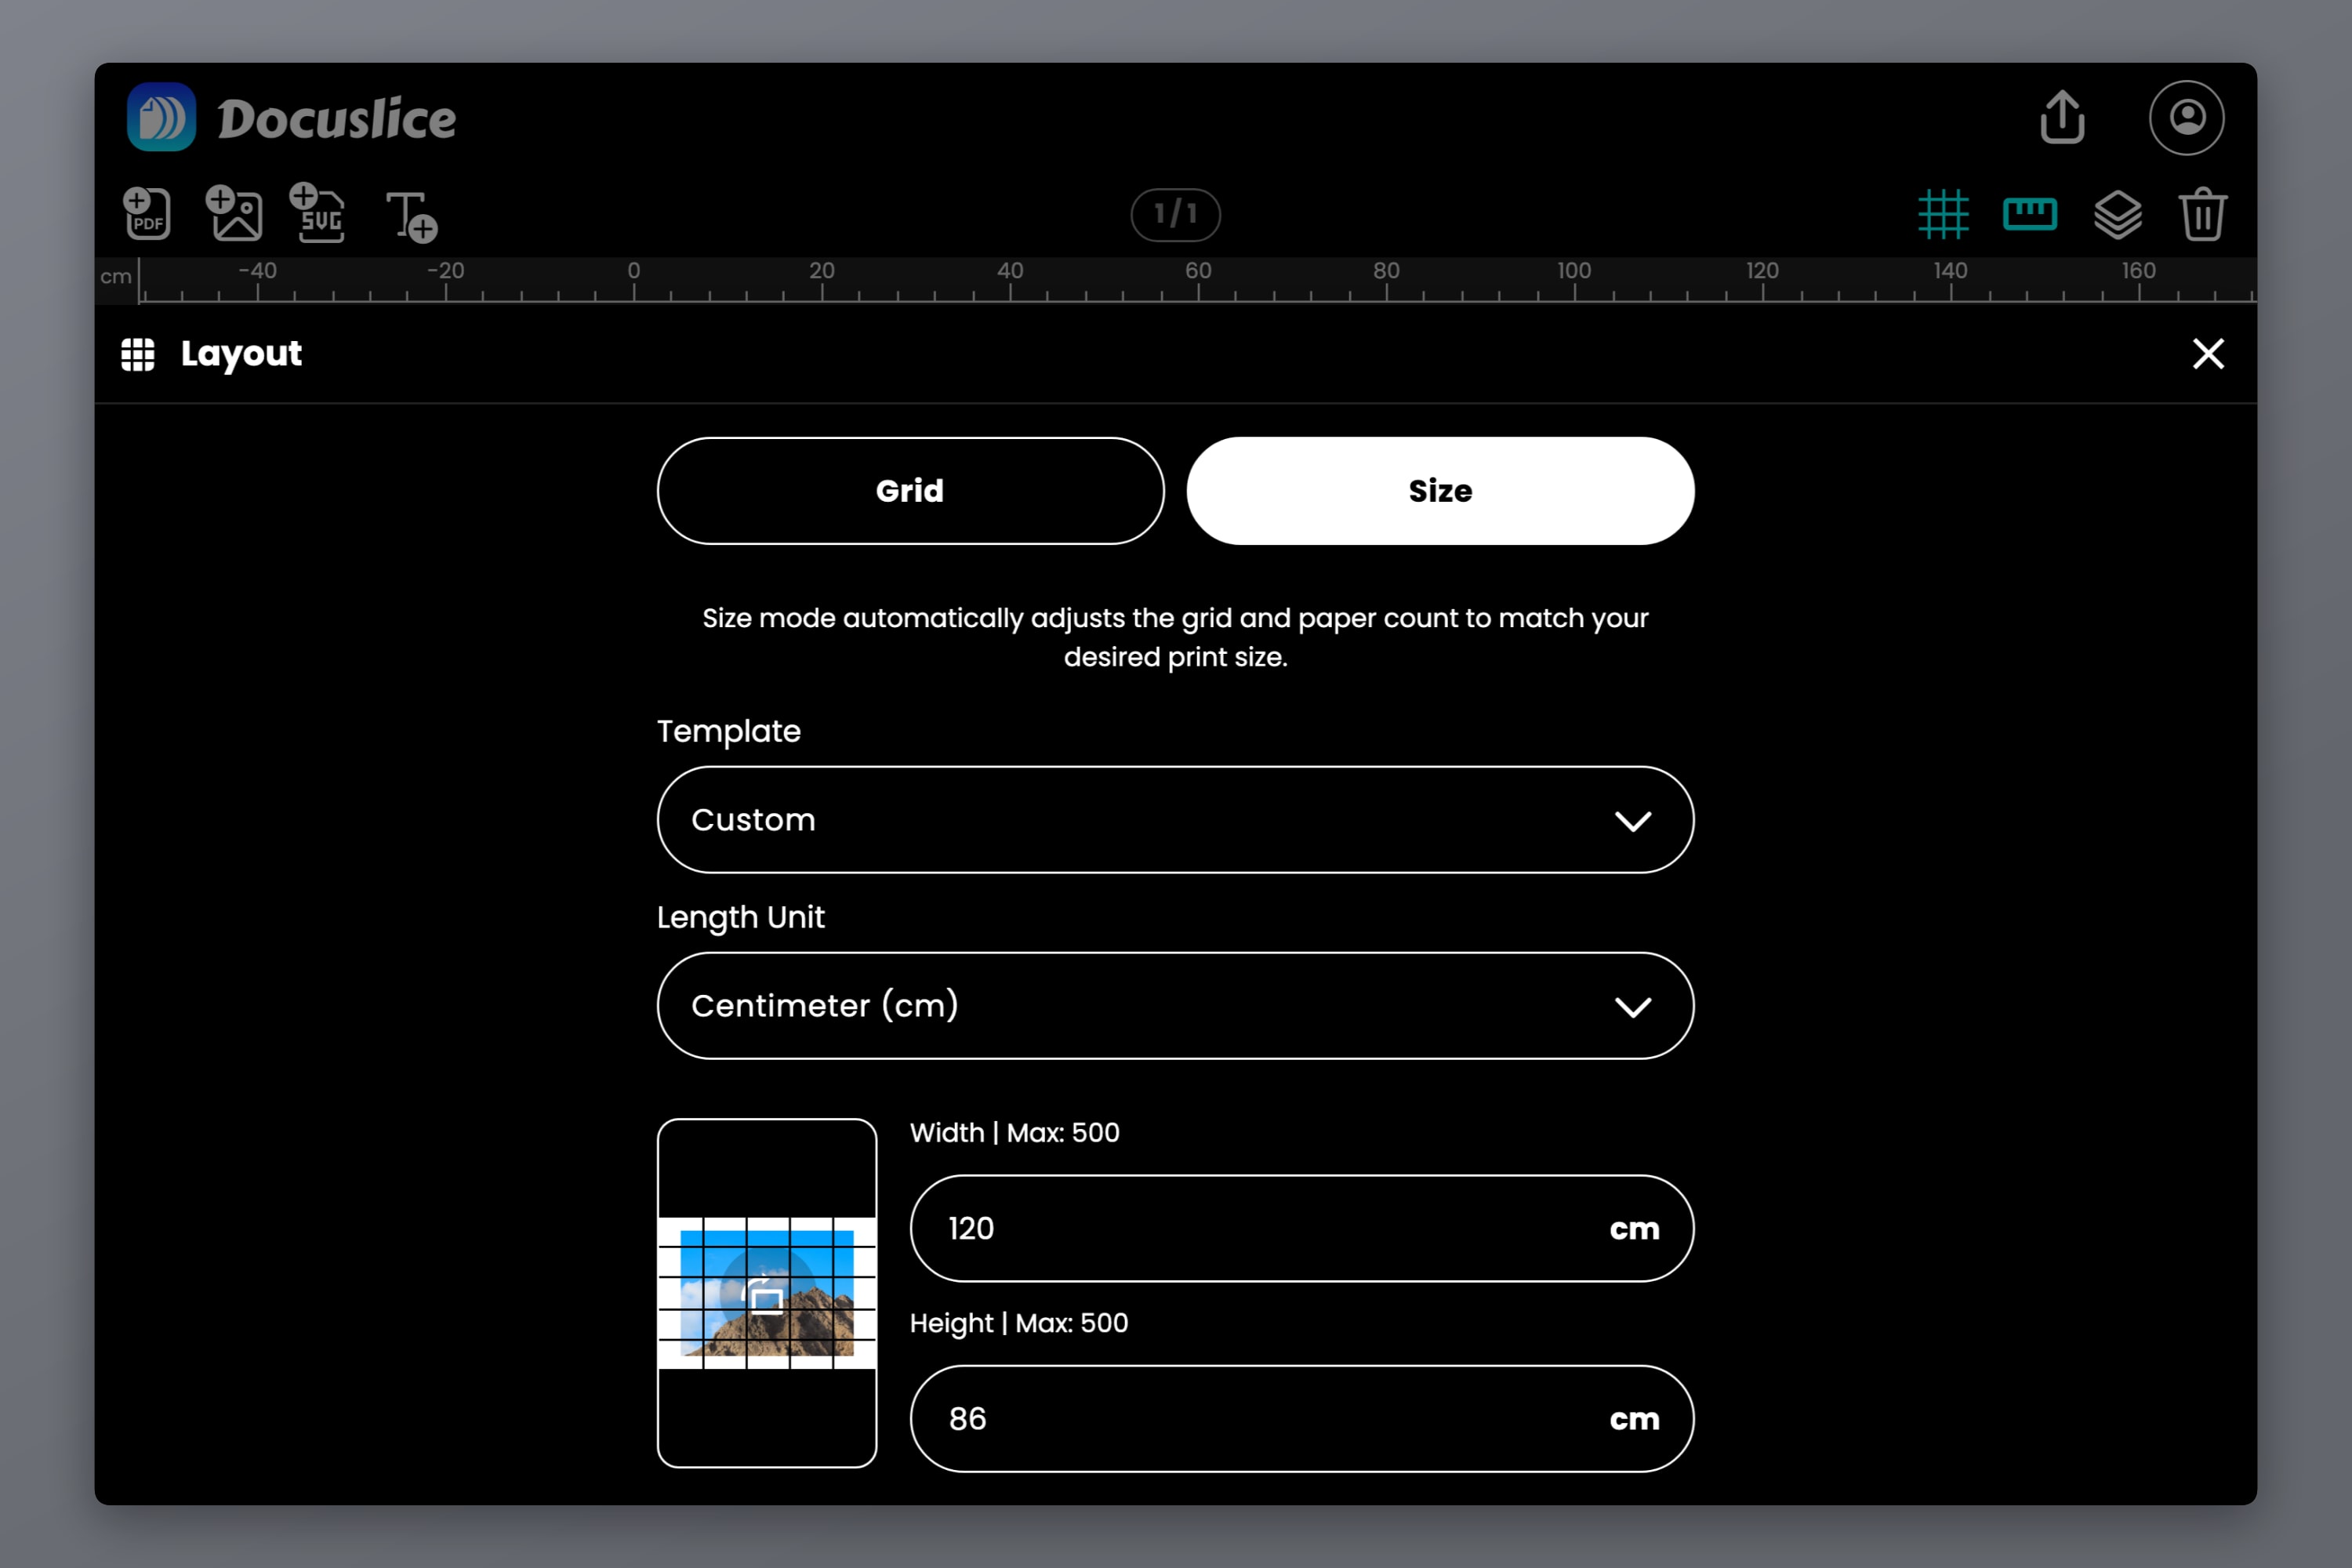
Switch the Layout from Grid mode to Size mode. Size mode lets you type the finished real-world dimensions — in millimetres, centimetres, metres, inches or feet — and works out the sheet count from there, instead of you guessing at rows and columns.
For a route, the scale is the number that matters
Map scale is a ratio between paper and ground. At 1:25,000, one centimetre of paper is 250 metres of ground. At 1:50,000, one centimetre is 500 metres. The first is the classic walking scale, detailed enough to see paths and field boundaries; the second covers more ground per sheet and suits cycling or a long linear route.
Two figures follow from that:
- A single A4 sheet at 1:25,000 covers about 5.2 x 7.4 km of ground.
- The same sheet at 1:50,000 covers about 10.5 x 14.9 km.
So a 30 km route at 1:25,000 needs roughly 1.2 metres of paper along its length — four A4 sheets end to end in landscape, plus whatever width the route wanders across. Enter that total size in size mode and the tiling follows.
One honest caveat: enlarging does not create detail. Print a 1:50,000 map at double size and you have a 1:25,000 print carrying 1:50,000 information. The scale bar is right, the lines are twice as thick, and no new paths have appeared.
Scale accuracy also depends on the printer not quietly shrinking the page, which it will do by default if you let it. If your print has to measure correctly against a scale bar or a romer, run the calibration check from how to print a life-size template at 1:1 scale — print one sheet, measure a known distance, correct, then commit to the rest.
For a wall map, the wall is the number that matters
Nobody navigates by a wall map, so forget scale and measure the space. Hold a tape up to the wall, decide how much of it the map should own, and type that in.
For reference, A1 is 594 x 841 mm and A0 is 841 x 1189 mm — the two sizes most wall maps land on. The poster size chart has the full ladder in millimetres, centimetres and inches, along with how many sheets each size takes. If the map is going in a frame, measure the frame's opening rather than the frame, and take a couple of millimetres off each dimension so it slides in.
Step 3 — Pick Your Paper and Read the Tile Grid
Now choose the paper you actually own from the paper size and orientation picker — A4, Letter, Legal, A3, Tabloid or a custom size. The canvas shows the tile dividers over the map immediately, and the sheet count updates as you change anything.
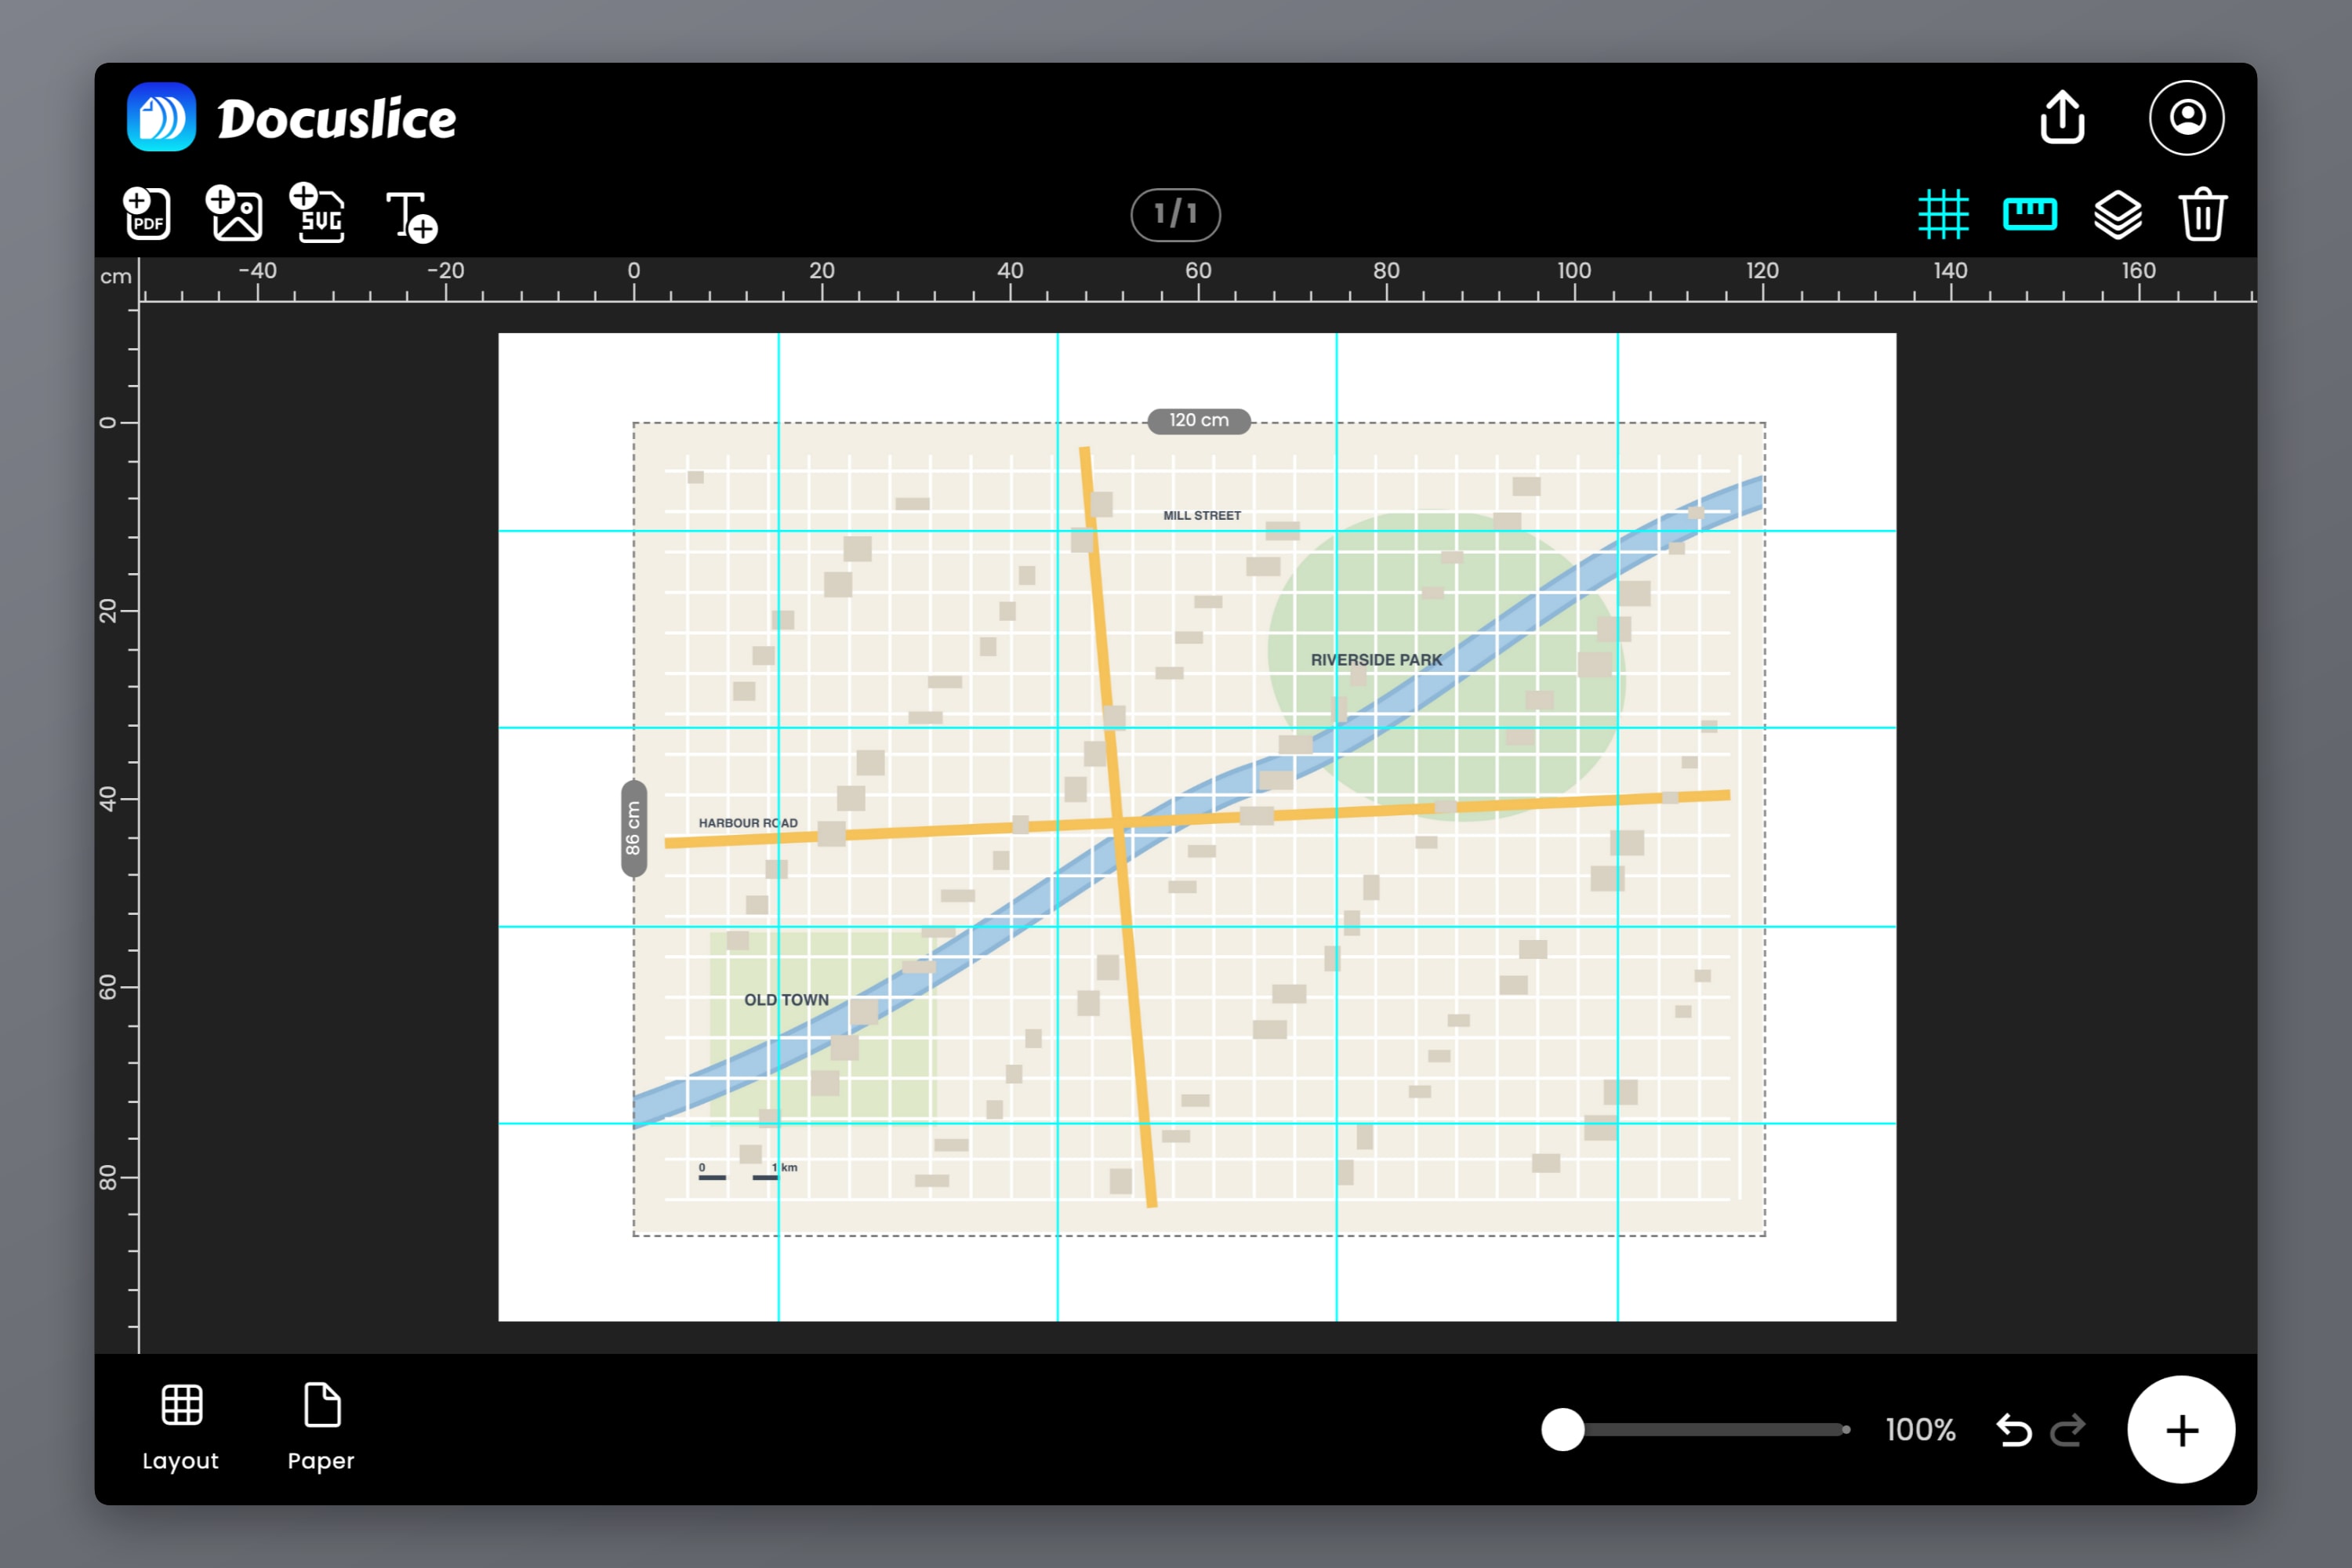
This is the moment to sanity check the job. An A0 wall map is 16 A4 sheets, or 20 Letter sheets — set the canvas to 840 x 1188 mm rather than the exact ISO 841 x 1189, or the grid rounds up to 5 x 5 to cover the last millimetre. A route strip might be four. If the number surprises you, change the size or the paper now rather than after your printer has chewed through a ream. The full tiling and assembly walkthrough is in how to print a poster on multiple pages at home.
While you are here, look at where the dividers fall. On a poster a seam is cosmetic. On a map, a seam through a summit, a junction or a river crossing is a genuine nuisance — that is precisely the square centimetre you will be squinting at in the rain. Nudge the map on the canvas, adjust the margin, or change the orientation, and the grid moves with it. Getting the seams into empty moorland instead of across the one tricky junction takes about a minute.
Step 4 — Set the Overlap
Overlap is the control that makes a tiled map assemble properly, and it is worth understanding rather than leaving at the default.
With overlap Off, each sheet holds its own piece of the map and nothing else, so you have to butt two trimmed edges together perfectly. Any trimming error shows up as a step in every line crossing the seam — and on a map, dozens of lines cross every seam.
Turn overlap on — 25%, 50%, 75% or 100% — and Docuslice repeats a strip of map along the shared edge of each sheet. Now you align sheets by sliding one over the other until the contours, roads and boundaries line up with themselves. You are matching features rather than edges, and features are far easier to match accurately.
25% is the right starting point for most maps. It gives you enough duplicated map to align confidently without wasting a quarter of every sheet. Go higher only for sparse maps with little detail near the seams to align against.
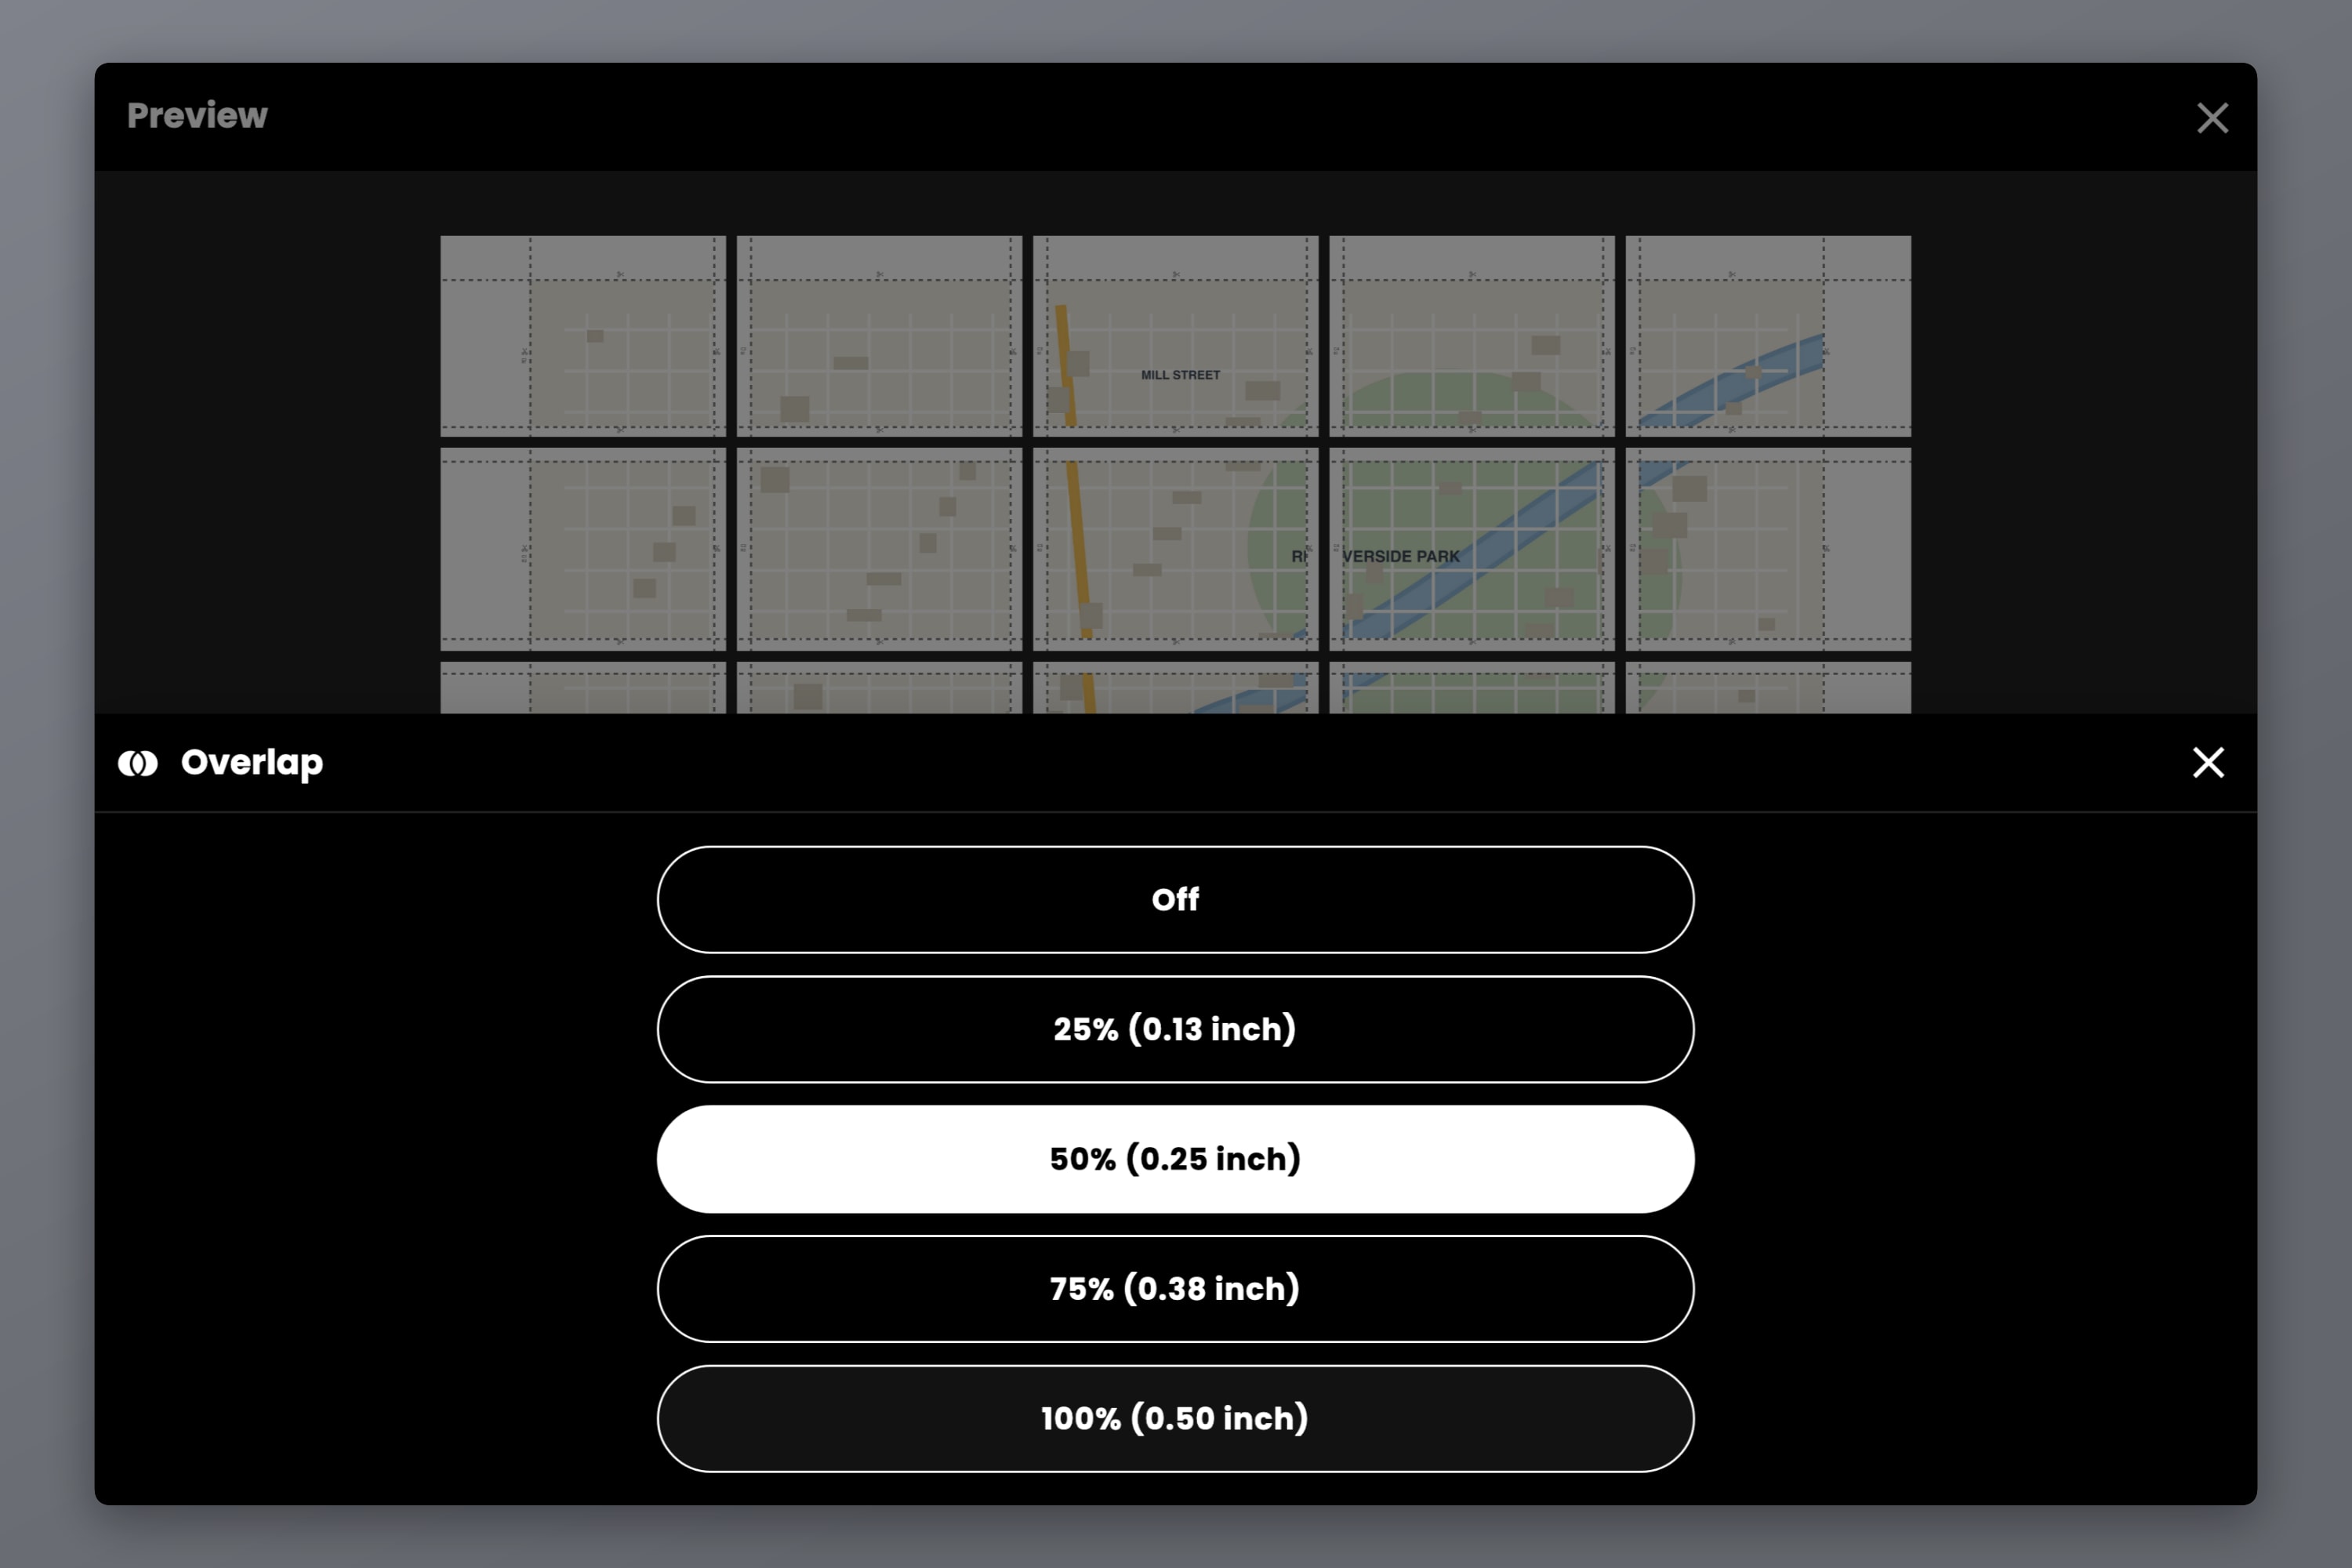
Turn on cut lines and scissor marks at the same time. They show exactly where to trim each sheet, and trimming on the line is what keeps a 16-sheet grid square instead of drifting into a parallelogram.
Step 5 — Number the Pages Before You Export
Sixteen sheets of the same map, printed face down into an output tray, look almost exactly alike. This is the step people skip once.
Set Numbers to Column & Row for a wall map — every sheet gets its grid position, like C2 over R3, so you lay the stack out on the floor in one pass. For a linear route strip, plain Sequence numbering is easier to follow: 1, 2, 3 in walking order. The markings print in the tile margin next to the cut guides, easy to read while you assemble and hidden under the overlap once the sheets are joined.
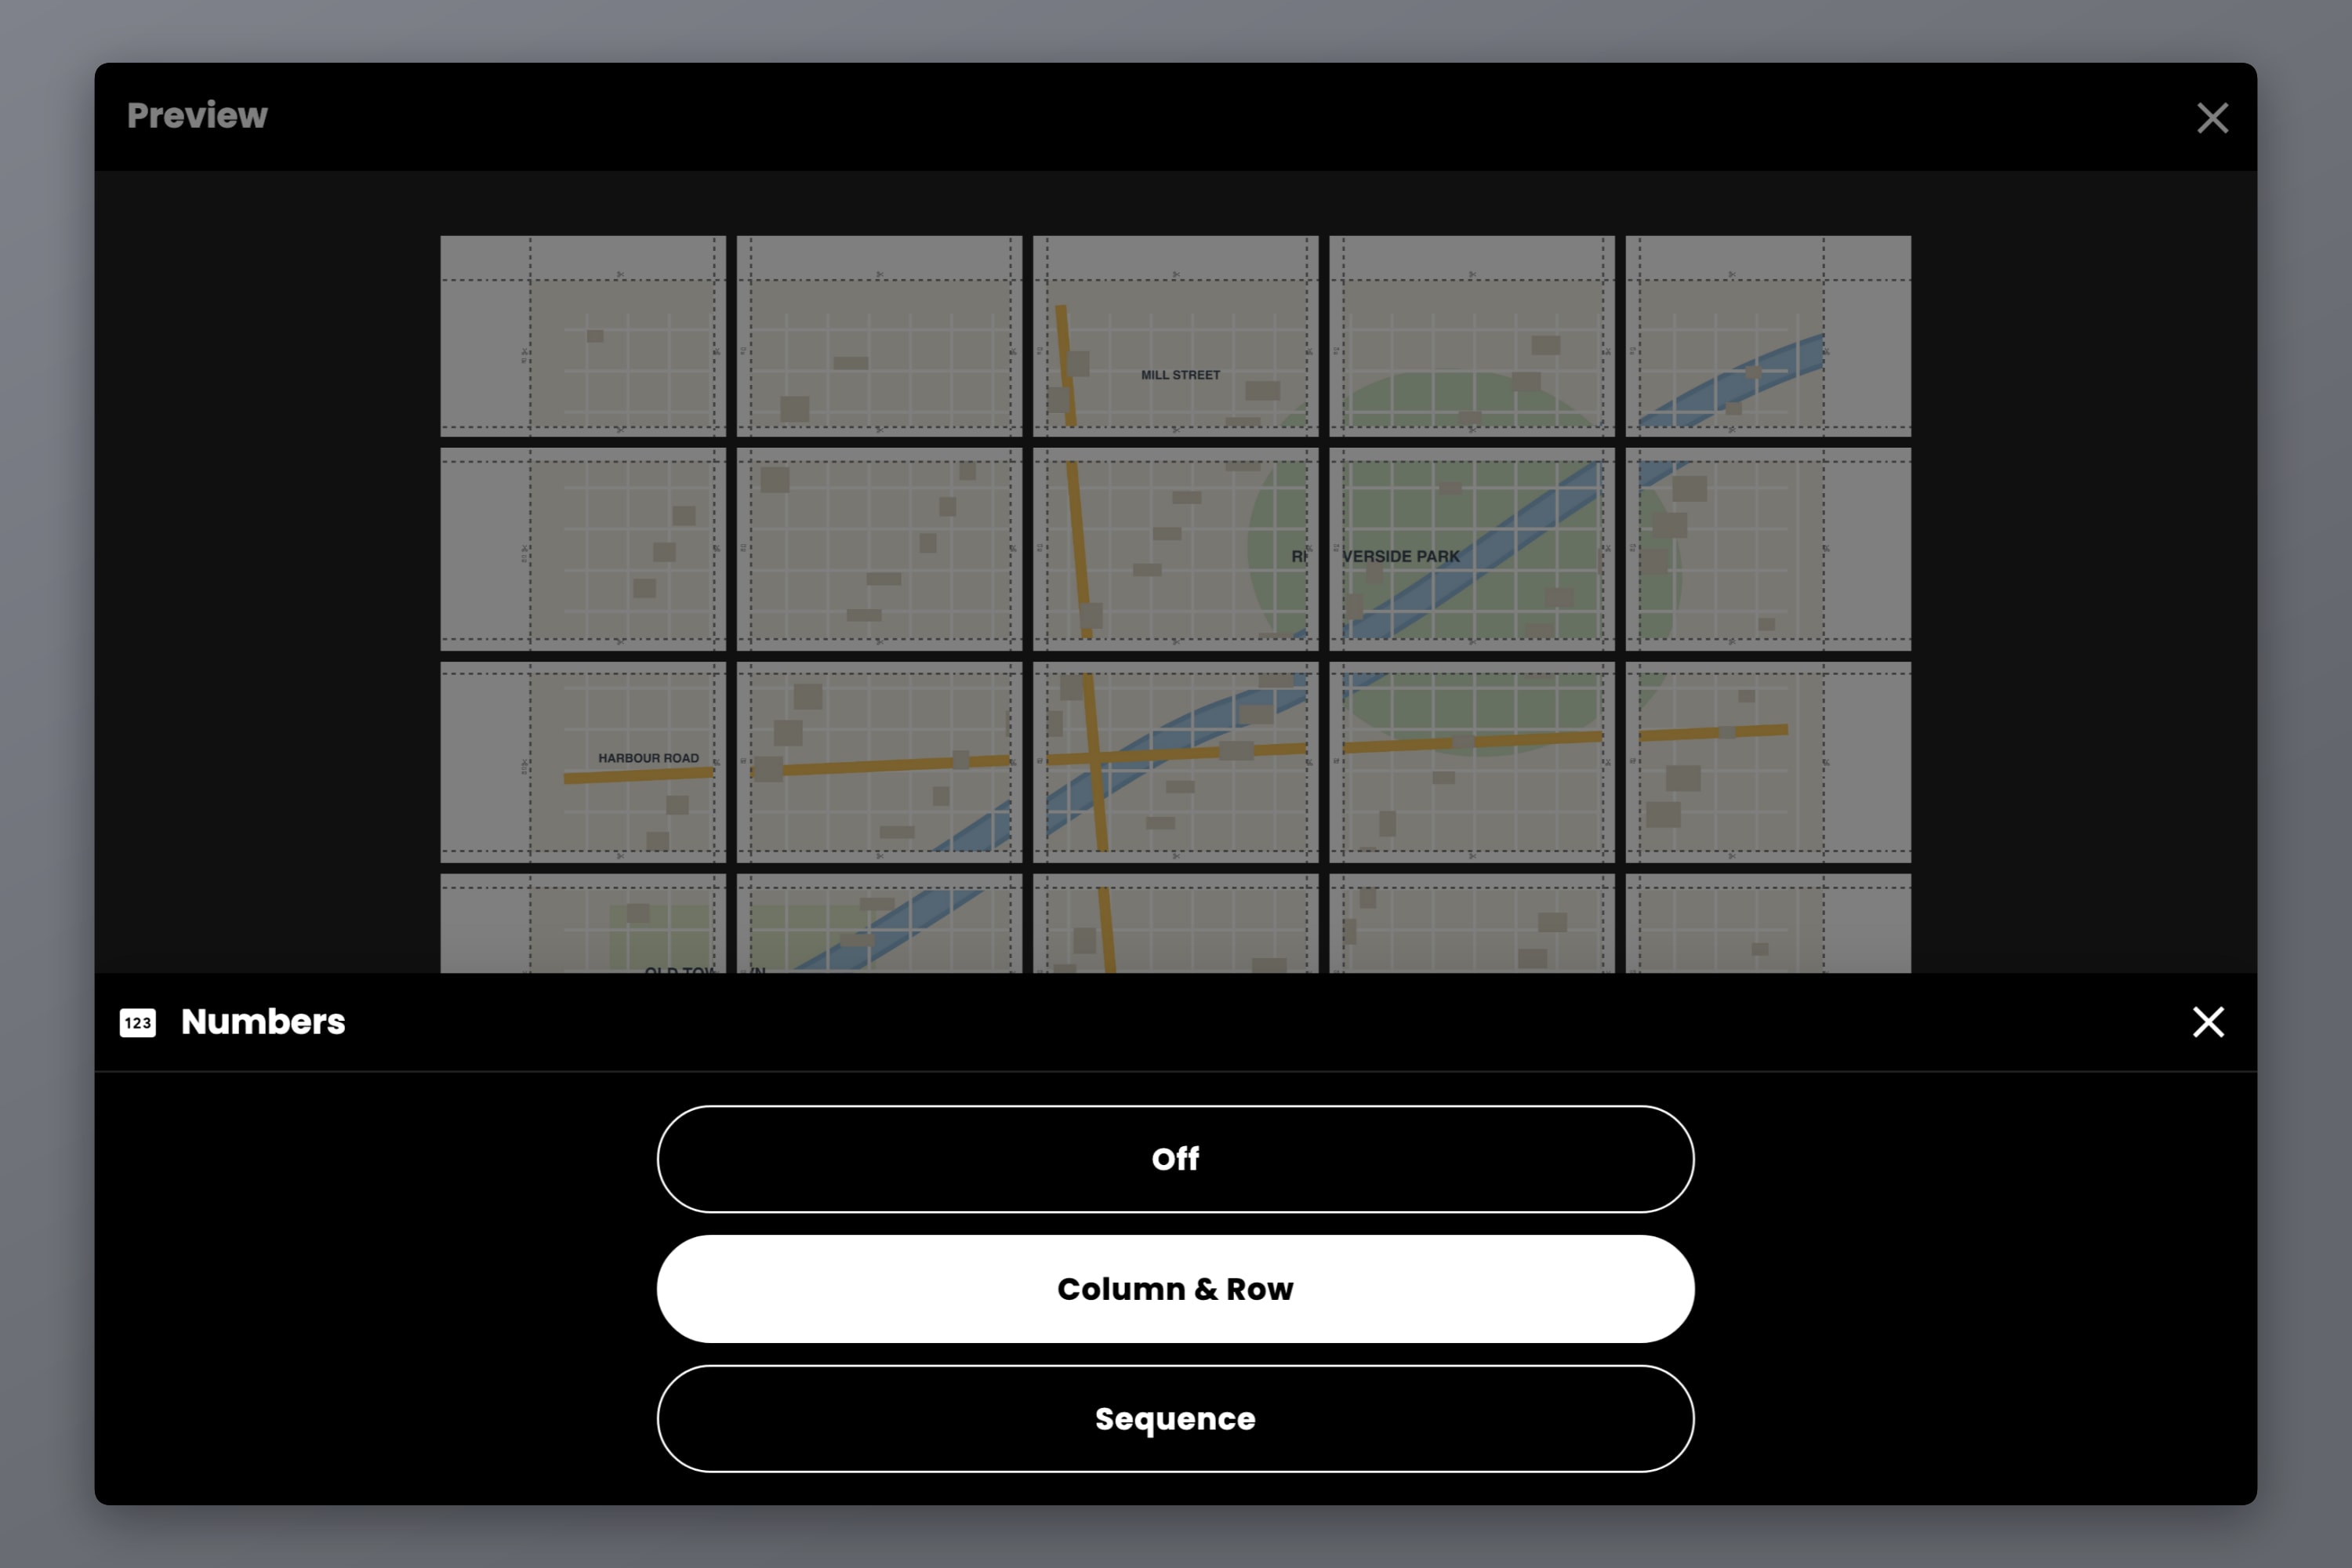
Then export. PDF is the right choice for printing, because it carries real page dimensions and that is what makes "Actual size" mean something in your print dialog. Individual image files suit a print shop counter or a phone better.
Set the export DPI before you go. Maps deserve the higher settings more than almost any other subject, because map lettering is small and contour lines are thin. Standard (160 DPI) is fine for a bold wall map seen from across a room; High (300 DPI) or Max (600 DPI), on the Pro and Pro+ plans, is what you want for place names you intend to read at arm's length.
Paper, Assembly and Surviving the Outdoors
The print settings are only half of a good map. The paper is the other half.
For a wall map, use something heavier than copier paper — 120 gsm or more. It resists curling at the seams, stops the sheet behind showing through, and holds a taped joint without wrinkling. Matte beats gloss, because a glossy map facing a window is a mirror. Tape on the back of each joint, then mount the finished sheet to foam board or hang it in a frame.
For the field, assume rain:
- A ziplock bag or a proper map case. Costs nothing, works.
- Laminating pouches, one per sheet. Print the route as separate sheets rather than one taped map, laminate each, and carry them as a numbered pack — far easier to handle in wind than a metre of taped paper.
- Clear self-adhesive film over an assembled map. Slower, but keeps the map whole.
- Waterproof or synthetic paper, if your printer will take it.
One trick worth the extra minute: fold along the seams rather than across the middle of a sheet. Tape hinges cope with folding better than paper does, and a map folded on its joints opens flat.
Frequently Asked Questions
Set the map's finished size in size mode, choose A4 as the paper, and Docuslice splits it across as many sheets as the size needs. Your printer imposes no limit — the paper is divided, the map is not.
1:25,000 for walking, where paths, field boundaries and small features need to be legible. 1:50,000 for cycling or long linear routes, where ground covered per sheet matters more than fine detail. At 1:25,000 an A4 sheet covers roughly 5.2 x 7.4 km.
It depends on the finished size. An A1 map is 9 A4 sheets in a 3 x 3 grid; an A0 map is 16 A4 sheets in a 4 x 4 grid, or 20 Letter sheets, if you enter the canvas as 840 x 1188 mm — the exact ISO 841 x 1189 rounds the grid up to 5 x 5 for one spare millimetre. Docuslice shows the exact count live as you change the size and the paper.
Move the map slightly on the canvas, or adjust the margin, until the tile dividers fall on empty ground. Then set overlap to 25% so the sheets align on map features rather than on trimmed edges.
Only if the printer is set to 100% and Fit to Page is off — those settings shrink a page by a few percent and take the scale with them. Print one sheet and measure a known distance against the map's scale bar before printing the rest.
Yes. Docuslice runs on iOS and Android as well as web, Mac and Windows, with the same size mode, overlap and page number controls. Set the job up on the phone and send it to a printer, or export the PDF and take it to a print shop.
Download Docuslice
Print the map at the size the map deserves, and let the paper sort itself out.