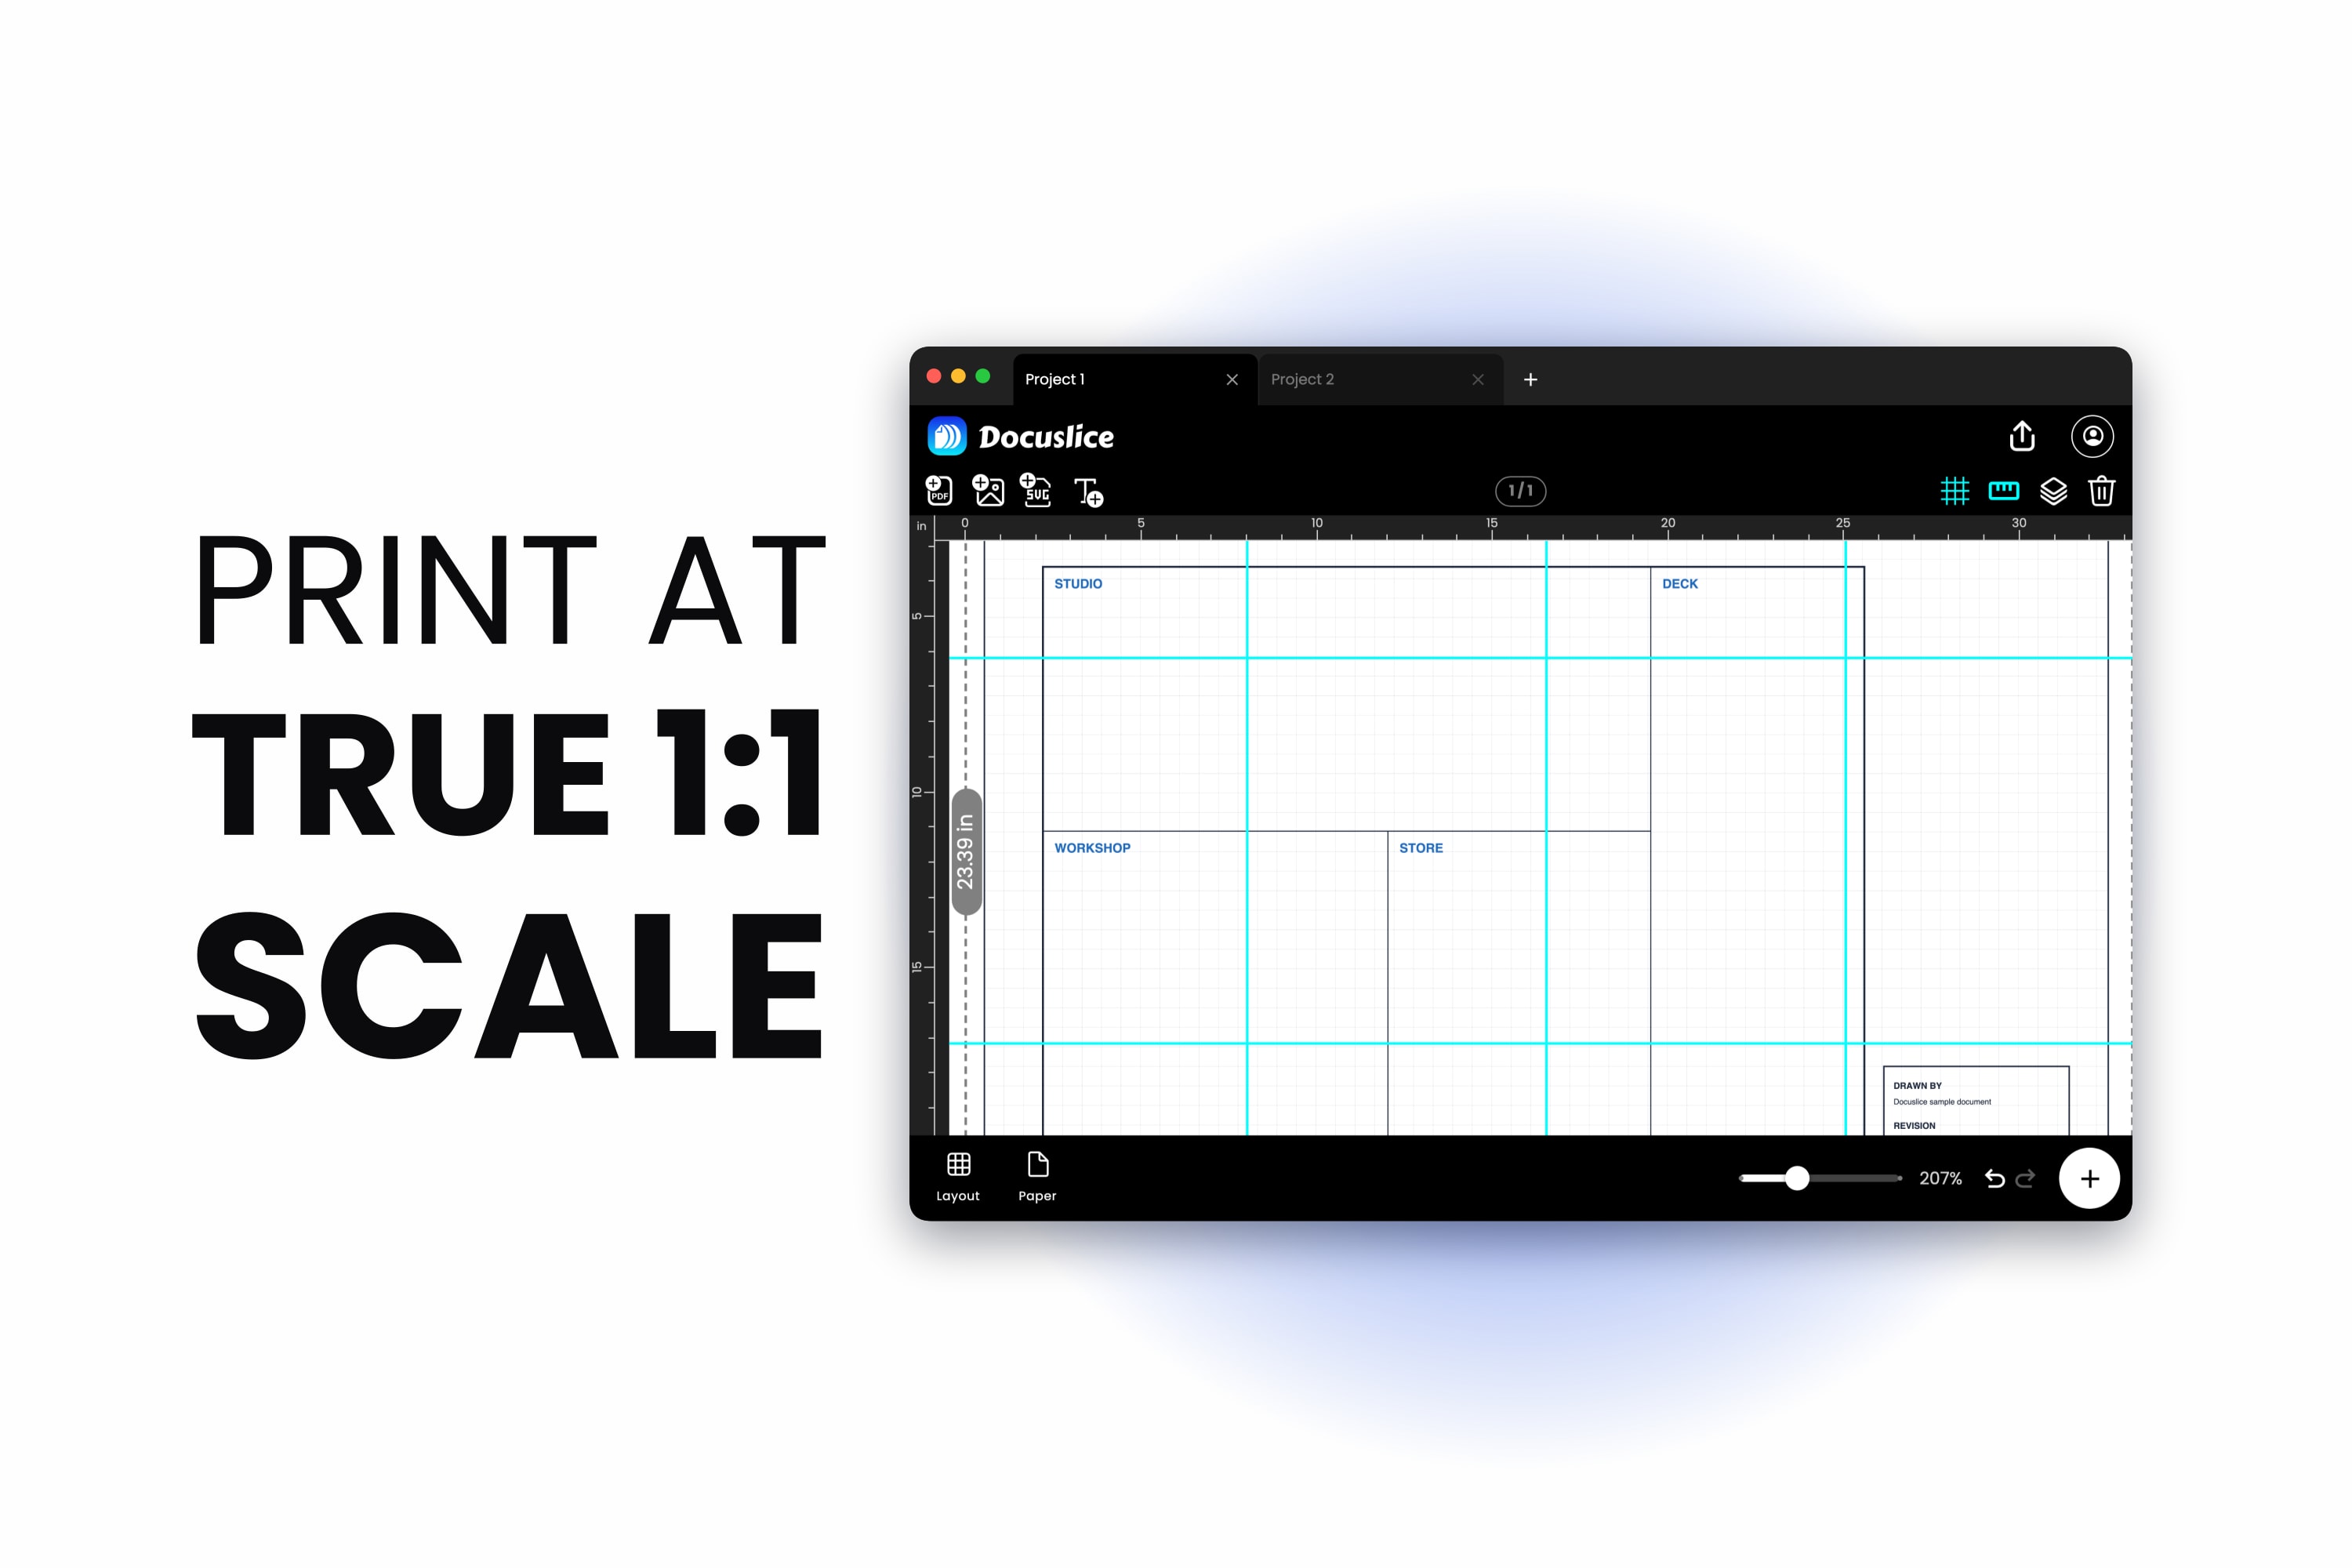
You printed the template, taped it to the workpiece, drilled the holes, and now the hardware does not fit. Or you traced the outline onto leather and the finished piece came out a few millimetres small in every direction.
Nothing was wrong with your work. The print was the wrong size.
For a poster, a few percent does not matter — nobody measures a poster. For a woodworking template, a leather pattern, a CNC or laser layout or a drilling guide, a few percent is the difference between a part that fits and firewood. This post is about getting a printed template out at true 1:1, and about proving it before you commit material and an afternoon to it.
The short version: never trust a print dialog. Print one calibration sheet, measure it with a steel rule, and only then print the rest.
Step 1 — Set the Template's True Dimensions, Not the Paper Size
This is the shift in thinking that fixes most 1:1 problems.
Almost everyone starts by asking "what paper is this on?". The question that matters is a different one: how big is the thing in the real world? A drawer front is 420 mm wide. A knife sheath pattern is 8.75 in tall. Those are the numbers that have to be right. The paper is just what happens to be underneath.
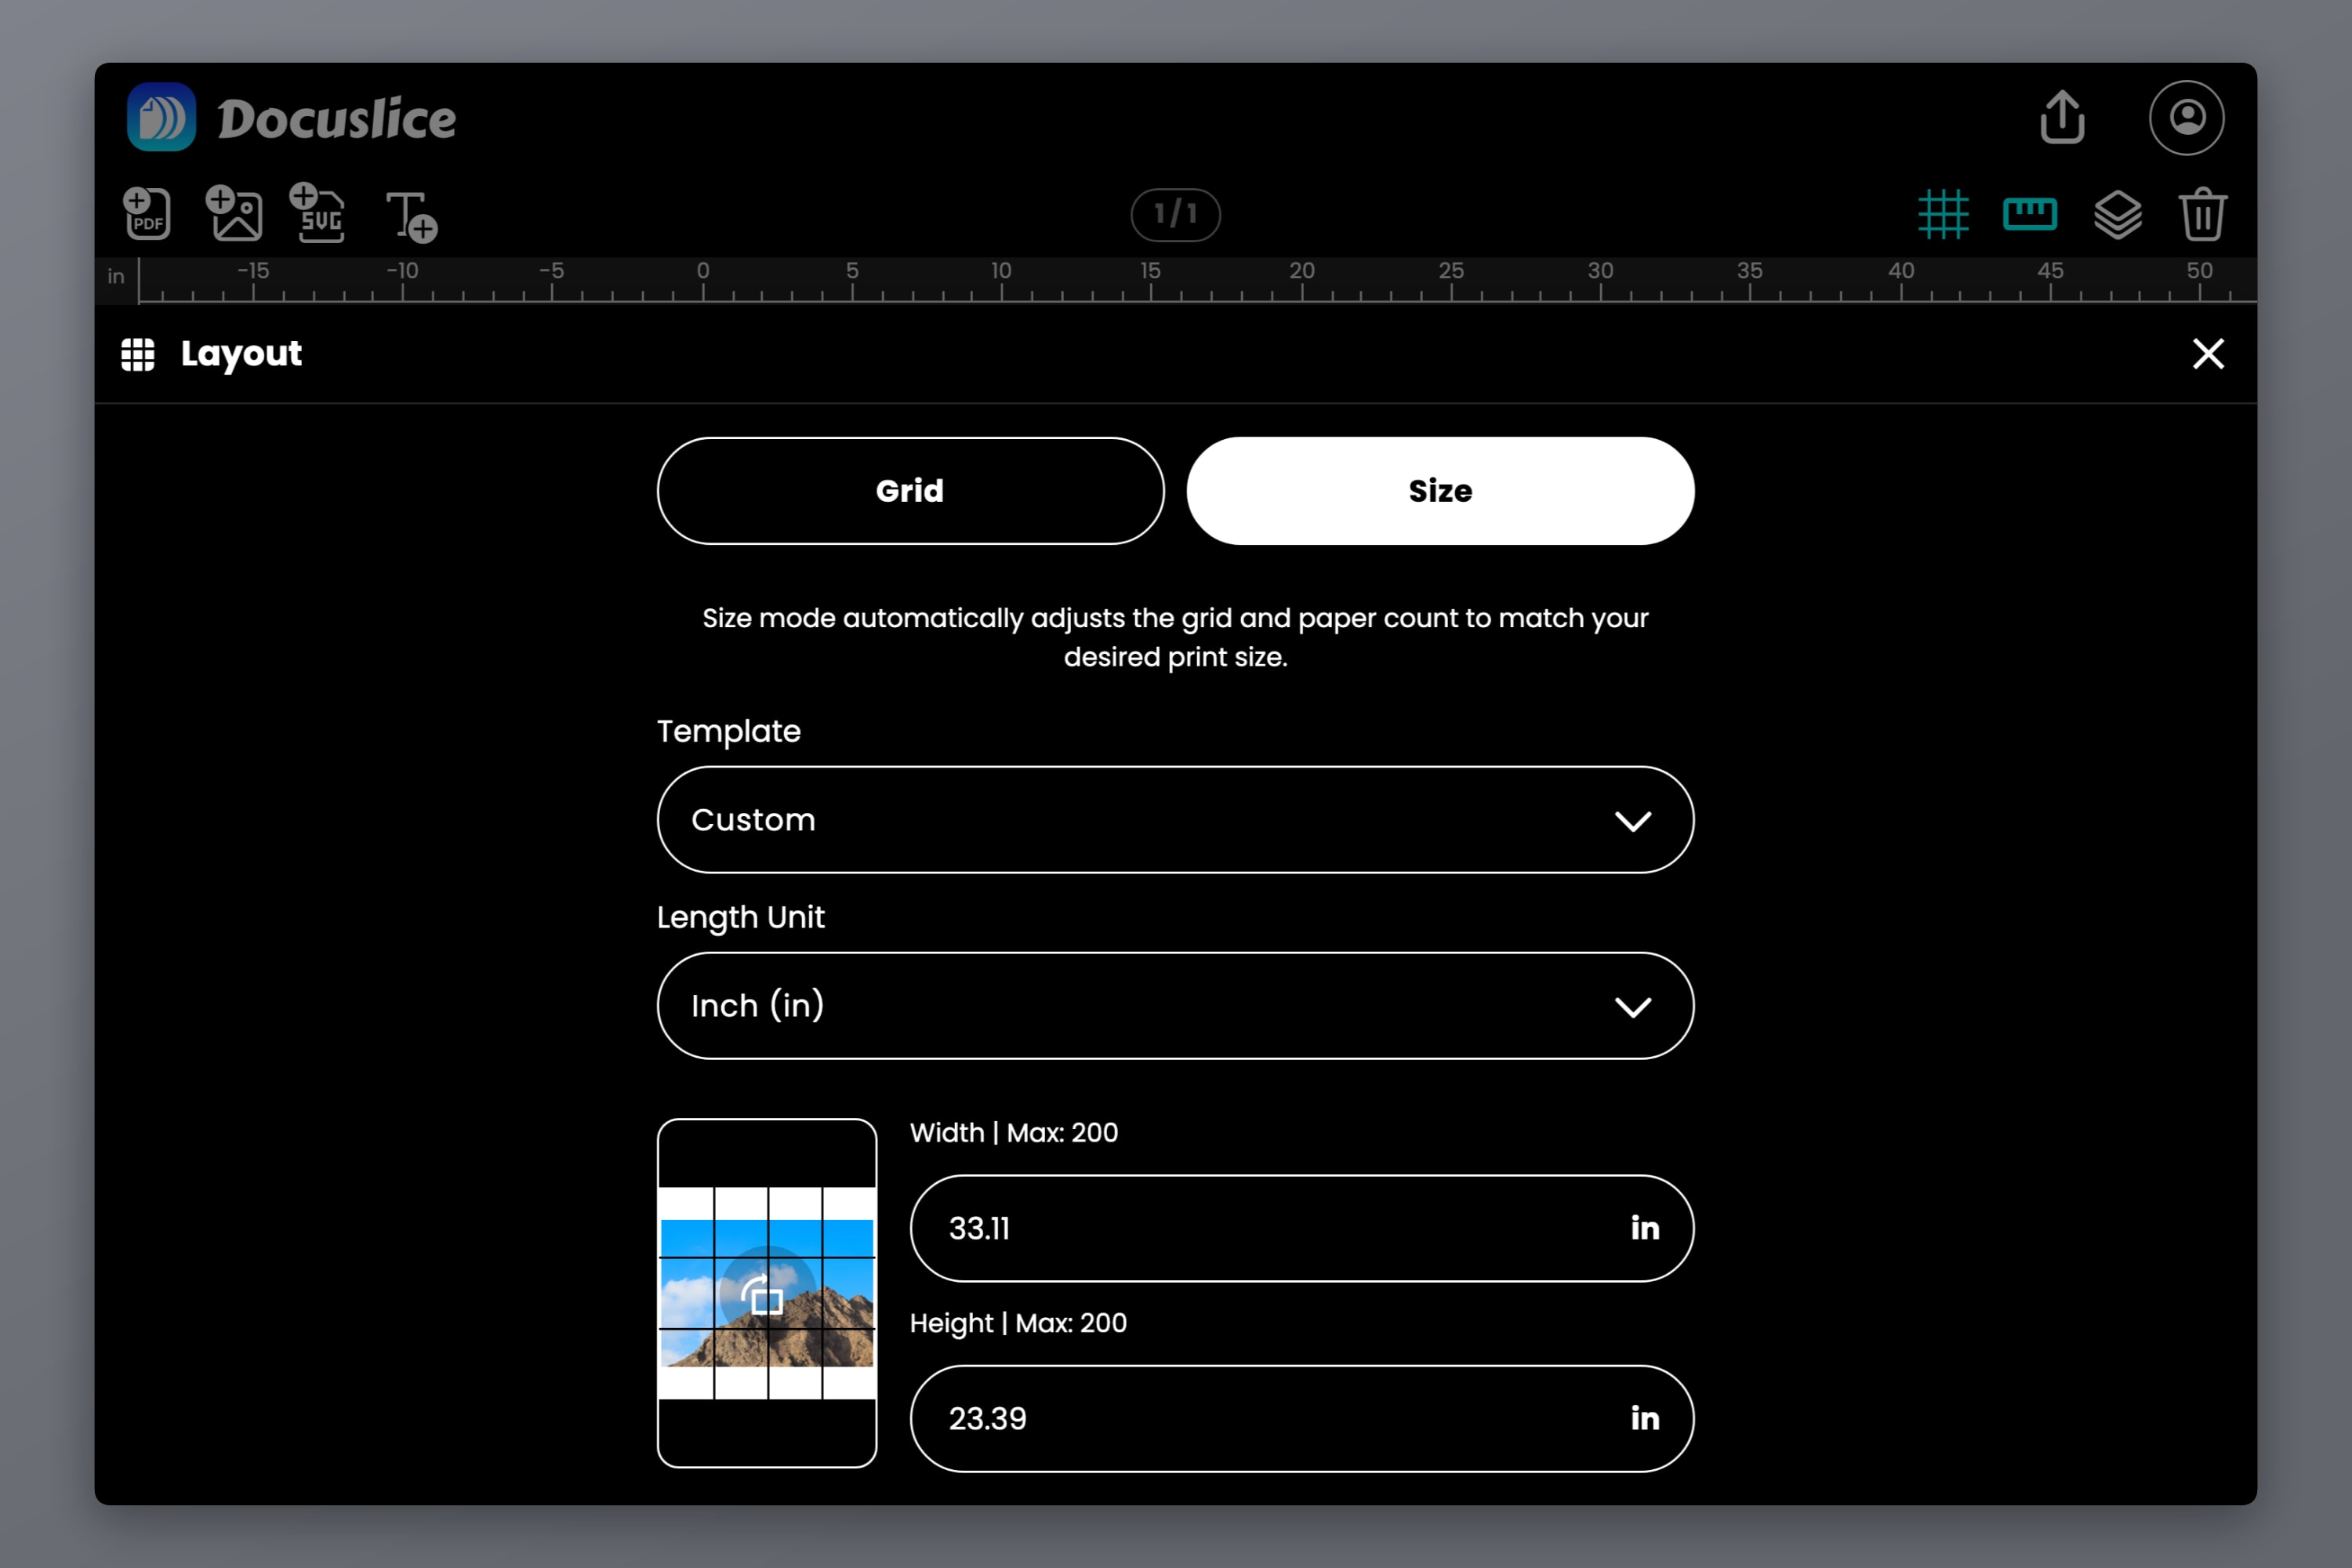
In Docuslice, that is what size mode is for. Instead of describing the layout as rows and columns of pages, you type the finished size of the artwork and let the app work out how many sheets it takes.
- Start a project and import your template — a PDF exported from CAD, a scan of a paper pattern, or an image.
- Switch the Layout from Grid mode to Size mode.
- Enter the template's real width and height.
If the file was exported at true size from CAD, enter that exact size and the geometry survives end to end. If it is a scan of a paper original, enter the dimension you measured off that original with a rule — one known edge is enough, because setting the width at the correct aspect ratio sets the height too.
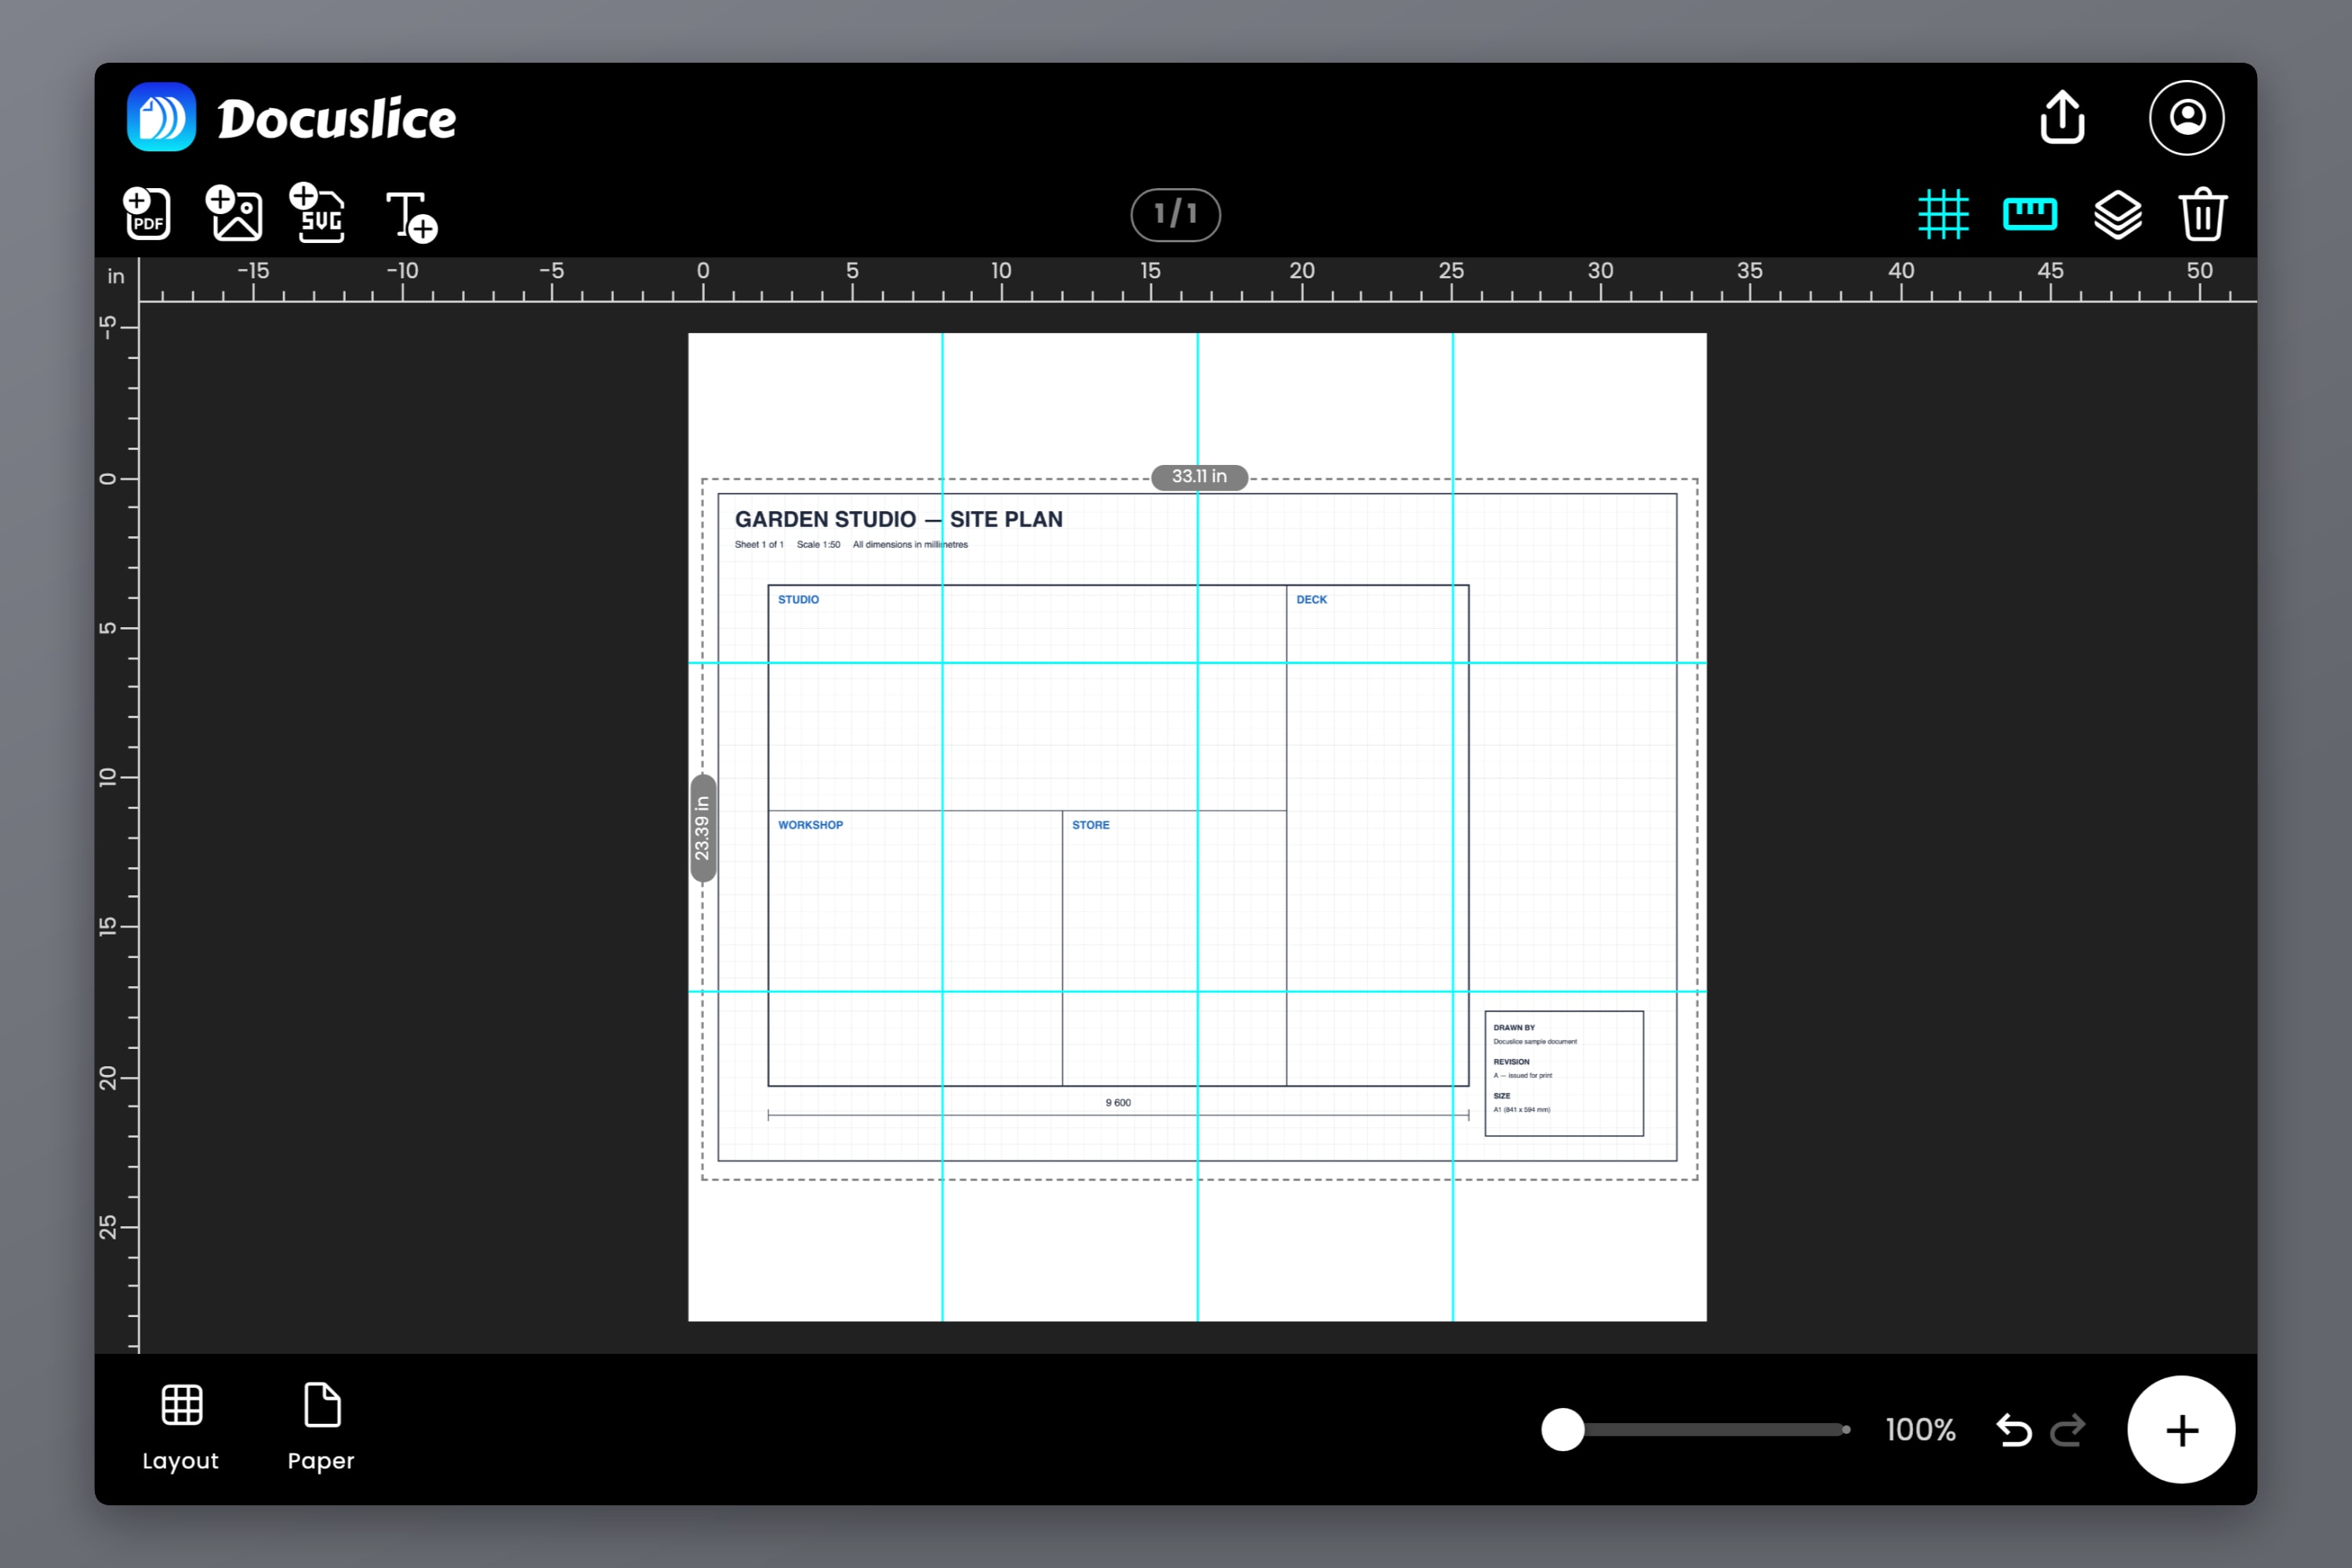
The paper size and orientation picker is a separate decision, made after. Pick whatever is loaded in your printer — A4, Letter, Legal, A3 — and the sheet count updates to match. Change your mind about paper later and the template stays the same size; only the number of sheets changes. That separation is the whole point: the design owns its dimensions, the paper does not get a vote. For the full tour of size mode, see printing images at a specific size.
Work in the units your drawing uses
Unit conversion is a quiet source of error. A drawing dimensioned in inches, converted to millimetres by hand and rounded somewhere along the way, will not be the size you started with.
Docuslice takes millimetres, centimetres, metres, inches or feet, so switch the unit to match your source drawing and type the number straight in. No arithmetic, nothing to get wrong.
Fractional inches are worth a word. If the plan says 15 3/8 in, that is 15.375 in — do not round it to 15.4. That is a quarter of a millimetre, which sounds like nothing, except that stacked joinery errors do not cancel out.
Step 2 — The Calibration Sheet
Here is the ritual. It costs one sheet of paper and two minutes, and it is the only thing standing between you and a template that lies to you.
Print one sheet, not all of them
Set up the job, then print only the first page — every print dialog lets you specify a page range. Before you send it:
- Set the printer scale to 100% or Actual size.
- Turn Fit to Page, Shrink to fit and Scale to fit printable area off. All of them. This is the single most common cause of a wrong-scale print.
- Turn borderless or edge to edge printing off.
- Make sure the paper size in the driver matches the paper size you chose in Docuslice.
Measure with a steel rule, not a tape measure
A tape measure is the wrong instrument. The hook on the end is deliberately loose — it floats by the thickness of the hook so the tape reads correctly for both inside and outside measurements — and the blade is curved, so it never sits flat on paper. Neither matters on a stud wall; both matter when you are hunting a 1% error.
Use a steel rule, a machinist's scale or a caliper. Lay it flat, line the zero mark up with the start of the feature, and read it under good light.
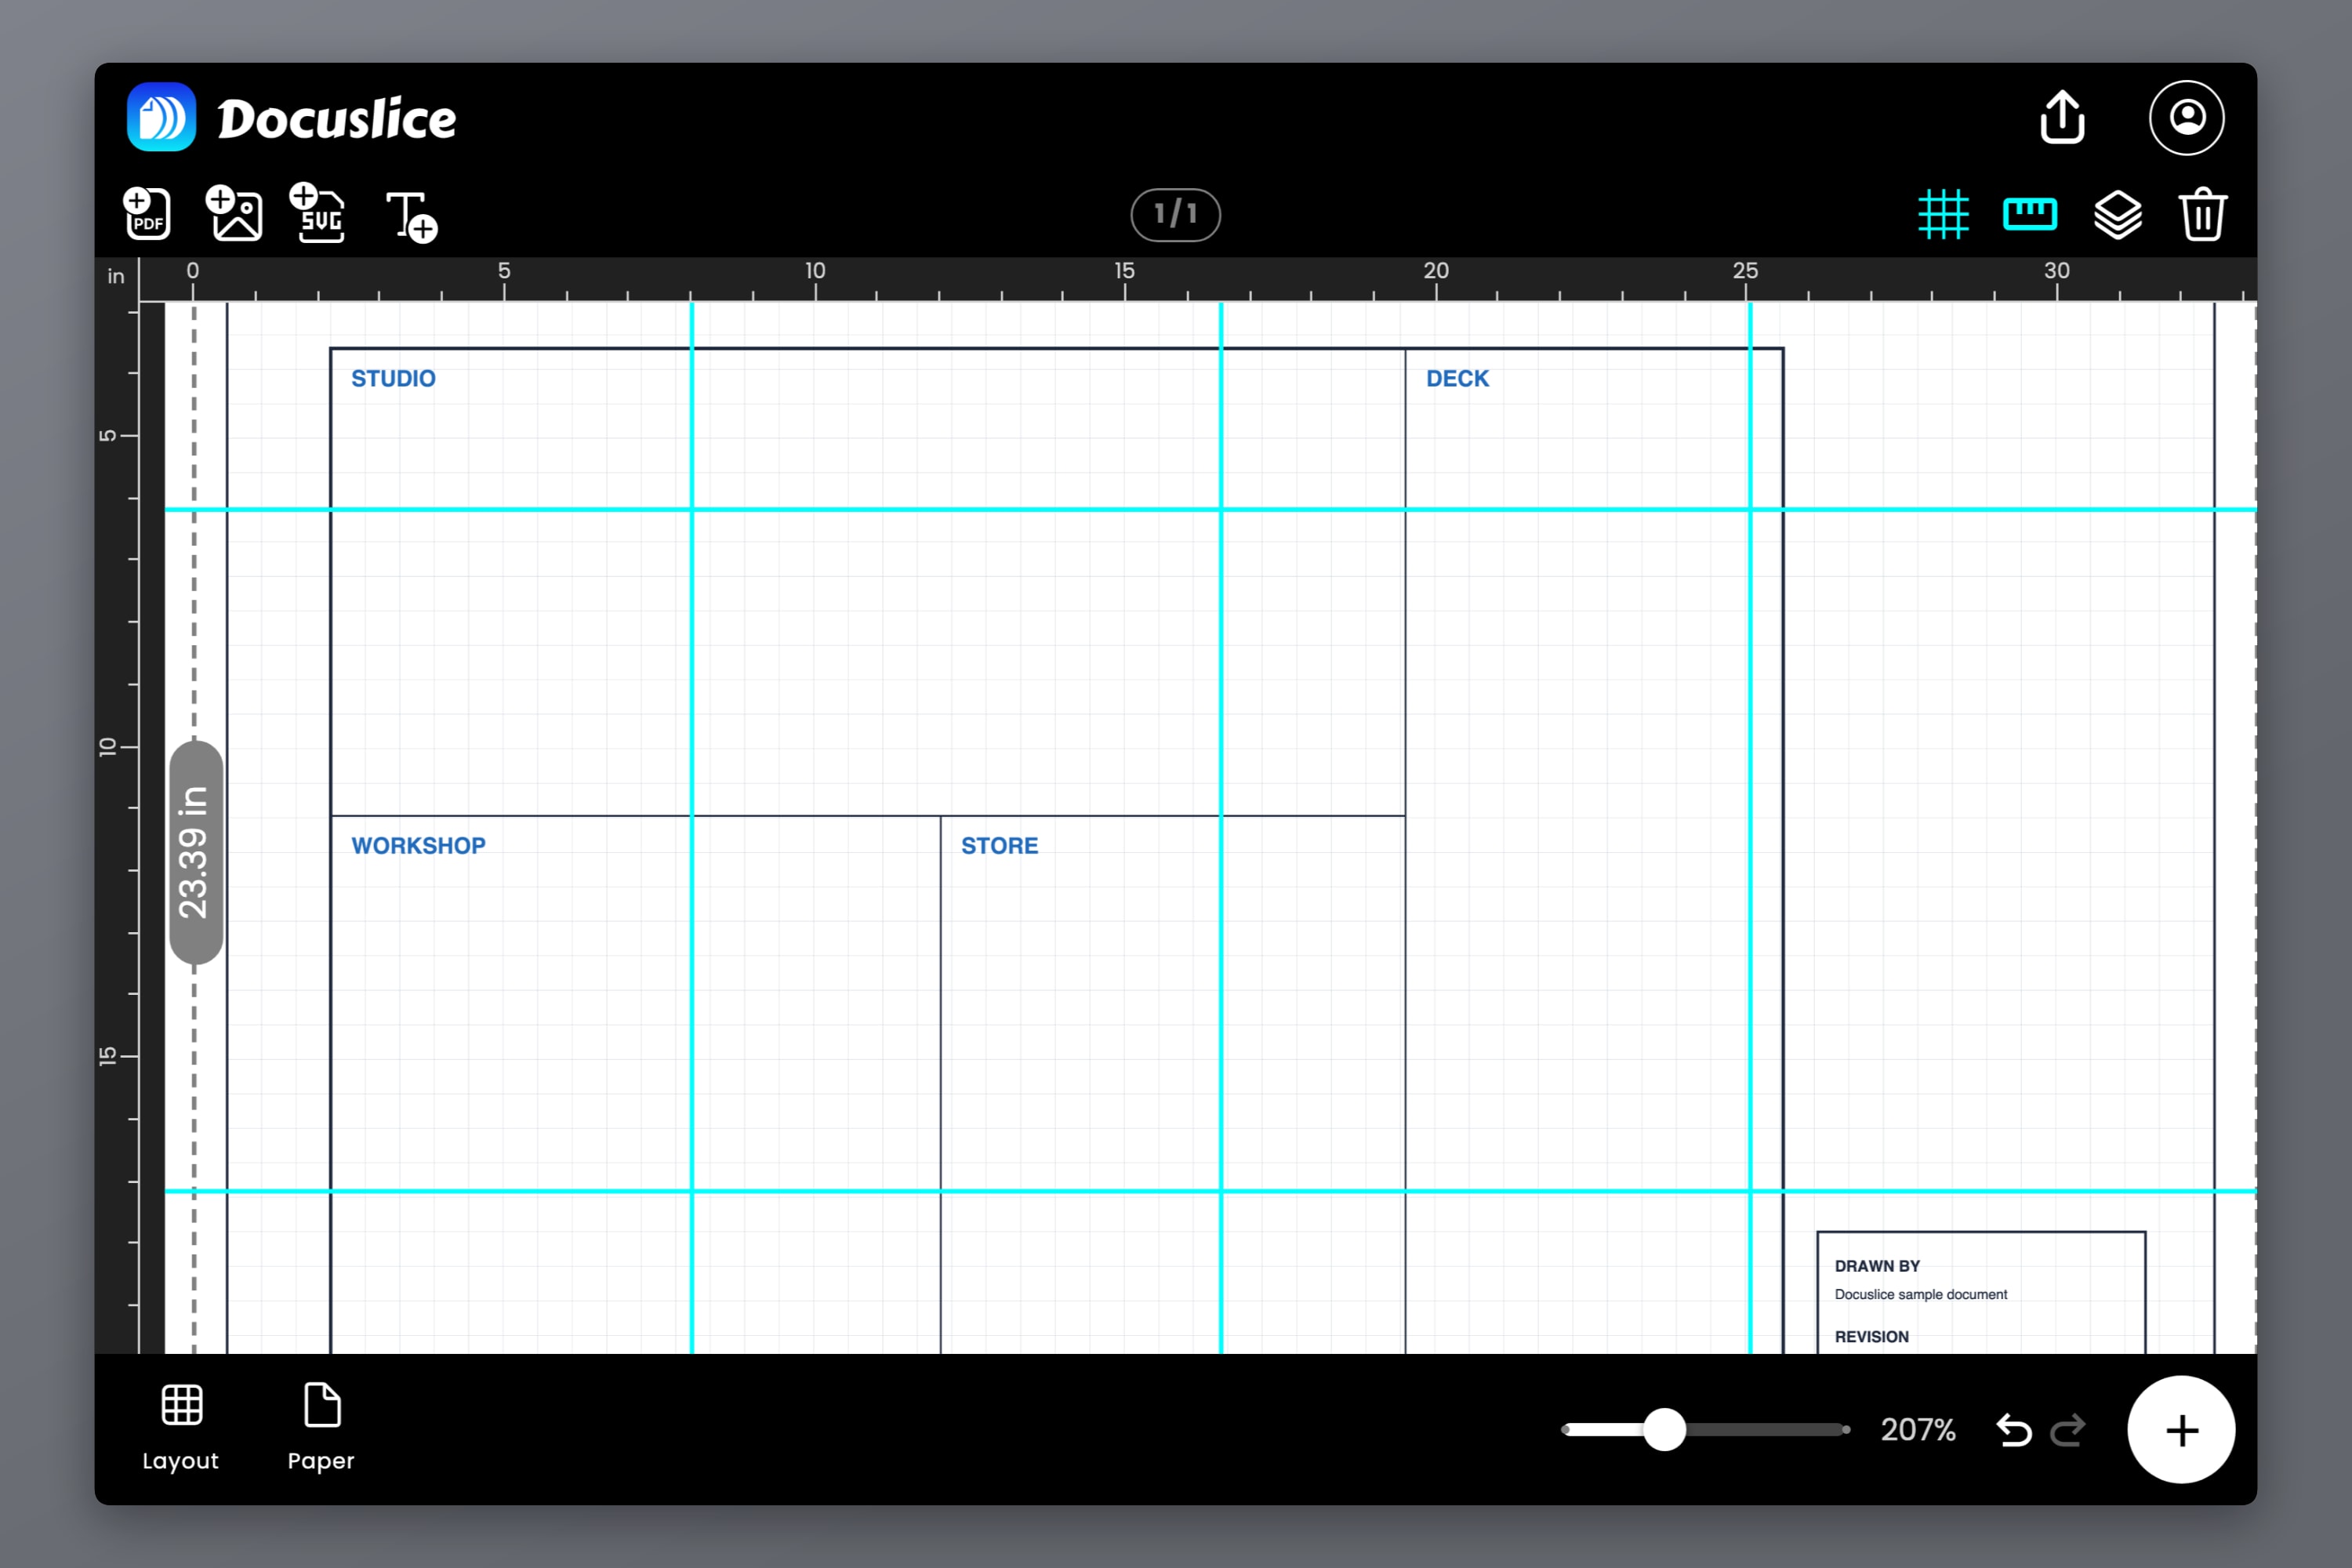
Measure the longest known dimension on the sheet, not a convenient short one. A 1% error over a 20 mm reference is 0.2 mm, which you will never see; over 250 mm it is 2.5 mm, which is obvious. If your template has a calibration square or scale bar, use it. If it does not, add a rectangle of a known size to the canvas yourself — the rulers and guides in the editor make it easy to place accurately.
Turn the difference into a percentage
Do not eyeball it. Do the arithmetic:
scale factor = measured length / intended length
error %      = (scale factor - 1) x 100
You asked for a 200 mm reference and measured 193 mm. That is 193 / 200 = 0.965, so you are printing at 96.5%, an error of -3.5%. Over a 600 mm template that is 21 mm of accumulated error.
Measure both axes while you are there. Some printers scale slightly differently along the paper feed direction than across the carriage, which shows up as a template that is right in one direction and wrong in the other.
Correct and re-check
If the error came from Fit to Page or borderless mode, fix the setting and reprint the calibration sheet. That is the right fix, and it usually brings you inside a millimetre.
If the setting was already correct and the print is still off — some printers genuinely are, by a few tenths of a percent — compensate on the canvas instead. Divide the target dimension by the scale factor:
corrected size = intended size / scale factorA template that should be 500 mm, printing at 0.965, goes in as 500 / 0.965 = 518.1 mm. Print the calibration sheet again and confirm. Two rounds is normally enough; if you are still chasing it after three, the culprit is a driver setting you have not found yet, not the number you are typing.
One last thing: on a laser printer, let the sheet cool for a few minutes before measuring. The fuser drives moisture out of the paper, so it comes out very slightly small and creeps back as it reabsorbs room humidity. A small effect — but so is the error you are looking for.
Step 3 — Tile the Full Template
With the scale proven, print the rest. If the template is bigger than one sheet, Docuslice splits it across as many sheets as the size needs, and three controls make the assembly survivable:
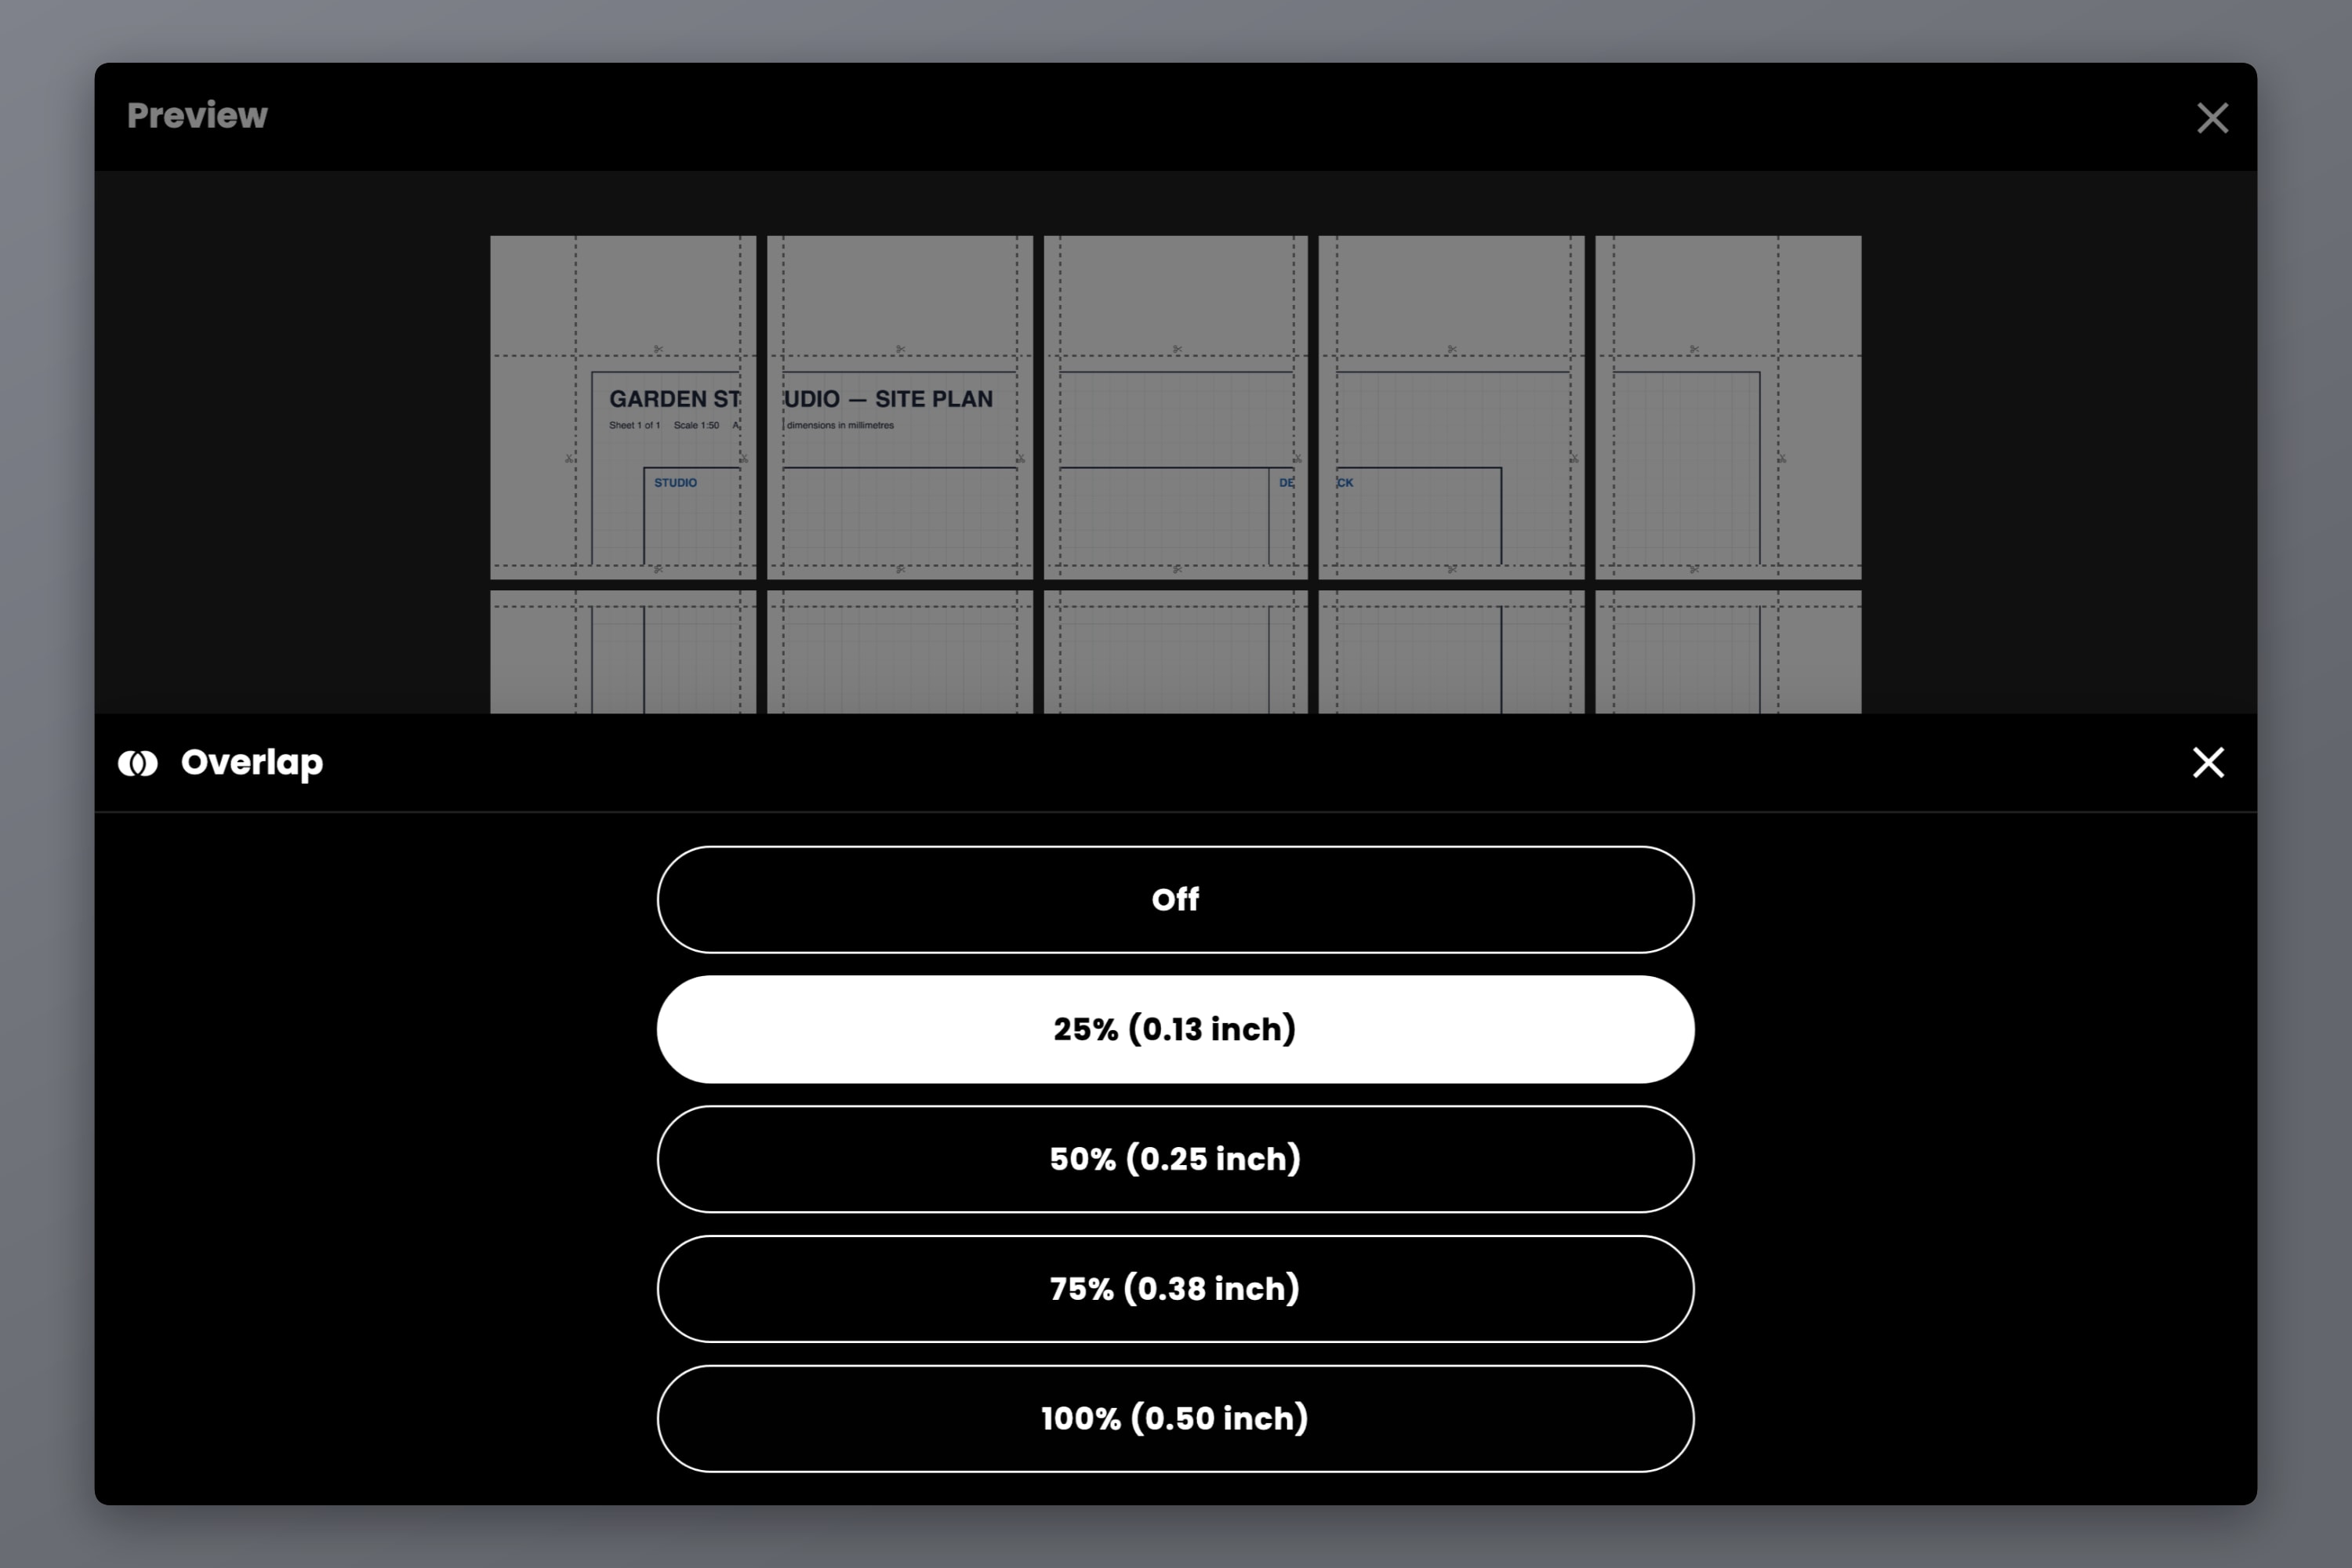
- Overlap — Off, 25%, 50%, 75% or 100%. For templates, 25% is usually the sweet spot. It repeats a strip of artwork along each seam, so you align sheets by matching the lines themselves rather than butting two cut edges together. Alignment by feature beats alignment by edge every time.
- Cut lines and scissor marks — show you exactly where to trim before taping. Trim on the line and the joined sheets stay in register.
- Page numbers — Column & Row, or a plain sequence. On a nine or sixteen sheet template this turns a jigsaw puzzle into an ordered stack.
One template-specific judgement call: look at where the seams land. A seam across a hole centre, a critical curve or a reference edge makes that feature harder to trace, because the tape sits right on top of it. Nudge the artwork on the canvas, or change the margin, and the tile boundaries move with it.
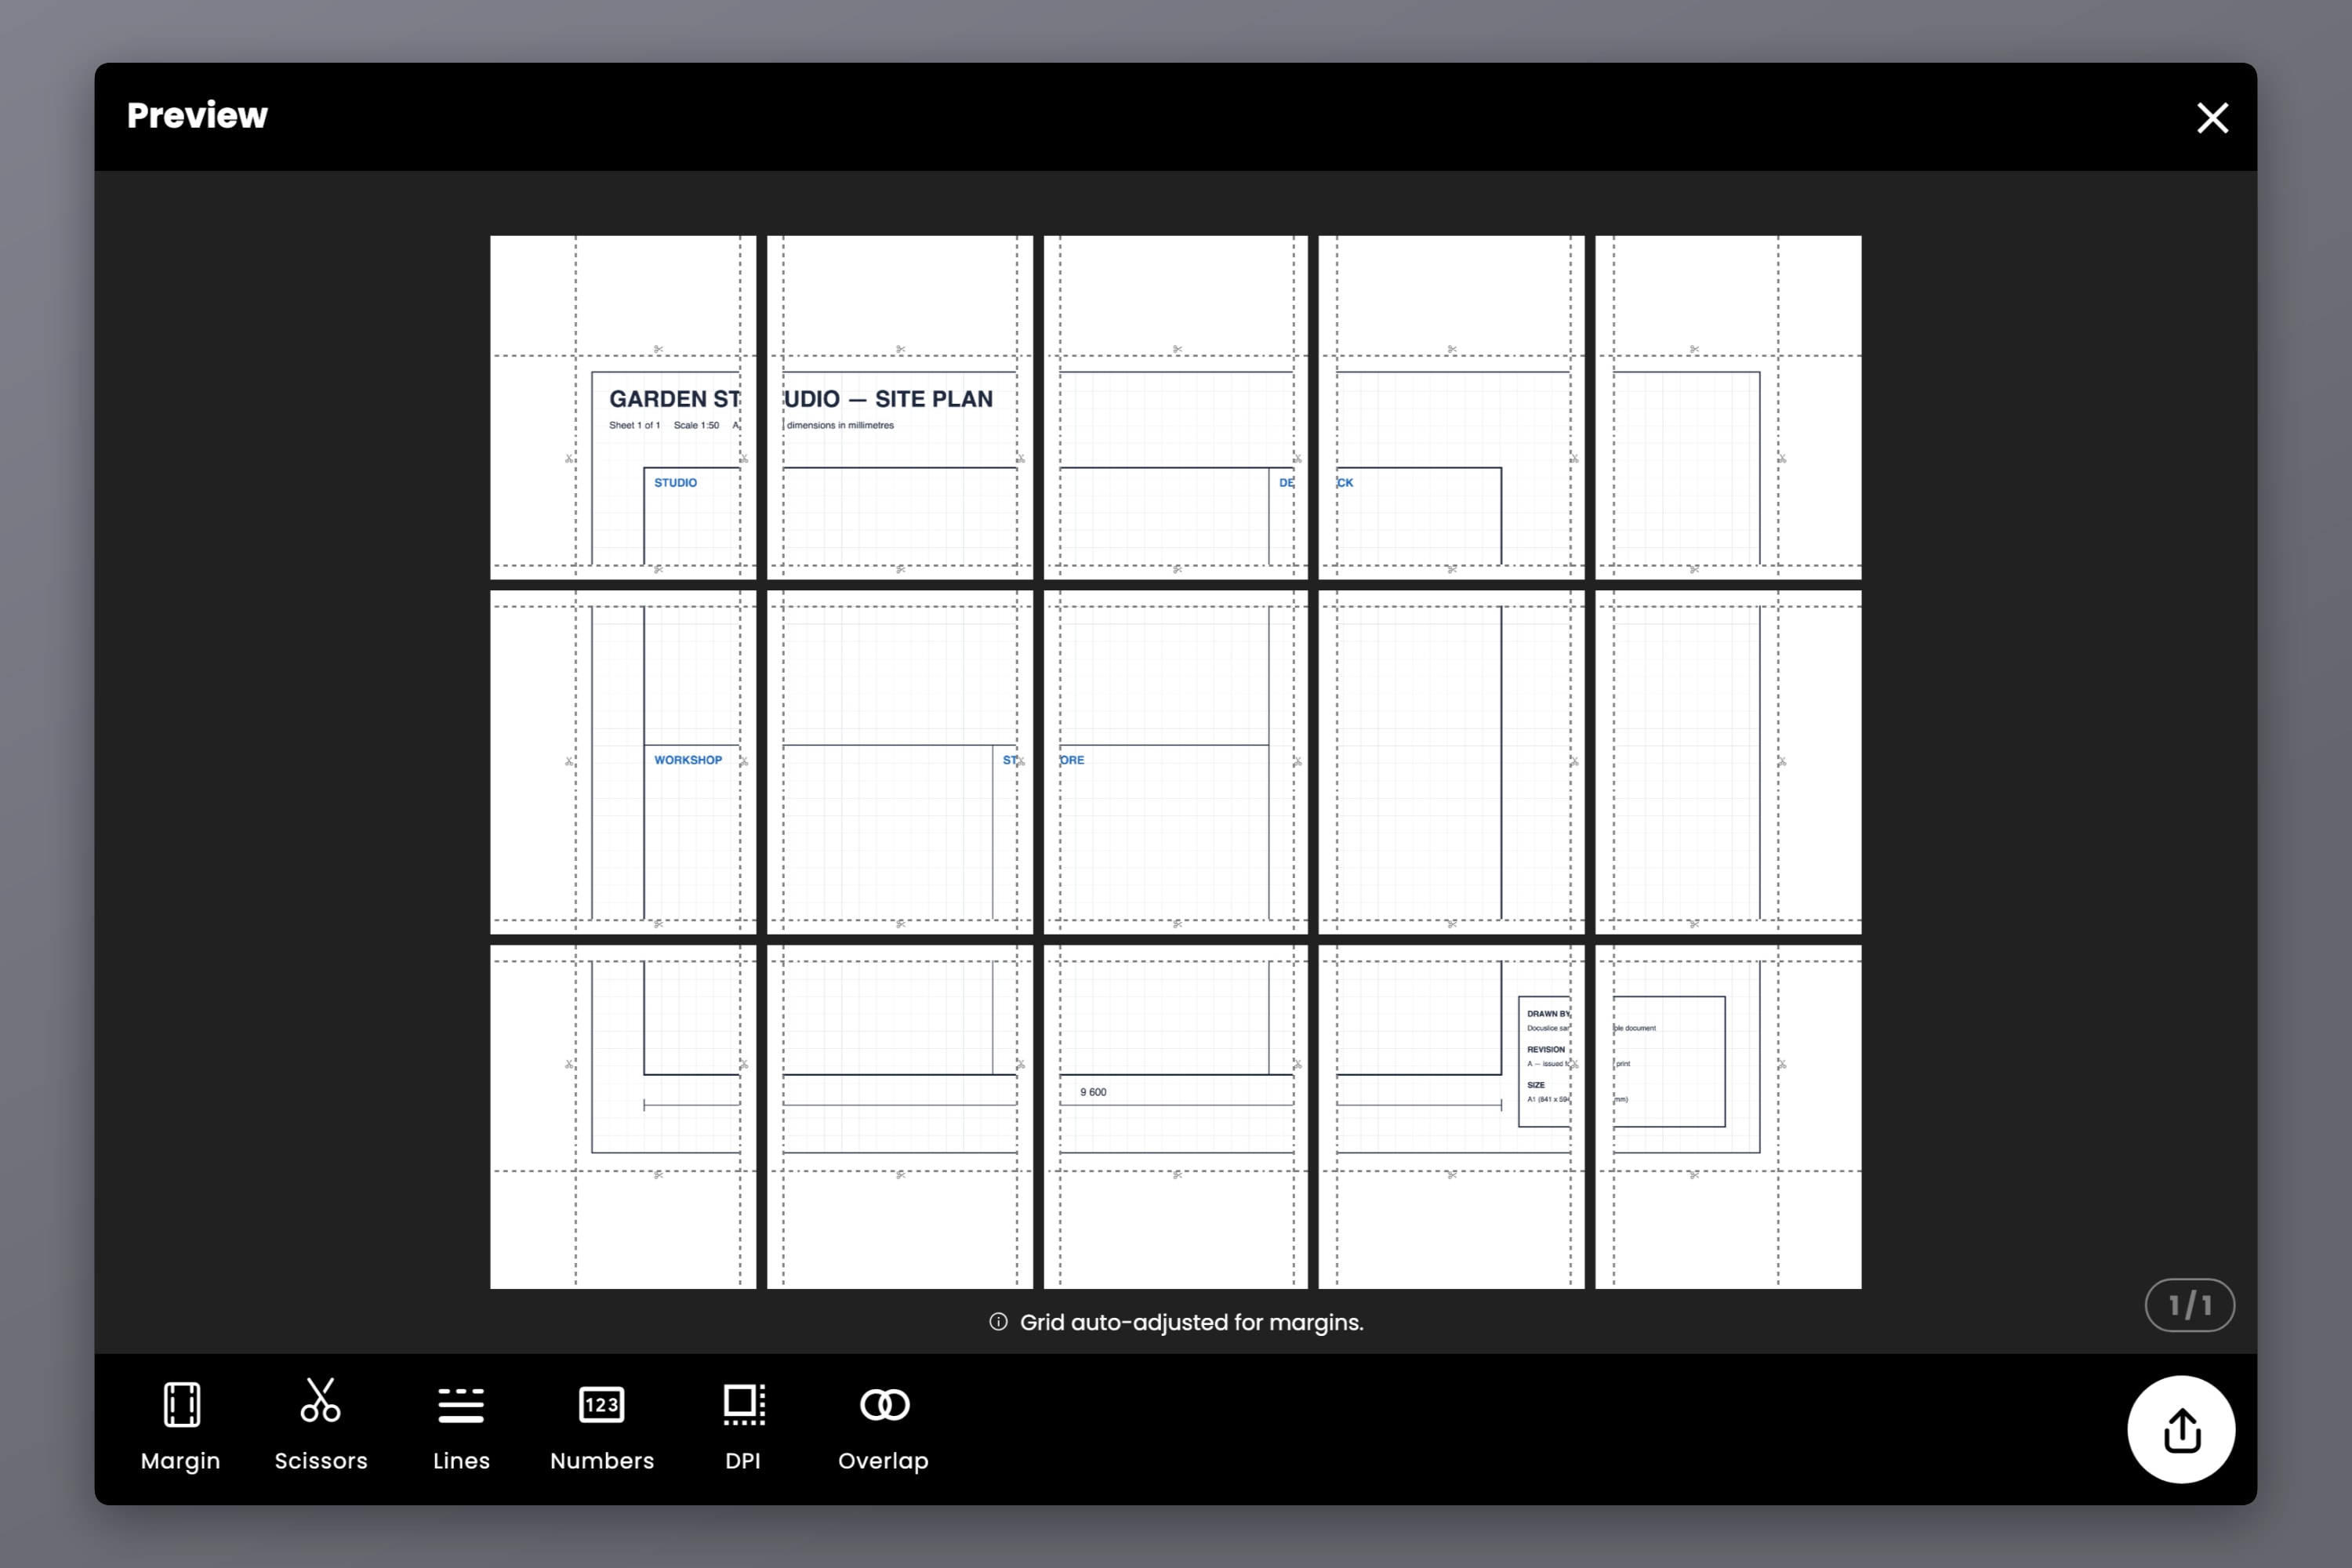
If you want to know in advance how many sheets a given size will need, the poster size chart lists every A-series and US dimension with its tile count. Once the sheets are printed, trim on the cut lines, align on the overlap, and tape on the back of the joint so the tape never sits between your pencil and the paper.
Step 4 — Export Settings That Preserve Accuracy
Export is the last place scale can go wrong.
- Format — export as a PDF for printing. A PDF carries real page dimensions, which is what makes "Actual size" in the print dialog mean anything. Image files are fine for sharing but give the dialog less to work with.
- Vector PDF export (Pro) — if the template started life as a vector PDF out of CAD, this keeps it vector all the way to the printer, so lines stay exact and hairline-crisp instead of being re-rasterized into pixels.
- Export DPI — Standard (160), High (300) or Max (600), with High and Max on the Pro and Pro+ plans. A 160 DPI line is about 0.16 mm of pixel granularity, which is enough to make a knife-line ambiguous, so raster templates with fine detail benefit from the higher settings. DPI changes the detail inside each page, never the physical size.
- Margin — set it to match what your printer can actually reach. Push artwork into the unprintable border and the driver may quietly scale the page to rescue it, undoing everything you did in step 2.
When you print the exported file, use the same settings you validated: 100% scale, Fit to Page off, borderless off, correct paper. The calibration sheet only proves the setup you tested.
If your template is a clothing pattern rather than a workshop one, the mechanics are identical but the checks are not — pattern PDFs ship with their own test square and seam allowances behave differently across a join. That case has its own walkthrough: how to print a sewing pattern at full size.
Frequently Asked Questions
Print one sheet, measure a known reference on it with a steel rule, and divide measured by intended. A scale factor of 1.000 is correct; anything else is an error you can express as a percentage and correct.
Almost always Fit to Page or Shrink oversized pages, which most drivers and PDF viewers enable by default. They scale the page down so nothing falls into the unprintable border, typically landing between 94% and 97%. Borderless mode does the opposite and scales up. Turn both off and set the scale to 100%.
Yes — that is what tiling is for. Set the true size in size mode, pick your paper, and the template is split across however many sheets it needs. The scale stays 1:1 on every sheet; only the paper is divided.
No. Any inkjet or laser printer that can be set to 100% scale will do it. The accuracy comes from the settings and the calibration check, not the hardware.
It makes the lines sharper, not the dimensions more correct. Physical accuracy comes from size mode and the printer scale setting; DPI decides how finely the lines are drawn inside each page.
Different scaling on the two axes usually points at the paper feed rather than a setting, since the carriage and the feed are driven by separate mechanisms. Check the driver first, then compensate per axis by entering separately corrected width and height in size mode.
Download Docuslice
Measure once on paper, and your next cut will fit the first time.