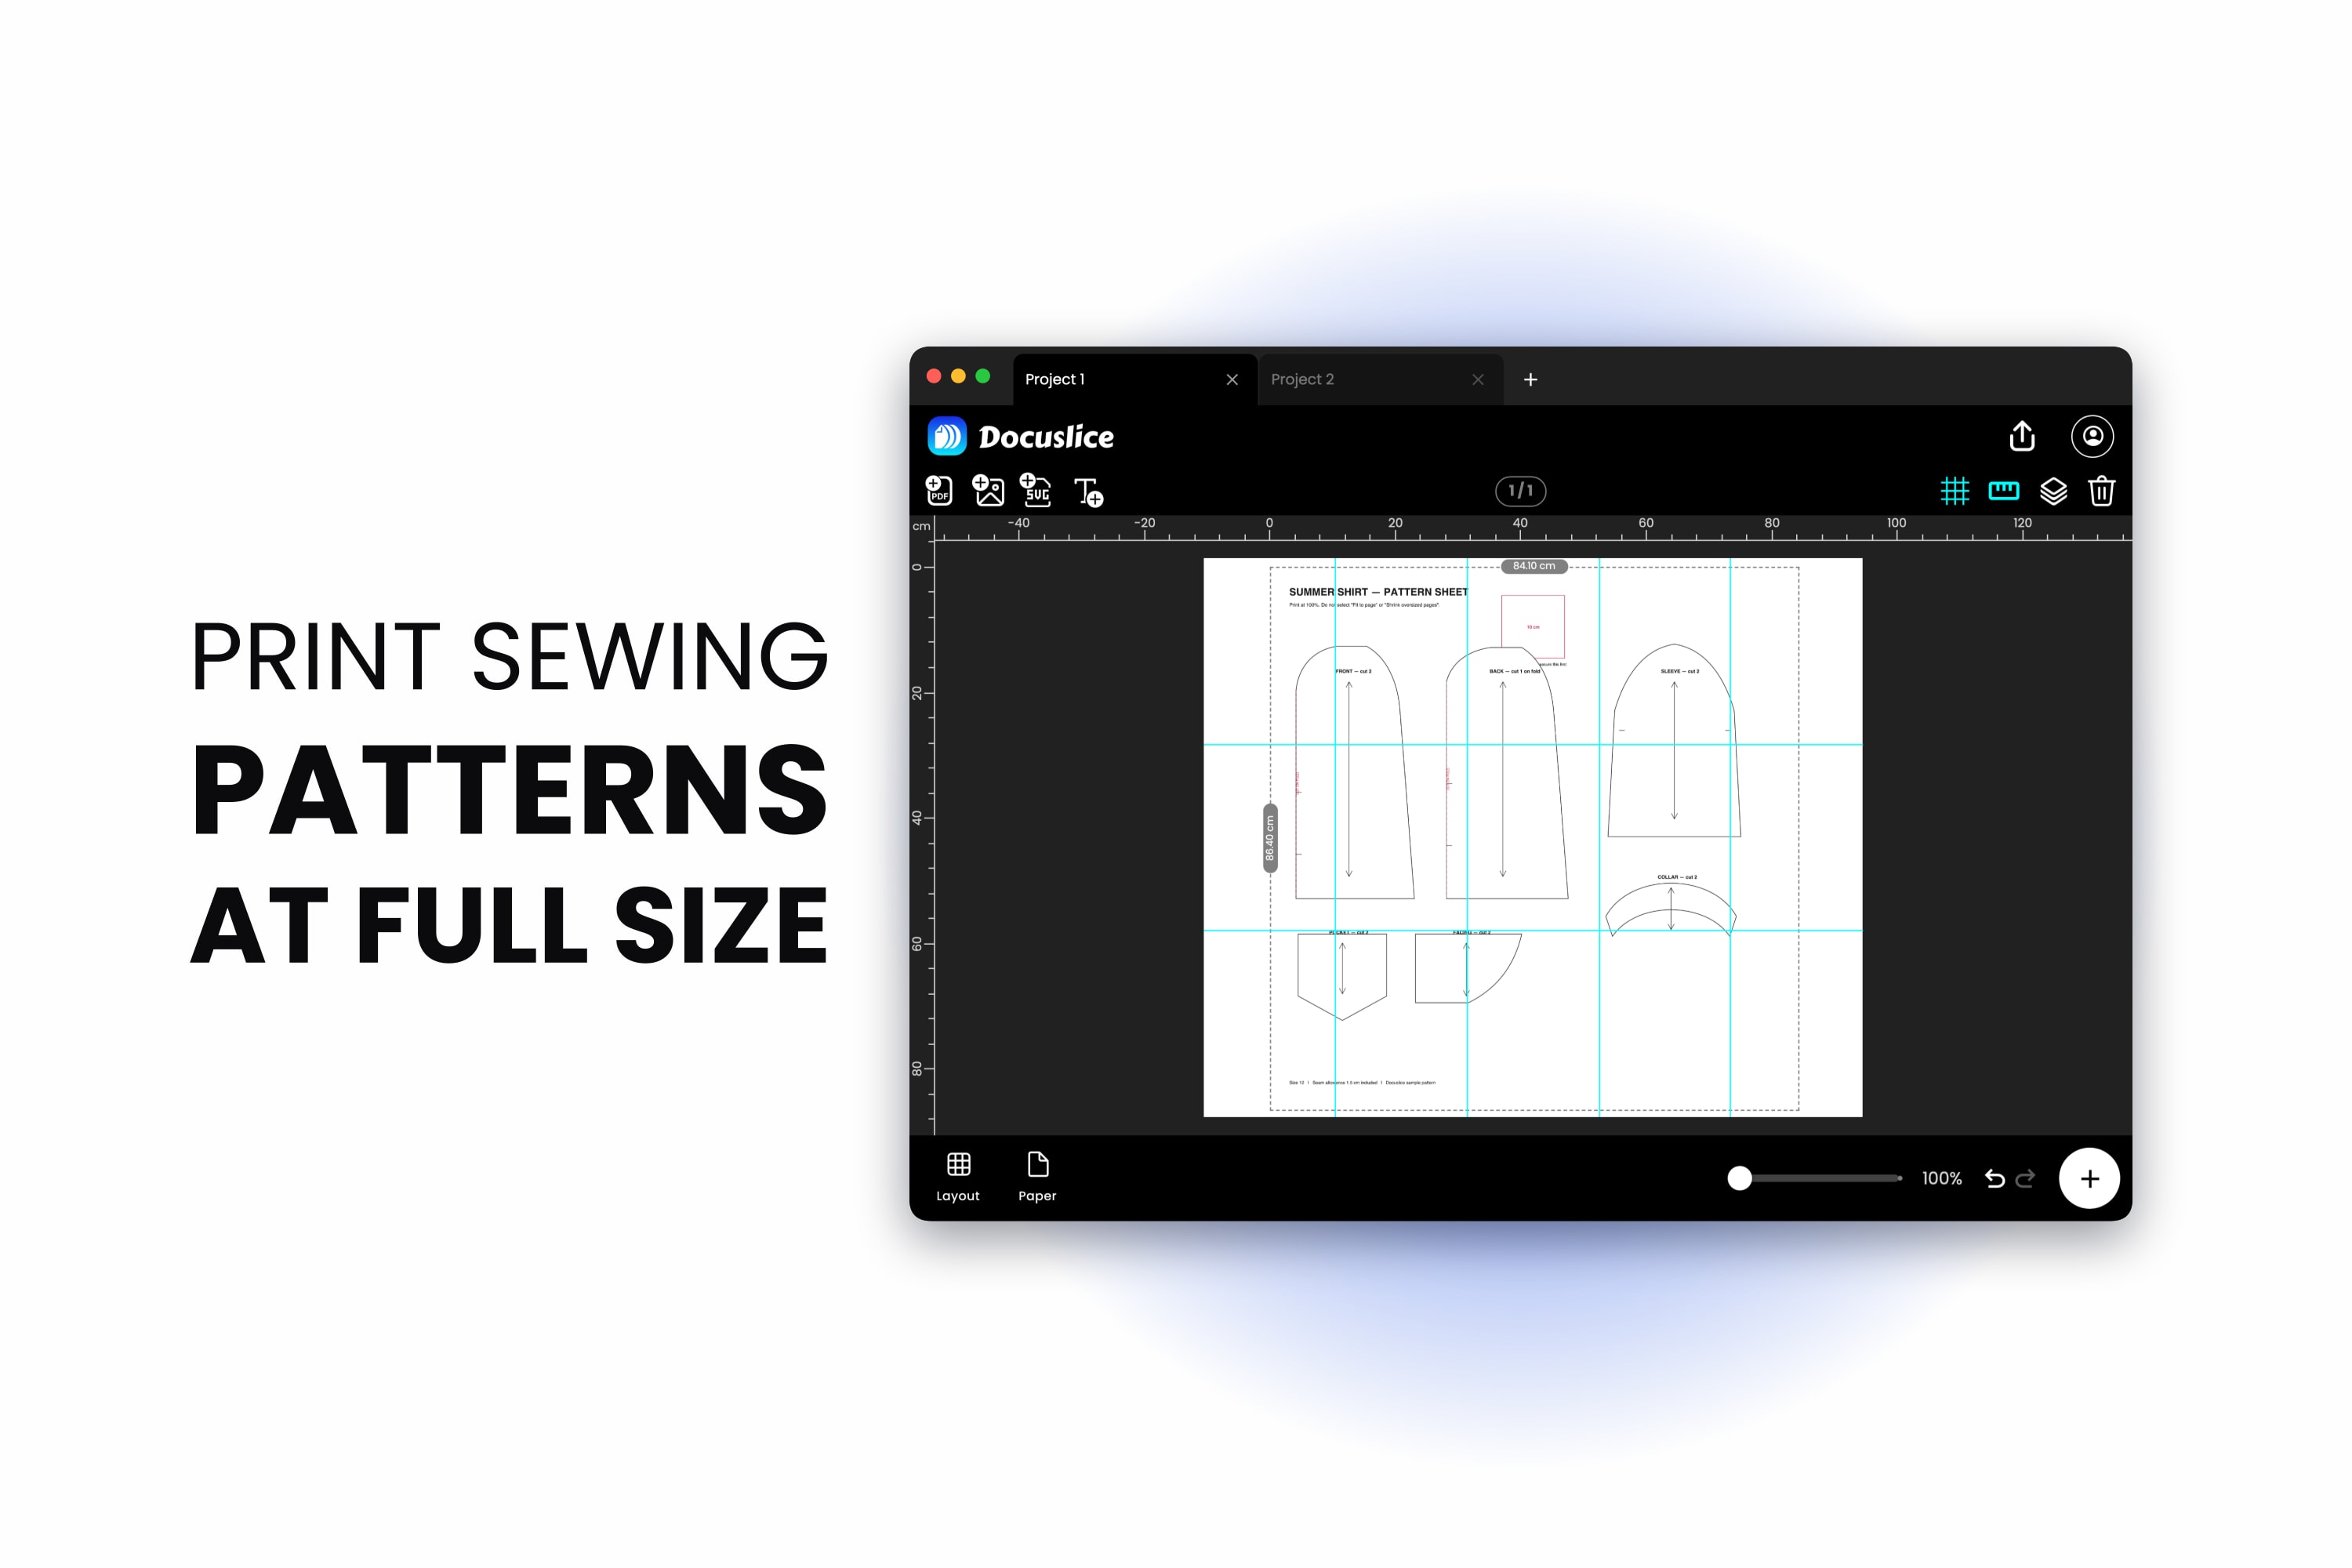
You bought the PDF pattern, printed thirty-something pages, taped them together over an evening, cut into fabric you actually cared about — and the finished garment came out a size too small. Nothing in the printout warned you. The pattern simply shrank somewhere between the file and the paper.
There is almost always one cause: the printer scaled the pages down to fit, and the whole pattern came out at roughly 94 to 96 percent of its real size. On a 10 cm test square that is a 9.4 cm square. Across a bodice, that is a whole size.
This guide covers the fix: the rule that prevents it, how to verify with the pattern's own test square, and how to tile a full-size copyshop pattern across ordinary A4 or Letter sheets.
First, Check Which Kind of Pattern File You Have
Most PDF patterns ship in two versions:
- A4 or Letter tiled version — already split by the designer into printer-sized pages with trim marks and grid letters. If you have this and it prints correctly, you do not need a tiling tool at all. Print at 100% and tape.
- A0 or copyshop version — the whole pattern on one enormous sheet, meant for a print shop.
Docuslice earns its place in three situations: you were only given the copyshop file; the tiled version is laid out for a paper size you do not have; or you would rather print onto A3 and tape half as many sheets.
Rule One: Print at 100%, Never Fit to Page
Before anything else, find the scaling control in your print dialog and pin it down. This is the single setting that decides whether your pattern is accurate.
- macOS — in the print dialog, set Scale to 100%. If you see a Scale to Fit option, turn it off.
- Windows — in Adobe Acrobat Reader, under Page Sizing & Handling, choose Actual size. Turn off Choose paper source by PDF page size if it is fighting you.
- Browsers — Chrome, Edge and Safari default their print preview to Fit to printable area. Leaving Scale on Default is not enough; set the custom value to 100.
Also make sure the paper size in the print dialog matches the paper you actually loaded. A Letter document sent to an A4 tray gets silently shrunk, which is the same failure wearing a different hat.
Step 1: Import the Pattern
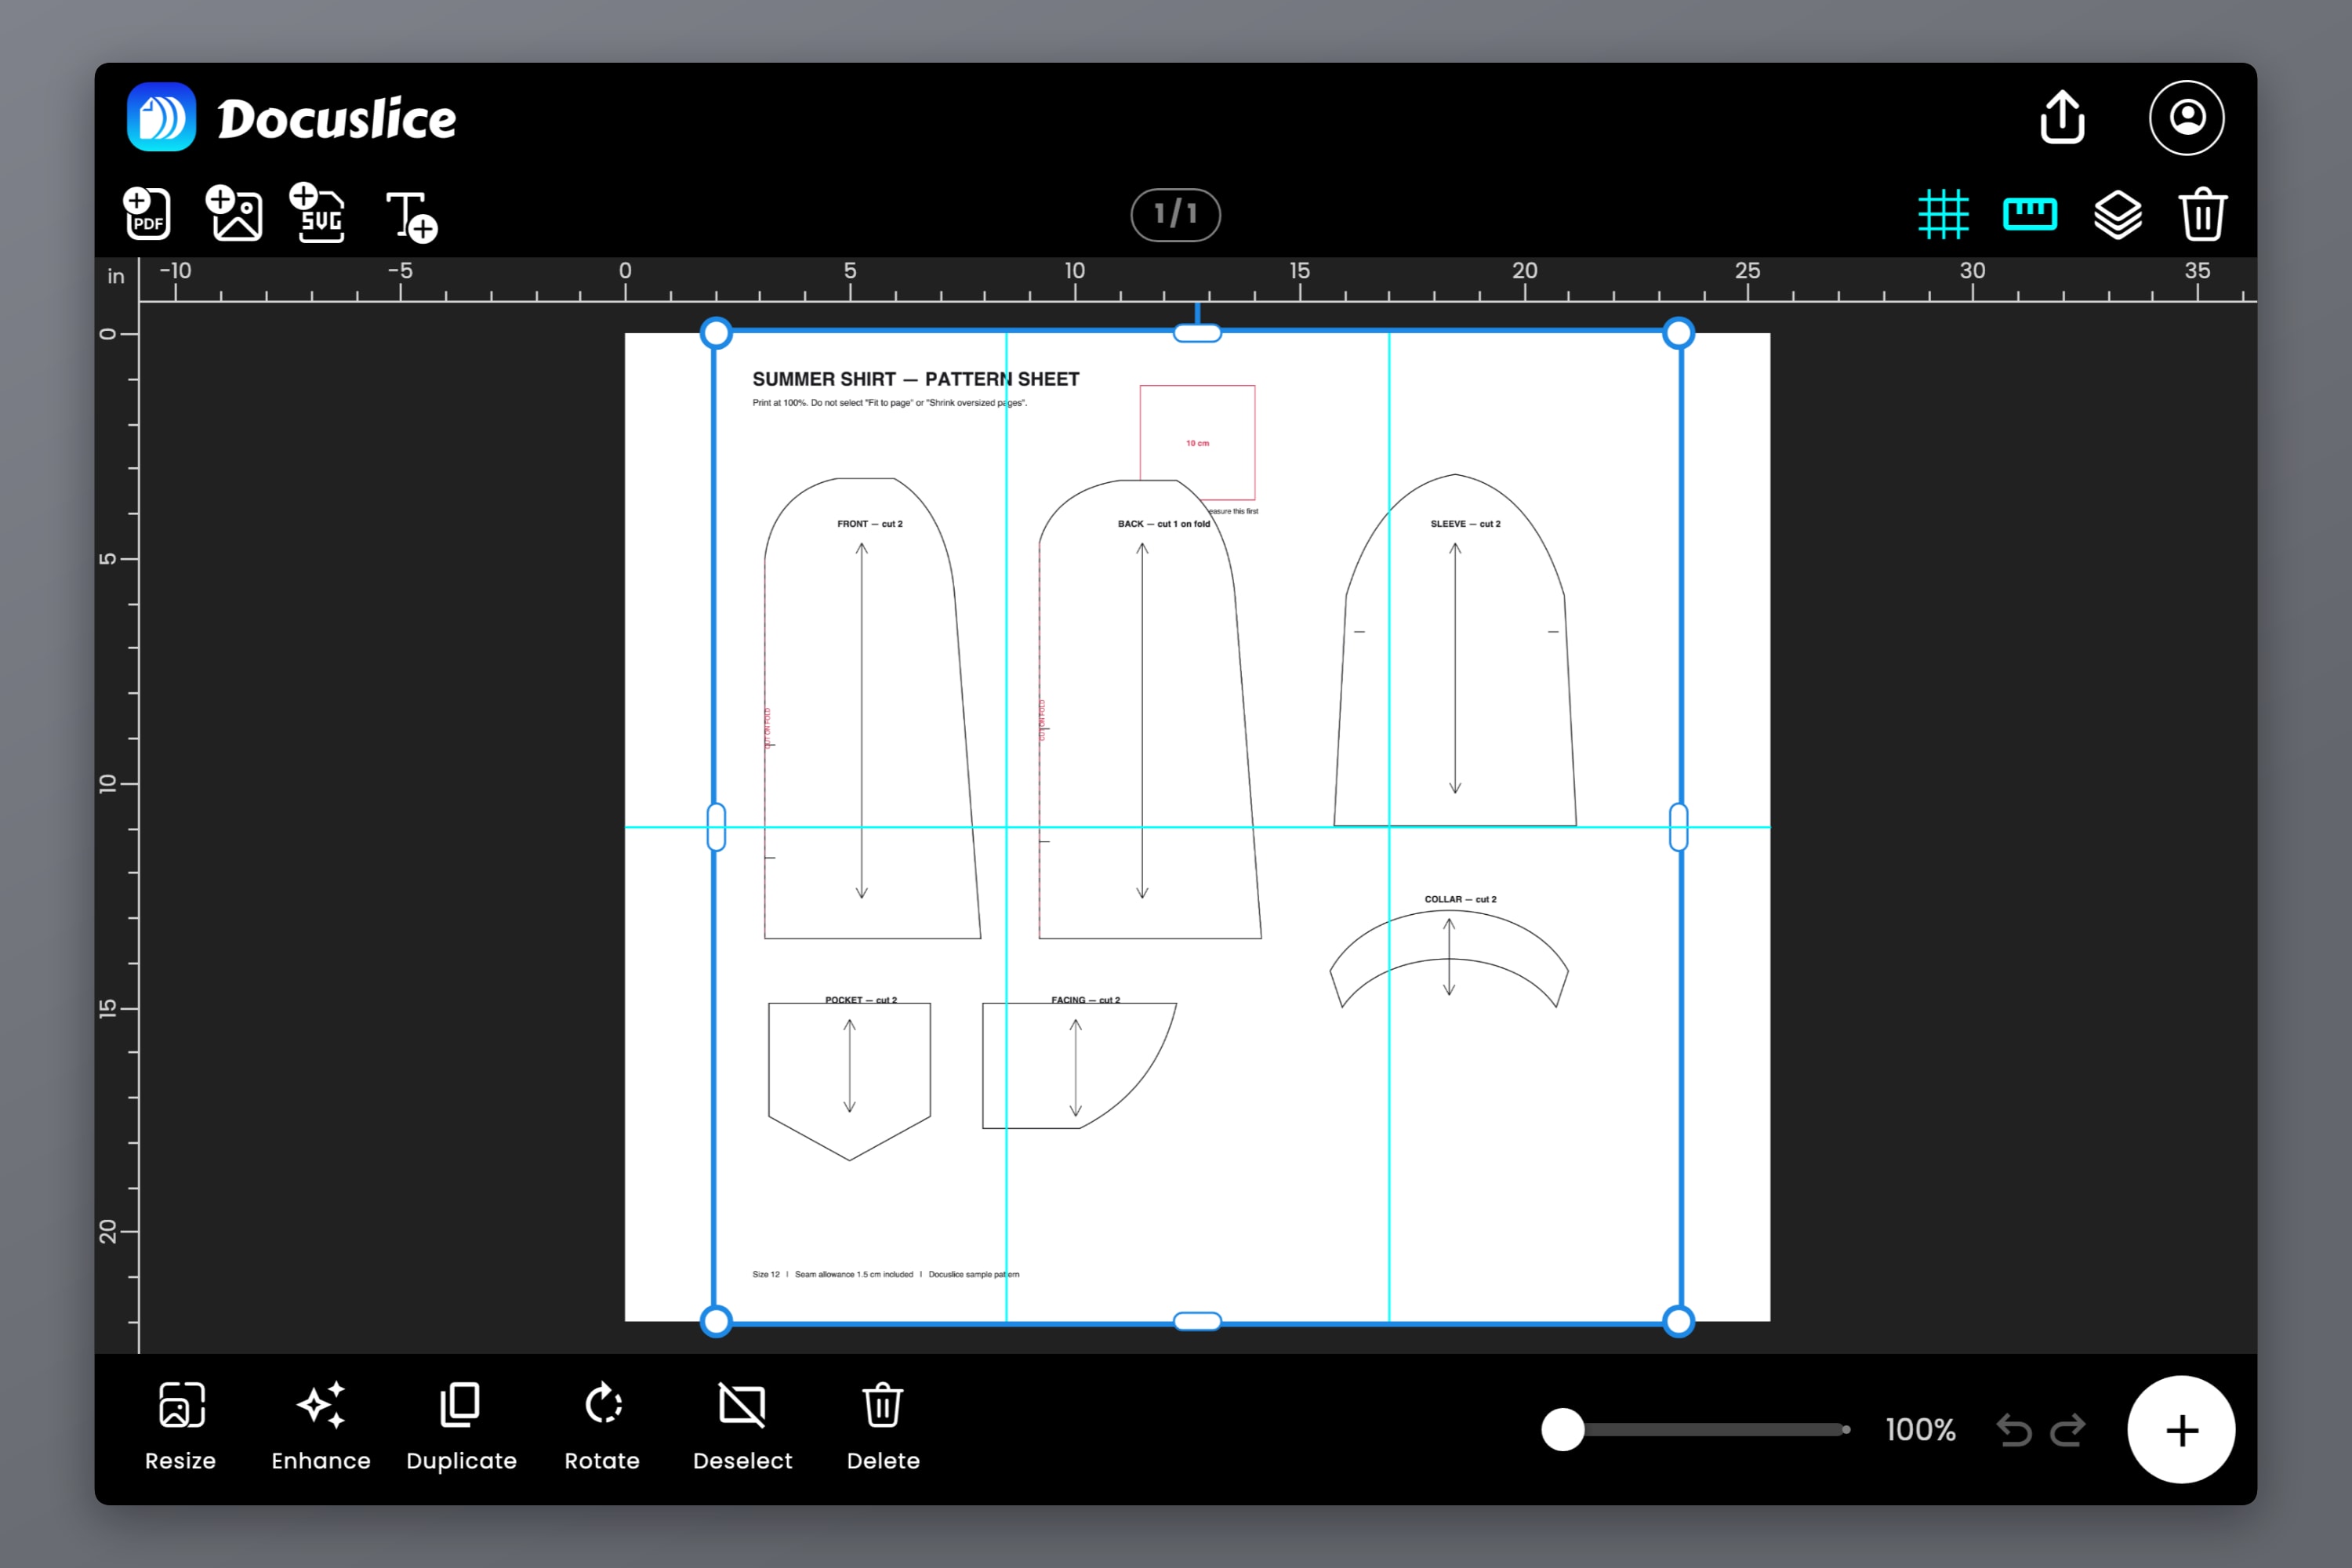
Open Docuslice on web, desktop, iOS or Android, create a project, and drag the pattern PDF onto the canvas — or use Import PDF. A multi-page pattern imports as pages you can place individually.
Step 2: Set the Canvas to the Pattern's Real Size
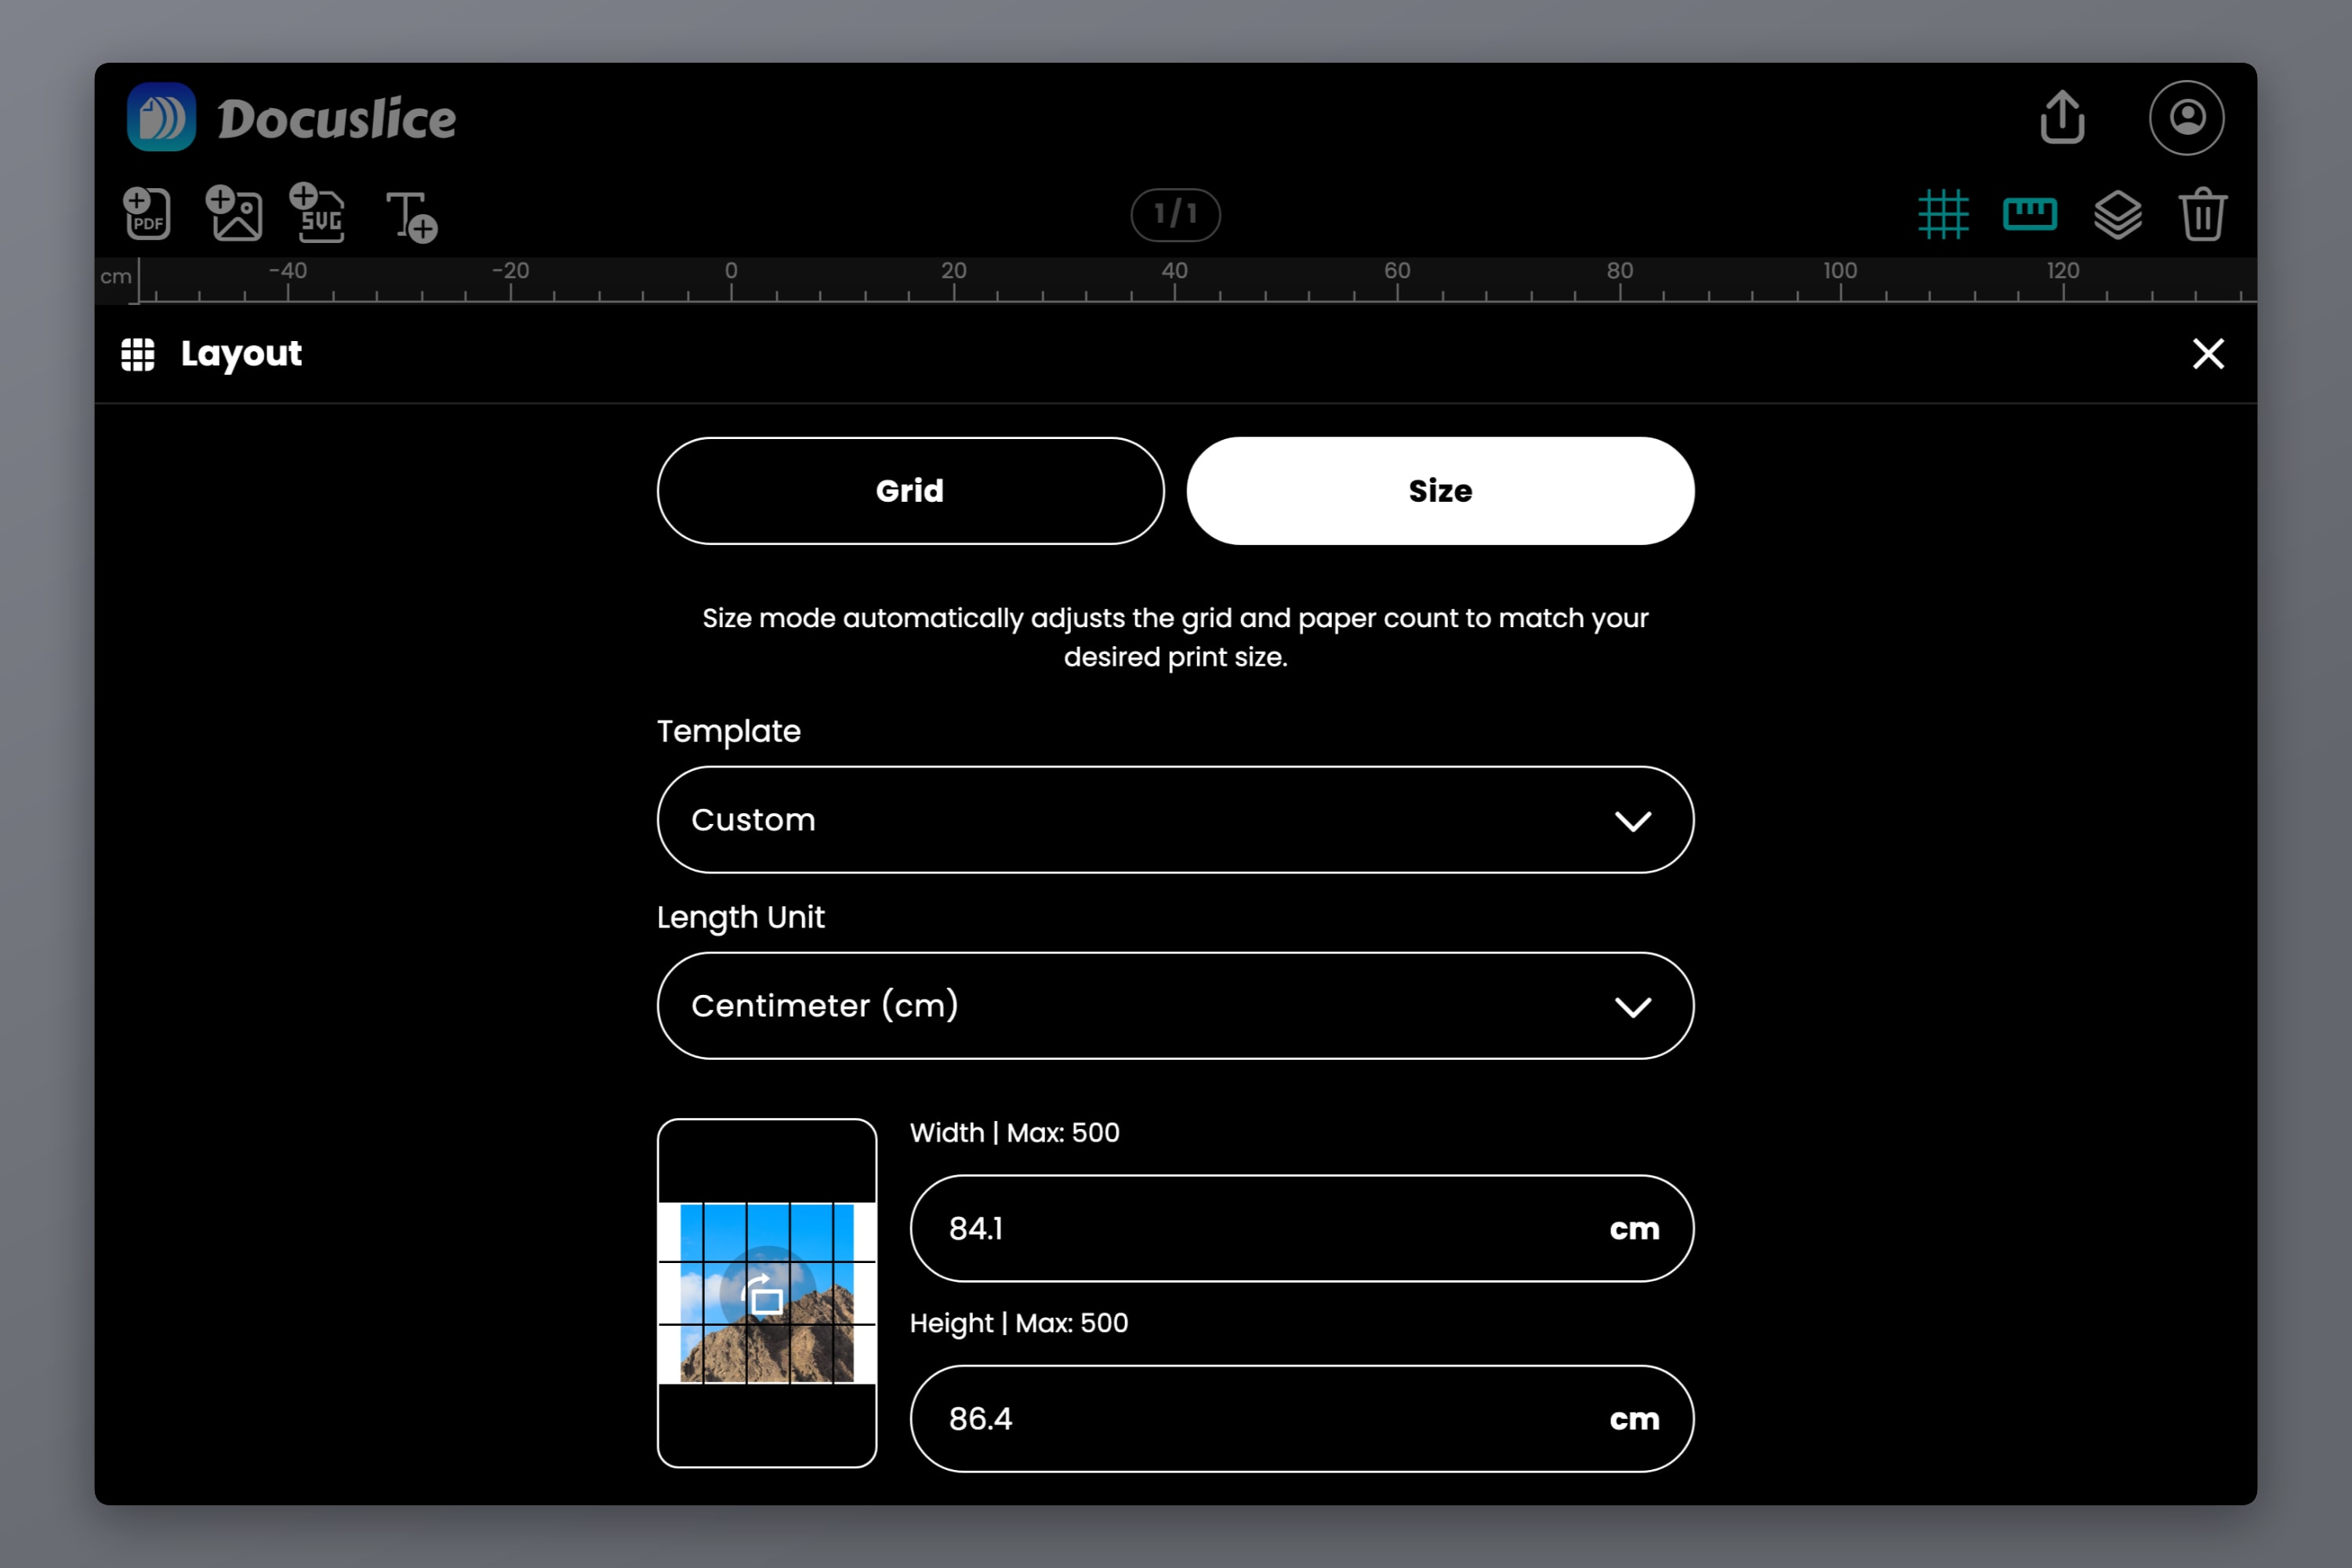
This is where scale gets locked in. Open the Layout options and switch from Grid mode to Size mode. Grid mode asks how many sheets you want; Size mode asks how big the finished thing should be, which is exactly the question a pattern is asking.
Enter the pattern's true dimensions in millimeters, centimeters, meters, inches or feet. Docuslice then works out how many sheets of your chosen paper it takes to cover that area, rather than squeezing the pattern into a sheet count you guessed at. The full Size mode walkthrough goes deeper if you need it.
If you do not know the pattern's real size
Check the pattern's instruction page first — most designers state it. Failing that, the copyshop file is usually A0, which is 841 x 1189 mm (33.1 x 46.8 in). Our poster size reference lists every A-series size in mm, cm and inches if you need to identify it.
Then pick your printing paper — A4 or Letter for most people — and set the orientation. Docuslice supports Letter, Legal, A1 through A6, A3+, Tabloid, Ledger, photo sizes and custom dimensions, so if you have an A3 printer, choosing A3 here roughly halves your page count.
Step 3: Verify With the Pattern's Test Square
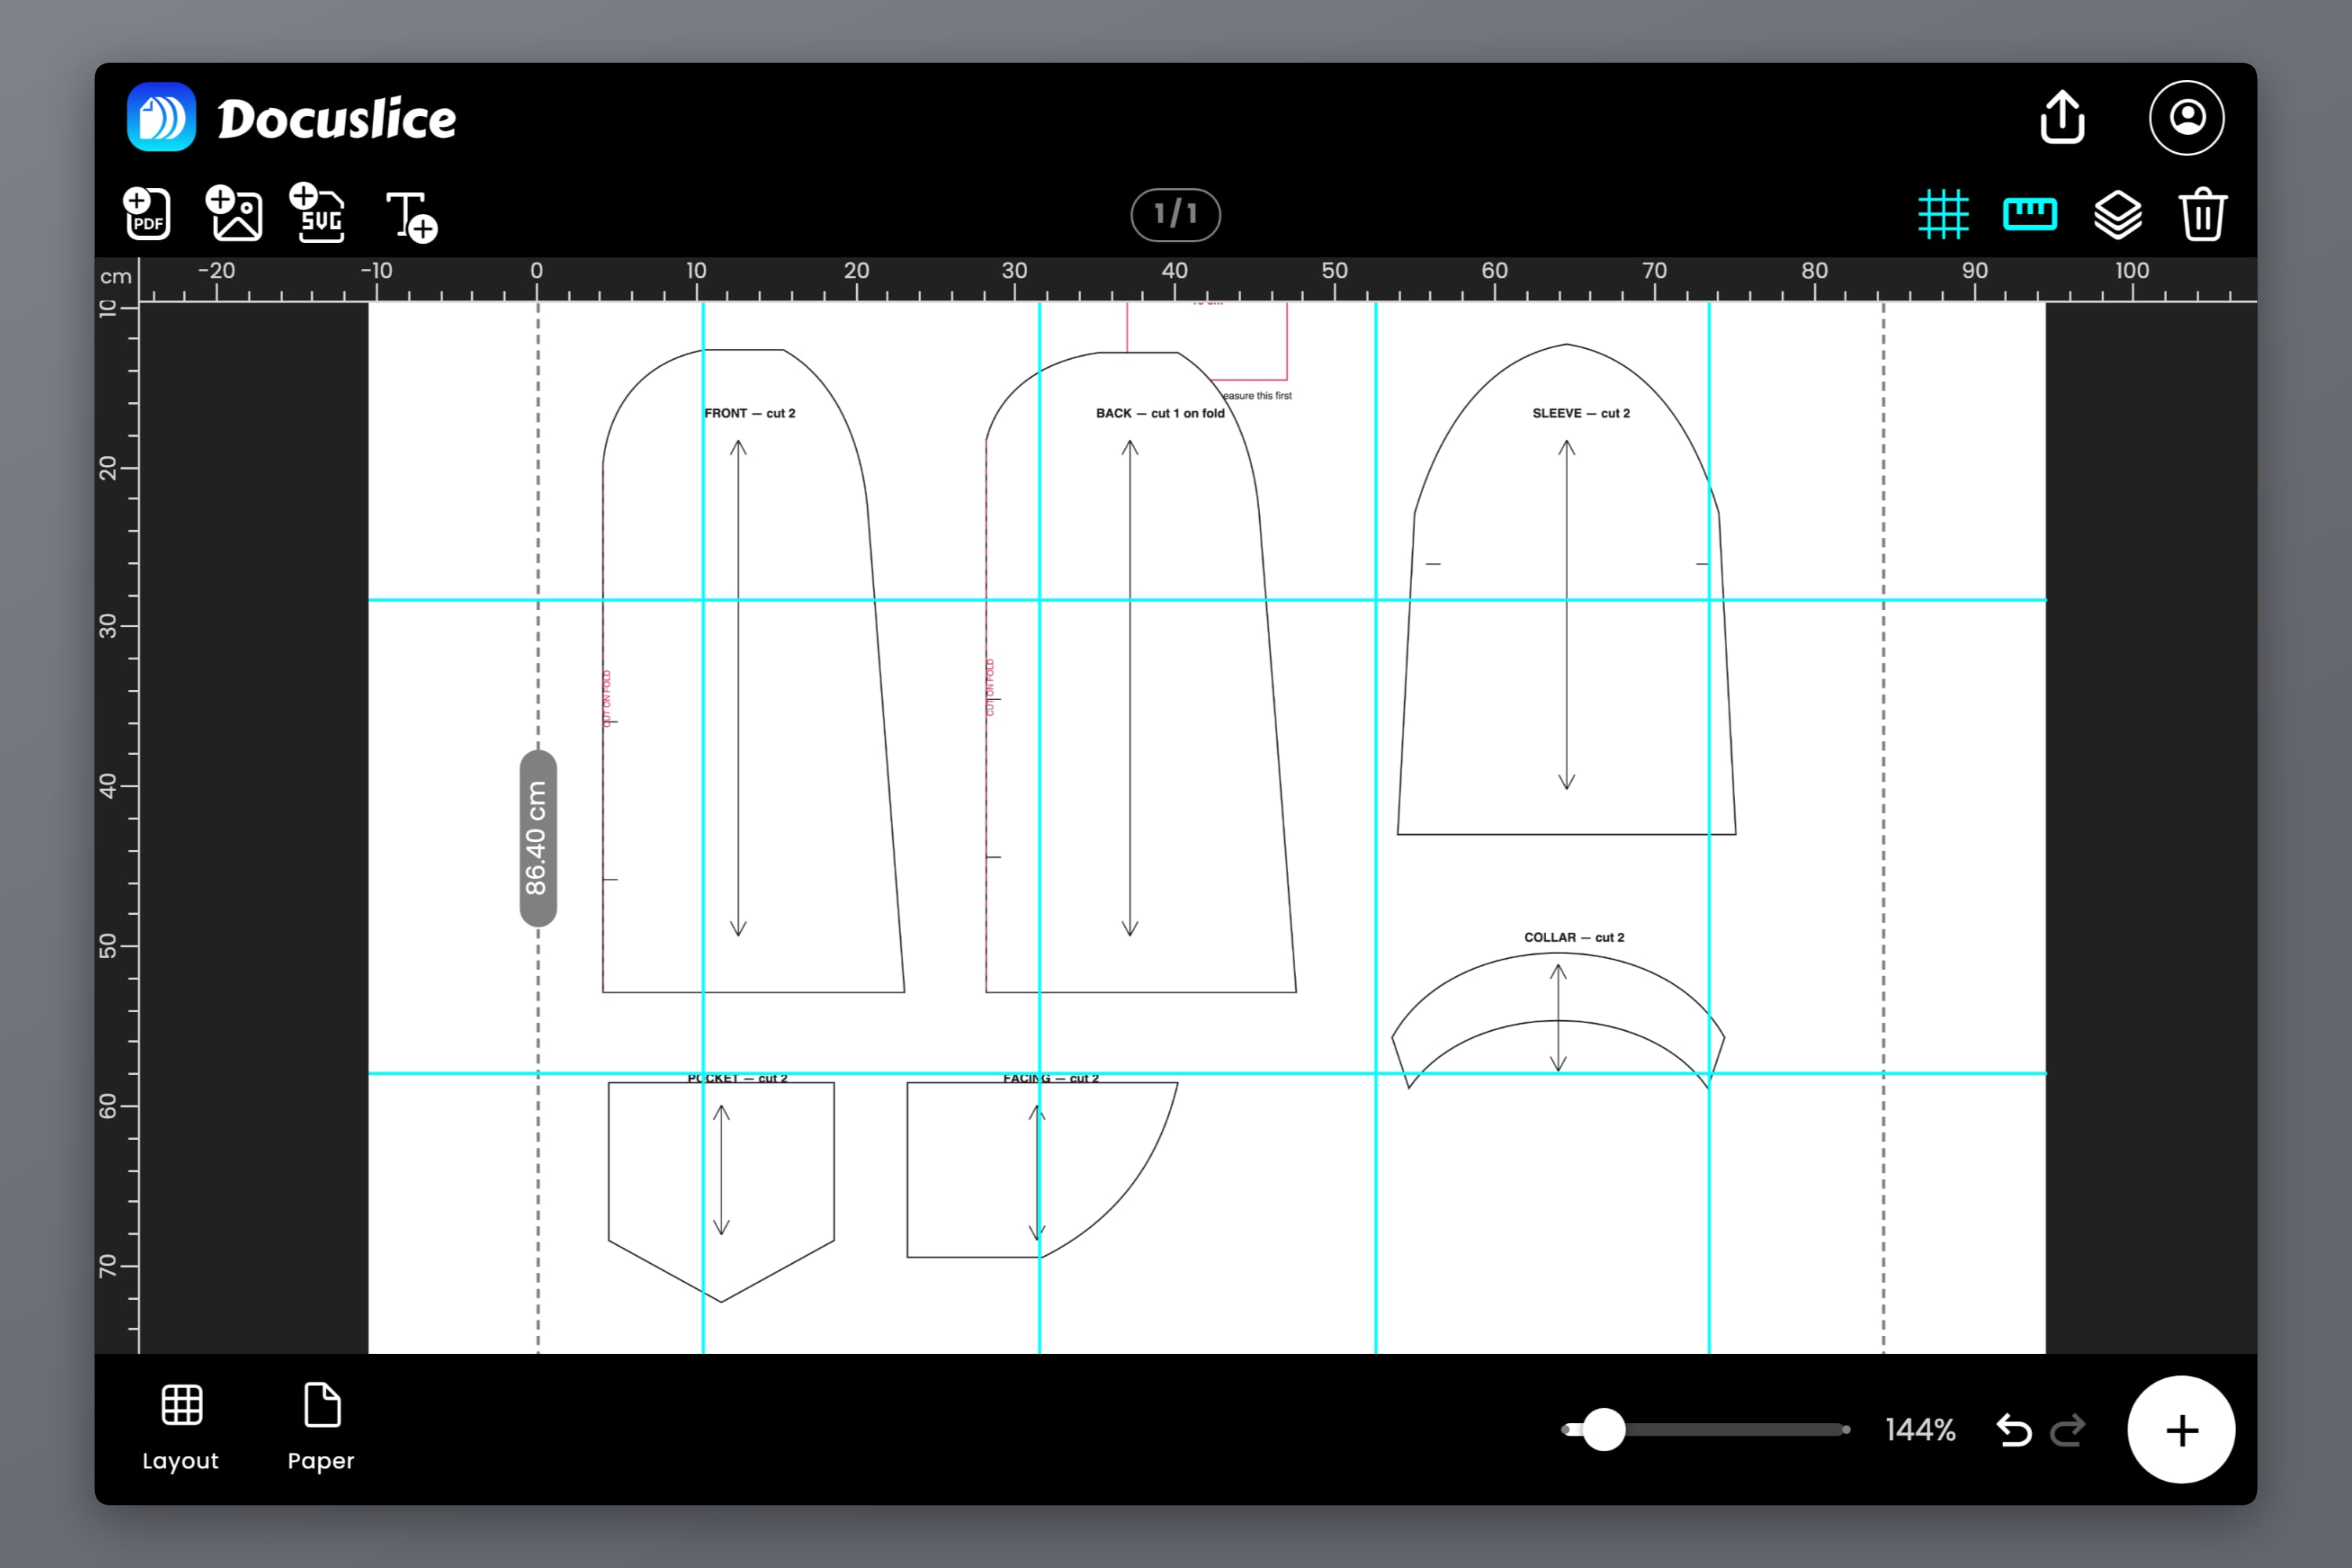
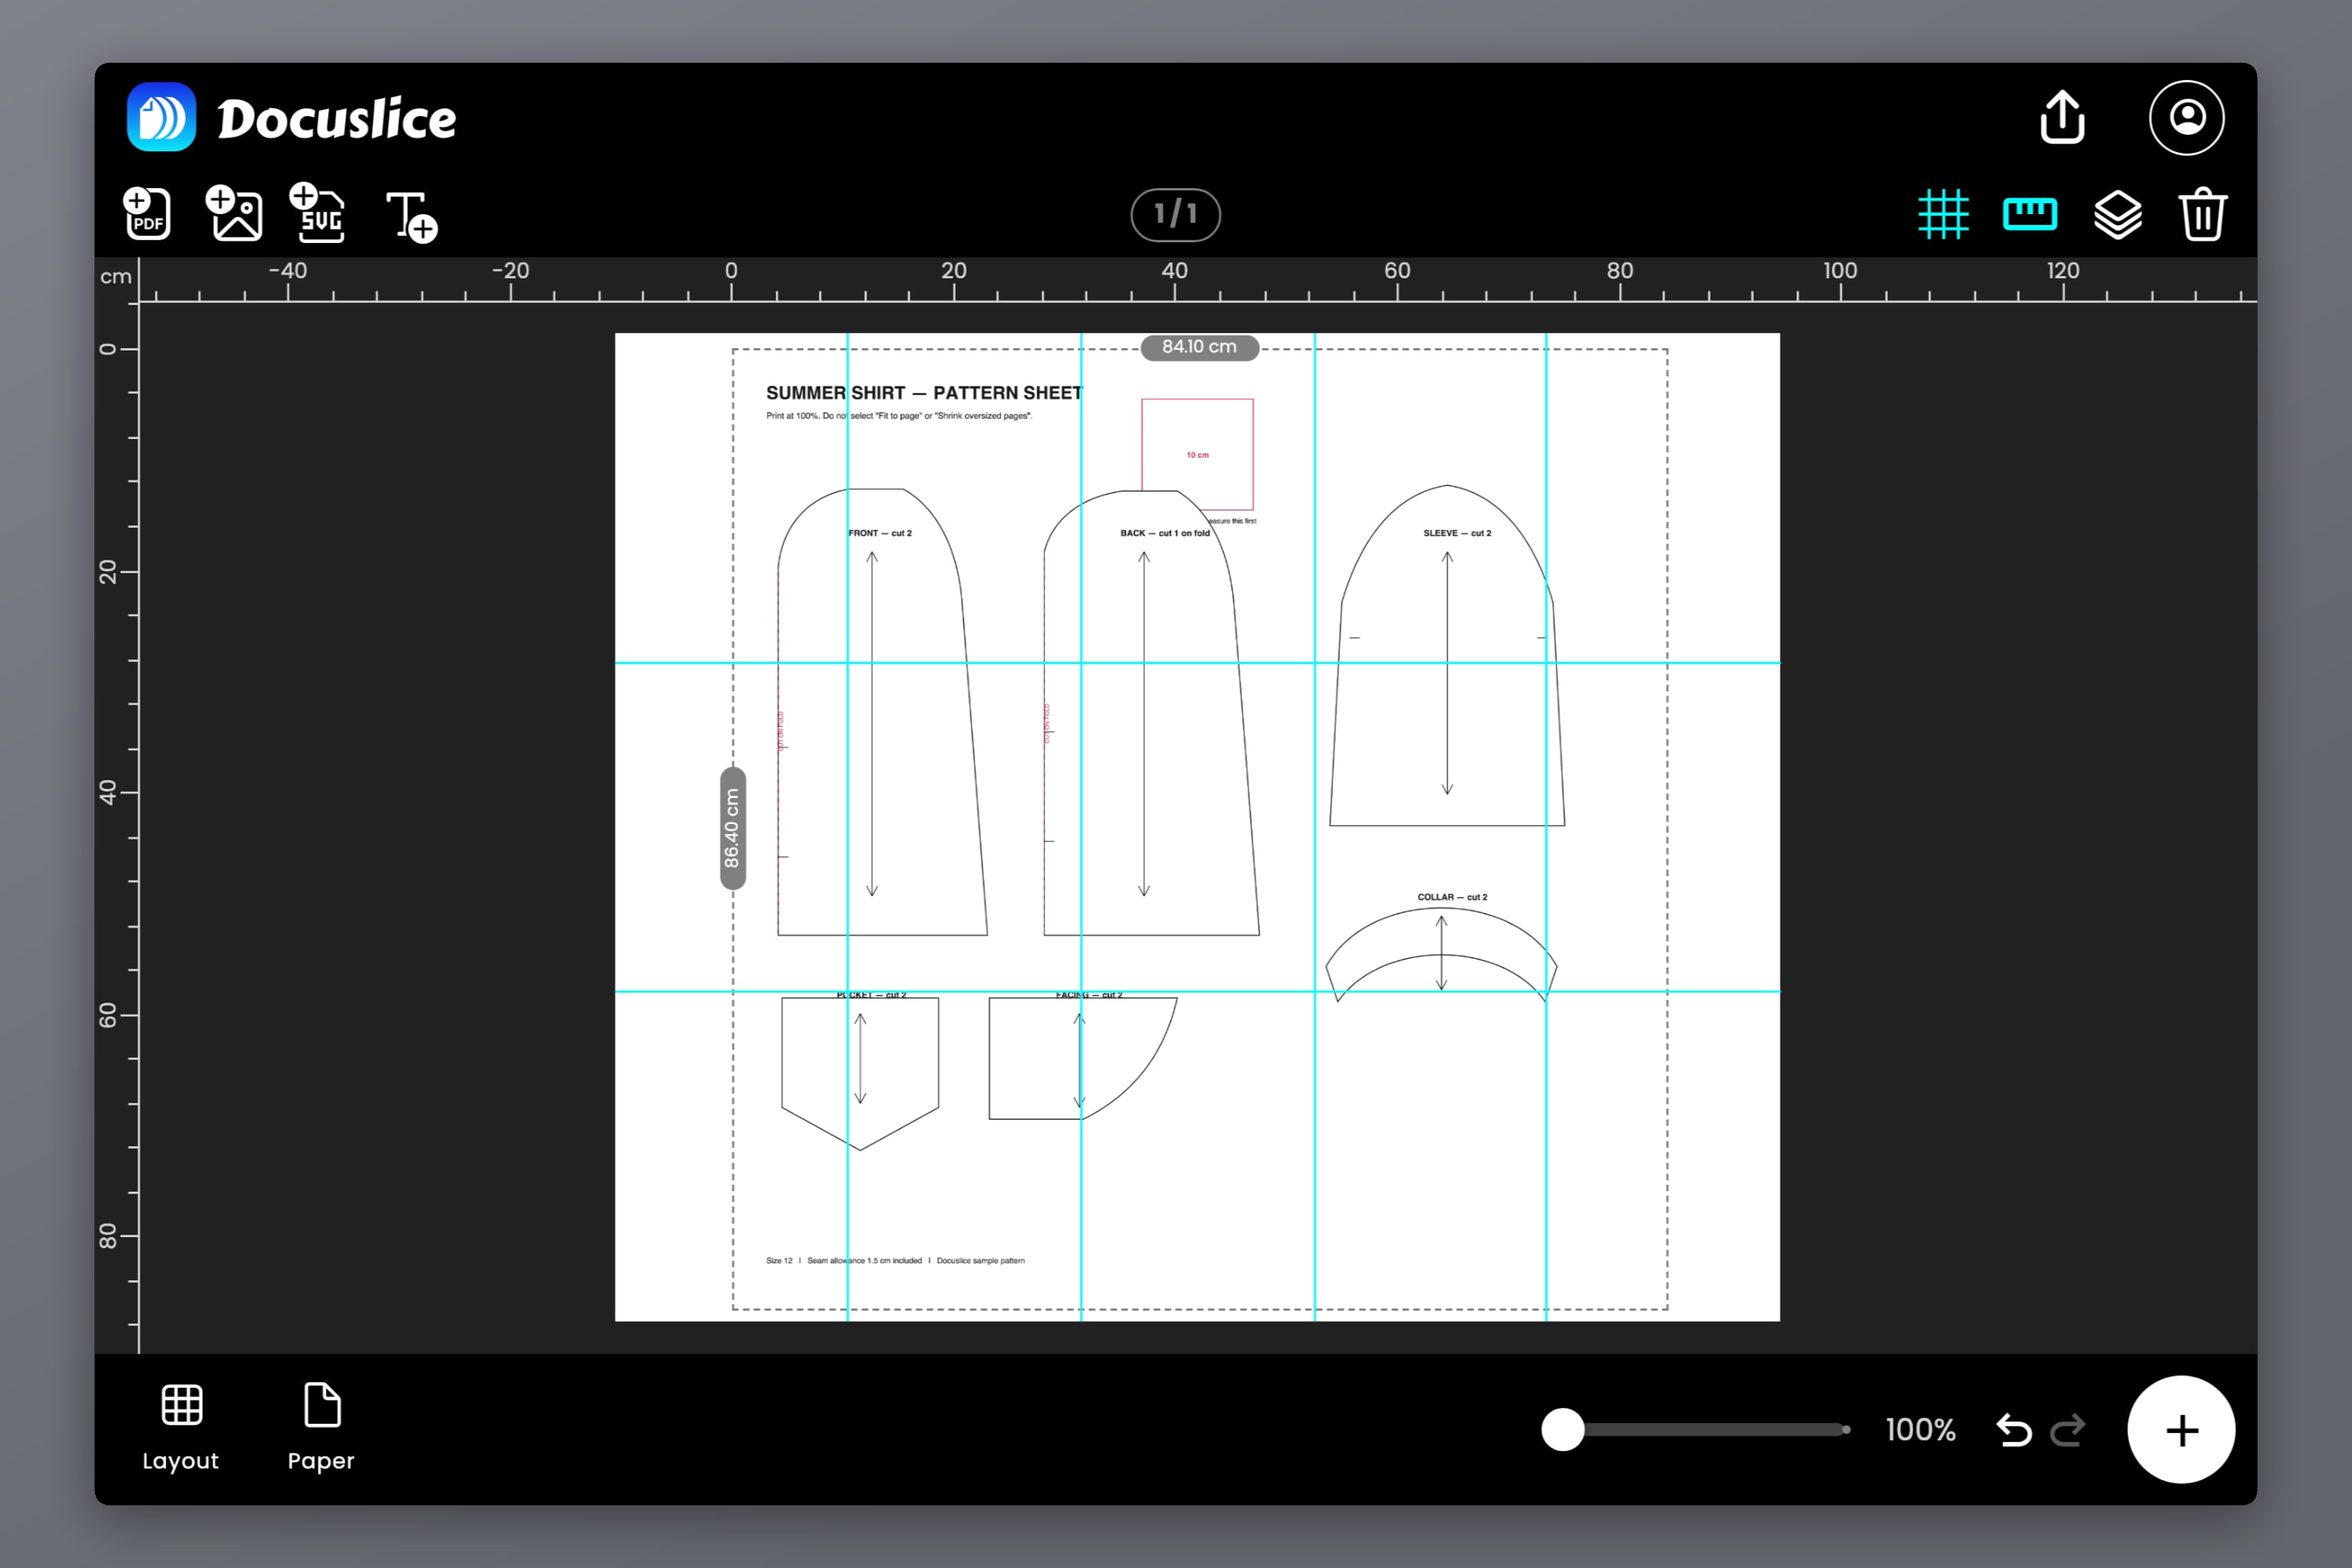
Almost every commercial pattern includes a test square, usually 10 cm or 4 inches, on the first page. It exists for exactly this moment. Do not print all thirty pages and hope.
Export, print one page only — the one carrying the test square — and measure it with a rigid ruler.
If the square measures short
Do not redraw anything and do not adjust the canvas size to compensate. A short test square is a print dialog problem, and the fix lives there:
- Confirm the scale really is 100% or Actual size. A square at 94 to 96 percent of its stated size is the classic fingerprint of Fit to Page — your printer's unprintable border pushes the whole page down a few percent.
- Confirm the paper size in the dialog matches the paper in the tray.
- Print from a proper PDF viewer rather than a browser preview, which re-scales more aggressively and gives you fewer controls.
Only if the square is still off after all three should you reach for a custom scale. The correction is intended size divided by measured size: a 9.4 cm square that should be 10 cm needs 10 / 9.4 = 106%. Re-print the test page and measure again before committing, because a custom scale also shifts content toward the page edges.
Step 4: Tile the Pattern With Overlap and Page Numbers
Once the test square measures true, set up the full tiled layout.
- Overlap — set it to 50% or higher. Overlap fills part of each tile's margin with the neighboring tile's content, so a cut that lands slightly short falls on duplicated pattern lines instead of blank paper. Because the overlap is a share of the margin, a wider margin gives you a wider band to work with.
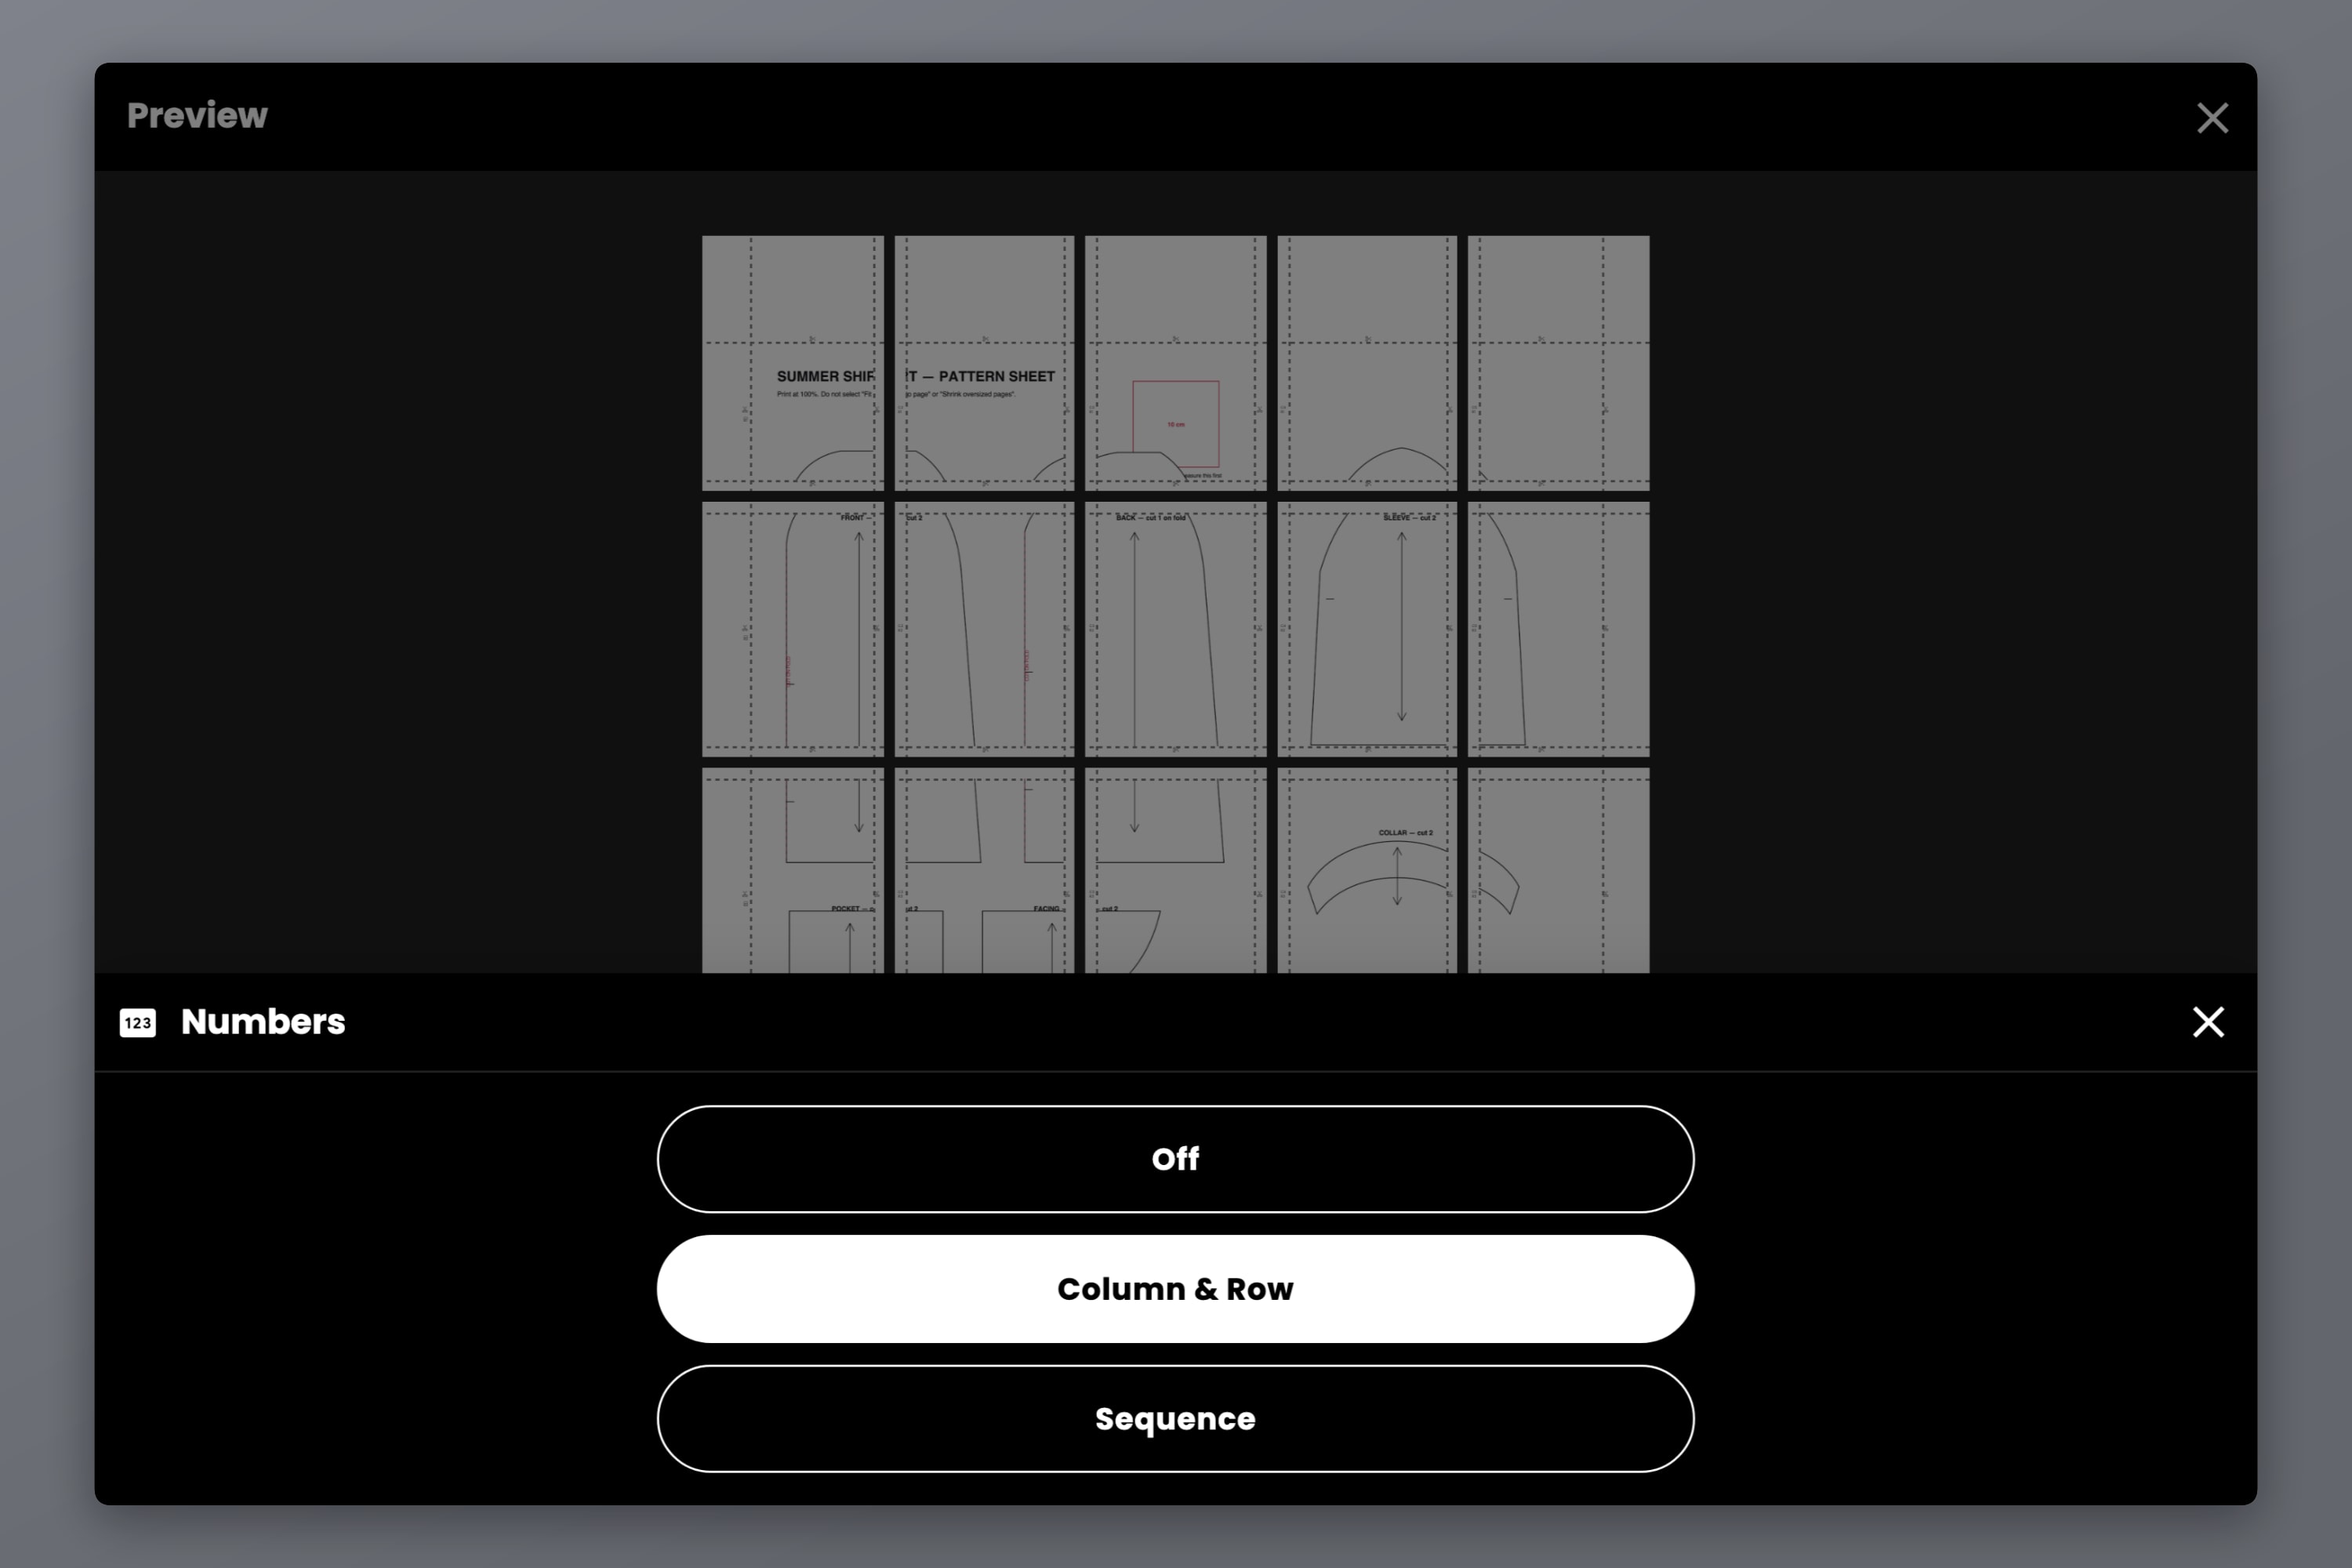
- Numbers — turn on Column & Row. Each sheet gets grid coordinates, the same convention pattern designers use, so sorting forty near-identical white pages takes two minutes instead of an evening.
- Cut lines and scissor marks — turn both on. They show exactly where to trim, which matters more on a pattern than on a poster because a misplaced cut can eat a notch.
Step 5: Export and Print
Export as a PDF for one file you can send straight to the printer, or as images if you want to print pages individually.
Two export choices worth making deliberately for patterns:
- Export DPI — pattern line art survives Standard (160 DPI) perfectly well. If your pattern has dense hatching, small print or many overlapping size lines, High (300 DPI) keeps them separated. High and Max are Pro and Pro+ features.
- Vector PDF export — if your source really is a vector PDF, vector export keeps the lines as lines instead of re-rasterizing them, so they stay crisp at any size. This is a Pro feature.
Then print with the same discipline as the test page: scale 100%, correct paper size, no fit-to-page.
Step 6: Assemble the Pattern
This is the part most guides skip, and it is where accuracy quietly leaks away.
- Trim one margin only. Docuslice prints the duplicated strip into each sheet's left and top margin, so trim the right and bottom edge of every sheet and never deviate. Each trimmed sheet then lays over its neighbor's untrimmed left or top margin — the one carrying the duplicate — so a cut that lands a little short falls on repeated pattern lines instead of blank paper. Trimming both edges of both neighbors removes the overlap you deliberately created and leaves a gap.
- Work in rows. Tape row 1 left to right into a strip, then row 2, then join the strips. Assembling the grid in both directions at once accumulates error twice over.
- Match the marks, not the paper edges. Line up the registration triangles and the pattern lines themselves. The paper edge is the least reliable thing on the page.
- Tape on the back. Front tape lifts toner, sticks to your ruler and makes the sheet cup. Back-taping also lets you re-cut a seam line later without slicing through adhesive.
- Check one long line at the end. Run a straight edge along a grainline that crosses several sheets. If it is straight, your assembly is straight.
If your project needs dimensional accuracy rather than a garment fit — a woodworking template, a leathercraft cut file, a CNC layout — the 1:1 scale template guide covers the calibration ritual in more depth.
Frequently Asked Questions
Your printer scaled the page down to fit its printable area. Almost every print dialog does this by default. Set the scale to 100% or Actual size and print the test page again — you do not need to change the pattern.
Yes. Import it, set the canvas to A0 dimensions in Size mode, choose A4 or Letter as your paper, and Docuslice splits it across the sheets. Turn on overlap and page numbers before you export.
No. Trim the right and bottom edge of every sheet and overlay each one on the neighboring sheet's untrimmed left or top margin. The overlap setting duplicates content into those two margins specifically so the sheets line up when you do this.
No. In Size mode you tell Docuslice the finished dimensions and it splits that exact area across sheets. Scale is only lost afterward, in the print dialog — which is why the test square check matters.
Ordinary 80 gsm copy paper is fine and tapes well. Heavier paper resists creasing but is harder to fold along a seam line when you are tracing.
Download Docuslice
Download Docuslice and print your next pattern at the size the designer actually drew it.