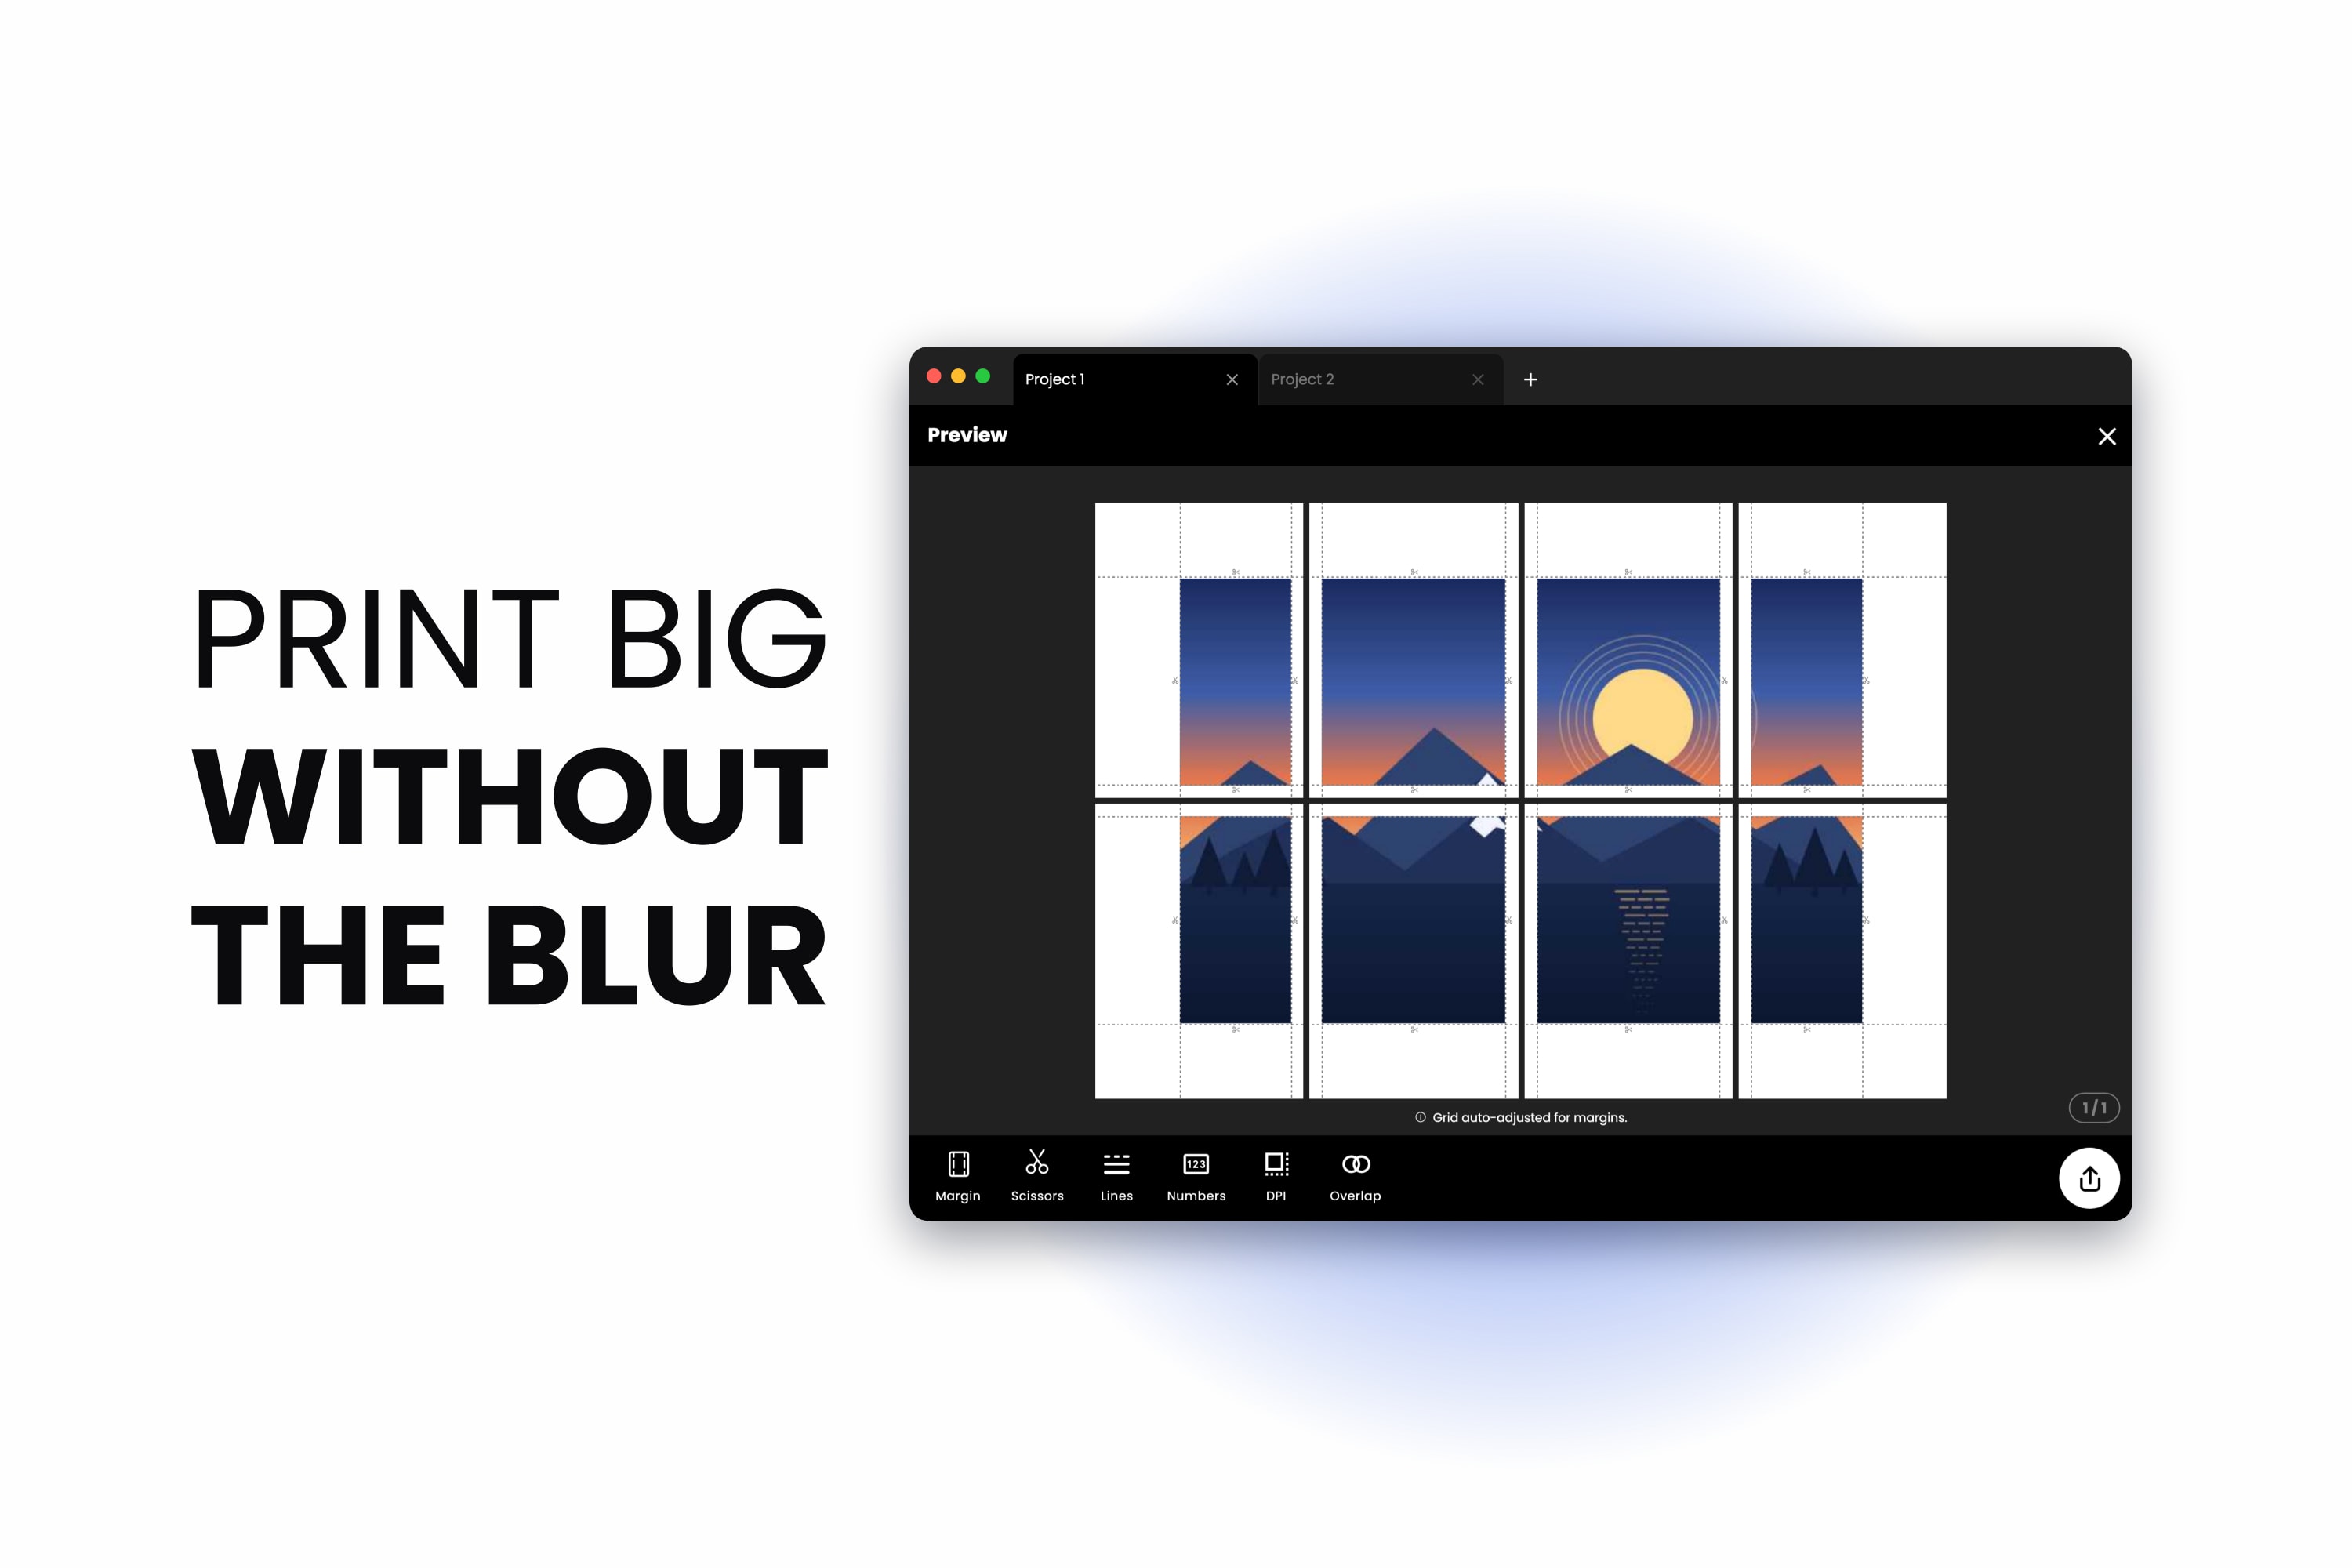
You found a great photo, tiled it across sixteen sheets, spent an hour taping, stood back — and it looks soft. Up close it is worse: mushy edges, little square blocks in the shadows, furry text. On screen it looked perfect.
It almost certainly was perfect on screen. The problem is that the screen showed it at maybe 1000 pixels wide and the wall is showing it at a meter wide, with the same 1000 pixels stretched across it. Tiling did not degrade anything — the pixels were never there to begin with.
This is the one thing worth understanding before you print anything large, and it takes about two minutes.
Why Big Prints Go Blurry
A digital image has a fixed number of pixels. Printing does not add any. It only decides how much paper each pixel gets.
Print a 3000-pixel-wide image at 25 cm across and each inch of paper receives about 300 pixels — dense enough that your eye cannot resolve the individual dots. Print that same file at 100 cm across and each inch now gets about 76 pixels. Same detail, sixteen times the area. That is blur.
So the real question is never "how do I stop tiling from losing quality" — tiling loses nothing. It is "does my source image have enough pixels for the size I want".
How Many Pixels Do You Actually Need?
The formula is simple enough to do in your head:
pixels needed = print size in inches x DPI
A poster 23 inches wide at 150 DPI needs 23 x 150 = 3450 pixels of width. That is the whole calculation. Here is what it works out to for the common poster sizes:
| Poster size | Inches | Pixels at 150 DPI | Pixels at 300 DPI |
|---|---|---|---|
| A4 | 8.3 x 11.7 | 1240 x 1754 | 2480 x 3508 |
| A3 | 11.7 x 16.5 | 1754 x 2480 | 3508 x 4961 |
| A2 | 16.5 x 23.4 | 2480 x 3508 | 4961 x 7016 |
| A1 | 23.4 x 33.1 | 3508 x 4967 | 7016 x 9933 |
| A0 | 33.1 x 46.8 | 4967 x 7022 | 9933 x 14043 |
The bottom right of that table is worth pausing on. An A0 poster at a true 300 DPI is a 139 megapixel image, which no consumer camera produces in a single frame. Which brings us to the part most advice gets wrong.
Viewing distance changes the answer
300 DPI is the standard for things held in your hand — a book, a photo print, a pattern you trace. It is not the standard for a wall.
Your eye's ability to resolve detail falls off with distance. A poster viewed from two meters away looks perfectly sharp at 100 to 150 DPI, which is why billboards are printed at a fraction of that and still look fine from the road. A print someone will stand right in front of and inspect — a gallery piece, a technical drawing, a photo above a desk — deserves 200 to 300 DPI.
So before you decide your image is too small, ask where it is going to hang. An A1 poster for the far wall of a room needs about 3500 pixels of width, not 7000. That is an achievable number.
Step 1: Let Docuslice Tell You If Your Image Is Too Small
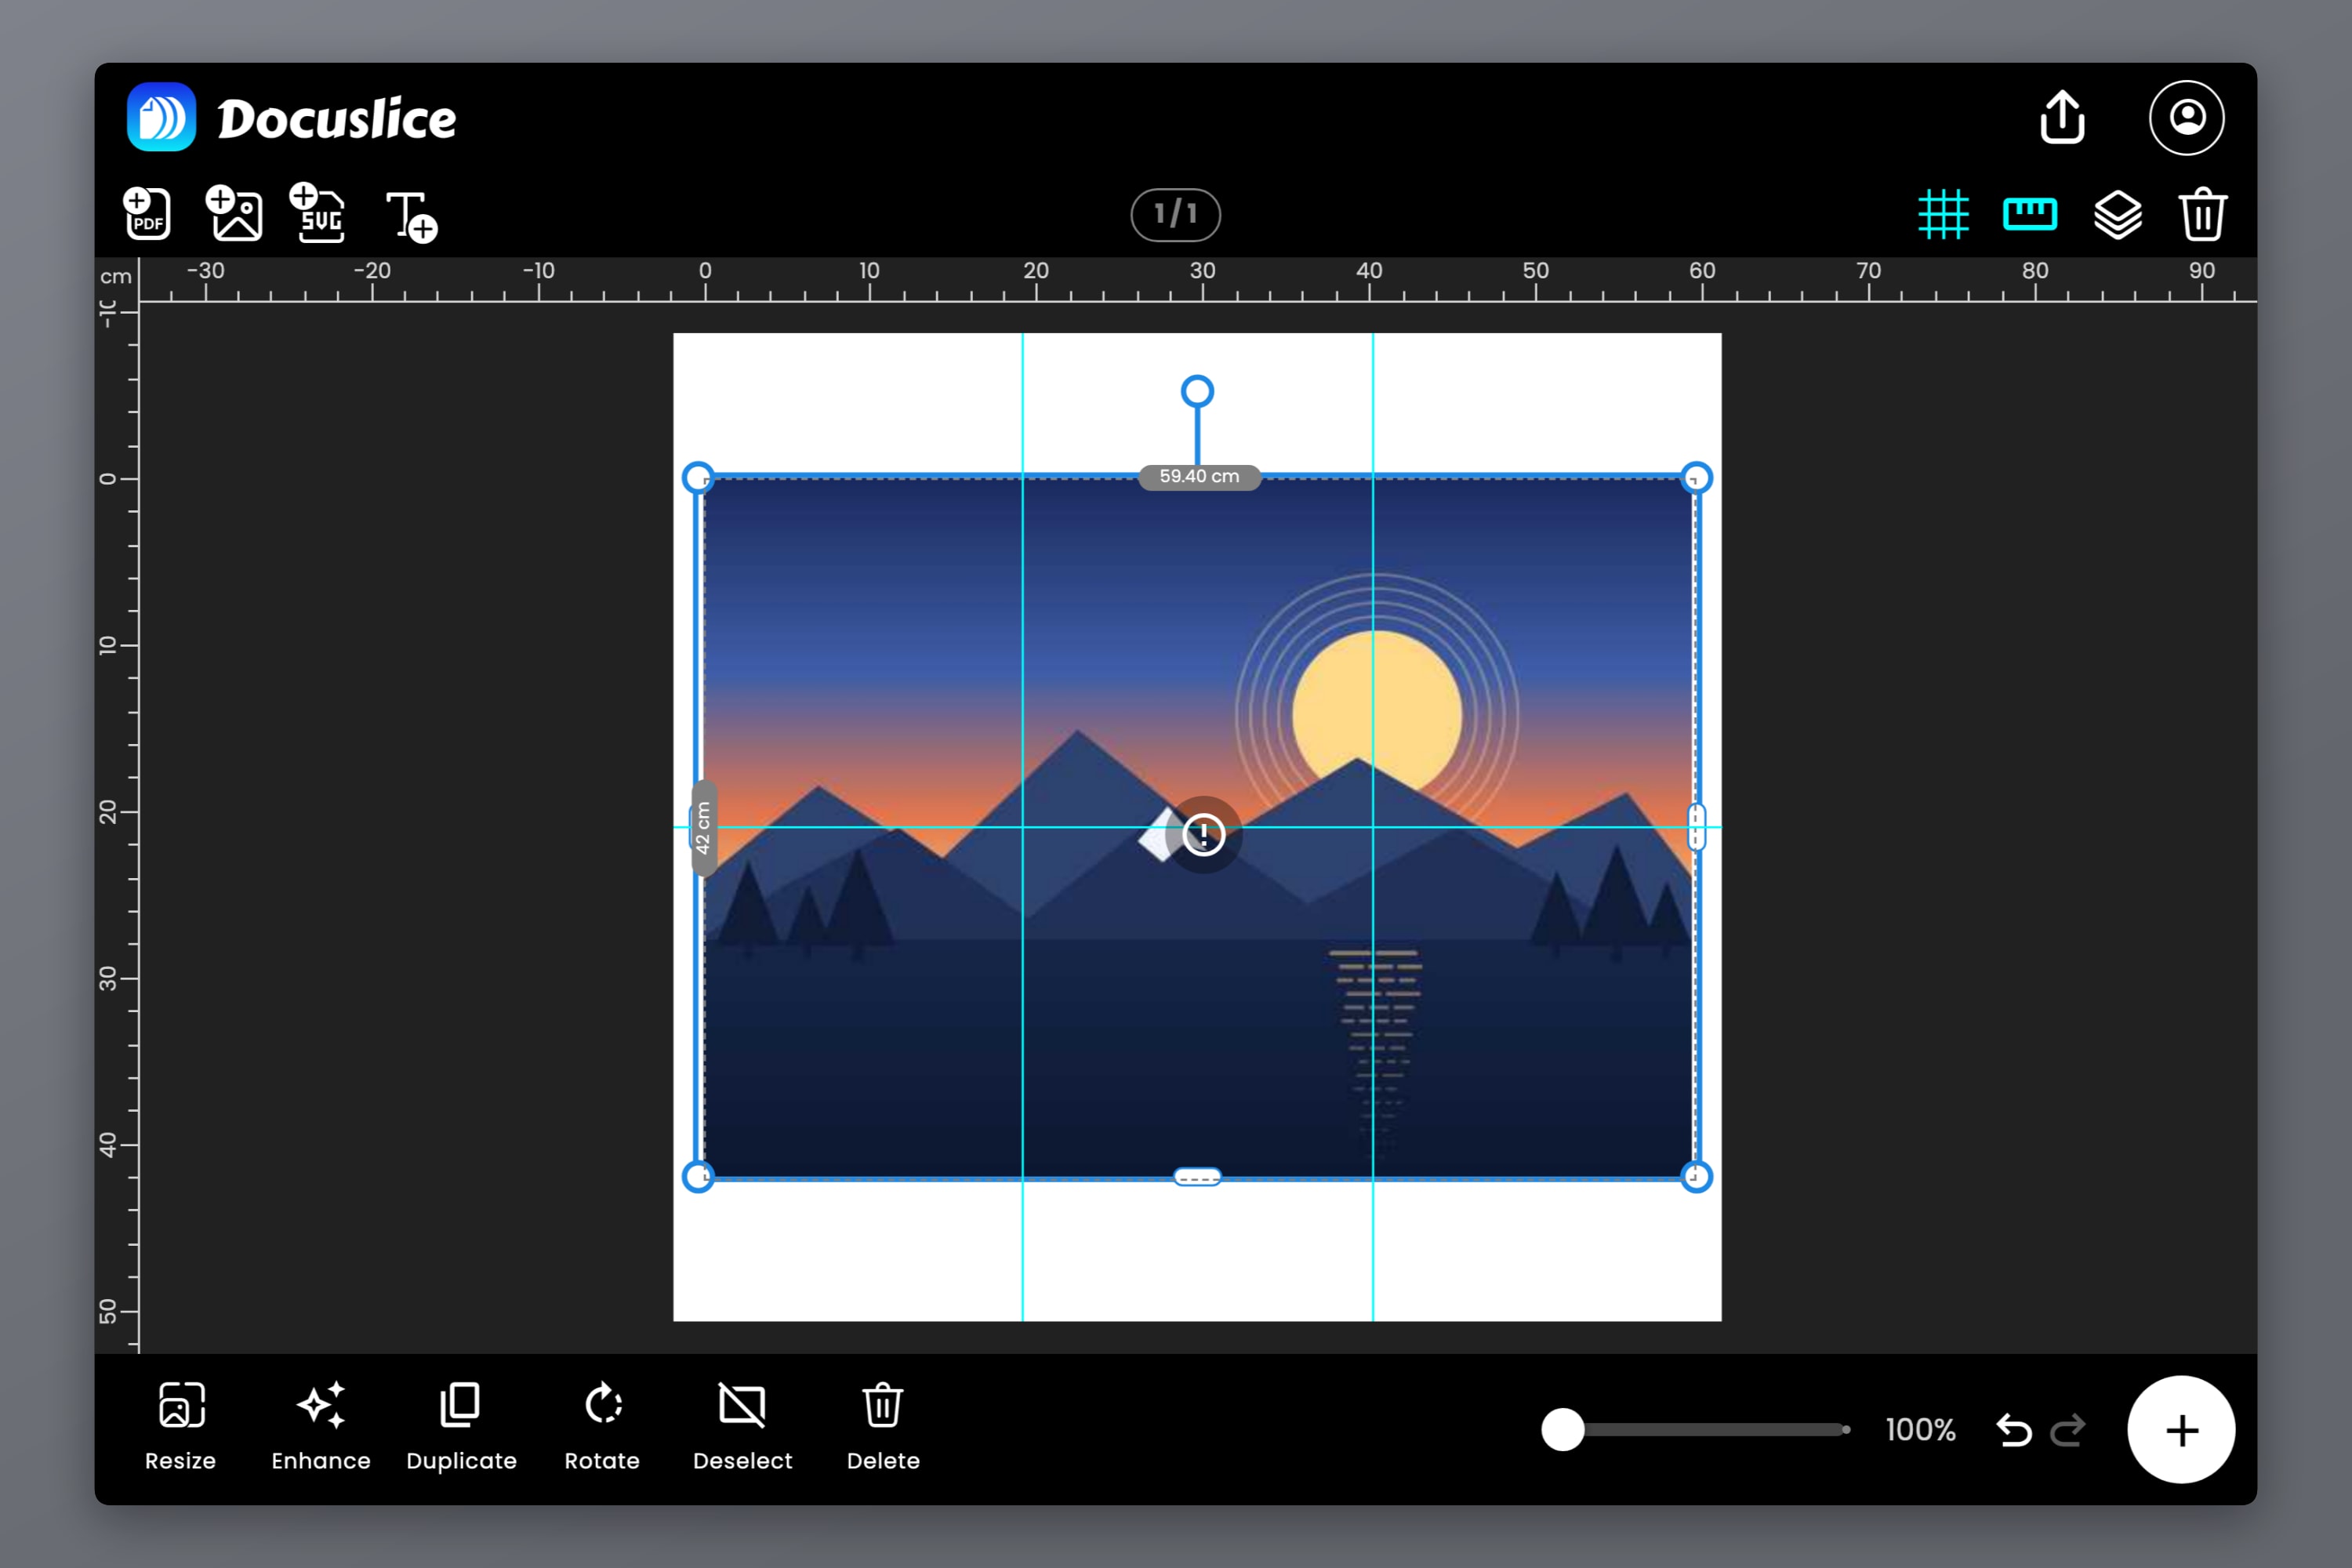
You do not have to run the math yourself. When you place an image on the canvas, Docuslice compares its pixel dimensions against what your chosen poster size needs. If the image falls well short, it flags a Low Resolution Image warning — the image may appear blurry when printed — with the option to enhance it right there.
The check runs against your current canvas size, which is what makes it useful: the same image can be perfectly fine at A3 and flagged at A0. If you see the warning, you have three honest options — print smaller, find a bigger source, or enhance.
Step 2: Enhance the Image With On-Device AI
If a bigger source does not exist — the photo is old, it came out of a messaging app, it is the only copy — AI Photo Enhancement is the option that did not used to exist.
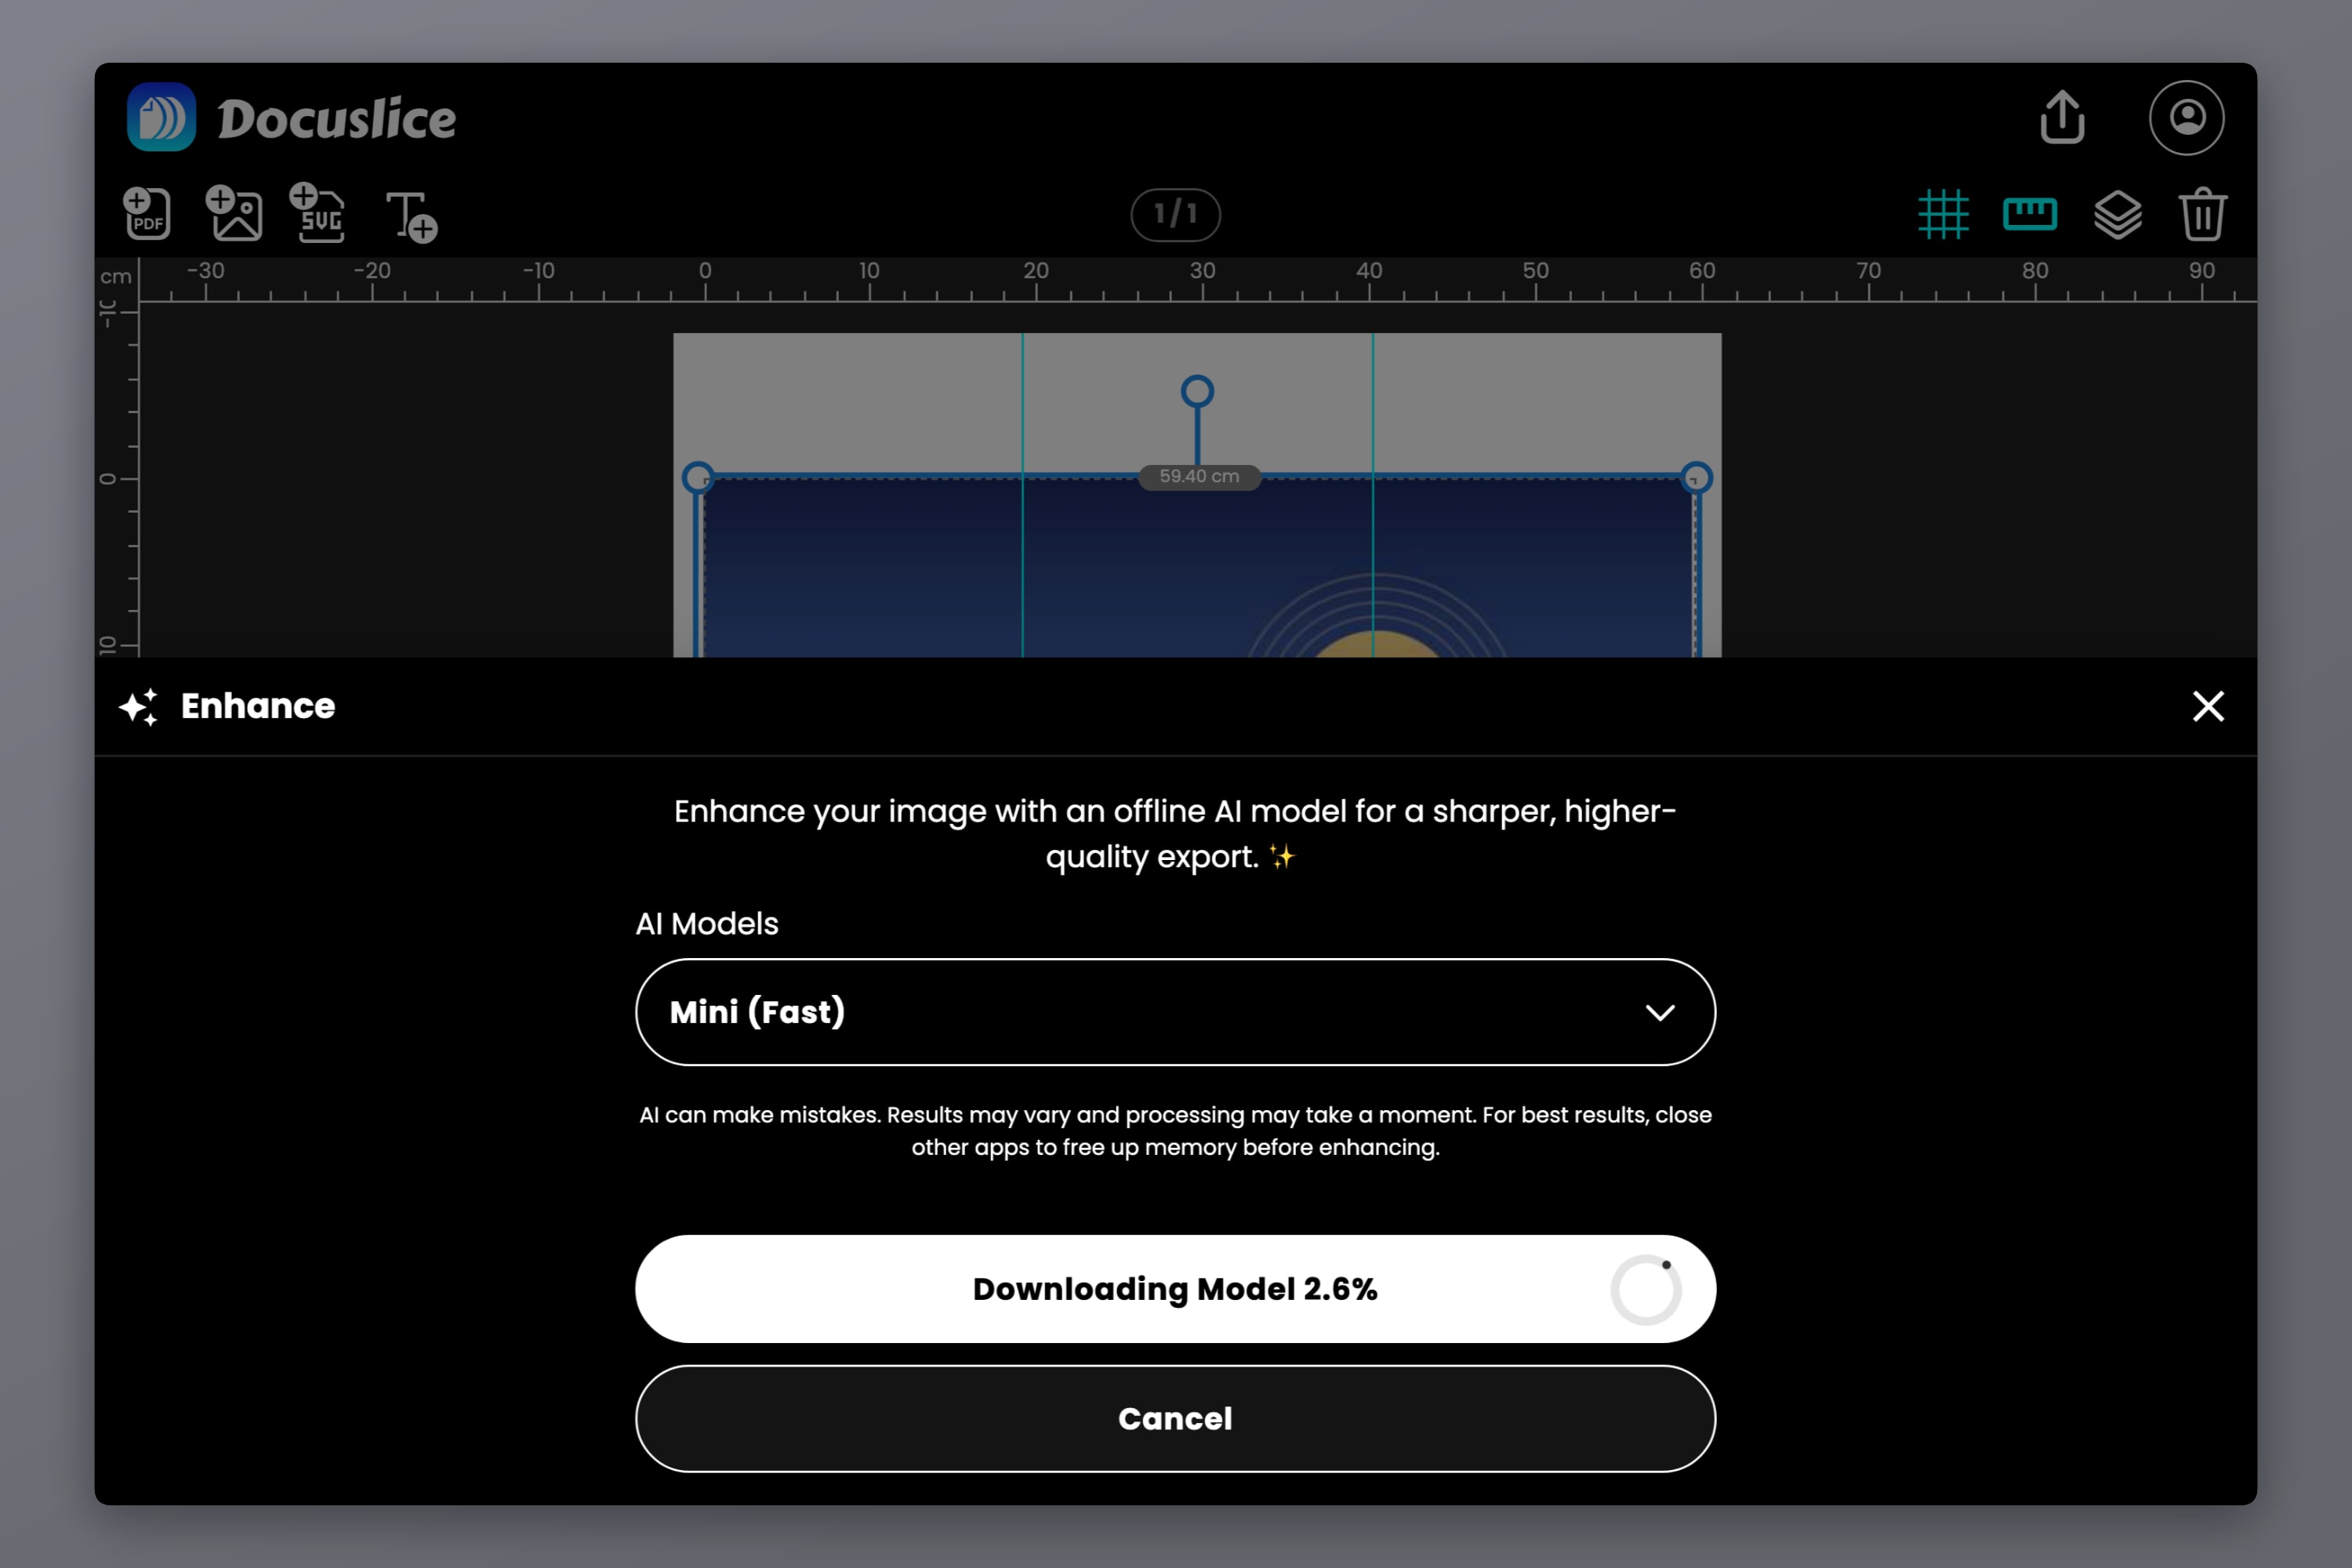
Select the image on the canvas and tap Enhance to open the enhancement panel. Pick a model, then tap Let's Go!. The first run downloads the model to your device; after that it works offline. Processing happens entirely on your device, so the image is never uploaded anywhere.
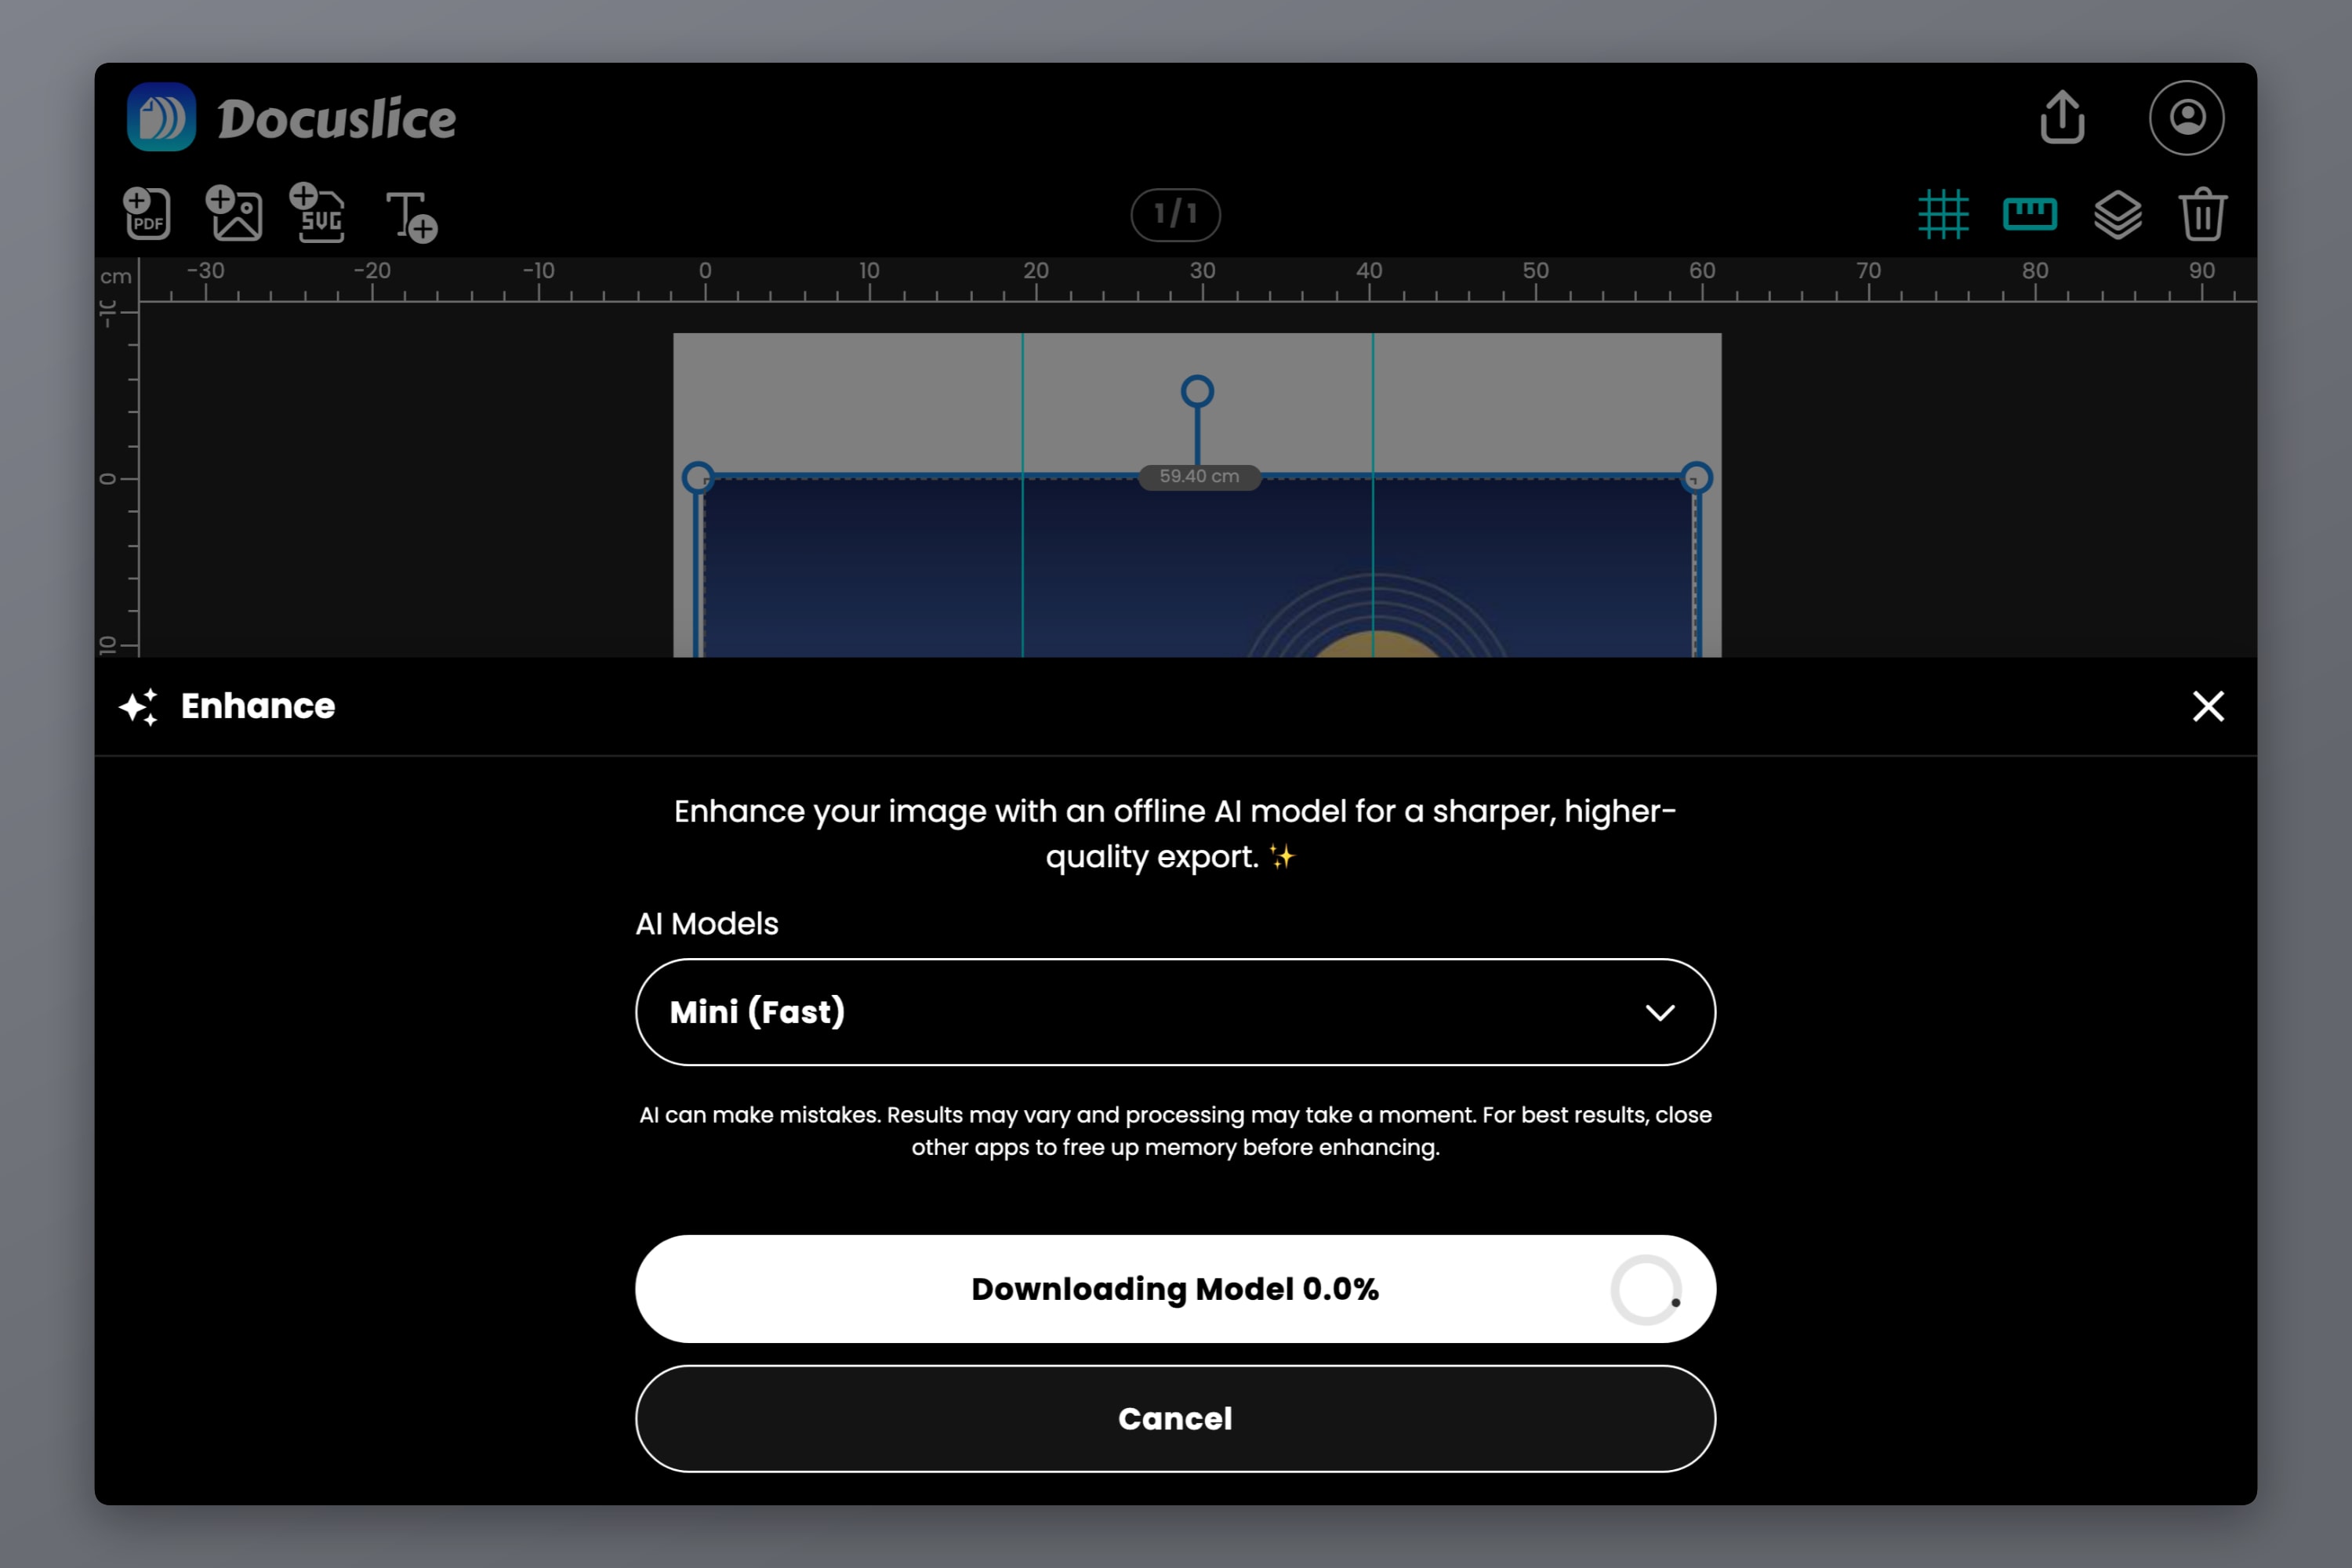
Enhancement takes longer on bigger images and on older hardware. Closing other apps frees up memory and speeds it along.
When it finishes, the canvas updates automatically. The difference shows up exactly where it matters for a large print — edges stay defined instead of dissolving, and the compression blocks that messaging apps leave behind get smoothed out rather than magnified. If the low-resolution warning was showing, it typically clears once the image has enough pixels for your canvas size.
If you prefer the original, Revert to Original puts it back instantly. There is a fuller walkthrough in the AI Photo Enhancement announcement, including the available models and when each one is worth the wait.
What Upscaling Can and Cannot Do
This deserves to be said plainly, because the marketing around AI upscaling generally does not say it.
Upscaling invents detail. It does not recover it. The model has learned what edges, skin, fabric, foliage and text tend to look like, and fills in pixels that are plausible given what it can see. The result genuinely beats a naive stretch — sharper edges, cleaner gradients, fewer compression artifacts. But detail that was never captured is not coming back, because it was never in the file.
In practice:
- A good source always wins. If you can find or re-shoot a larger original, do that instead. Every time.
- Upscaling rescues, it does not multiply. Taking a mildly undersized image up to where it needs to be works well. Taking a thumbnail to poster size does not, however impressive the demos look.
- Look before you print. Zoom in on faces, text and repeating patterns in the result. That is where invented detail is most likely to look slightly wrong, and where you will notice it on the wall.
- Vector sources skip this entirely. A vector PDF or SVG has no resolution at all — it is instructions, not pixels. Docuslice's vector PDF export (a Pro feature) keeps it that way, so the output is sharp at any size.
Step 3: Export at the Right DPI
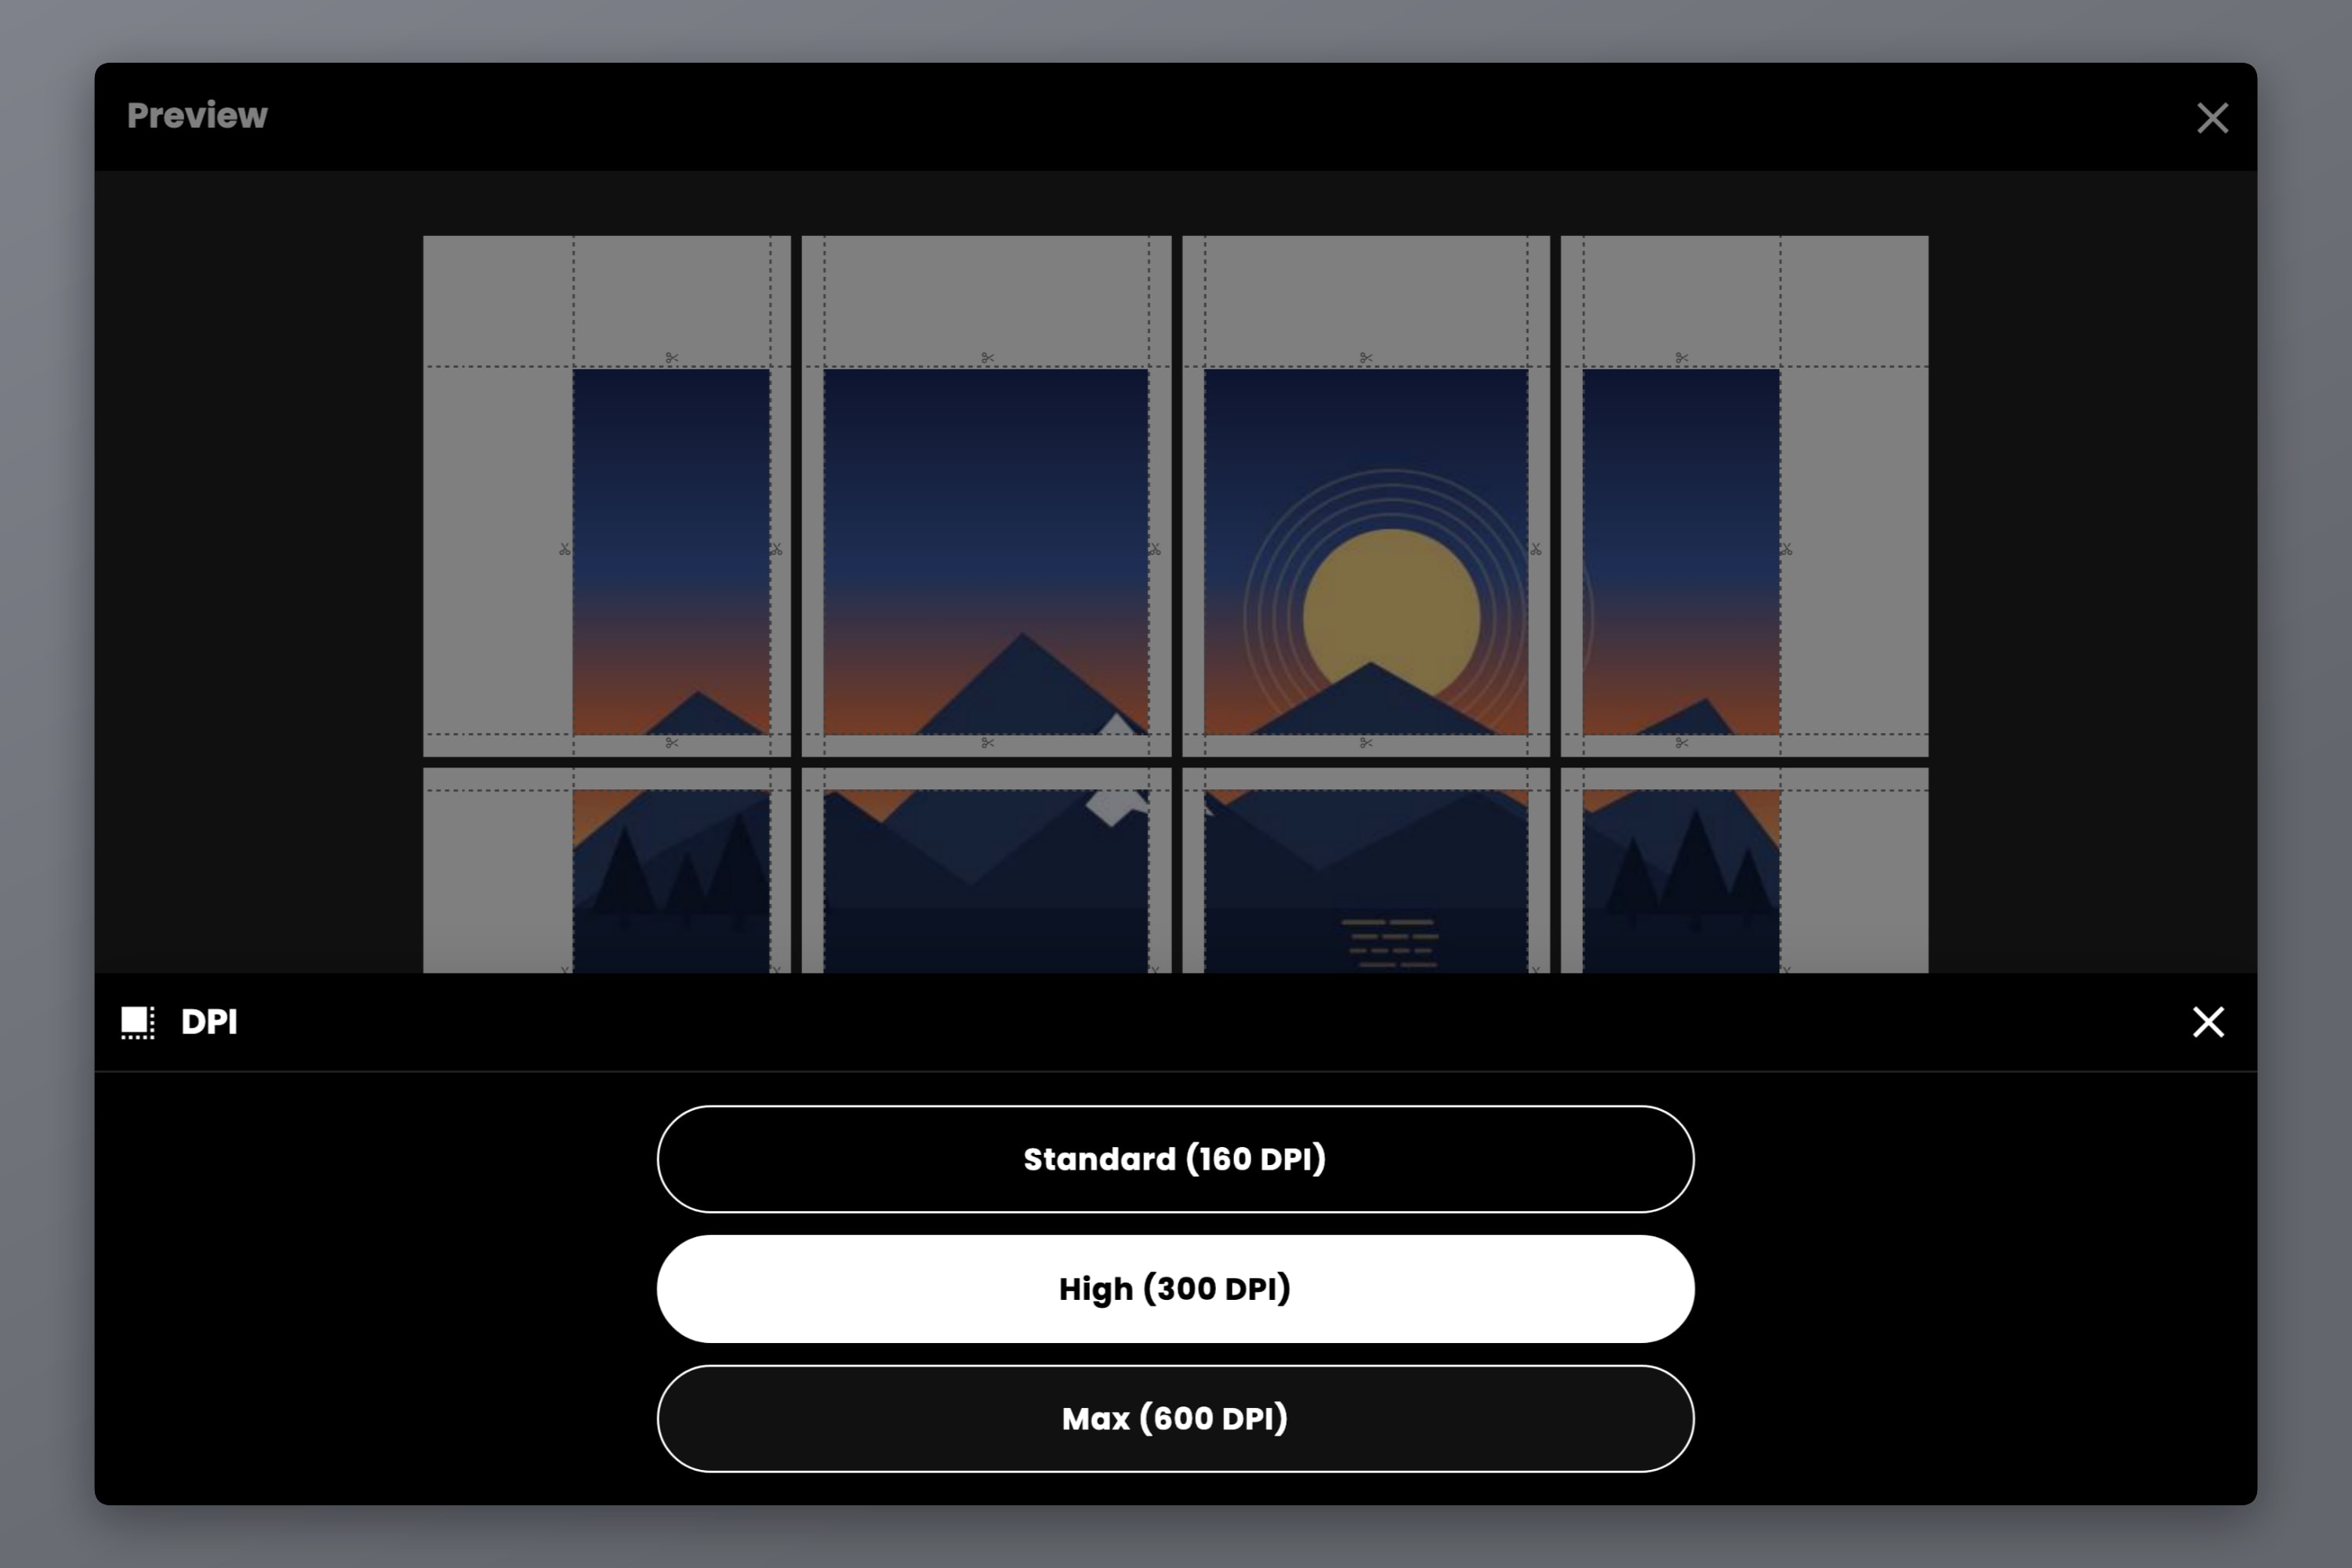
Docuslice's DPI control decides how finely each tile is rendered on export:
- Standard (160 DPI) — the default, free on every plan, plenty for posters seen from across a room.
- High (300 DPI) — print-shop density, for artwork inspected up close or with fine text and line work.
- Max (600 DPI) — the highest setting, for the sharpest possible output.
High and Max are available on Pro and Pro+, which — like every Docuslice paid plan — are one-time payments, not subscriptions.
One thing to be clear about: export DPI does not add detail that is not in your source. It controls how much of your source's detail survives into the exported file. Exporting a 1000-pixel image at 600 DPI just makes a larger file of the same blur. Raise the export DPI when your source has detail worth preserving; fix the source first when it does not.
Step 4: Tile and Print
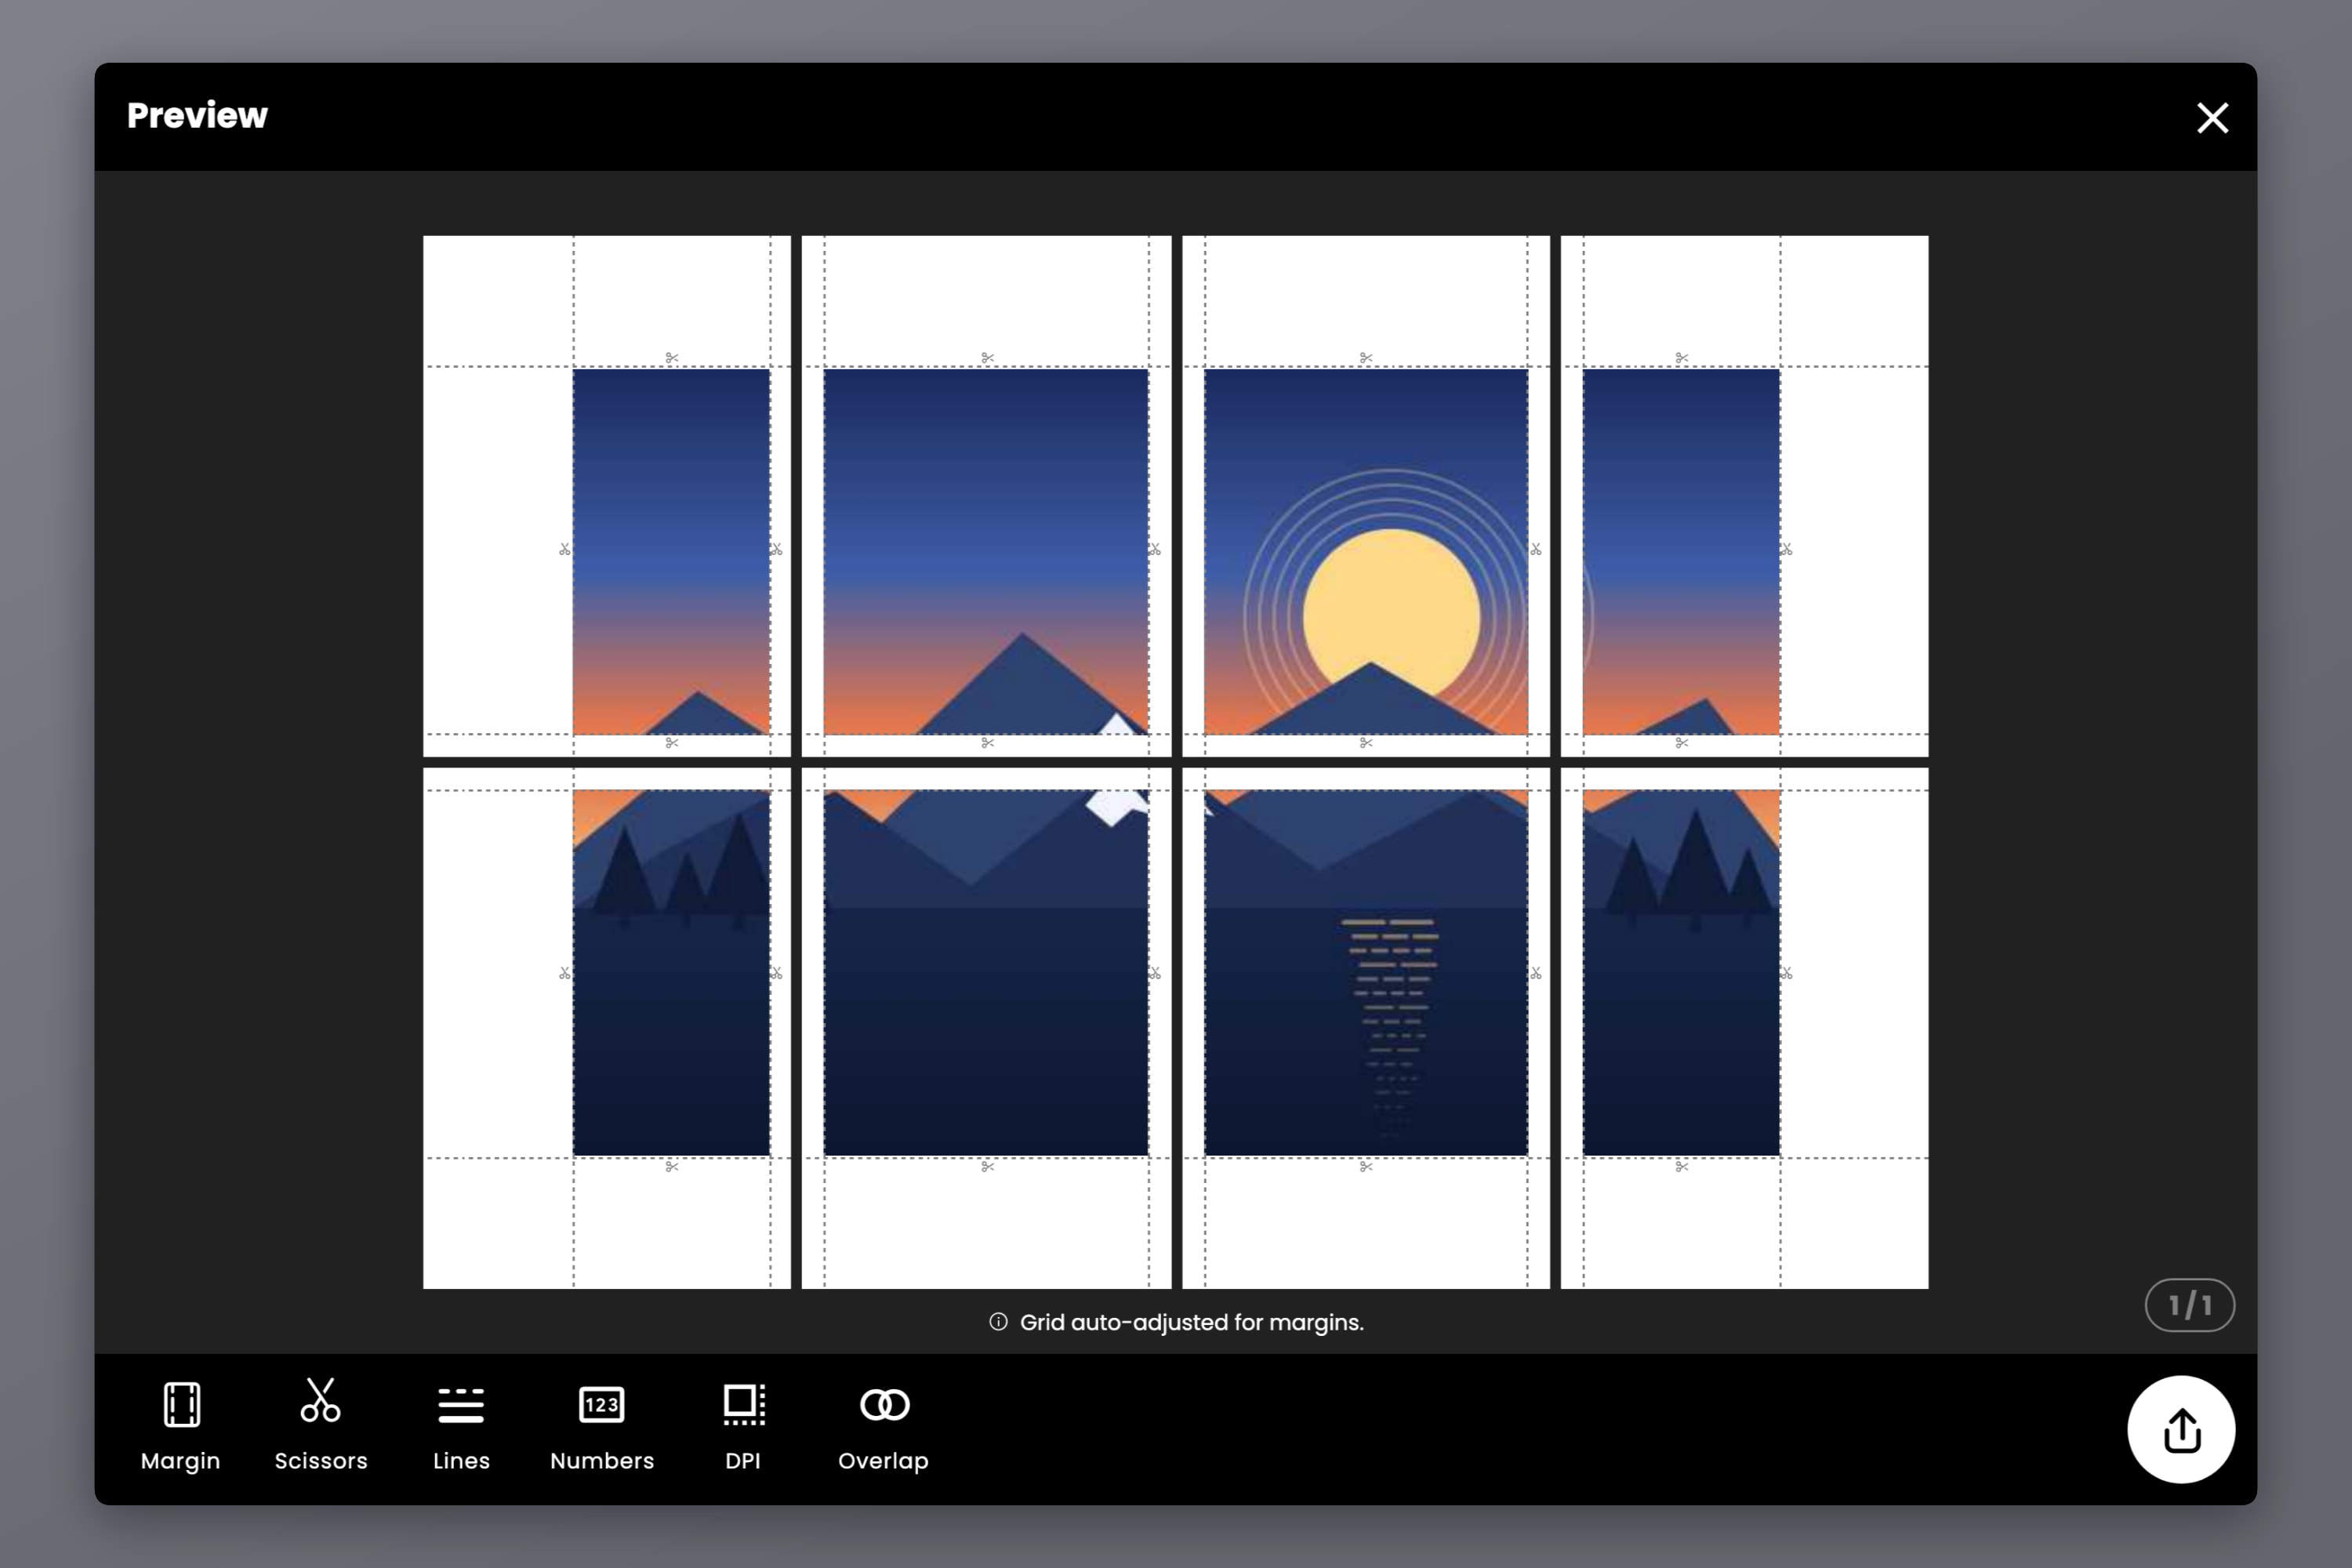
With the source sorted, tiling is the easy part. Set your poster dimensions in Size mode, choose the paper you are printing on, and Docuslice splits the image across the sheets.
Turn on two settings before exporting: overlap at 50% or higher, so a slightly short cut lands on duplicated image instead of blank paper, and page numbers so a stack of near-identical sheets stays sortable. The home poster walkthrough covers tiling and assembly end to end, and the poster size reference has sheet counts for each size.
Then print at 100% scale, never Fit to Page — it shrinks each sheet independently and your overlaps stop matching.
Frequently Asked Questions
Multiply the print size in inches by your target DPI. For a poster viewed from a couple of meters away, 100 to 150 DPI is enough — an A1 poster needs roughly 3500 x 5000 pixels. For something inspected up close, aim for 300 DPI, which doubles those numbers.
A screen shows it at a few hundred pixels per inch across a small area, and it is backlit, which hides softness. Paper shows whatever density is left after the same pixels are spread over a much larger area. The image did not change — the pixels per inch did.
No. Export DPI controls how finely Docuslice renders the tiles, not how much detail exists in your source. A 1000-pixel image exported at 600 DPI is the same picture in a bigger file. Enhance it or print it smaller instead.
It adds plausible detail, which is not the same as recovering the original. The result looks noticeably better than stretching, especially for compressed or older images, but a genuinely larger source will always beat an upscaled small one.
No. Docuslice splits your canvas into sheets at your chosen export DPI. Quality loss in a tiled print comes from the source resolution, from printing at less than 100% scale, or from assembly — not from the split.
A vector PDF or SVG, because it has no fixed resolution and stays sharp at any size. For photos, the largest original you can get, ideally straight from the camera rather than a copy that has been through a messaging app.
Download Docuslice
Download Docuslice, check your image before you commit twenty sheets of paper to it, and print big without the blur.