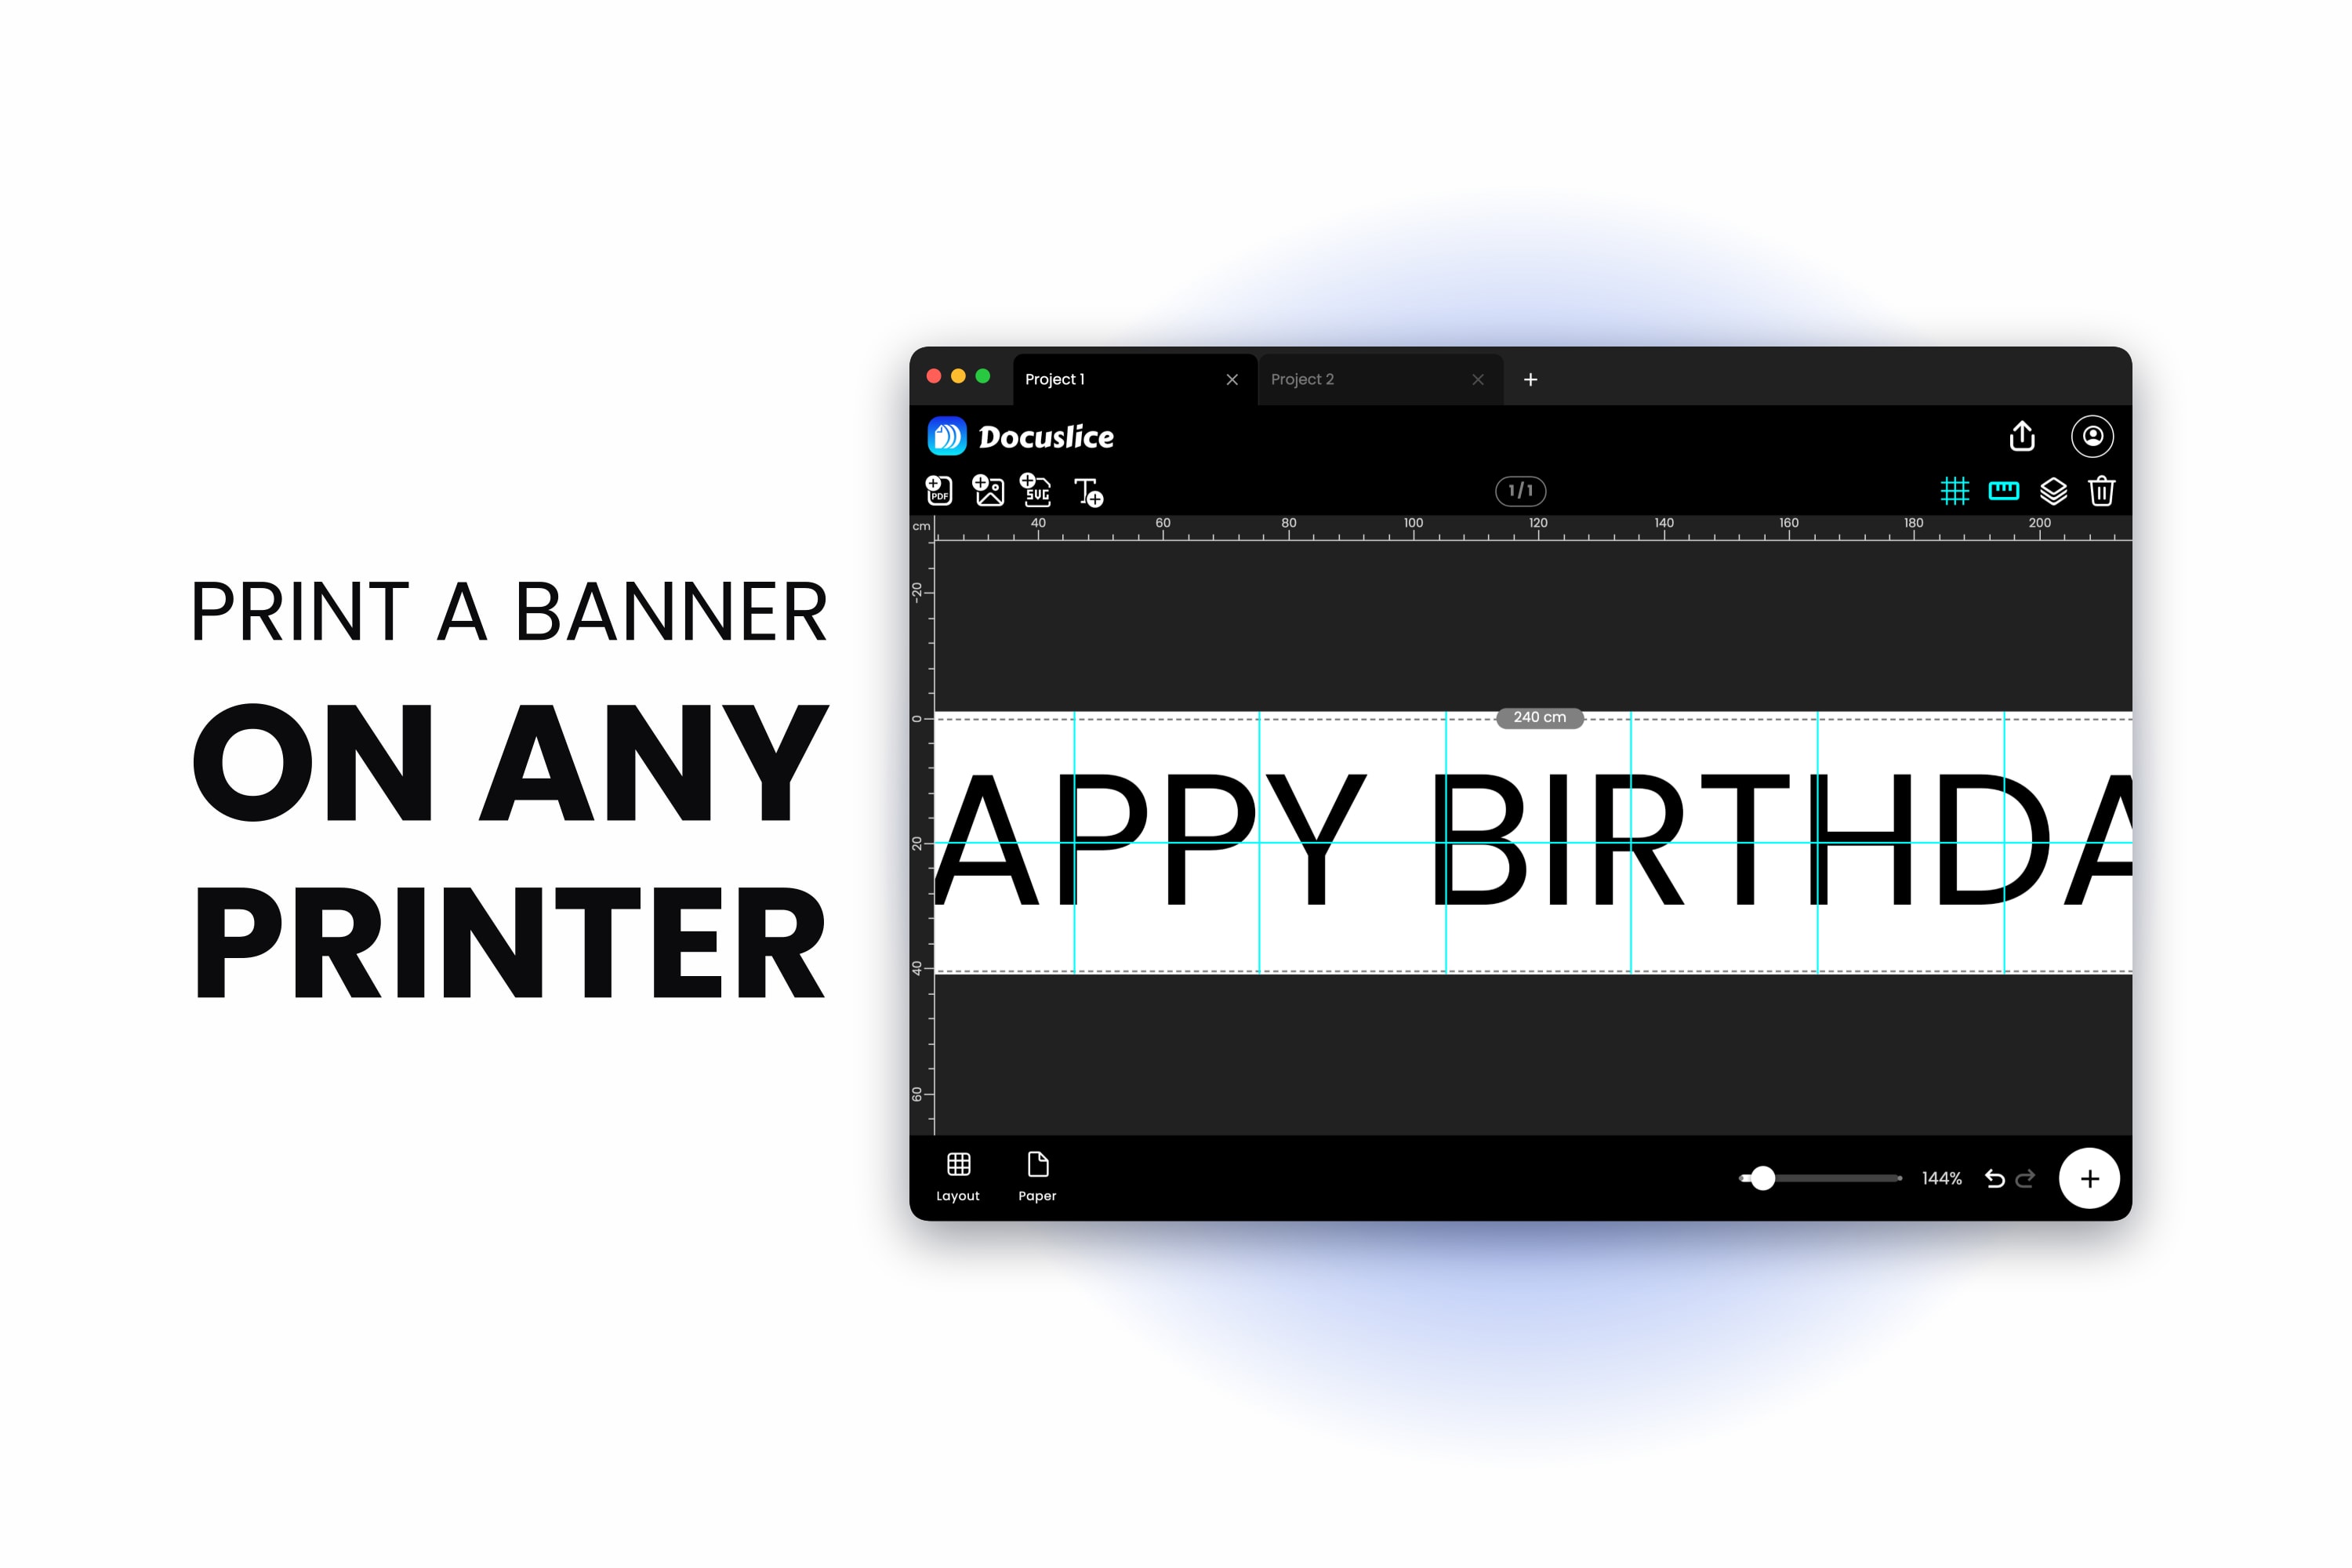
The party is tomorrow. You want HAPPY BIRTHDAY across the wall in letters big enough to see from the doorway, the print shop is closed, and the only printer in the house holds A4 or Letter paper. Every banner you find online is the wrong name, the wrong color, or costs more to ship overnight than the cake did.
The way out is simple: build the banner at its real size, split it across a grid of ordinary sheets, print them, and tape them back into one piece. This guide covers the whole thing, including the assembly — the part every other article stops just short of.
Step 1: Decide How Big the Banner Should Be
Start with the wall, not the paper. Measure the space, subtract a comfortable margin at each end, and you have your banner width.
In Docuslice, create a project, open the Layout options and switch to Size mode. Grid mode asks how many sheets you want; Size mode asks for a real-world width and height, which is the question you actually have an answer to. Enter your dimensions in millimeters, centimeters, meters, inches or feet — feet is usually easiest for a banner.
A few sizes that work well in practice:
- 8 ft x 1 ft — a classic wall banner, readable across a room.
- 6 ft x 1.5 ft — shorter but taller letters, good above a doorway.
- 4 ft x 1 ft — a garage sale or welcome sign for a smaller space.
Then set your paper — A4 or Letter — and choose landscape orientation. Landscape sheets mean fewer vertical seams through your letters, and vertical seams are the ones you notice. Docuslice recalculates the tile count live as you change the size, so watch that number and settle on something you are willing to tape together.
Step 2: Add Your Text
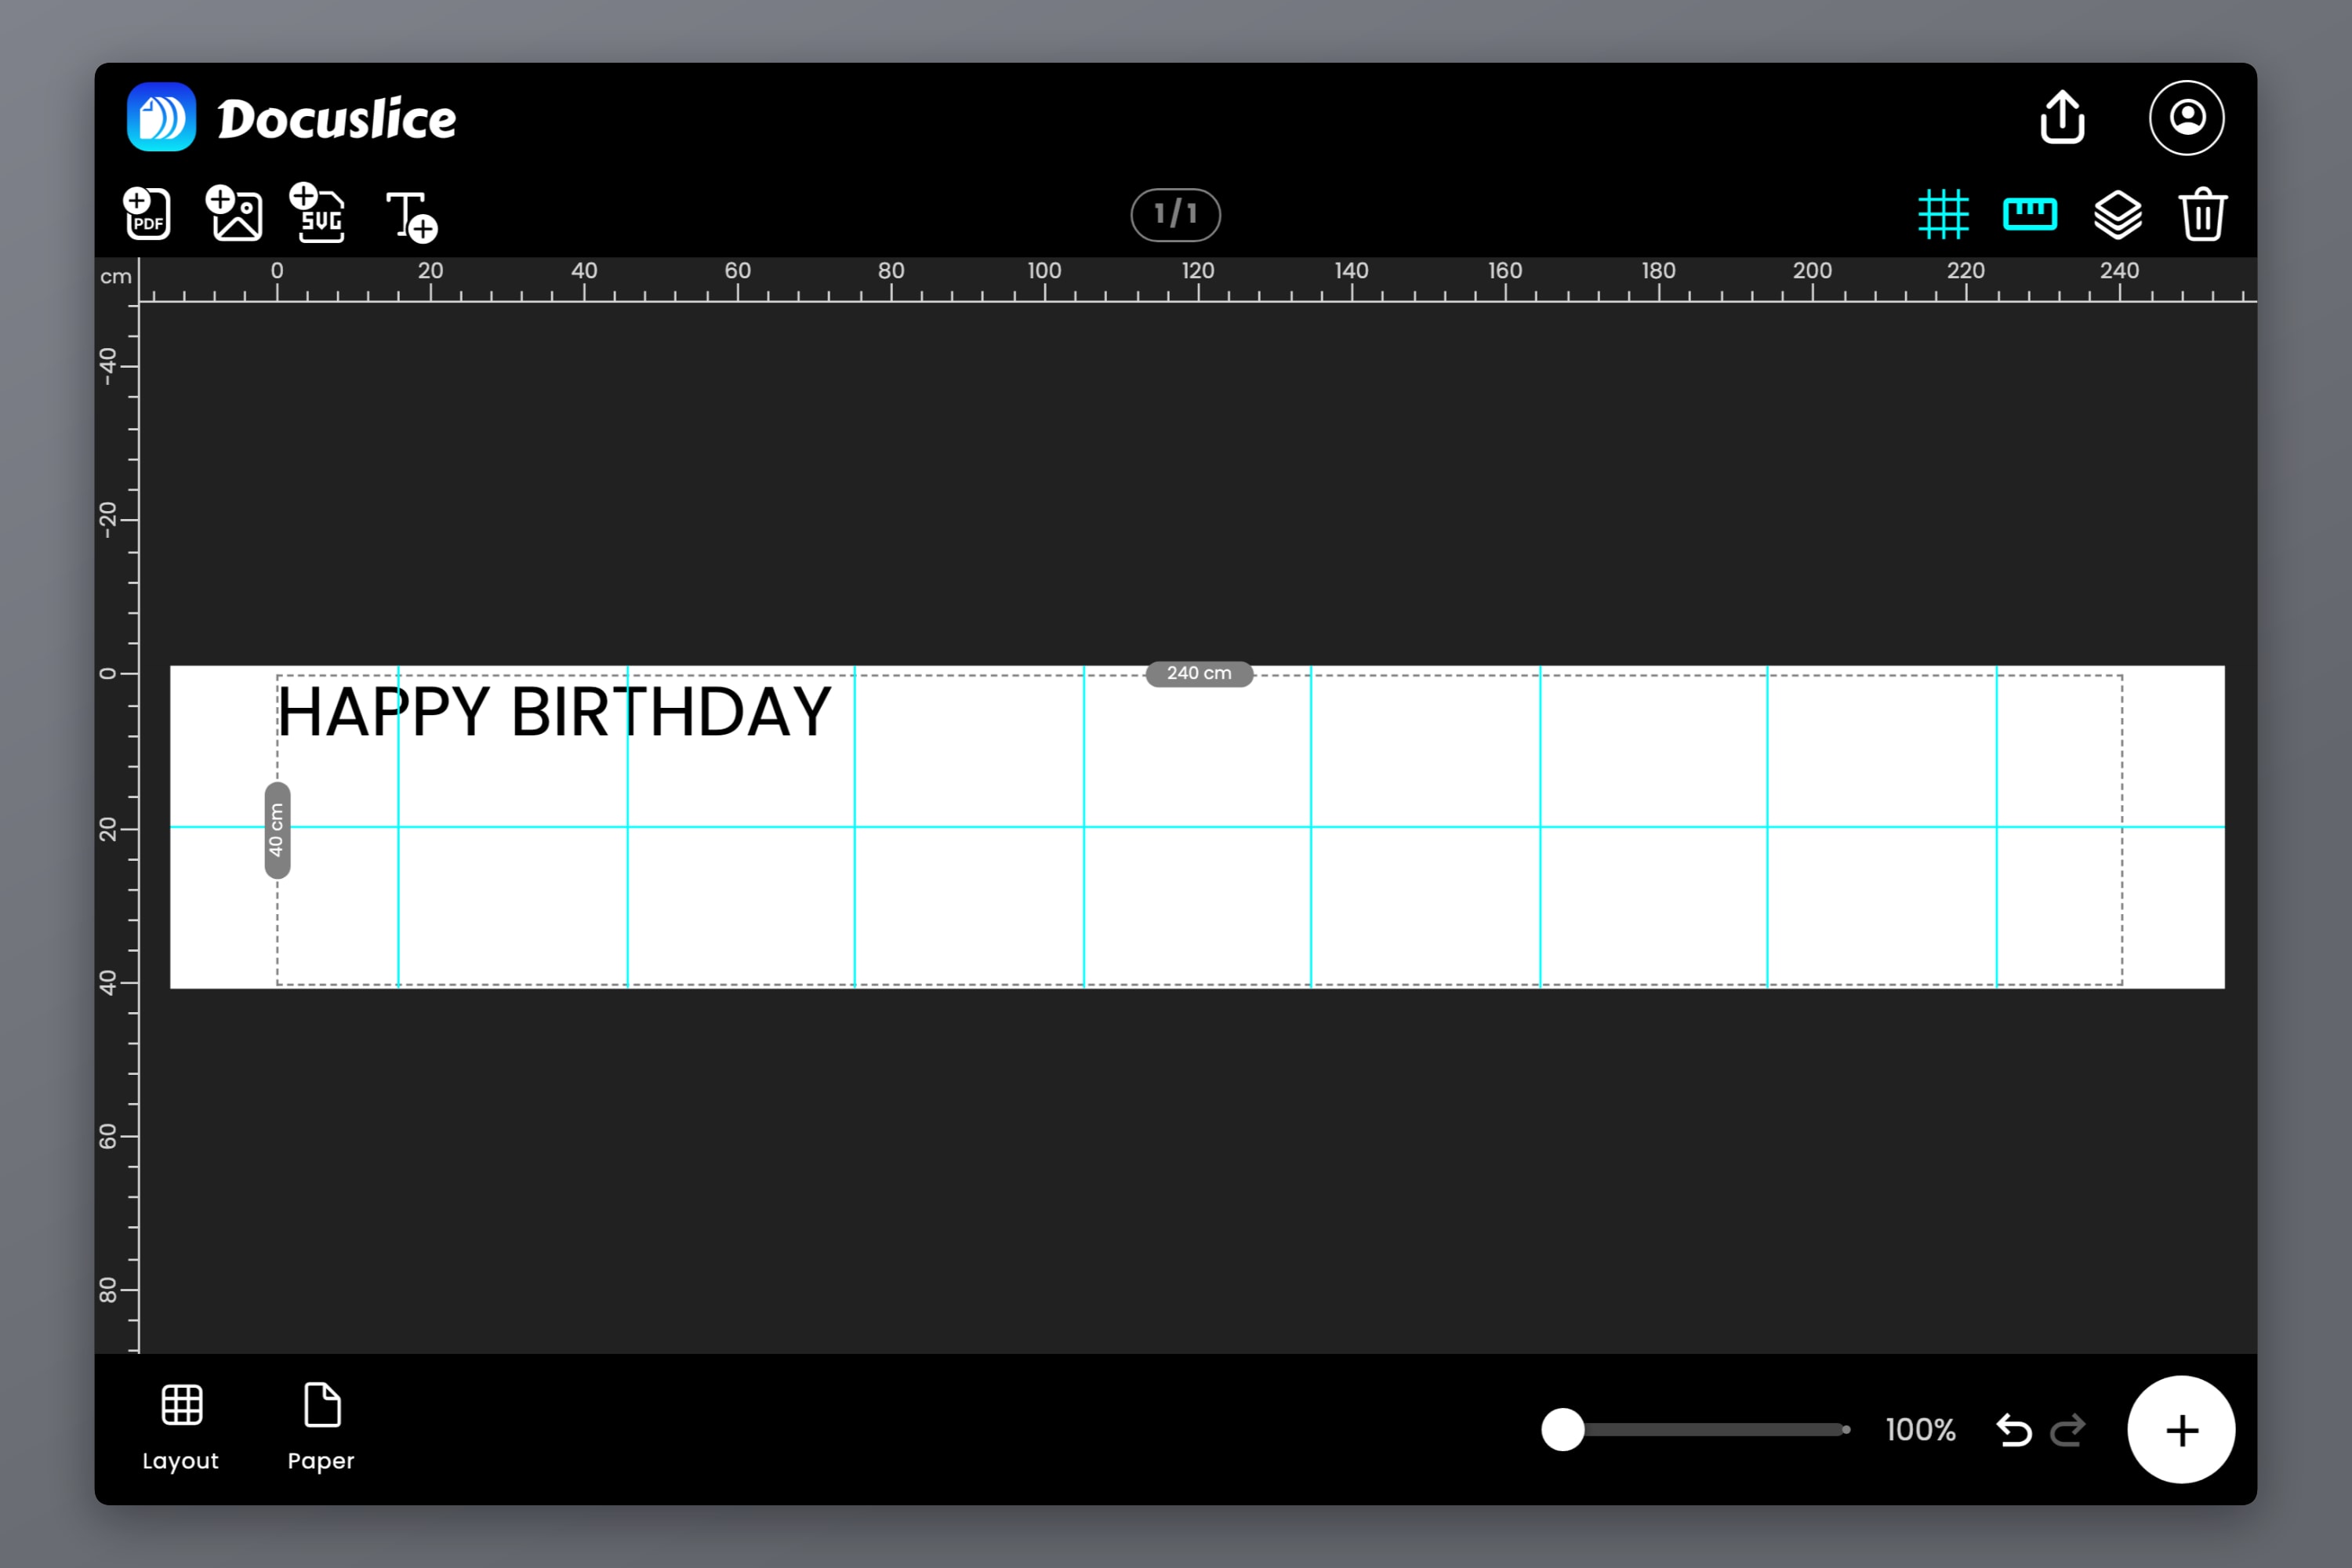
Add a text item to the canvas and type the banner. Keep it short — a banner is read at a glance, so HAPPY BIRTHDAY MAYA beats WISHING A VERY HAPPY BIRTHDAY TO MAYA every time.
Pick a heavy, wide typeface. Hairline strokes lose definition at a distance and are also the first thing to suffer at a seam. Bold and italic toggle with Cmd/Ctrl + B and Cmd/Ctrl + I on web and desktop, even while you are still typing.
Step 3: Stretch the Text Across the Whole Canvas
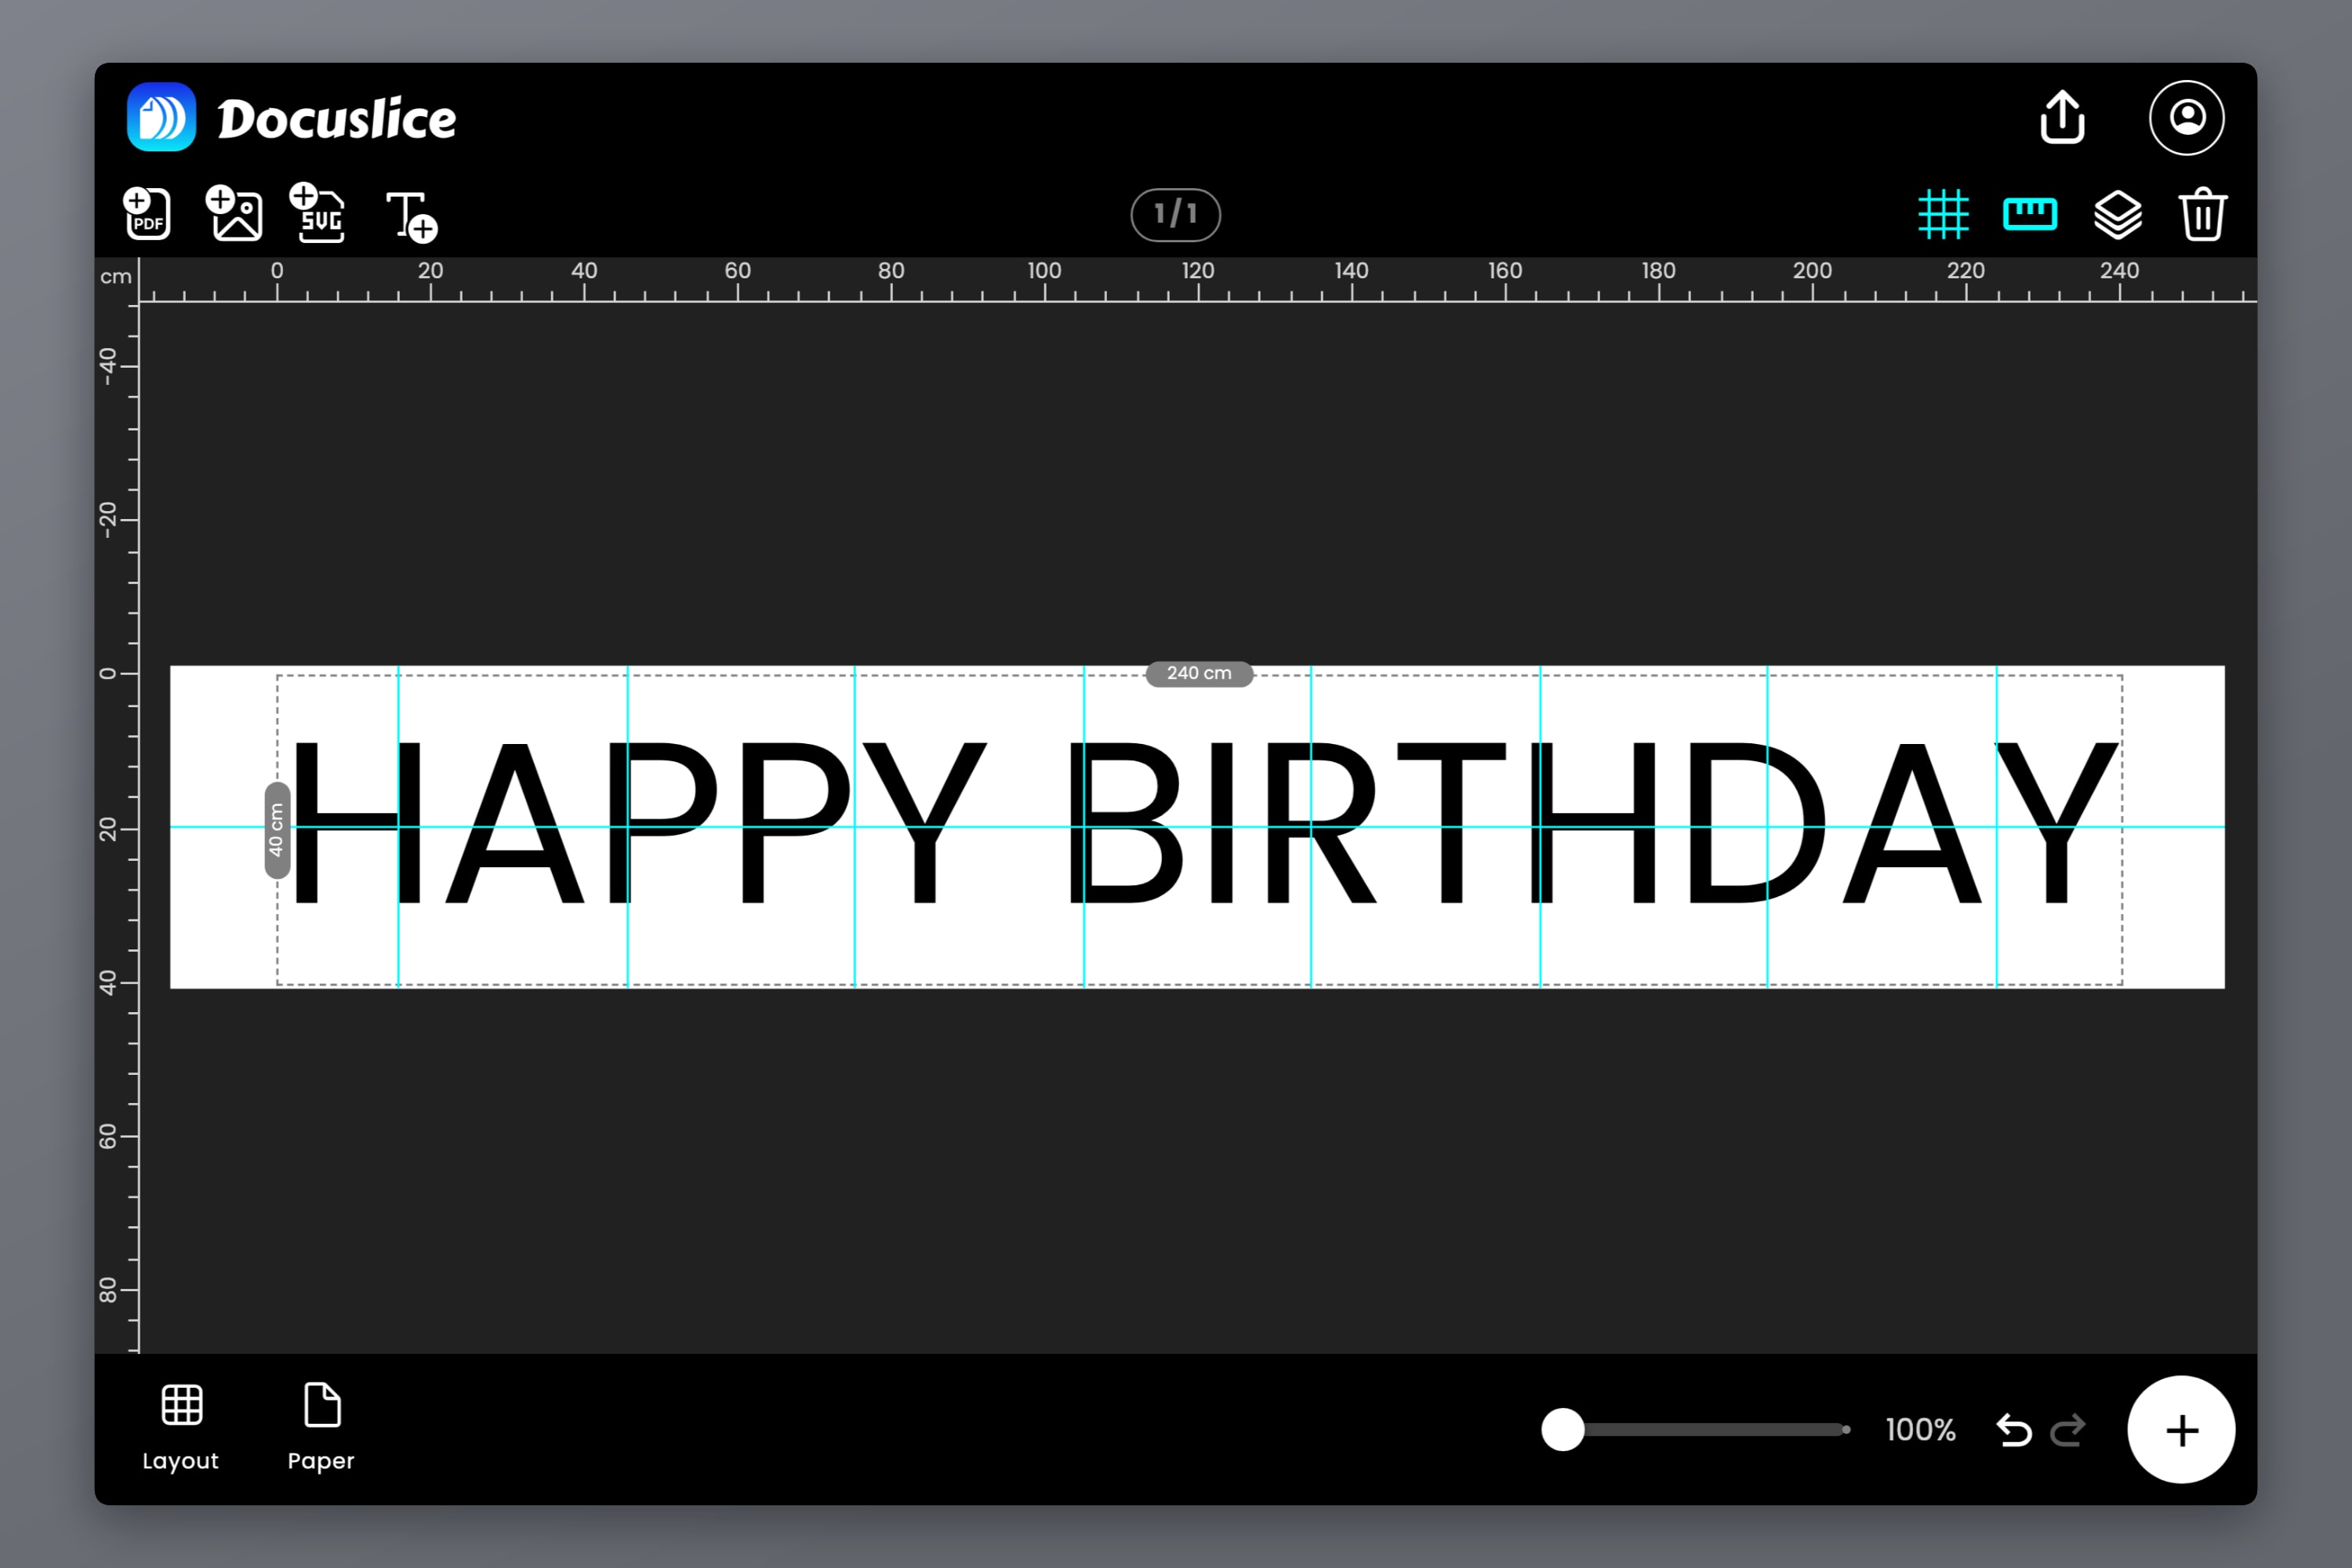
Select the text and drag its handles until it fills the canvas edge to edge.
- Corner handles scale the text uniformly, keeping the letterforms proportional.
- Edge handles stretch one side only, so you can widen the letters without making them taller.
For a banner, a modest horizontal stretch is often exactly what you want — it fills the width and makes the letters read heavier. Push it too far and they go visibly distorted, so trust your eye rather than the numbers.
As you drag, items snap to the page edges, the page center, other items and the tile dividers, with a magenta guide line appearing the moment something lines up. Snap the text to center and the banner is balanced without any measuring. Turn on the rulers and drag out your own guides if you want a consistent margin at both ends.
Step 4: Look at Where the Tile Dividers Fall
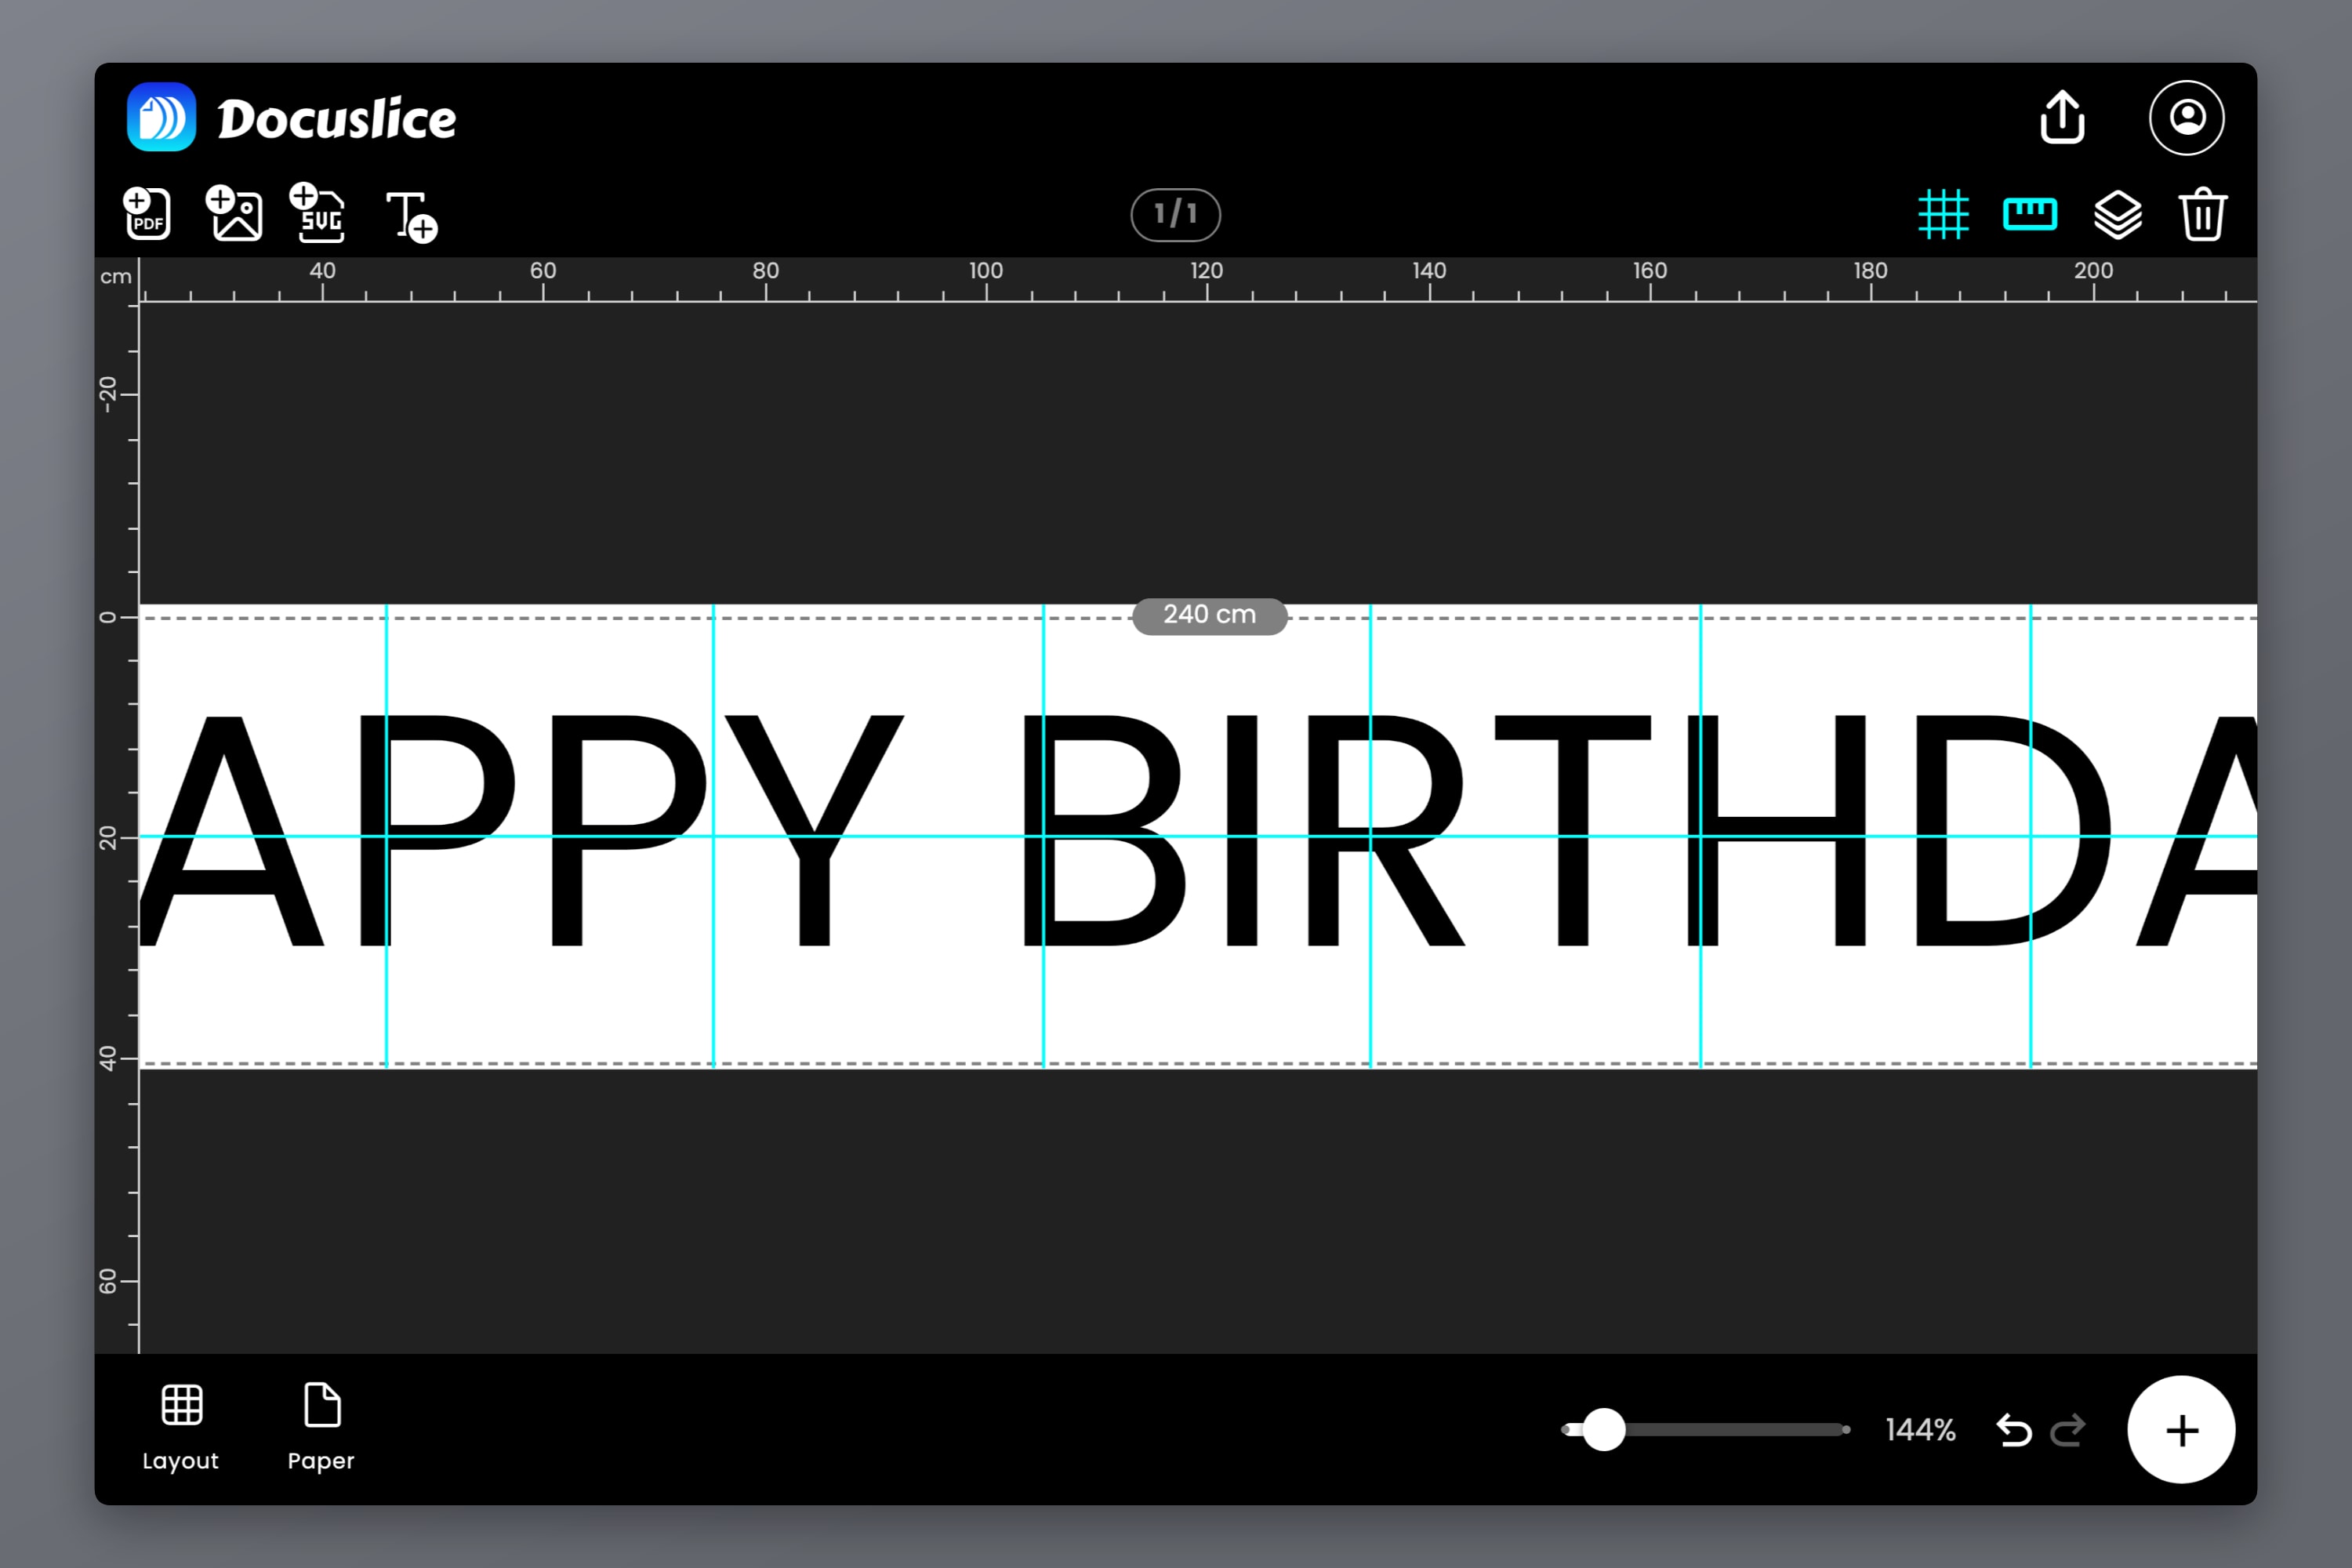
Docuslice draws the tile dividers straight onto the canvas, so you can see which sheet each part of your banner lands on before you print anything.
This is worth thirty seconds of attention. A divider down the middle of a wide letter like M or W is fine. A divider slicing through the thin part of an S, or running right along the edge of a stroke, is where a one-millimeter taping error becomes visible. Nudge the text sideways, or adjust the banner width slightly, and the dividers move somewhere more forgiving.
Step 5: Set Overlap and Cut Marks
Open the export options. Two settings here do most of the work of making assembly painless.
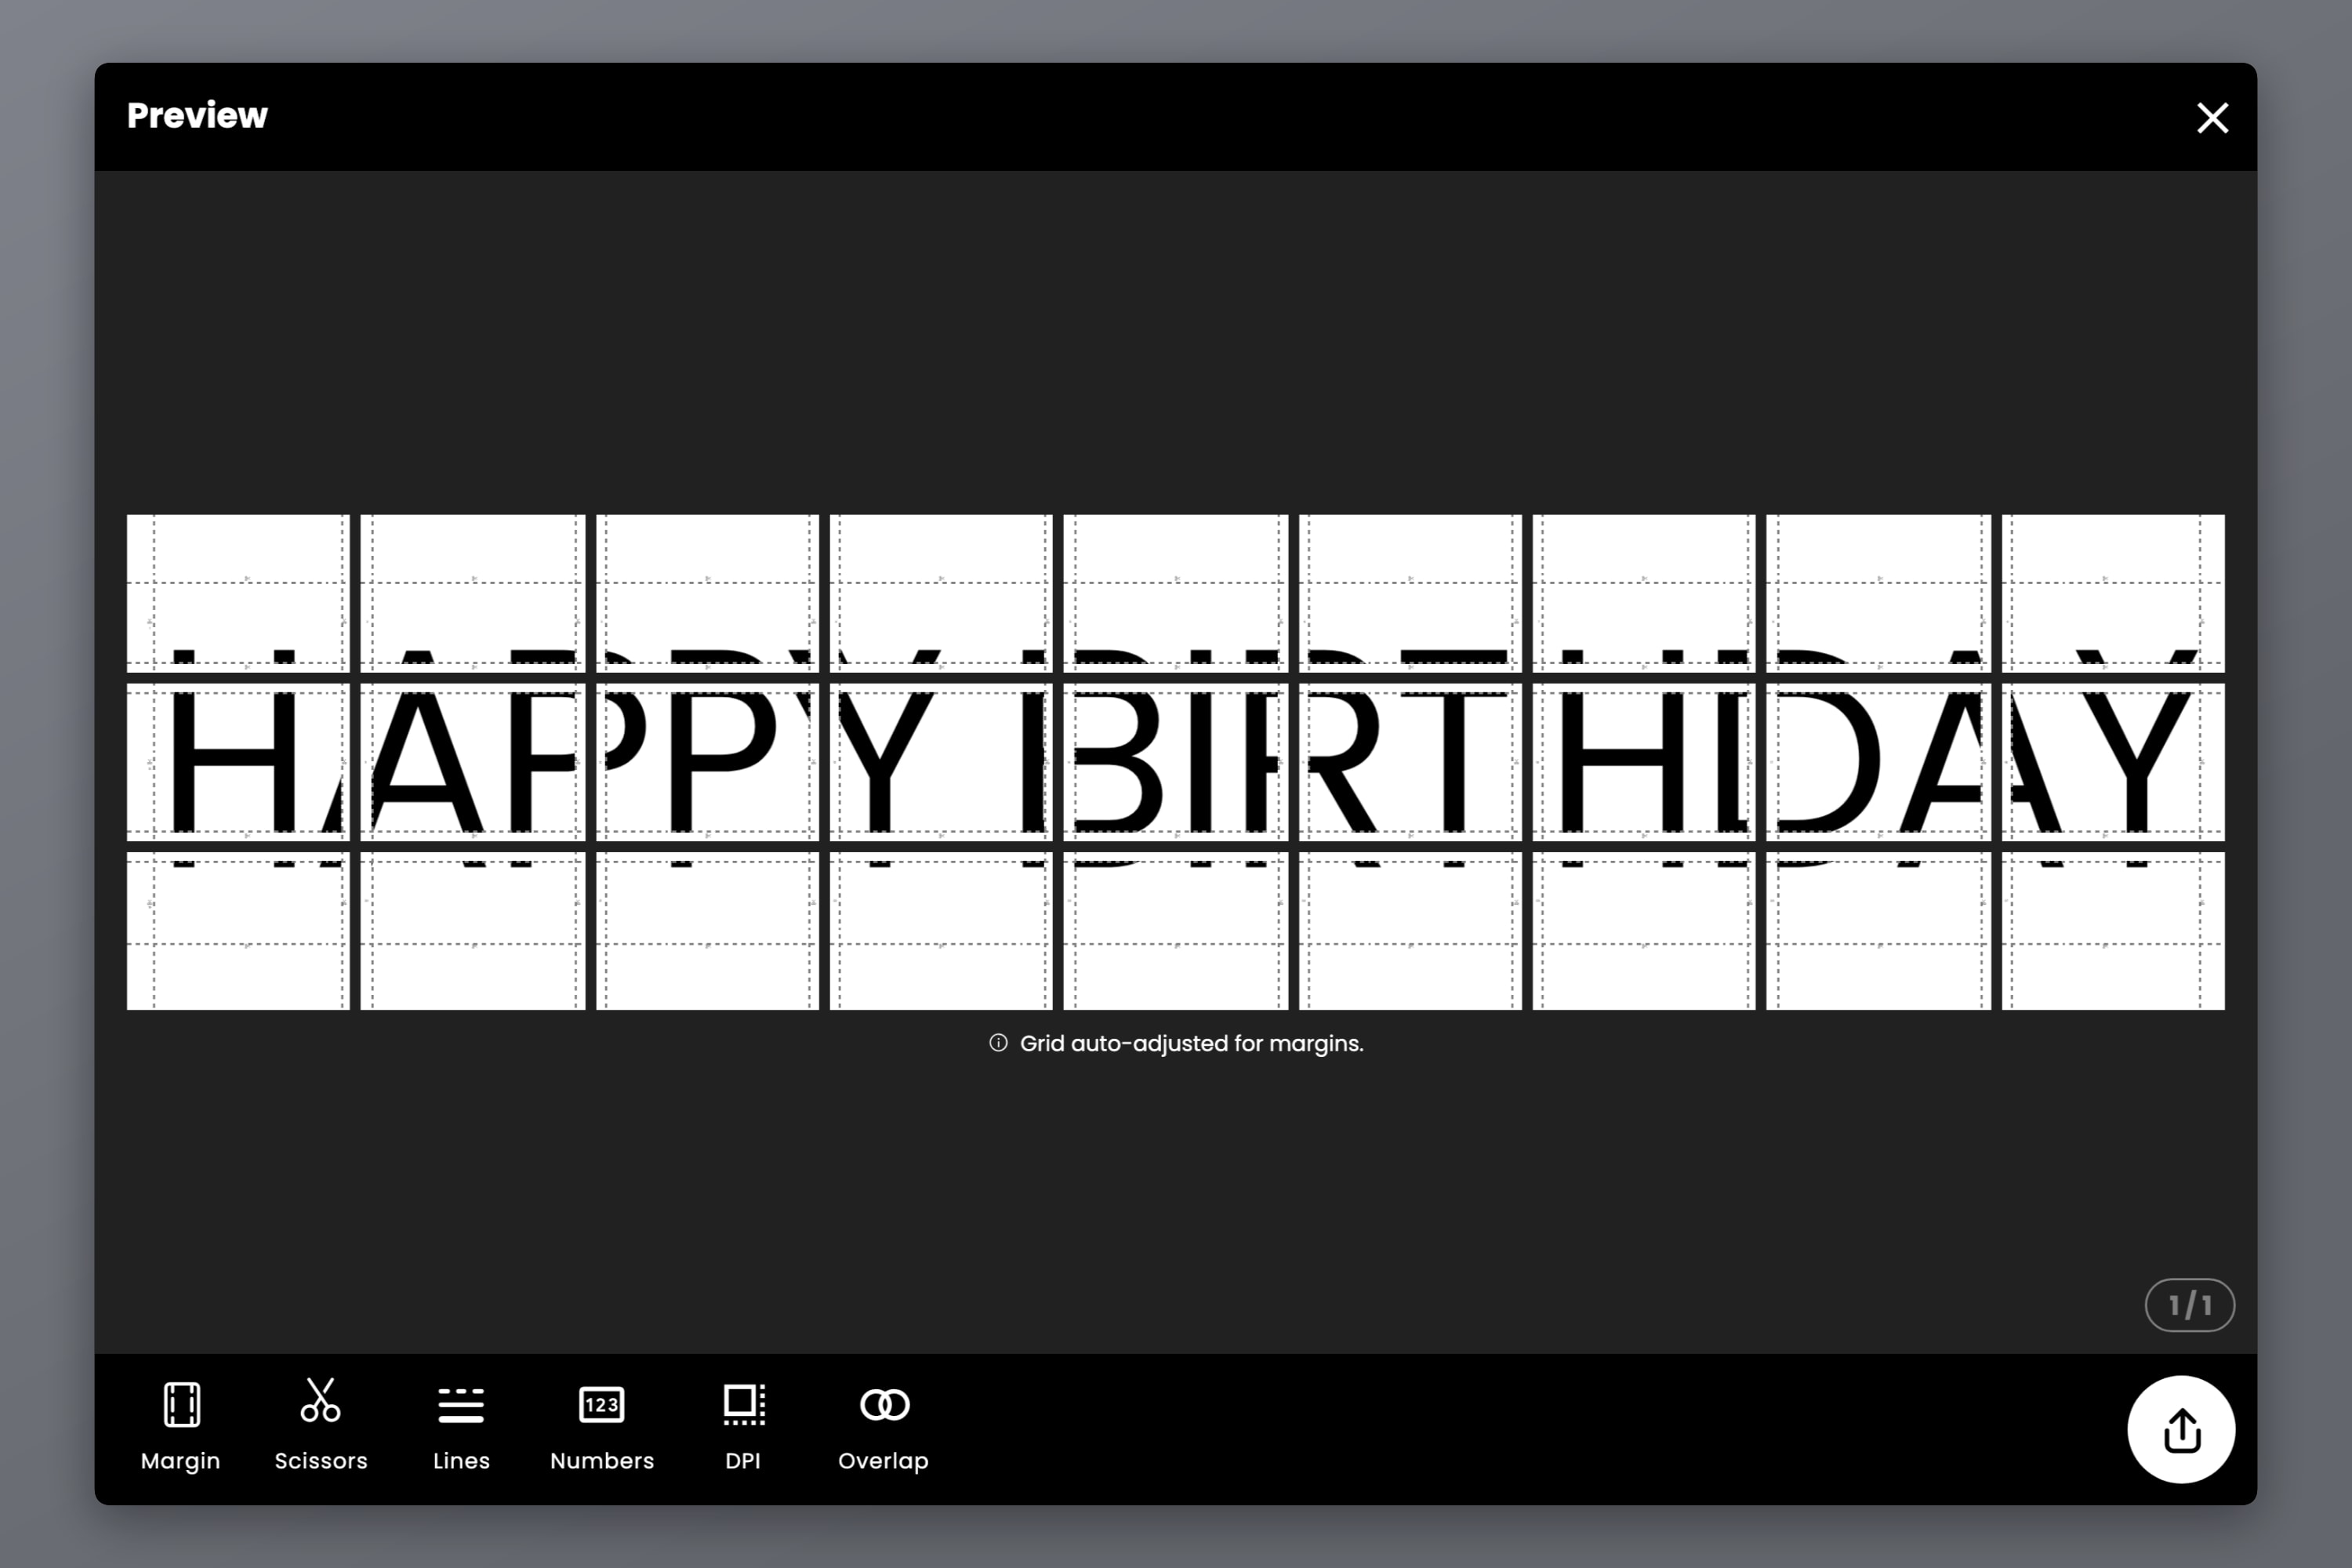
Overlap — set it to 50% or higher. Overlap fills part of each tile's margin with the neighboring tile's content, so a cut that lands a little short falls on duplicated artwork instead of bare paper. It is the difference between a seam you have to look for and a white line across your banner. Because the overlap is a share of the margin, a wider margin gives you a wider band to work with — worth increasing if your cutting is not surgical.
Cut lines and scissor marks — turn both on. They print faint guides showing exactly where to trim, which is faster and straighter than eyeballing a ruler across twenty sheets.
The export preview shows the full page grid and the total tile count before you commit any paper.
Step 6: Turn On Page Numbers
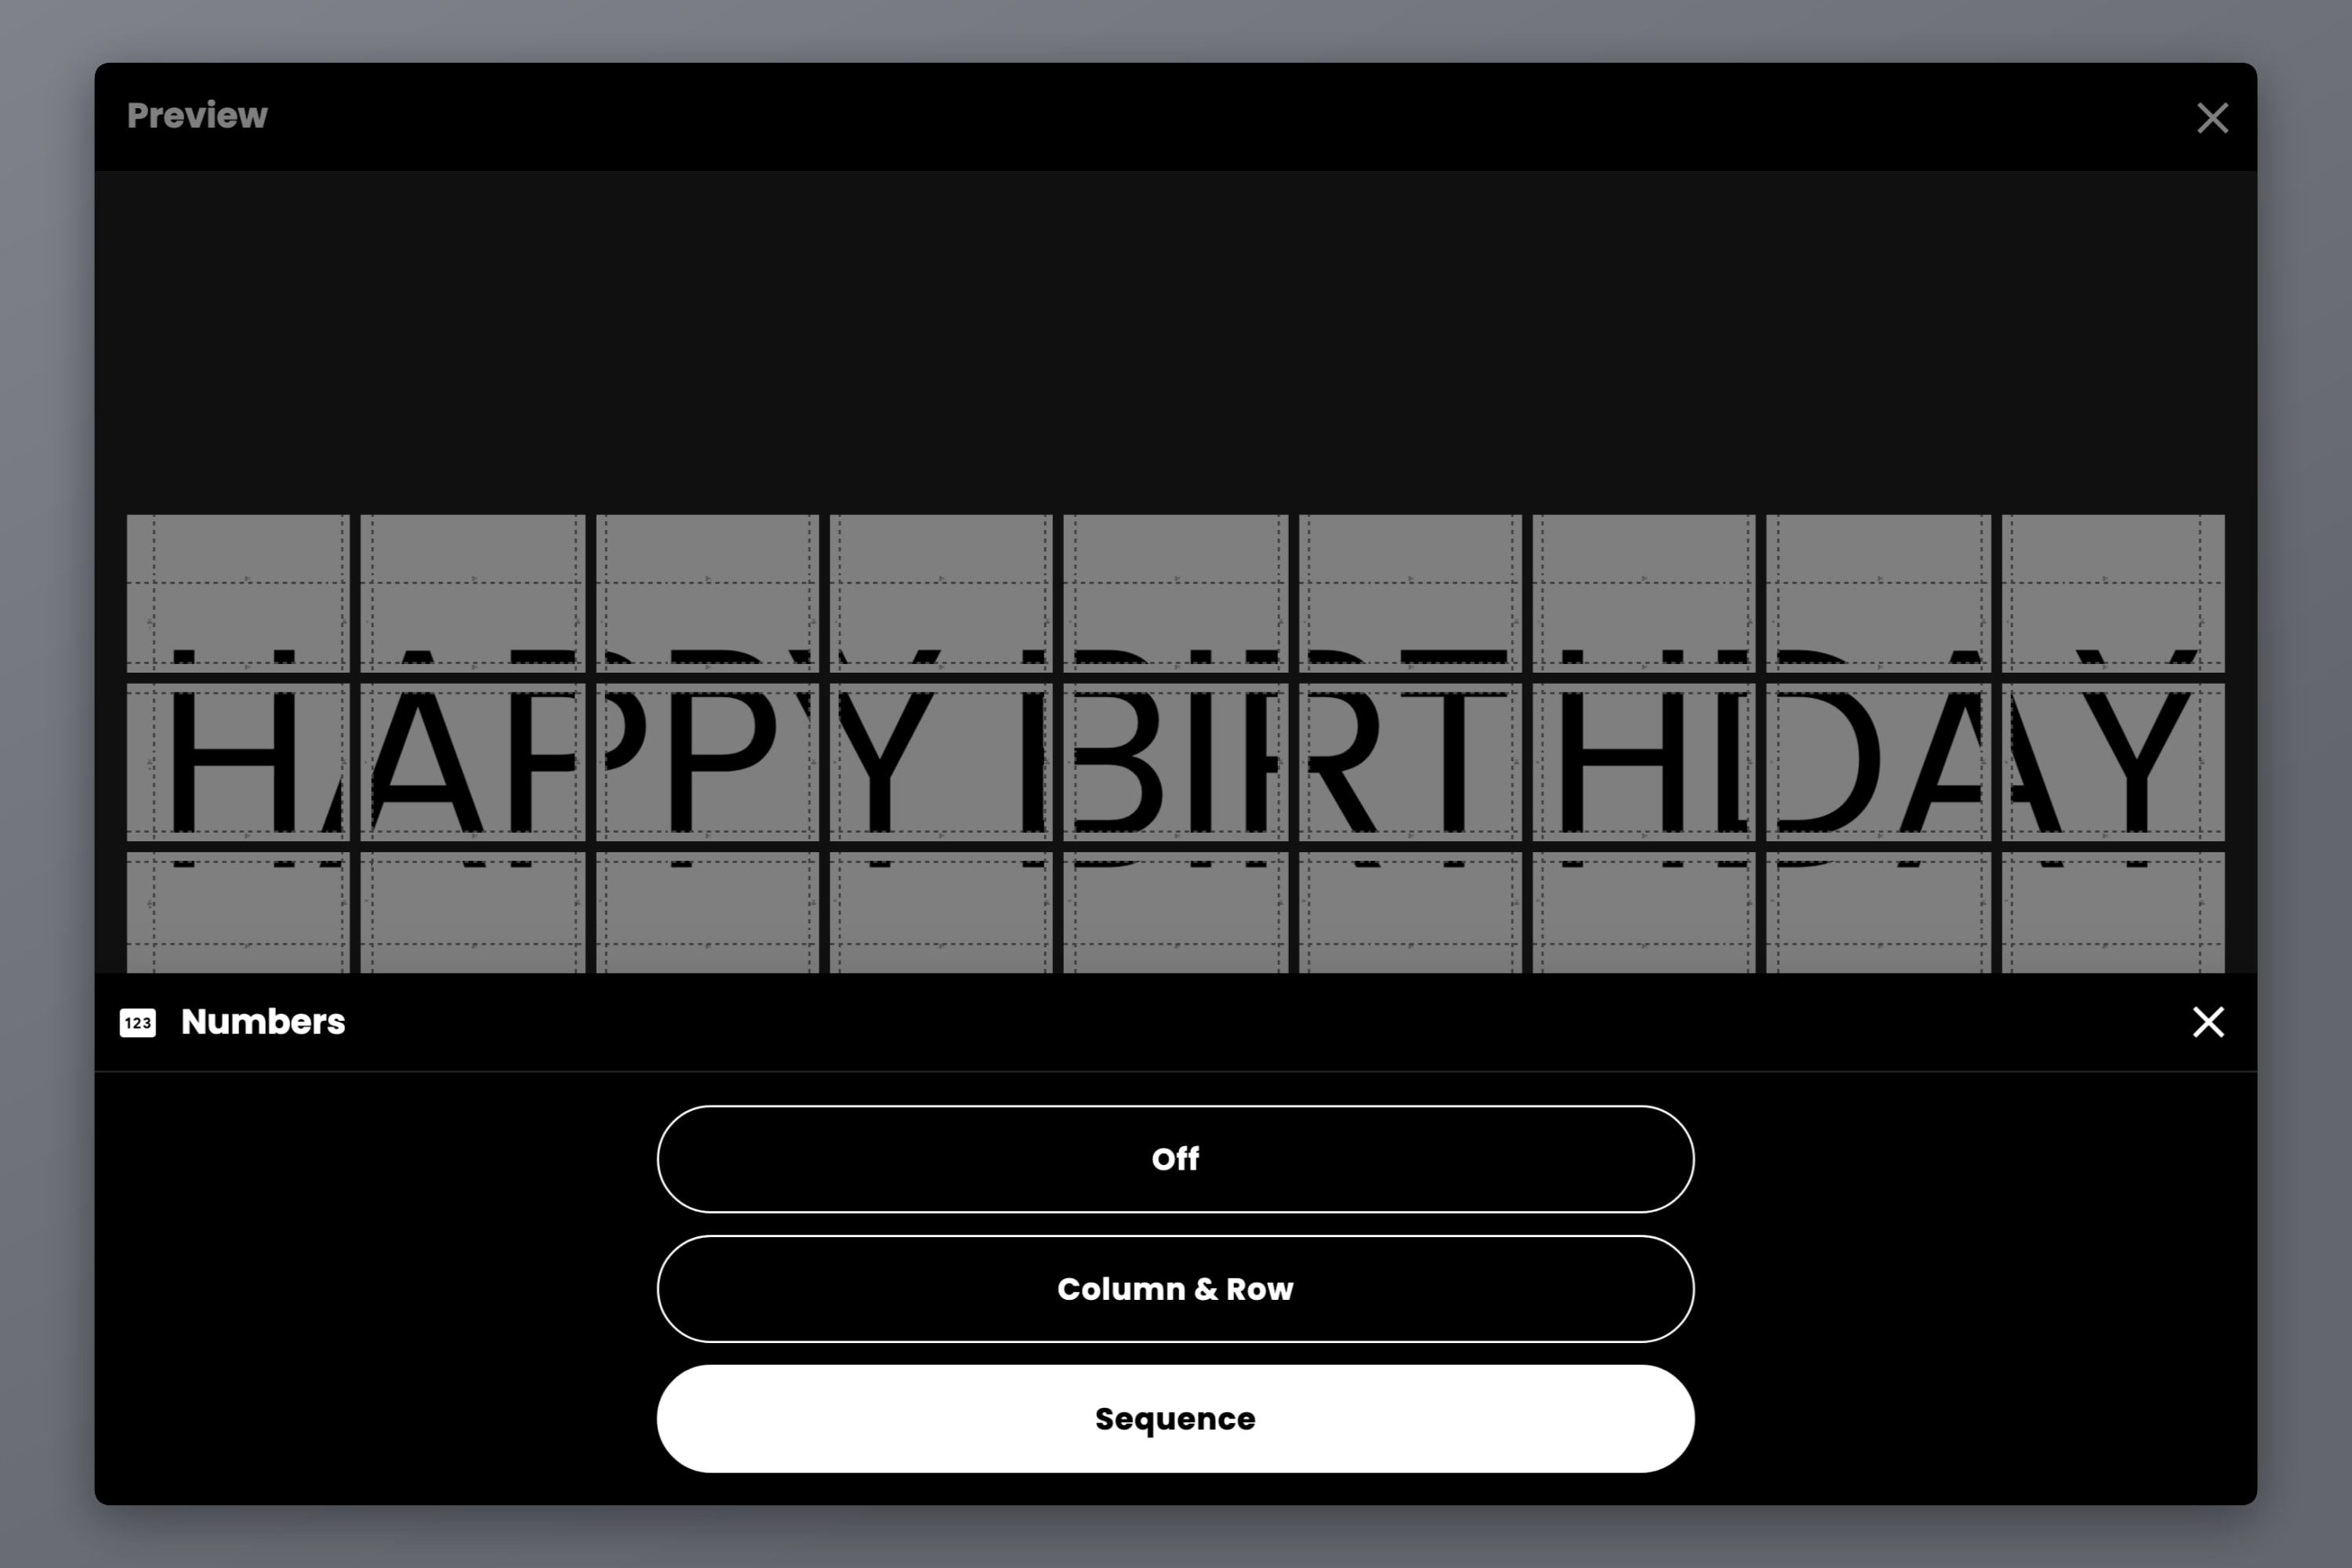
A printer hands you a stack of sheets that all look like white paper with a diagonal black shape on it. The Numbers control fixes that:
- Off — no markings.
- Column & Row — grid coordinates like C2 over R3 on every tile.
- Sequence — a running count, 1, 2, 3, across all tiles.
For a single-row banner, Sequence is all you need — the sheets go in order, left to right. For a two-row banner, use Column & Row so you never confuse the top strip with the bottom. The markings print in the tile's margin next to the cut guides, so they are easy to read while you work and disappear under the overlap seam once assembled.
Step 7: Print at 100%
Export as a PDF or as individual images, then print with two settings locked down:
- Set the printer's scale to 100% or Actual size. Fit to Page shrinks each sheet independently, so your overlaps stop matching and the banner will not join up.
- Make sure the paper size in the print dialog matches the paper size you chose in Docuslice.
If your banner has a solid background, print one sheet first and look at it. Large flat areas eat ink, and it is better to find a streaky cartridge on page 1 of 18 than on page 17.
Step 8: Tape It Together
Here is the part that decides whether it looks handmade or homemade.
Lay it out first
Put every sheet on the floor in its final arrangement using the page numbers, before you cut or tape anything. You will spot a missing page or a misprint now, when it costs nothing.
Trim one edge only
Pick a convention and hold it: trim the right and bottom margin of every sheet, and leave the left and top margins intact. Docuslice prints the overlap strip into each sheet's left and top margin, so the trimmed edge lays over its neighbor's untrimmed one — the margin carrying the duplicated artwork — and the two line up.
Trimming both edges of both neighbors is the most common mistake. It removes the overlap you set up and leaves a white gap you cannot close.
A craft knife and a metal ruler give a straighter edge than scissors, but scissors along a printed cut line are perfectly fine.
Work left to right, one row at a time
Lay sheet 1, trimmed on its right edge, over sheet 2's untrimmed left margin, aligning the artwork across the seam rather than the paper edges. Tape. Then sheet 2 over sheet 3, then sheet 3 over sheet 4. Going in order lets a tiny misalignment be corrected on the next seam instead of compounding across the whole banner.
For a two-row banner, finish each row into a complete strip first, then join the strips along the single long horizontal seam.
Tape on the back
Run clear tape along the seam on the reverse side. Front tape catches the light, lifts toner when you reposition it, and yellows. Back-taping is invisible from the front and lets you peel a bad seam apart and redo it. Use one long strip per seam rather than several short pieces — it is faster and keeps the seam from rippling.
Reinforce the ends
Put a strip of tape across the back of the top-left and top-right corners before hanging. Those two points carry the whole banner, and plain copy paper tears there first.
Frequently Asked Questions
It depends on the banner size, your paper size and orientation. Docuslice shows the tile count live as you change the dimensions, so you see the number before you commit. If it is higher than you want, shrink the banner, switch to landscape, or print onto a larger paper size like A3 or Tabloid if your printer takes it.
Yes. Anything you can put on the canvas tiles the same way — an image, an SVG, or the pages of a PDF. The text tool just saves you from opening a design app first. The general poster walkthrough covers the image-based route.
Ordinary 80 gsm copy paper is cheapest and tapes flattest. Heavier paper hangs better but costs more and can jam on some printers. Avoid glossy photo paper for text banners — the sheen makes letters harder to read at an angle.
A4 and Letter are close enough that either works. If you have a larger printer, A3 or Tabloid roughly halves both your sheet count and your seam count. Our poster size reference lists the exact dimensions of every size.
Yes. Docuslice runs on iOS and Android as well as web, Mac and Windows, with the same text tool, tiling and export options.
Download Docuslice
Download Docuslice and have the banner on the wall before the guests arrive.