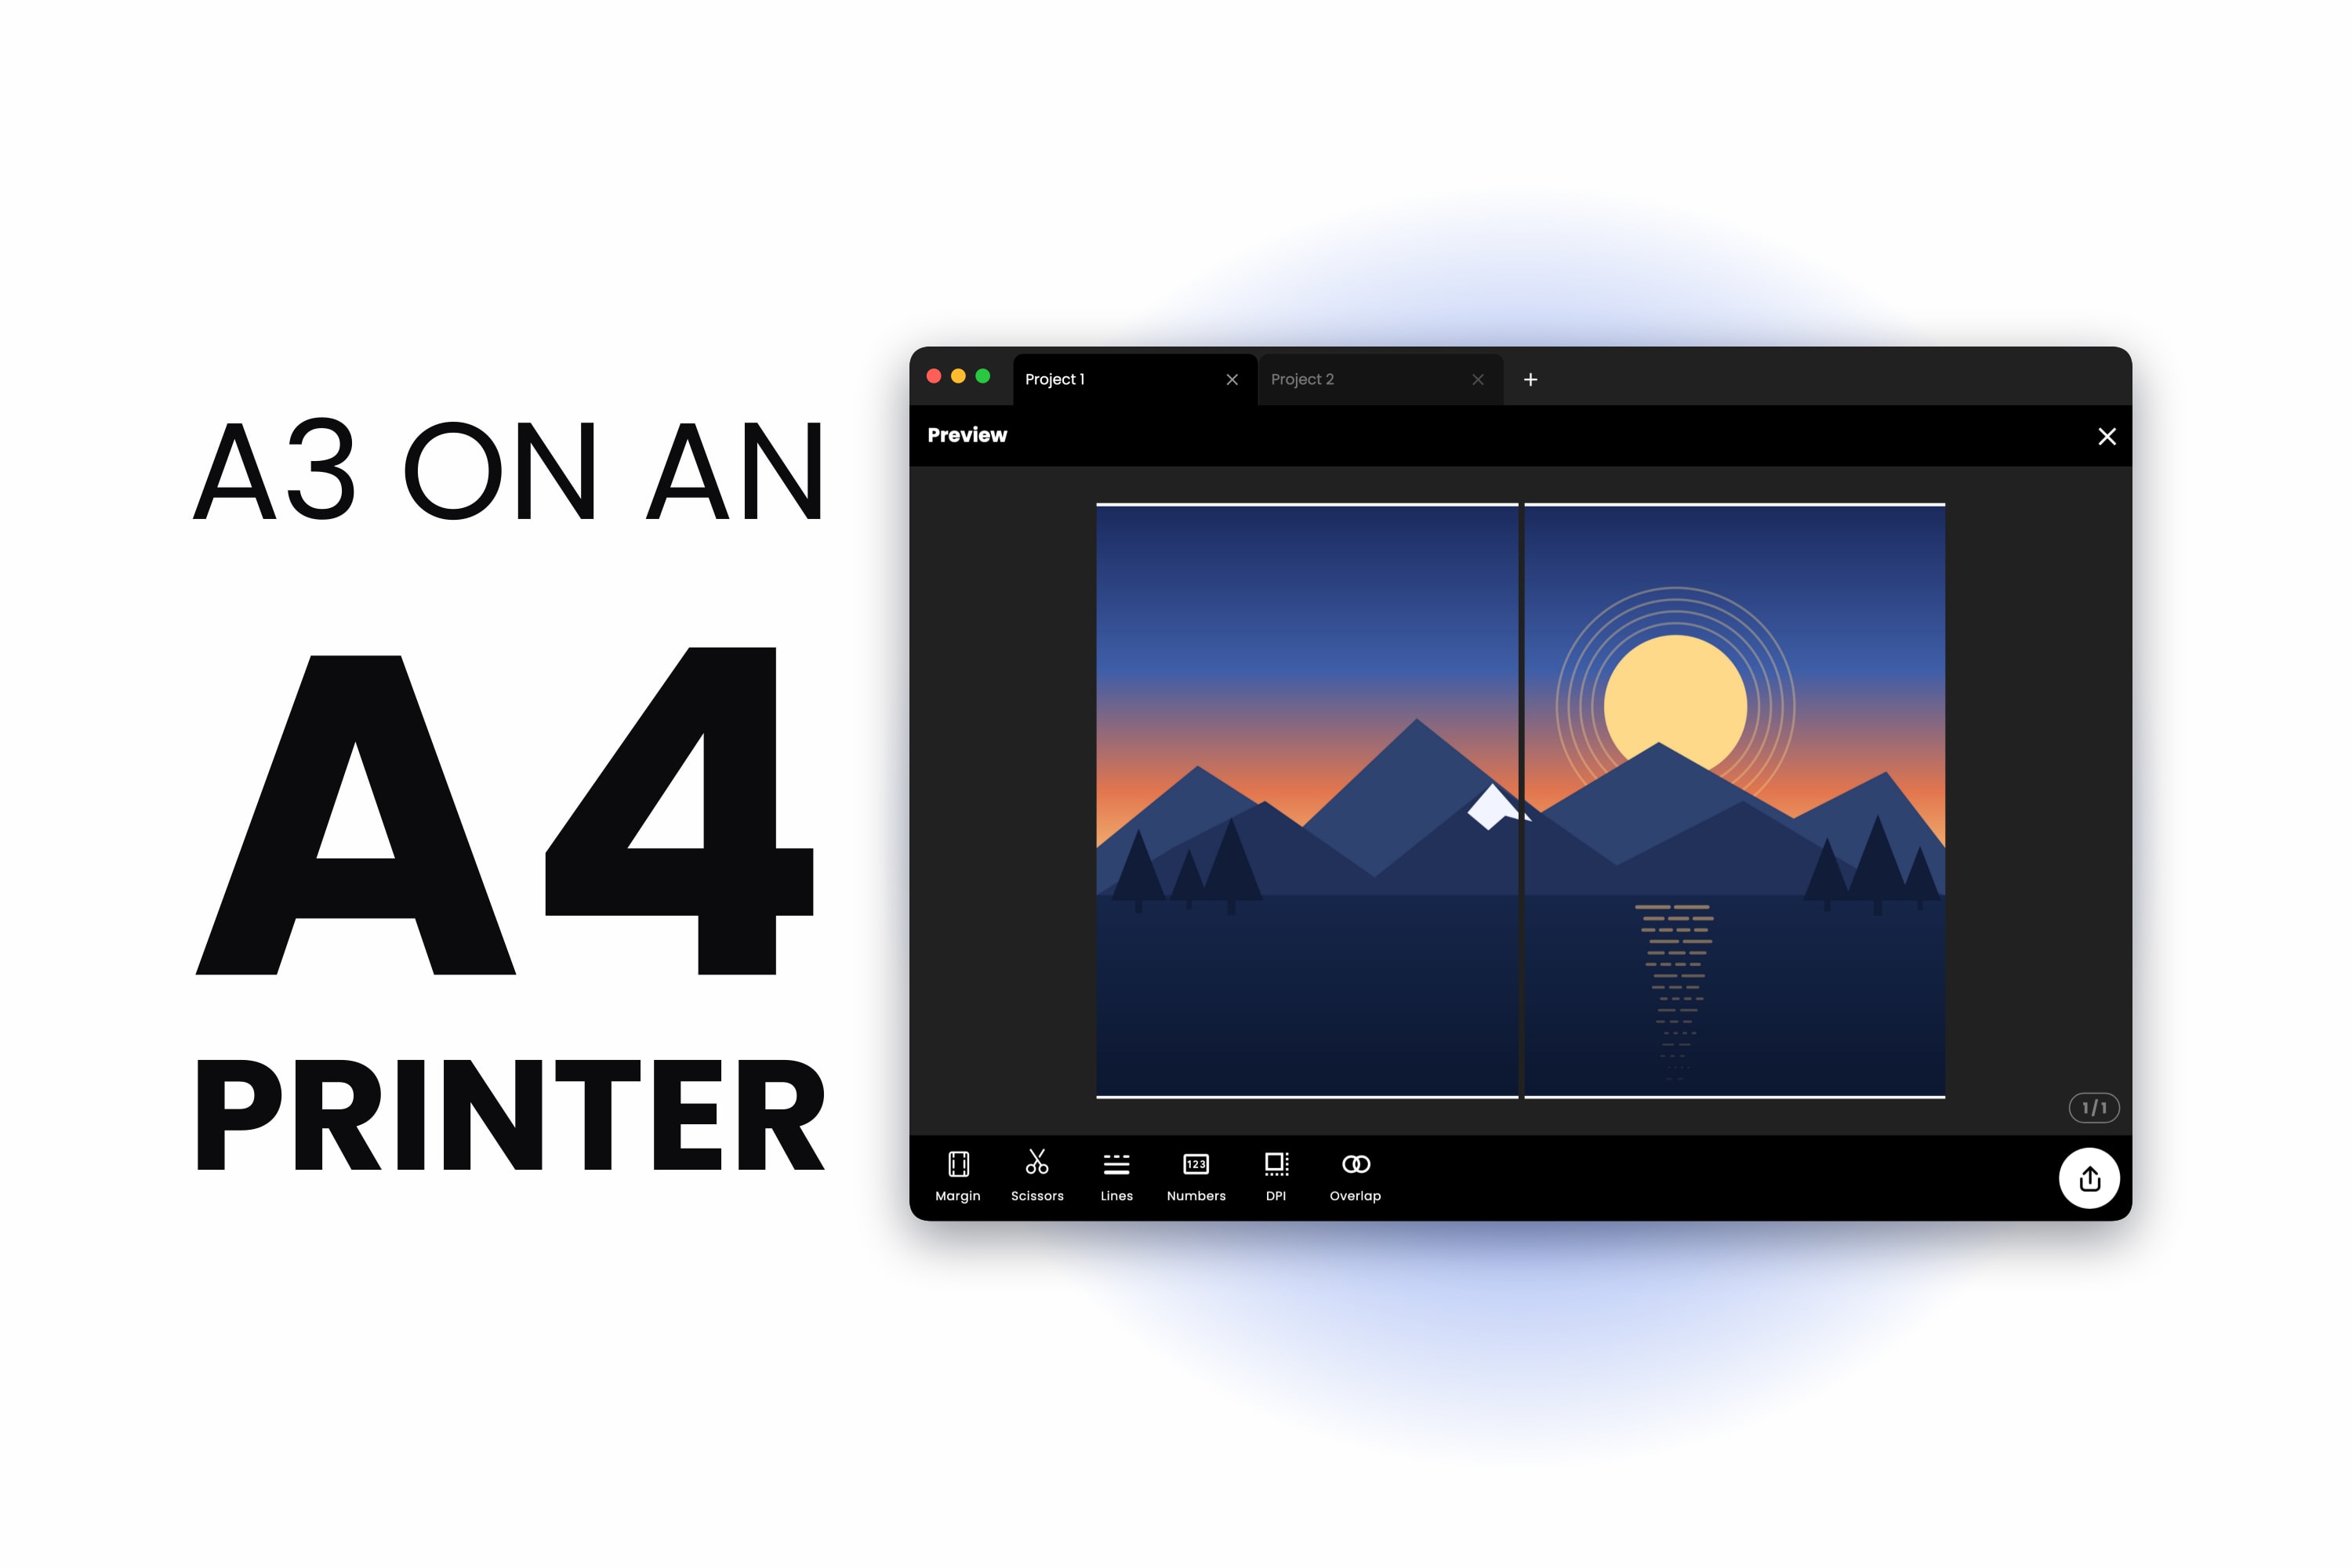
Your printer takes A4. You need A3. You press Print, the dialog offers Fit to Page, and out comes the A3 design shrunk onto one A4 sheet — the right image at the wrong size.
The fix is to split the A3 across two A4 sheets at full size and tape them together. A3 is exactly two A4 sheets, which makes it the easiest large size to produce at home.
The Only Number You Need
- A4 — 210 x 297 mm (8.27 x 11.69 in)
- A3 — 297 x 420 mm (11.69 x 16.54 in)
Put two A4 sheets side by side in portrait: 210 + 210 = 420 mm across, by 297 mm tall. That is a landscape A3, exactly. A3 is two A4 sheets with one seam down the middle.
This is exact, not approximate. The A-series halves across the long edge at every step, so A4 is precisely half of A3 and the whole ladder nests. Poster Sizes Explained has the rest of the chart.
Why Your Print Came Out A4-Sized
Fit to Page — also called Shrink to Fit or Scale to Paper Size — is switched on by default in most print dialogs. When the document is bigger than the paper, it scales the document down until it fits. Nothing failed; the driver did exactly what it was told.
There is no tiling option hiding in there. A normal print dialog can shrink or crop, and that is the entire range. You need to split the page before the printer ever sees it, then print at exactly 100%.
Step 1 — Set the Canvas to A3
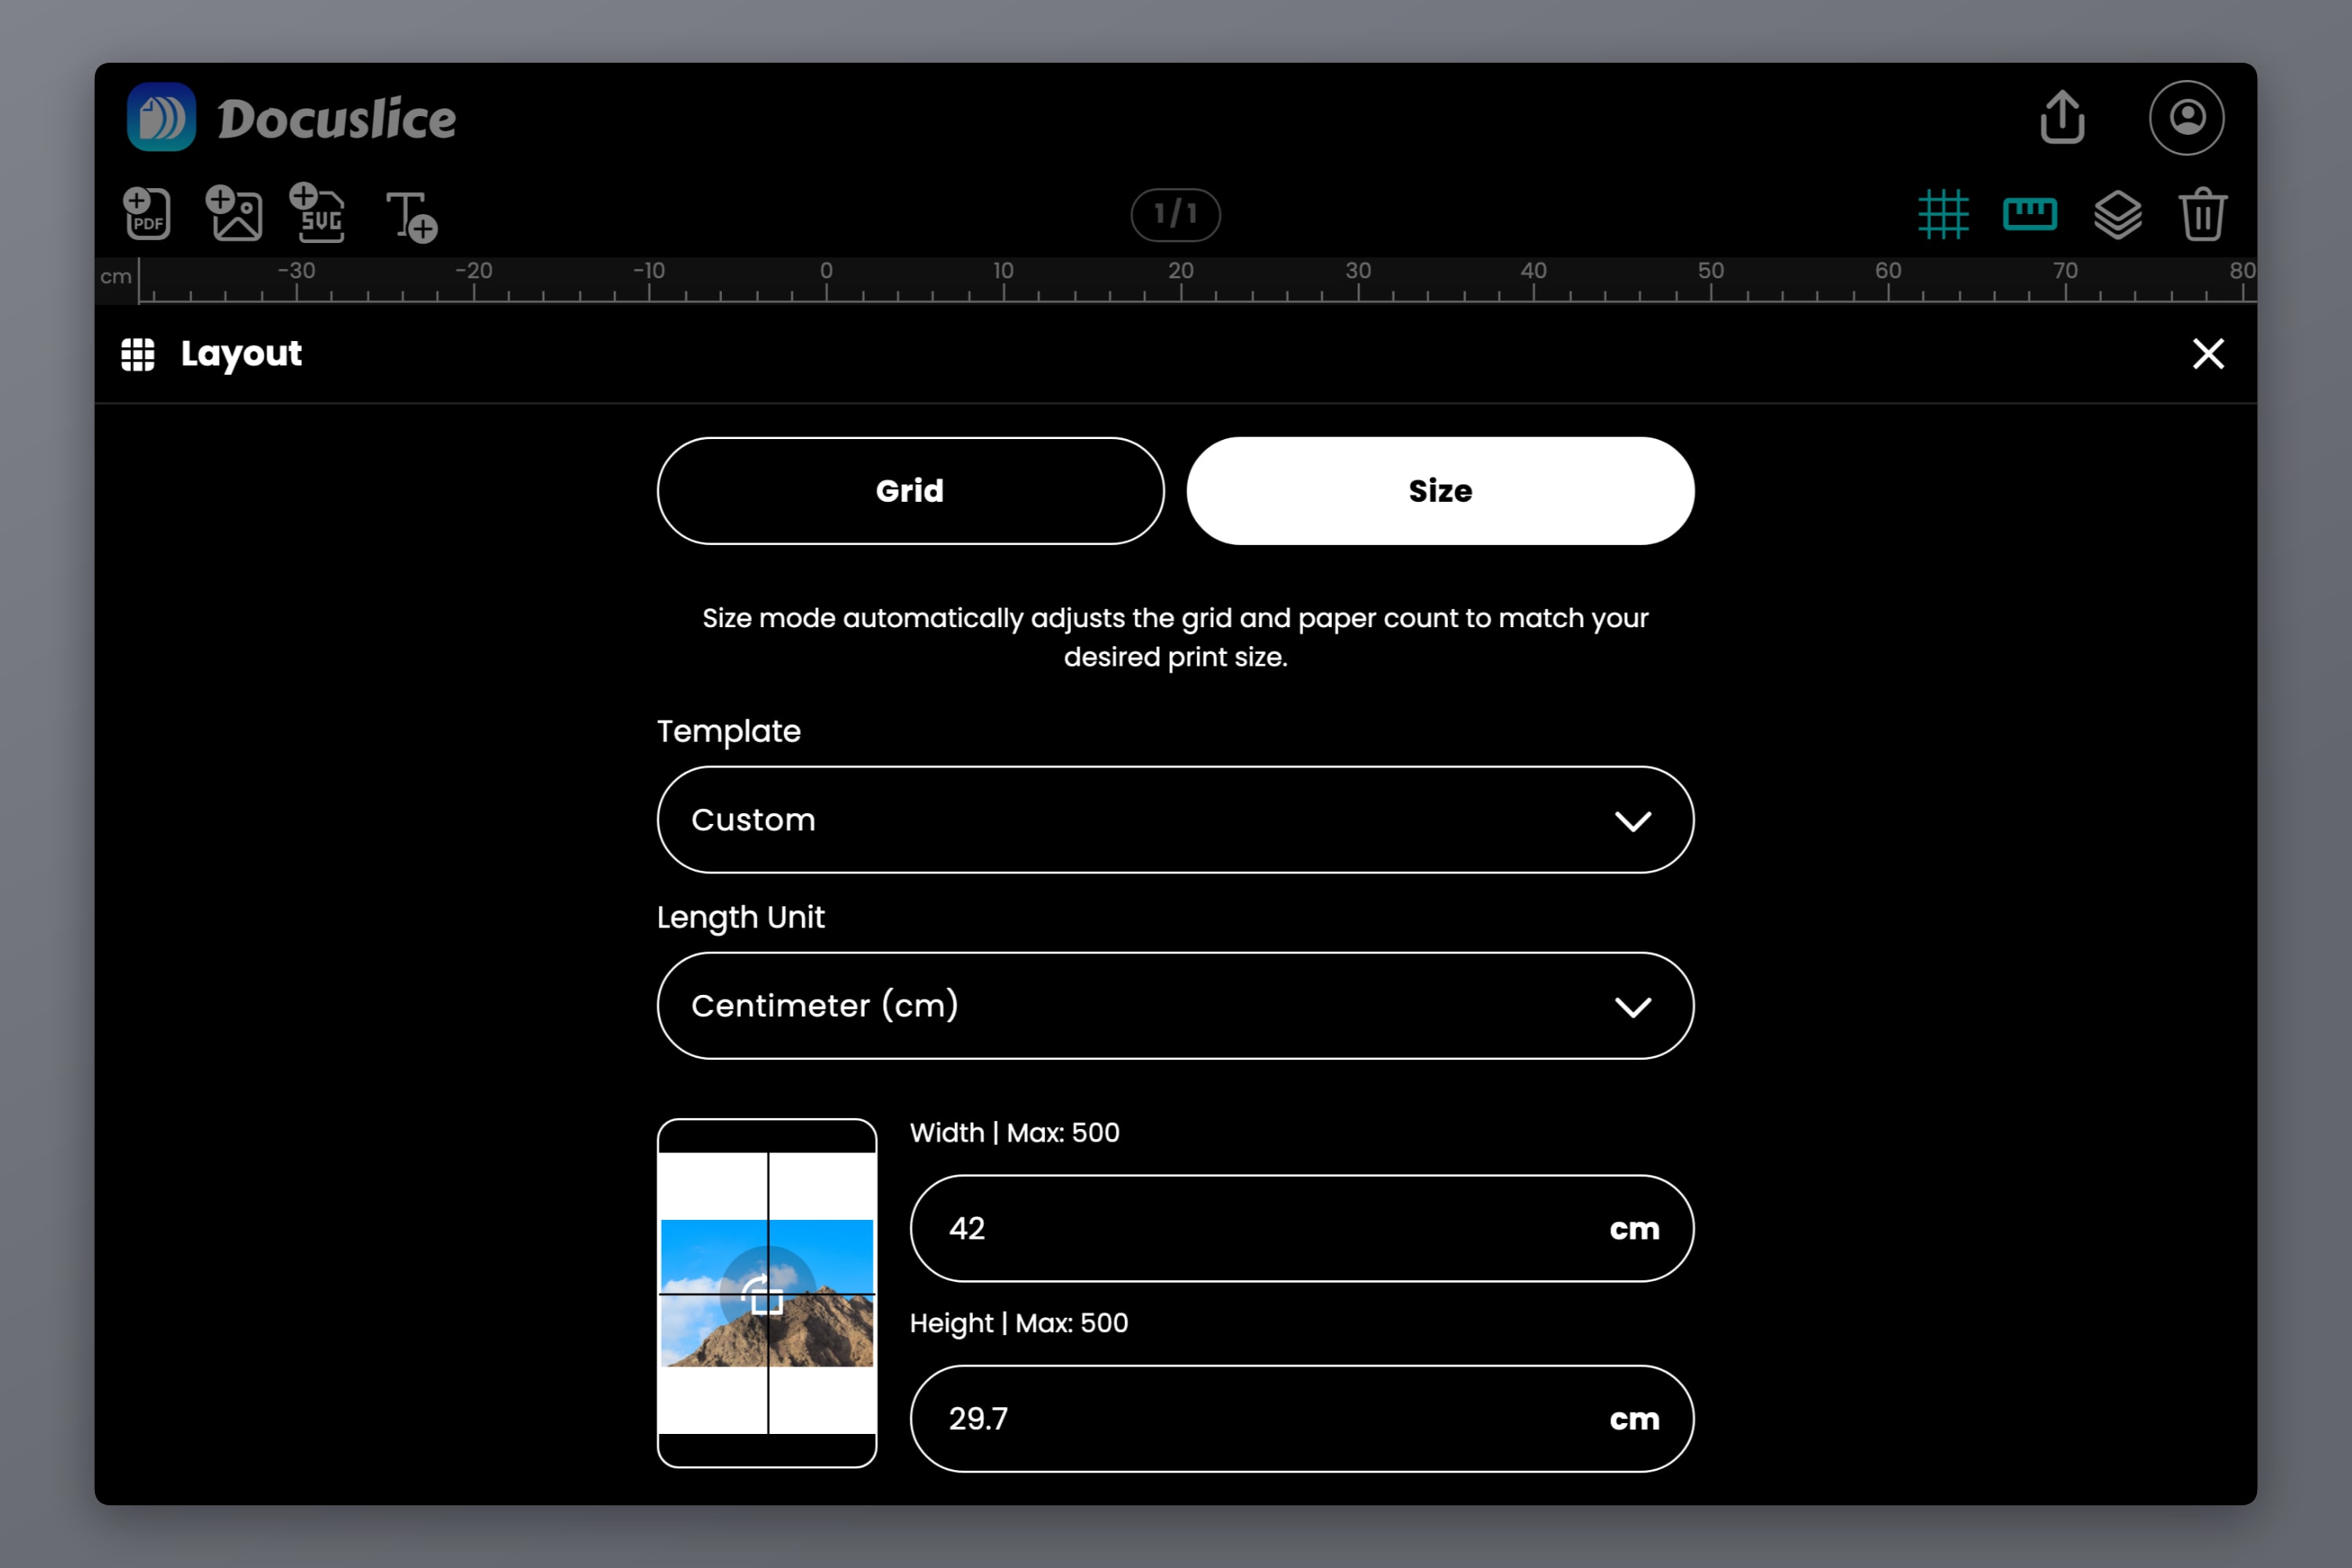
Open the Docuslice web app, create a project, switch to Size mode, and pick A3 from the built-in canvas templates. To type it instead: 420 x 297 mm for landscape, 297 x 420 mm for portrait. Millimetres, centimetres, metres, inches and feet are all accepted.
Size mode sets the finished real-world dimensions and lets Docuslice work out the tiling, rather than the other way around. Full walkthrough: How to Print Images on Multiple Pages at a Specific Size Using Docuslice Size Mode.
Then drag a PDF or an image onto the canvas — or use Import PDF or Import Image — and size it to the canvas.
Step 2 — Set the Paper to A4
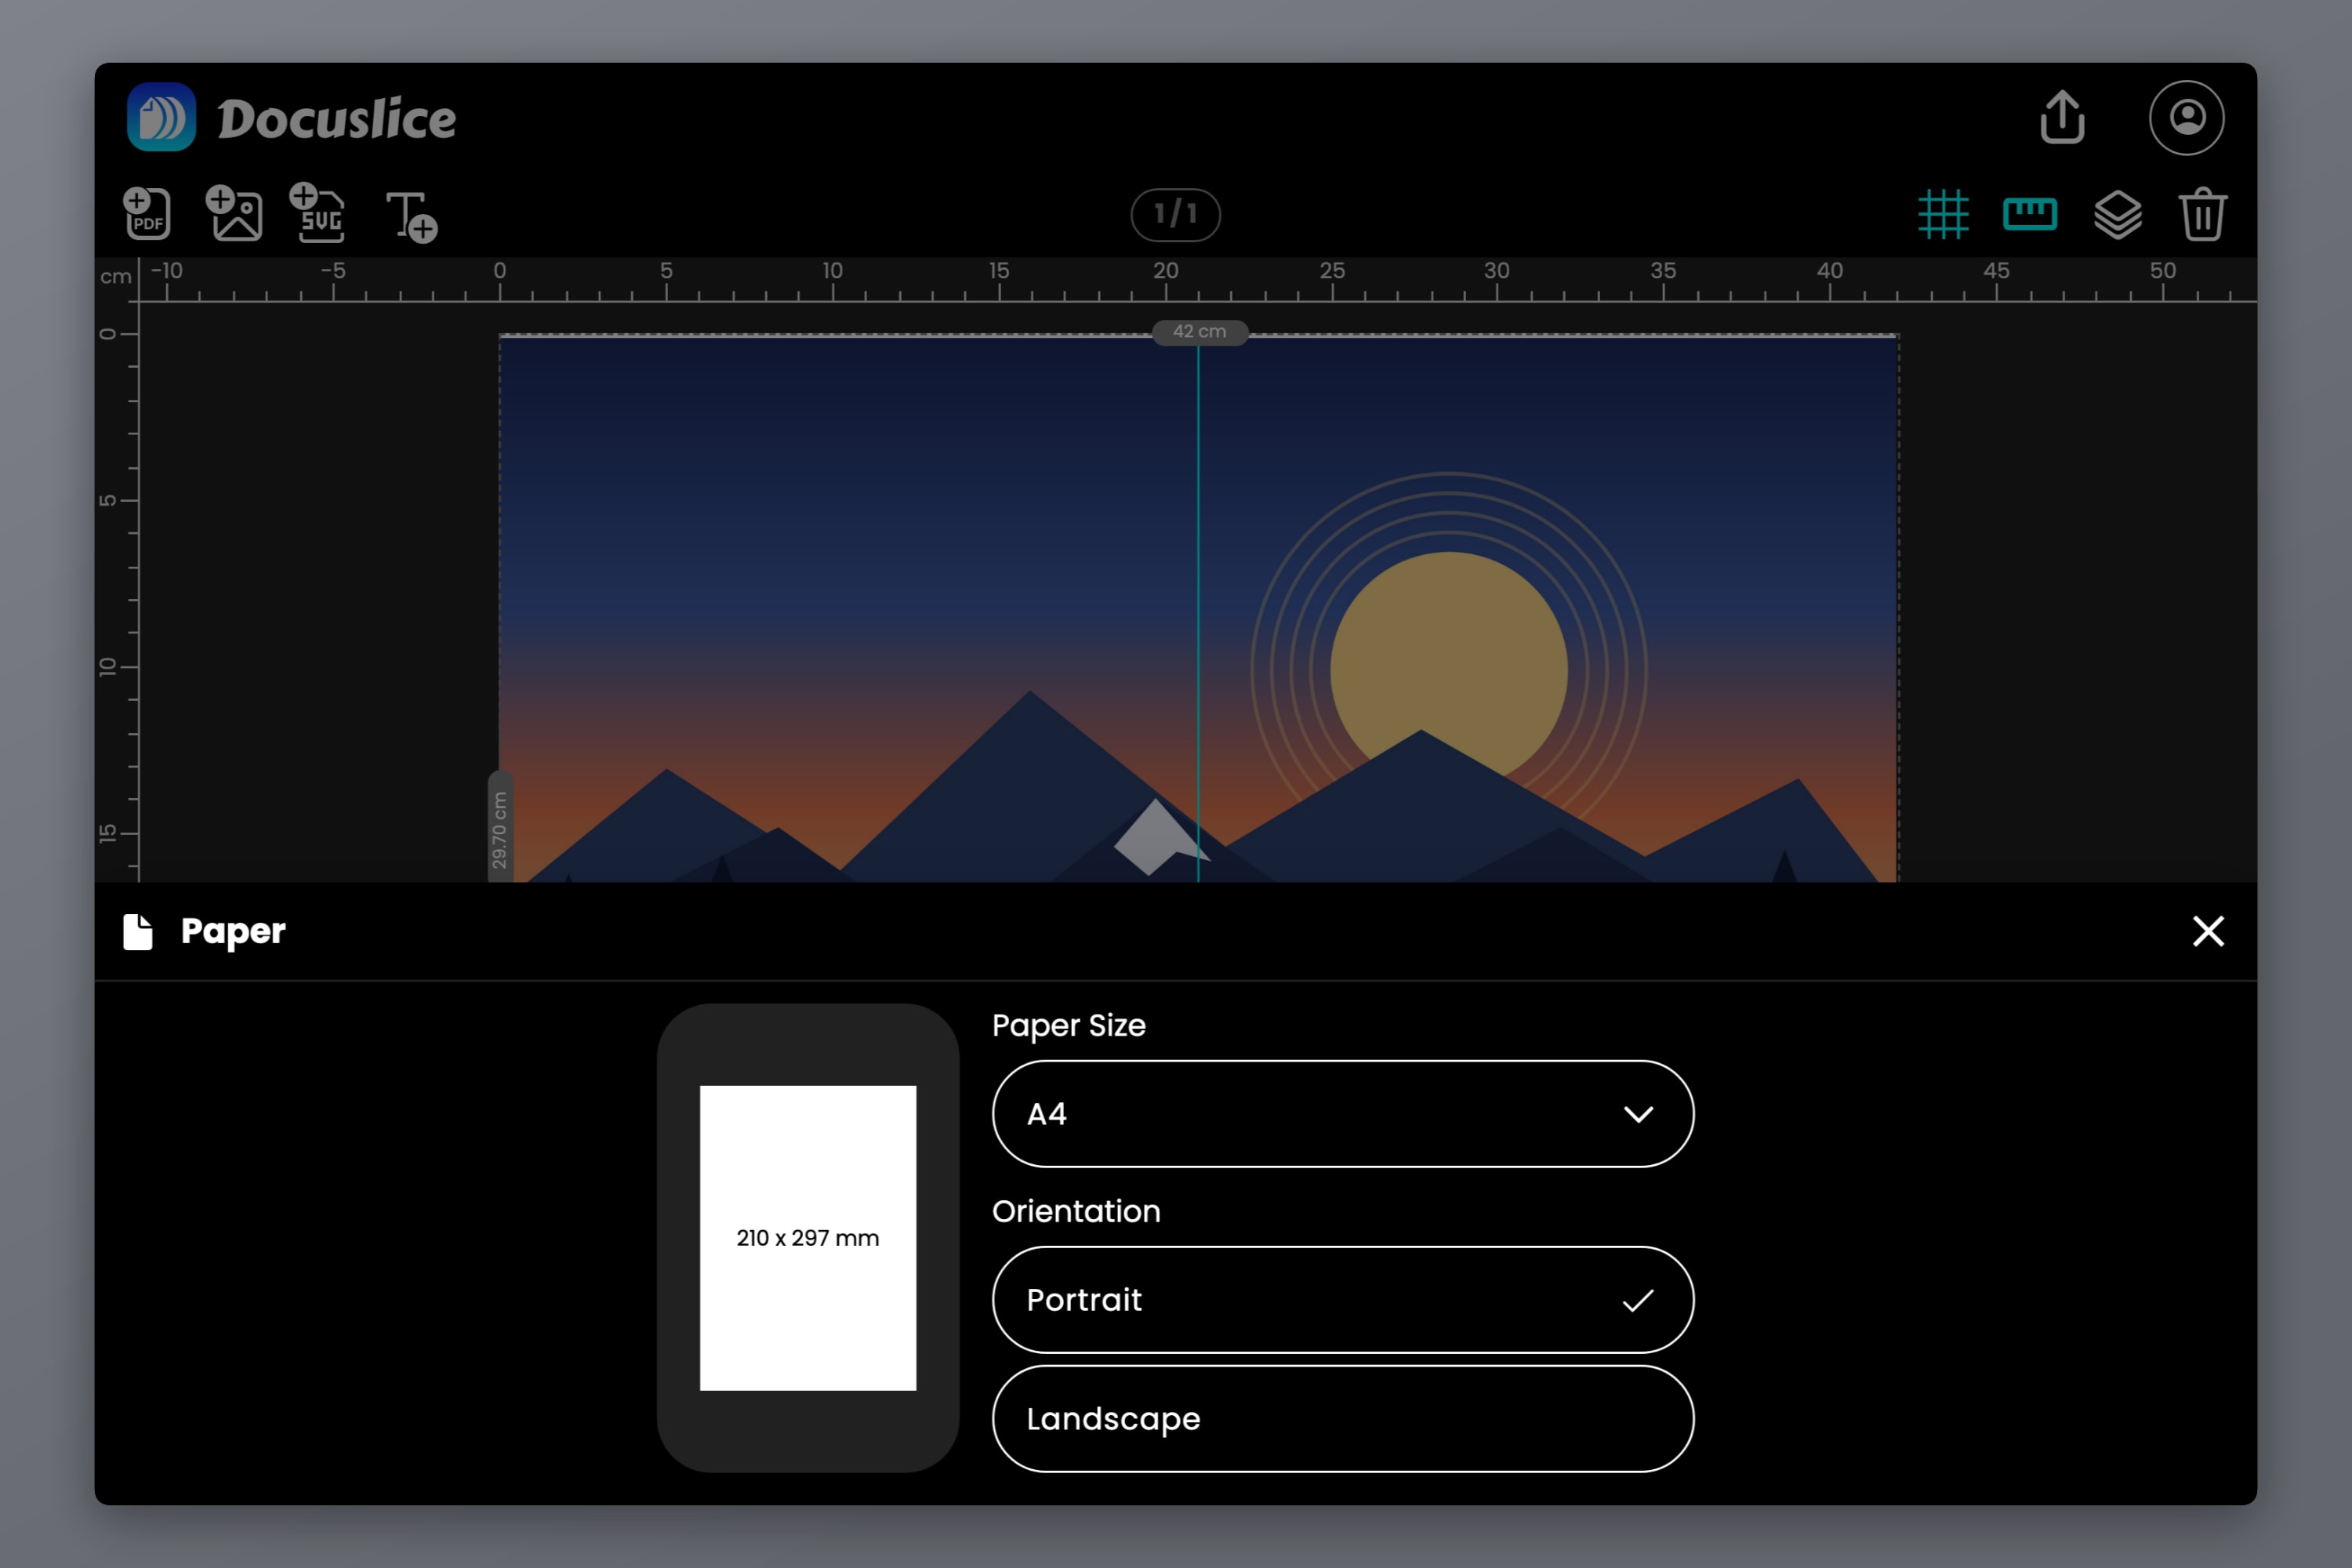
Open the paper picker and choose A4. This is the paper in your tray, not the finished size.
Orientation is what decides whether you print two sheets or four: the A4 must be turned 90 degrees relative to the A3.
- A3 canvas landscape (420 x 297) + A4 paper portrait = 2 columns x 1 row
- A3 canvas portrait (297 x 420) + A4 paper landscape = 1 column x 2 rows
Match the two orientations instead and the 297 mm edges stop lining up. The split becomes a 2 x 2 grid and you print four sheets for the same result.
Step 3 — Check the Split on the Canvas
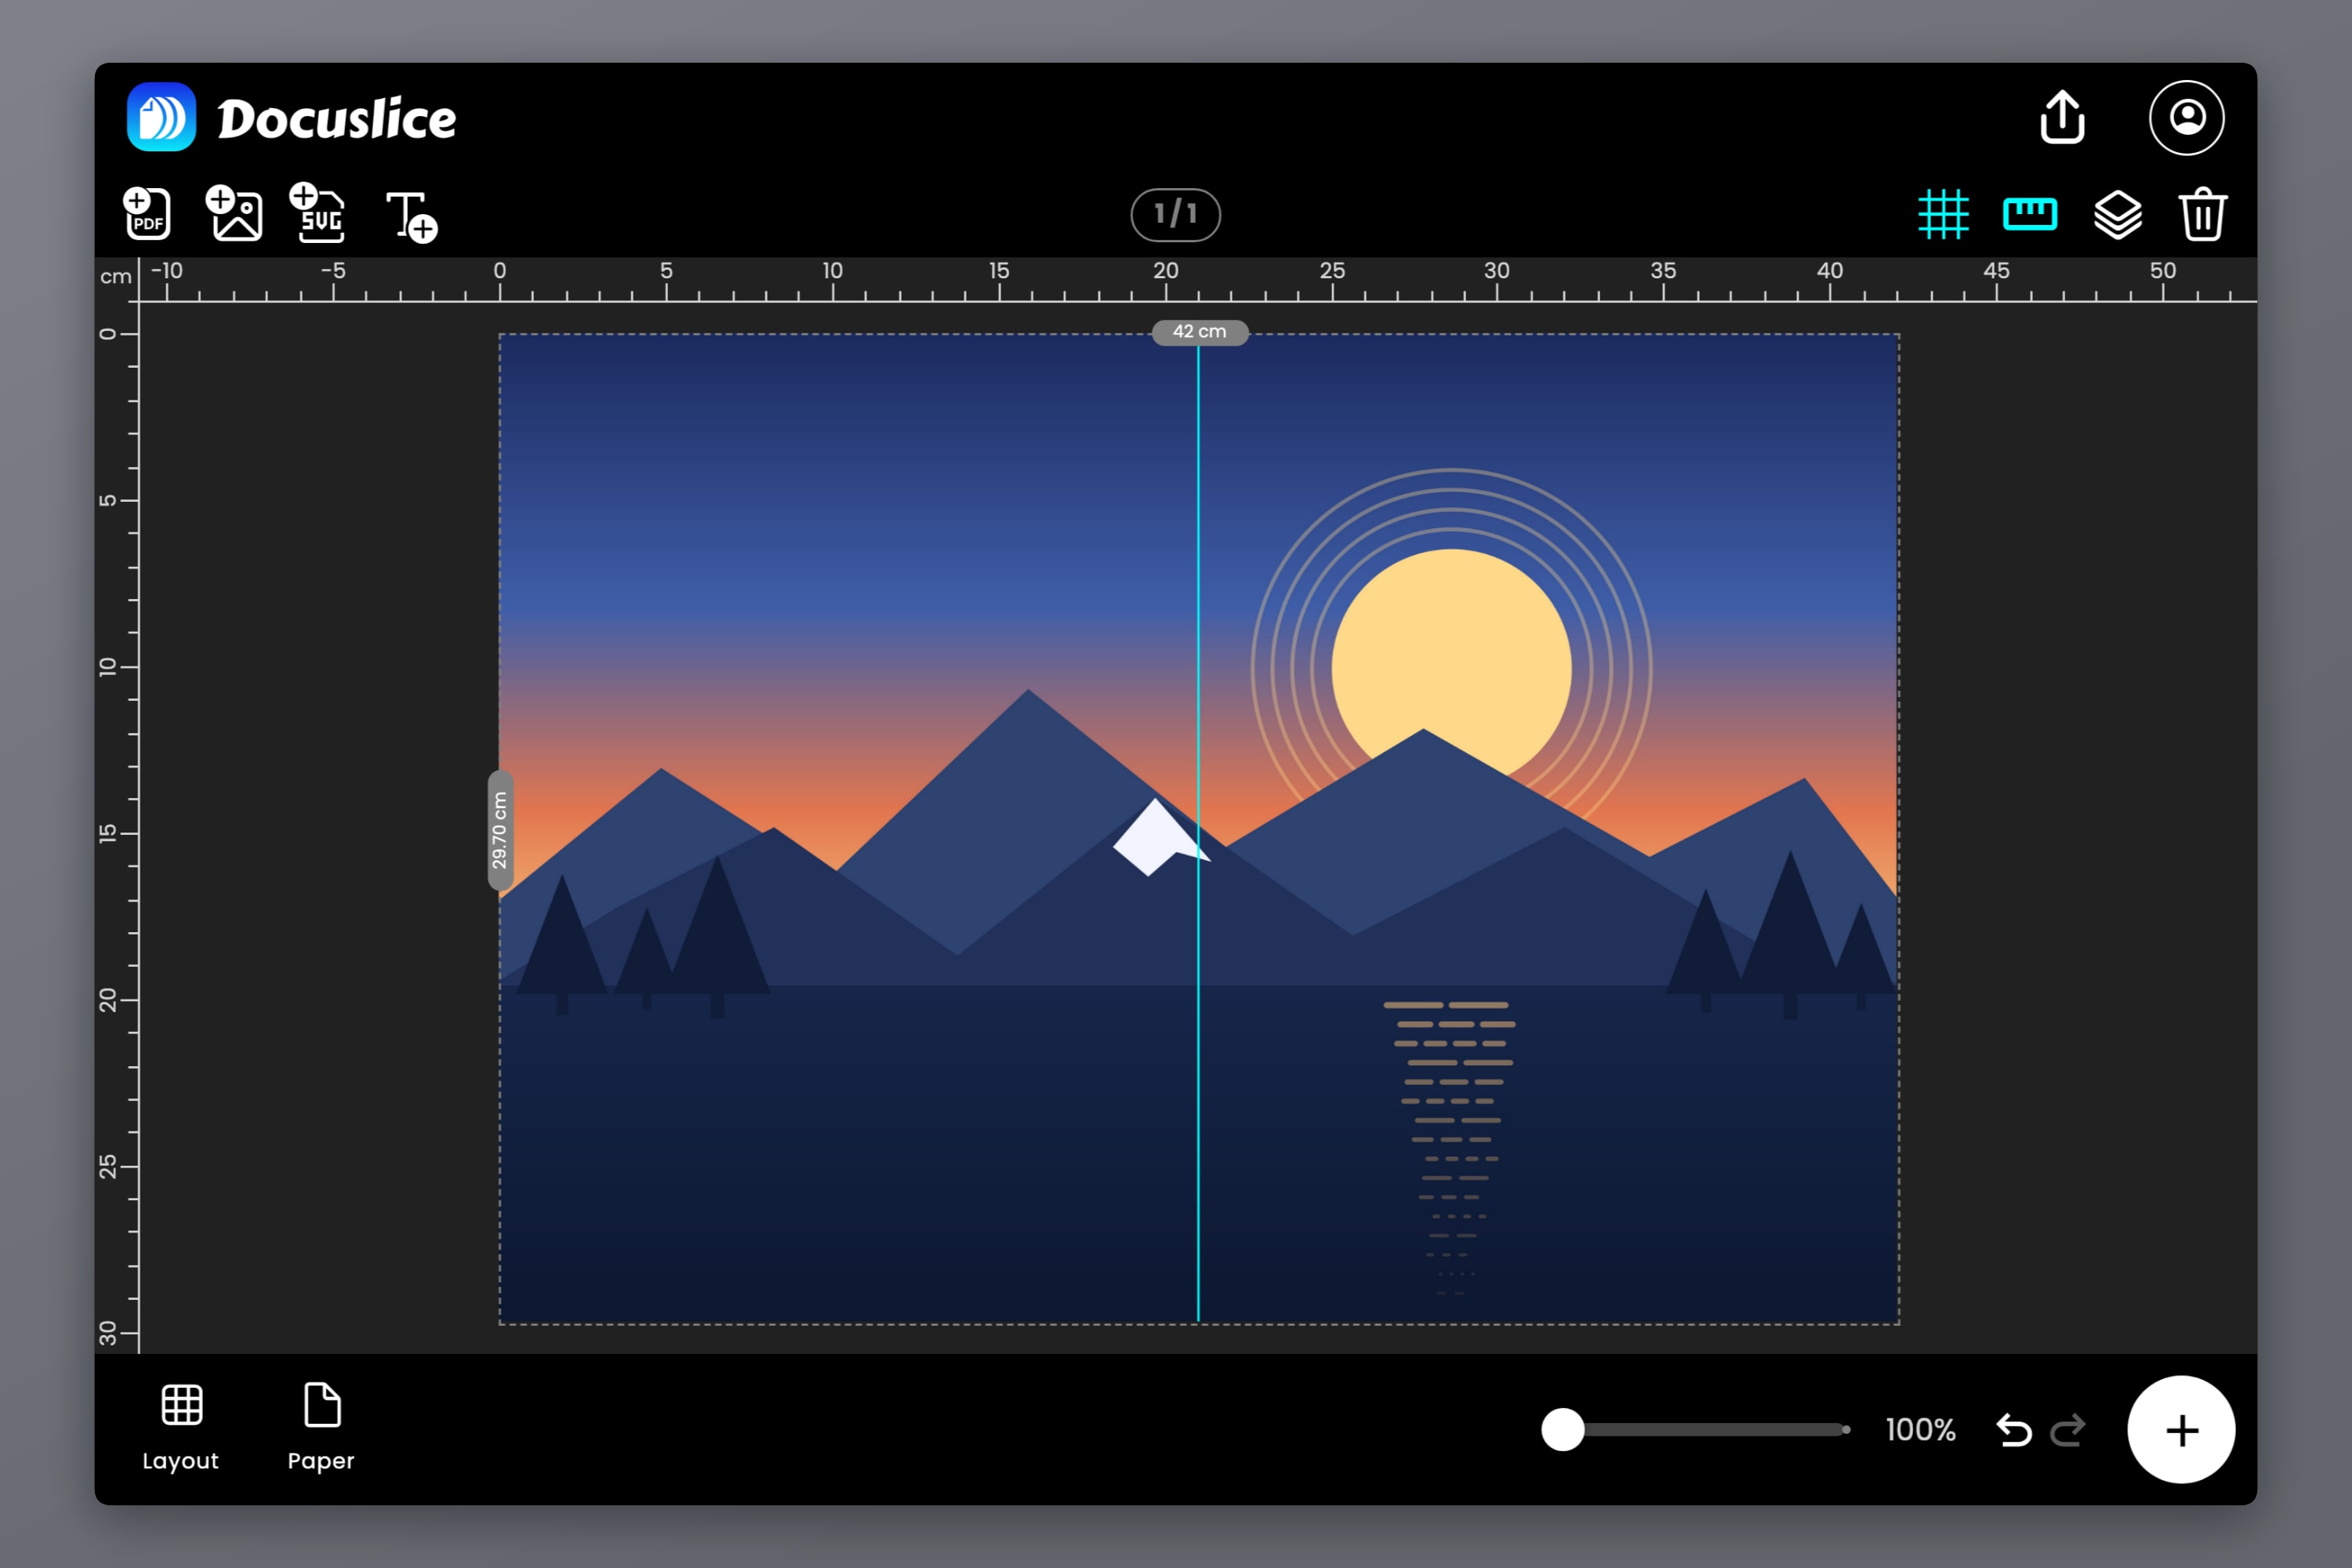
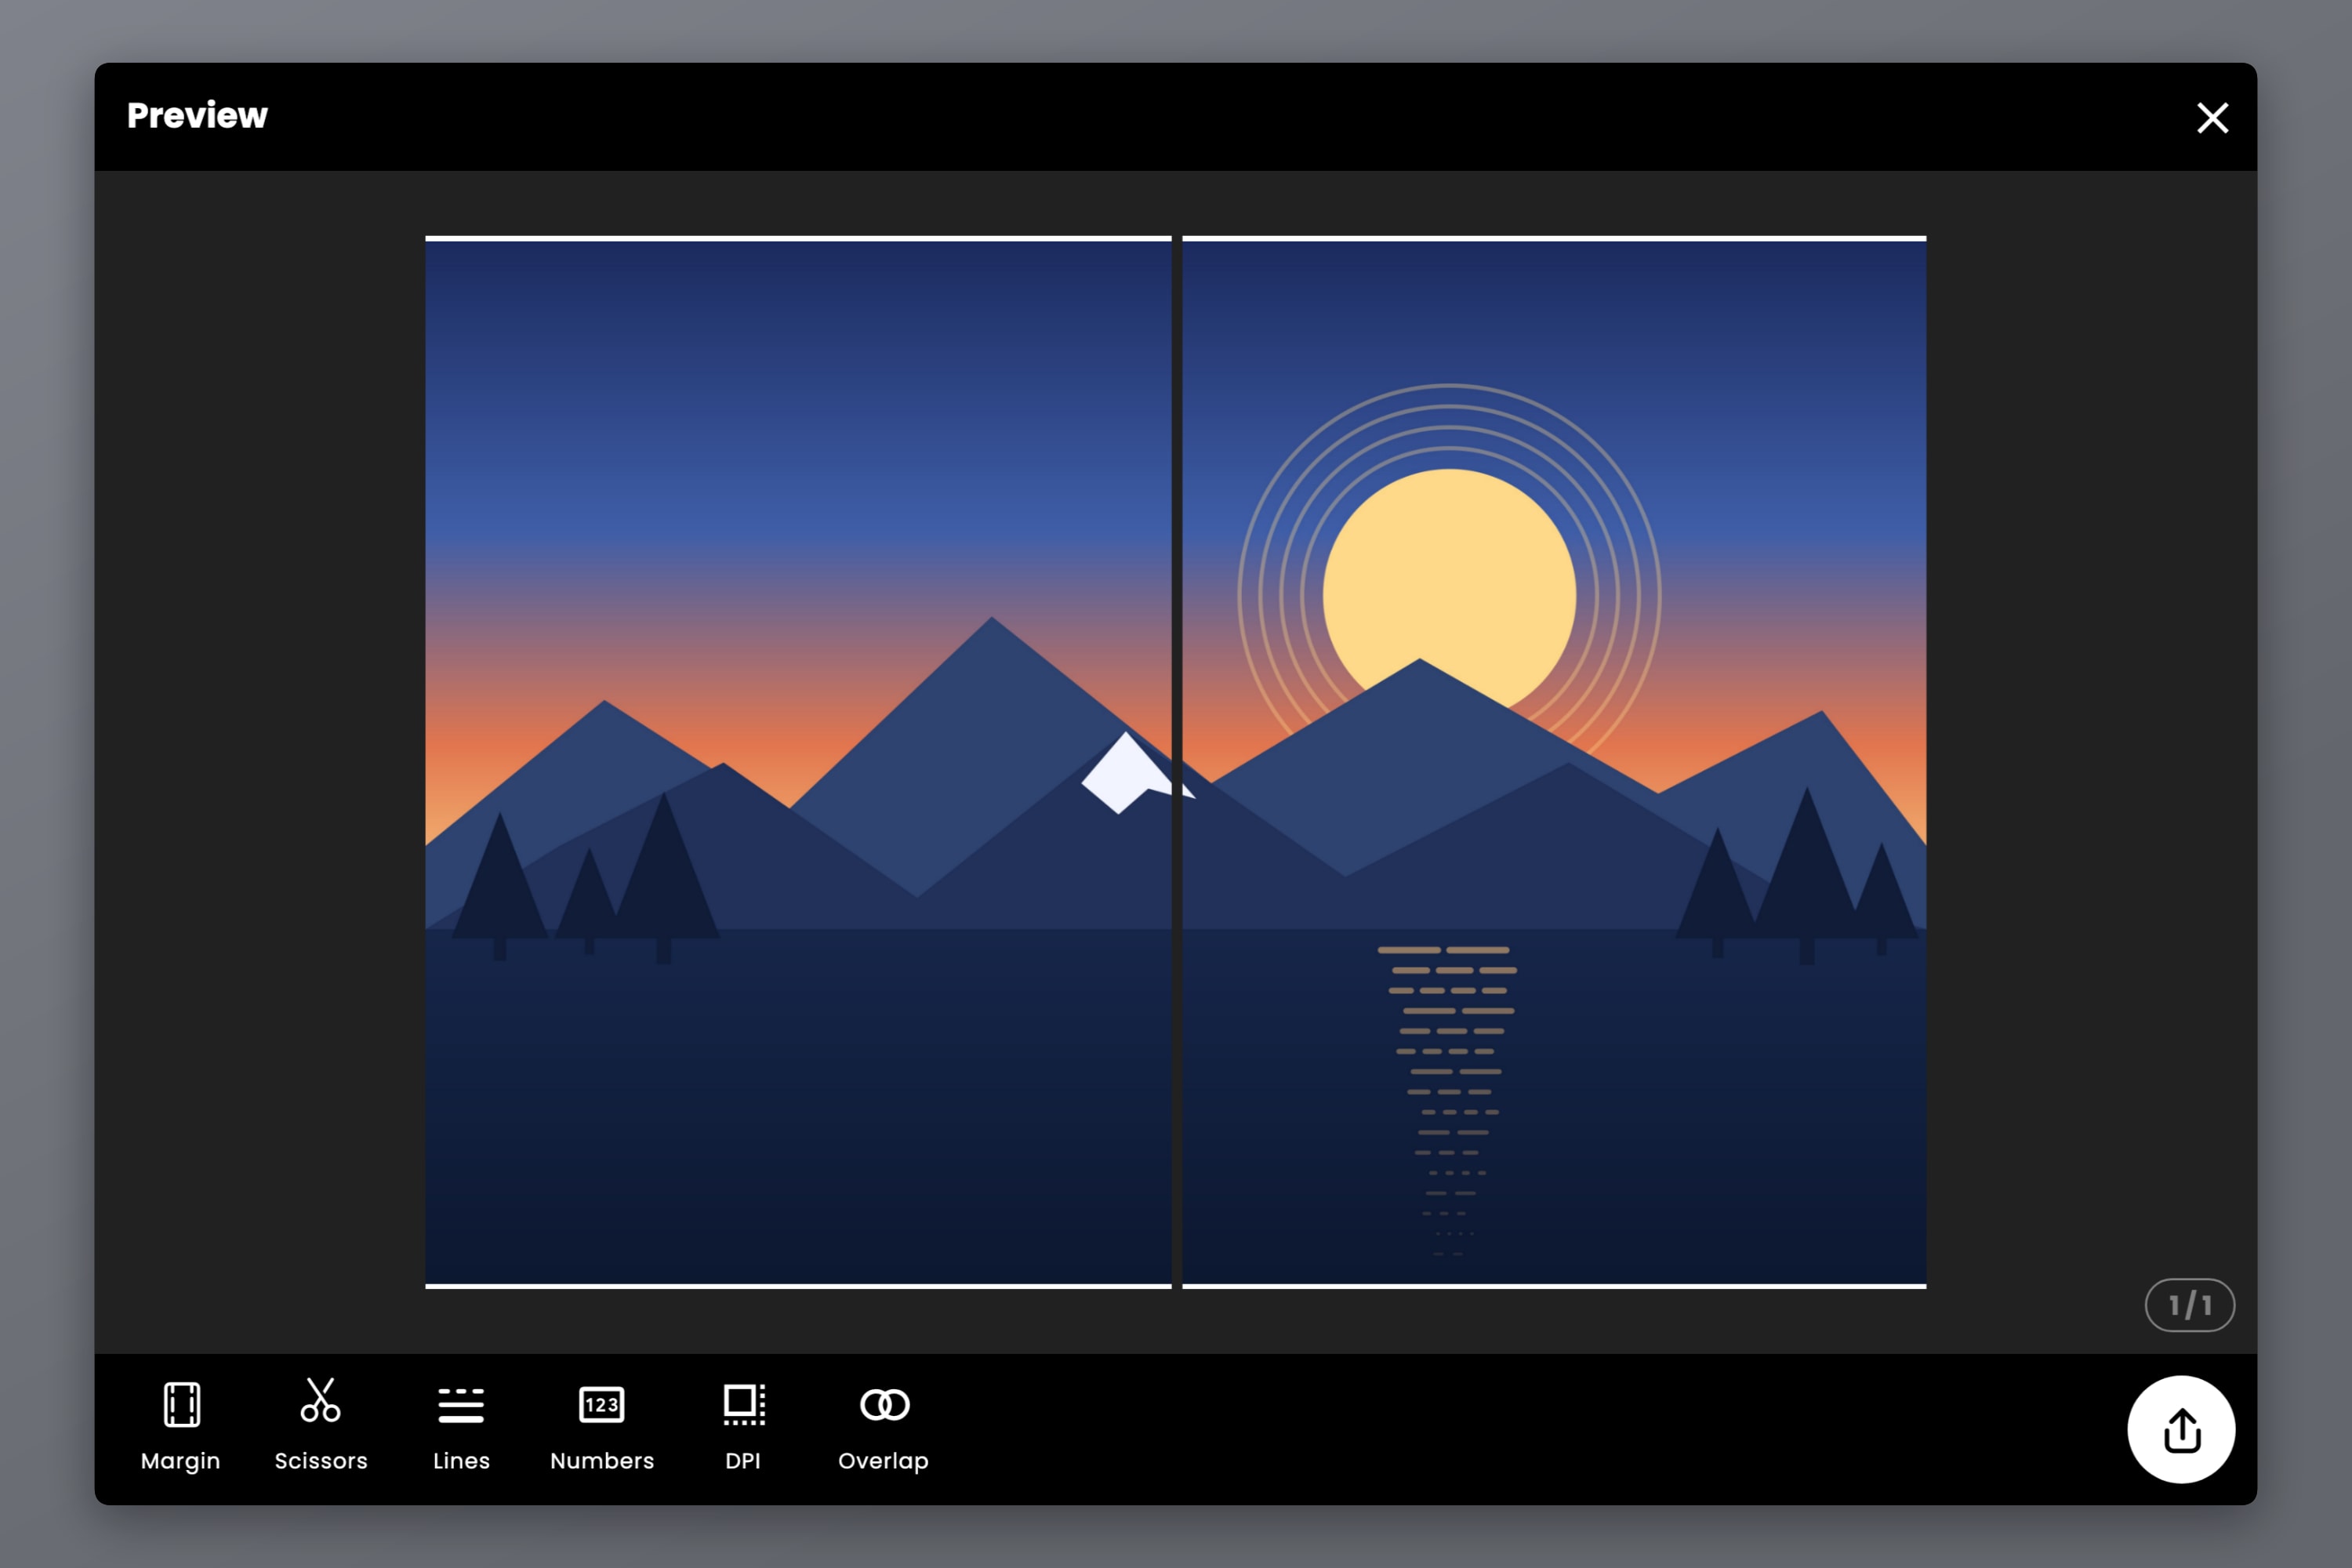
A single tile divider appears down the middle of the canvas. That is your seam: everything left of it prints on sheet one, everything right of it on sheet two.
Move your artwork so the seam lands somewhere forgiving. Through an even background it vanishes once taped. Through a face, a barcode or a line of small type it is the first thing anyone notices.
The margin decides whether you get 2 sheets or 6
Docuslice reserves a margin on each sheet for the cut guides and page markings, and spreads your artwork across what is left:
- At a margin of 0.00, each A4 carries a full 210 x 297 mm, and an A3 canvas splits into exactly two sheets.
- At the default 0.50 in, each A4 carries only 184.6 x 271.6 mm. Covering the same 420 x 297 mm then takes a 3 x 2 grid — six sheets, with the outer column and row mostly blank and trimmed away.
Both give you a true full-size A3. One uses the paper efficiently; the other gives you a clean border to cut to. The export preview shows the real count, so you never have to guess.
One caveat on the 0.00 route: most home printers cannot print to the edge and will clip a few millimetres on every side, including the sides that meet at the seam. If a hairline gap at the join would bother you, use a margin and trim instead.
Step 4 — Read the Export Preview
Confirm the page count, then set the finishing options:
- Cut Lines — off, dashed or solid lines, or dashed or solid corners, marking where to trim.
- Scissor marks — a small icon showing which edge to cut.
- Page numbers — Off, Column & Row, or Sequence. Two sheets barely need them, but they cost nothing.
- Export DPI — Standard (160) is free; High (300) and Max (600) are Pro features, worth it for fine type or line work.
Then export as a PDF or as individual images. For a drawing, a diagram or anything type-heavy rather than a photograph, Export as PDF (Vector) keeps every line and letter sharp instead of re-rasterizing it.
Step 5 — Overlap for a Clean Seam
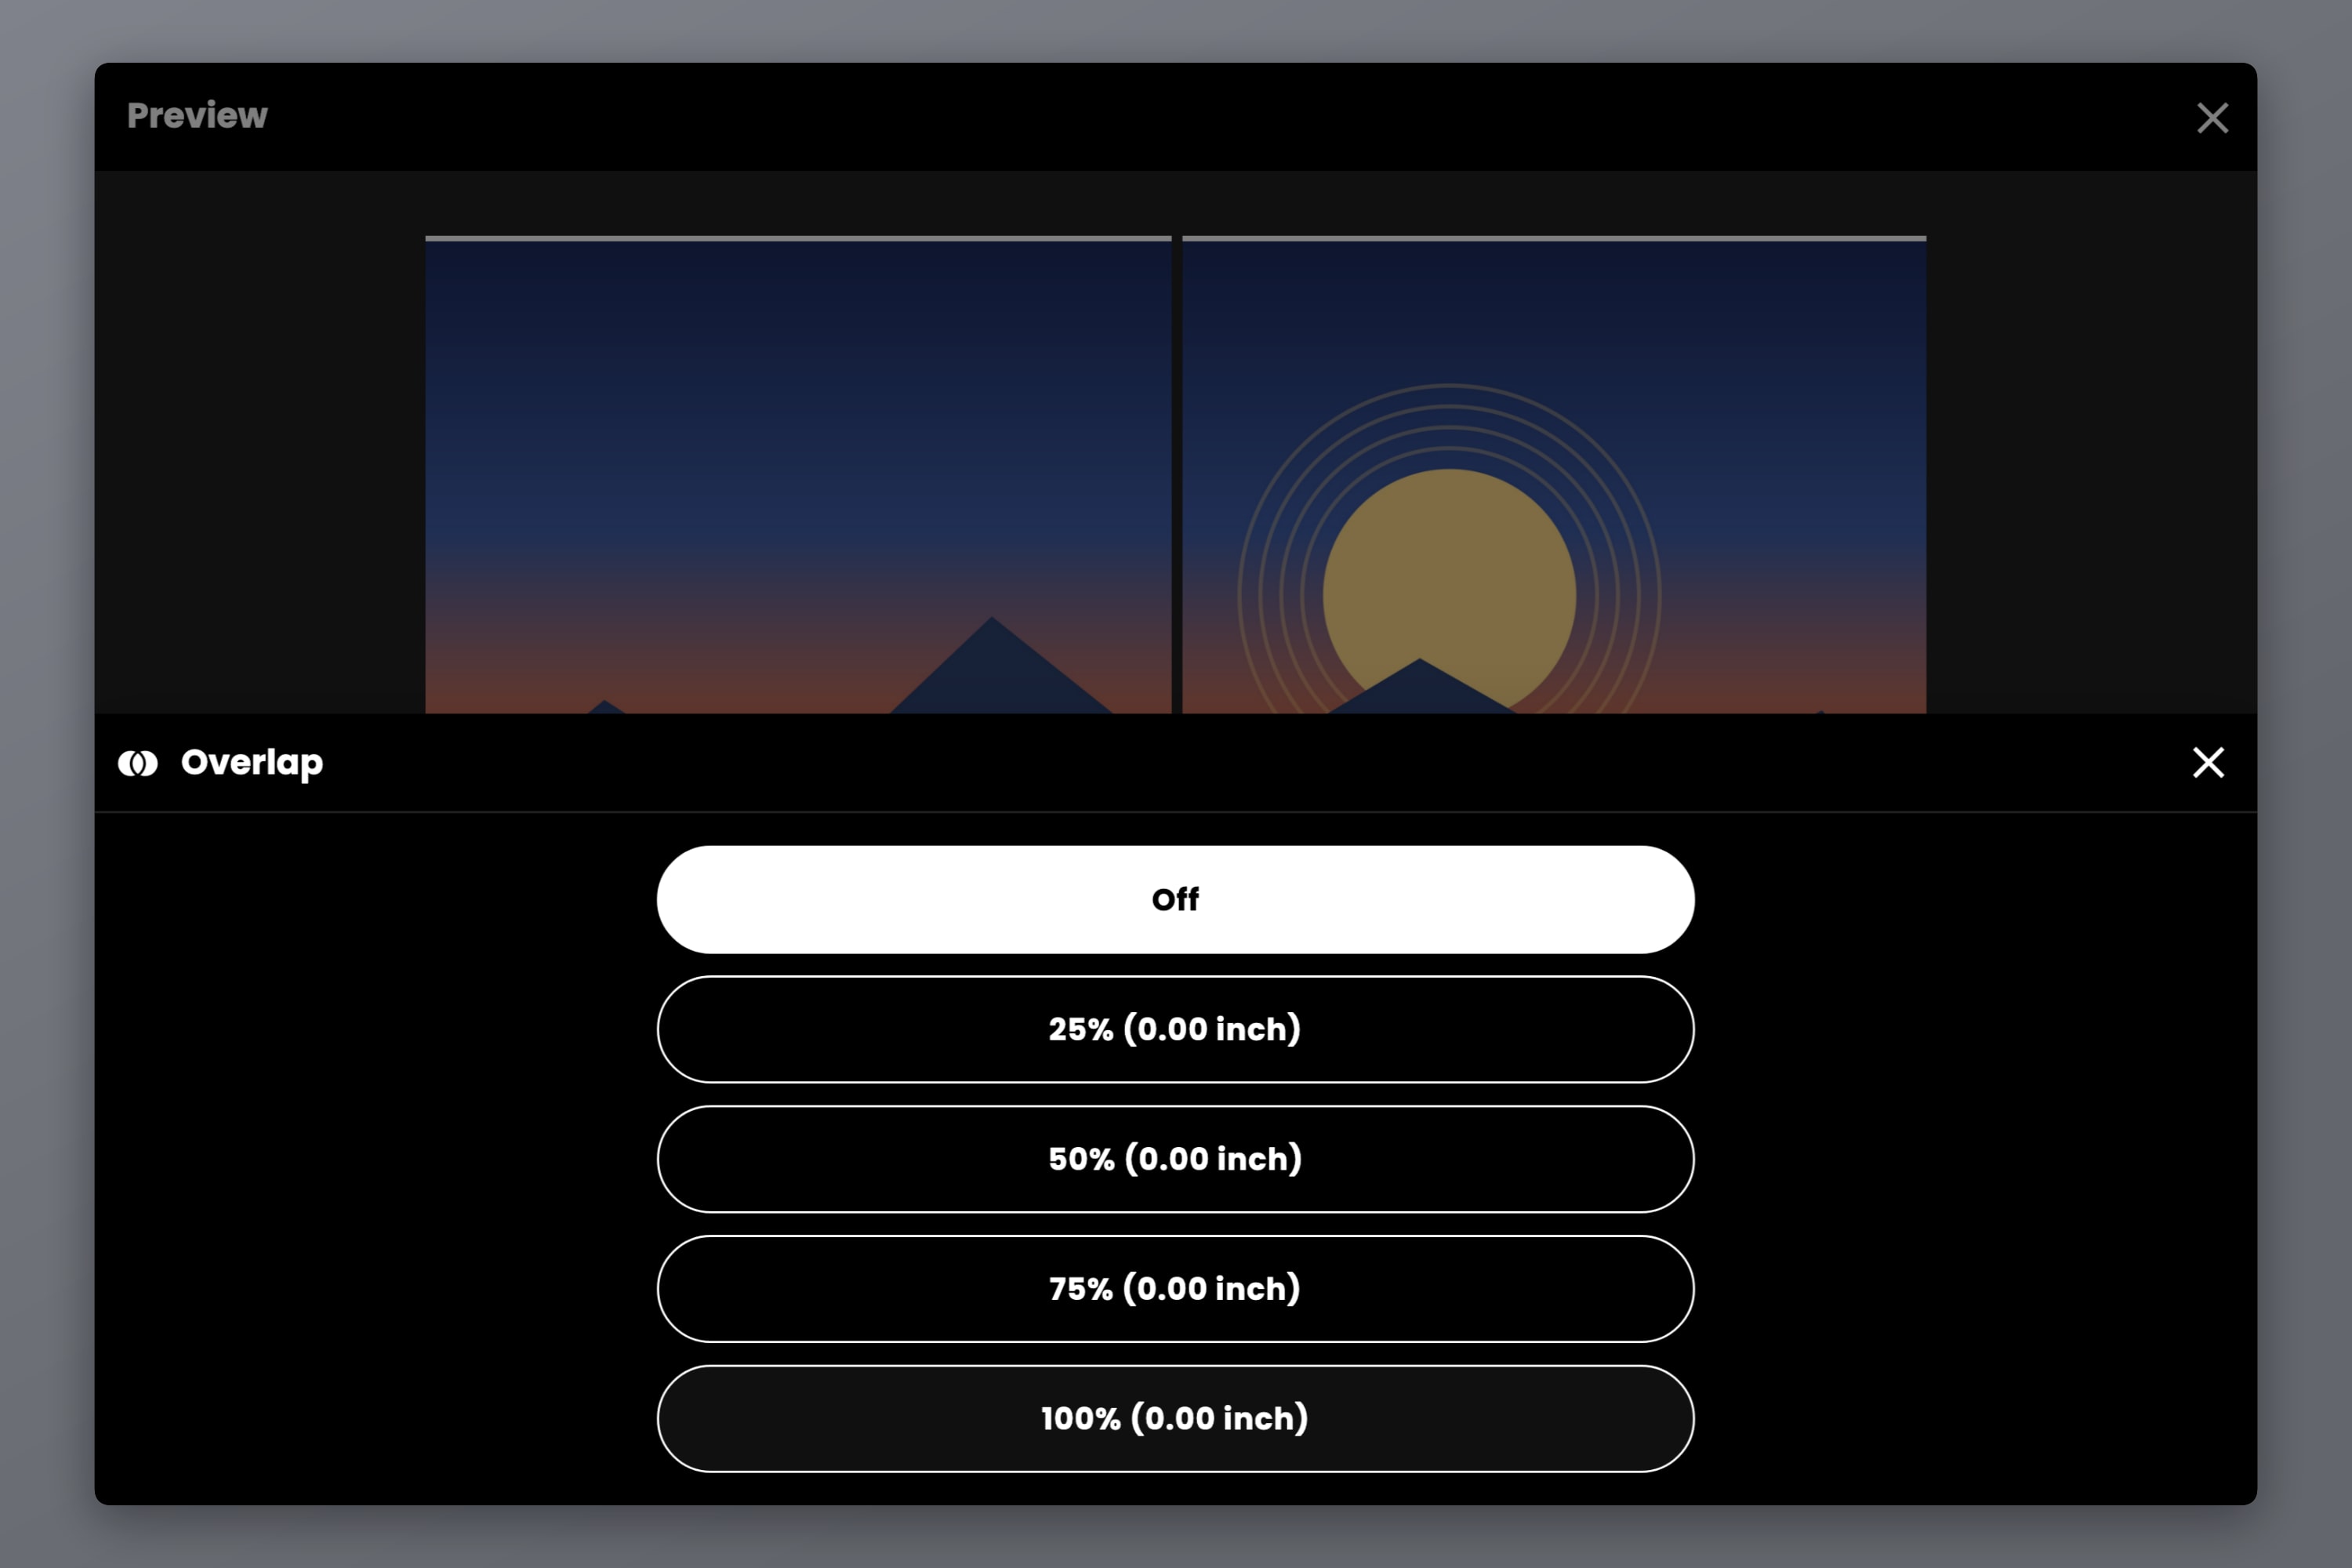
Overlap fills each sheet's margin band with the neighbouring sheet's content, so a cut that drifts half a millimetre inside the line lands on duplicated artwork rather than white paper. With only one seam in the whole print, it is worth setting.
The choices are Off, 25%, 50%, 75% and 100% of the margin; 50% suits tape-behind assembly. Overlap needs a margin to fill, so it does nothing at 0.00, and it is a paid feature on the Pro and Pro+ plans — both one-time payments, never a subscription.
Print at 100%, Not Fit to Page
- Set the paper size in the print dialog to A4 — the same size you chose in Docuslice.
- Set the scale to 100% and switch off Fit to Page, Shrink to Fit and Scale to Paper Size.
- Print both sheets.
Docuslice has already sized the file for a full-size A3. Scale it again in the driver and both halves shrink, the seam stops matching, and the finished print is no longer A3. To be certain, print one sheet first and measure a known edge — a few per cent short means scaling is still on somewhere.
Joining the Two Halves
Docuslice prints the overlap strip into the second sheet's left margin, so the order matters:
- Trim the right edge of sheet one. Leave sheet two's inside margin alone — that band carries the duplicated artwork.
- Lay sheet one over it, matching the artwork across the join rather than the paper edges.
- Tape from the back so the seam does not catch the light.
- Trim the outer border last, using the cut lines.
That is a full-size A3 print, made on an A4 printer.
FAQ
Yes, in two sheets. The printer never handles anything bigger than A4 — the A3 design is split before printing and the two halves are joined afterwards. Nothing is scaled down.
Two, edge to edge. A3 is 297 x 420 mm and A4 is 210 x 297 mm, so two A4 sheets side by side in portrait measure exactly 420 x 297 mm. Leave a print margin on each sheet and you will need more sheets to cover the same area, trimming the excess.
Because Fit to Page, Shrink to Fit or Scale to Paper Size is switched on in the print dialog. Set the scale to 100% and print the tiled file instead of the original oversized page.
Yes — the method is identical, you just set a bigger canvas and print more sheets. The sheet counts for each size are in How to Print a Poster on Multiple Pages at Home.
Letter (8.5 x 11 in) is a little wider and a little shorter than A4, so two Letter sheets do not make a perfect A3. Set the canvas to A3 anyway, choose Letter as the paper, and Docuslice works out the grid and shows you the count — you simply trim a bit more.
Download Docuslice
Download Docuslice today and get your A3 at full size from the A4 printer you already own.