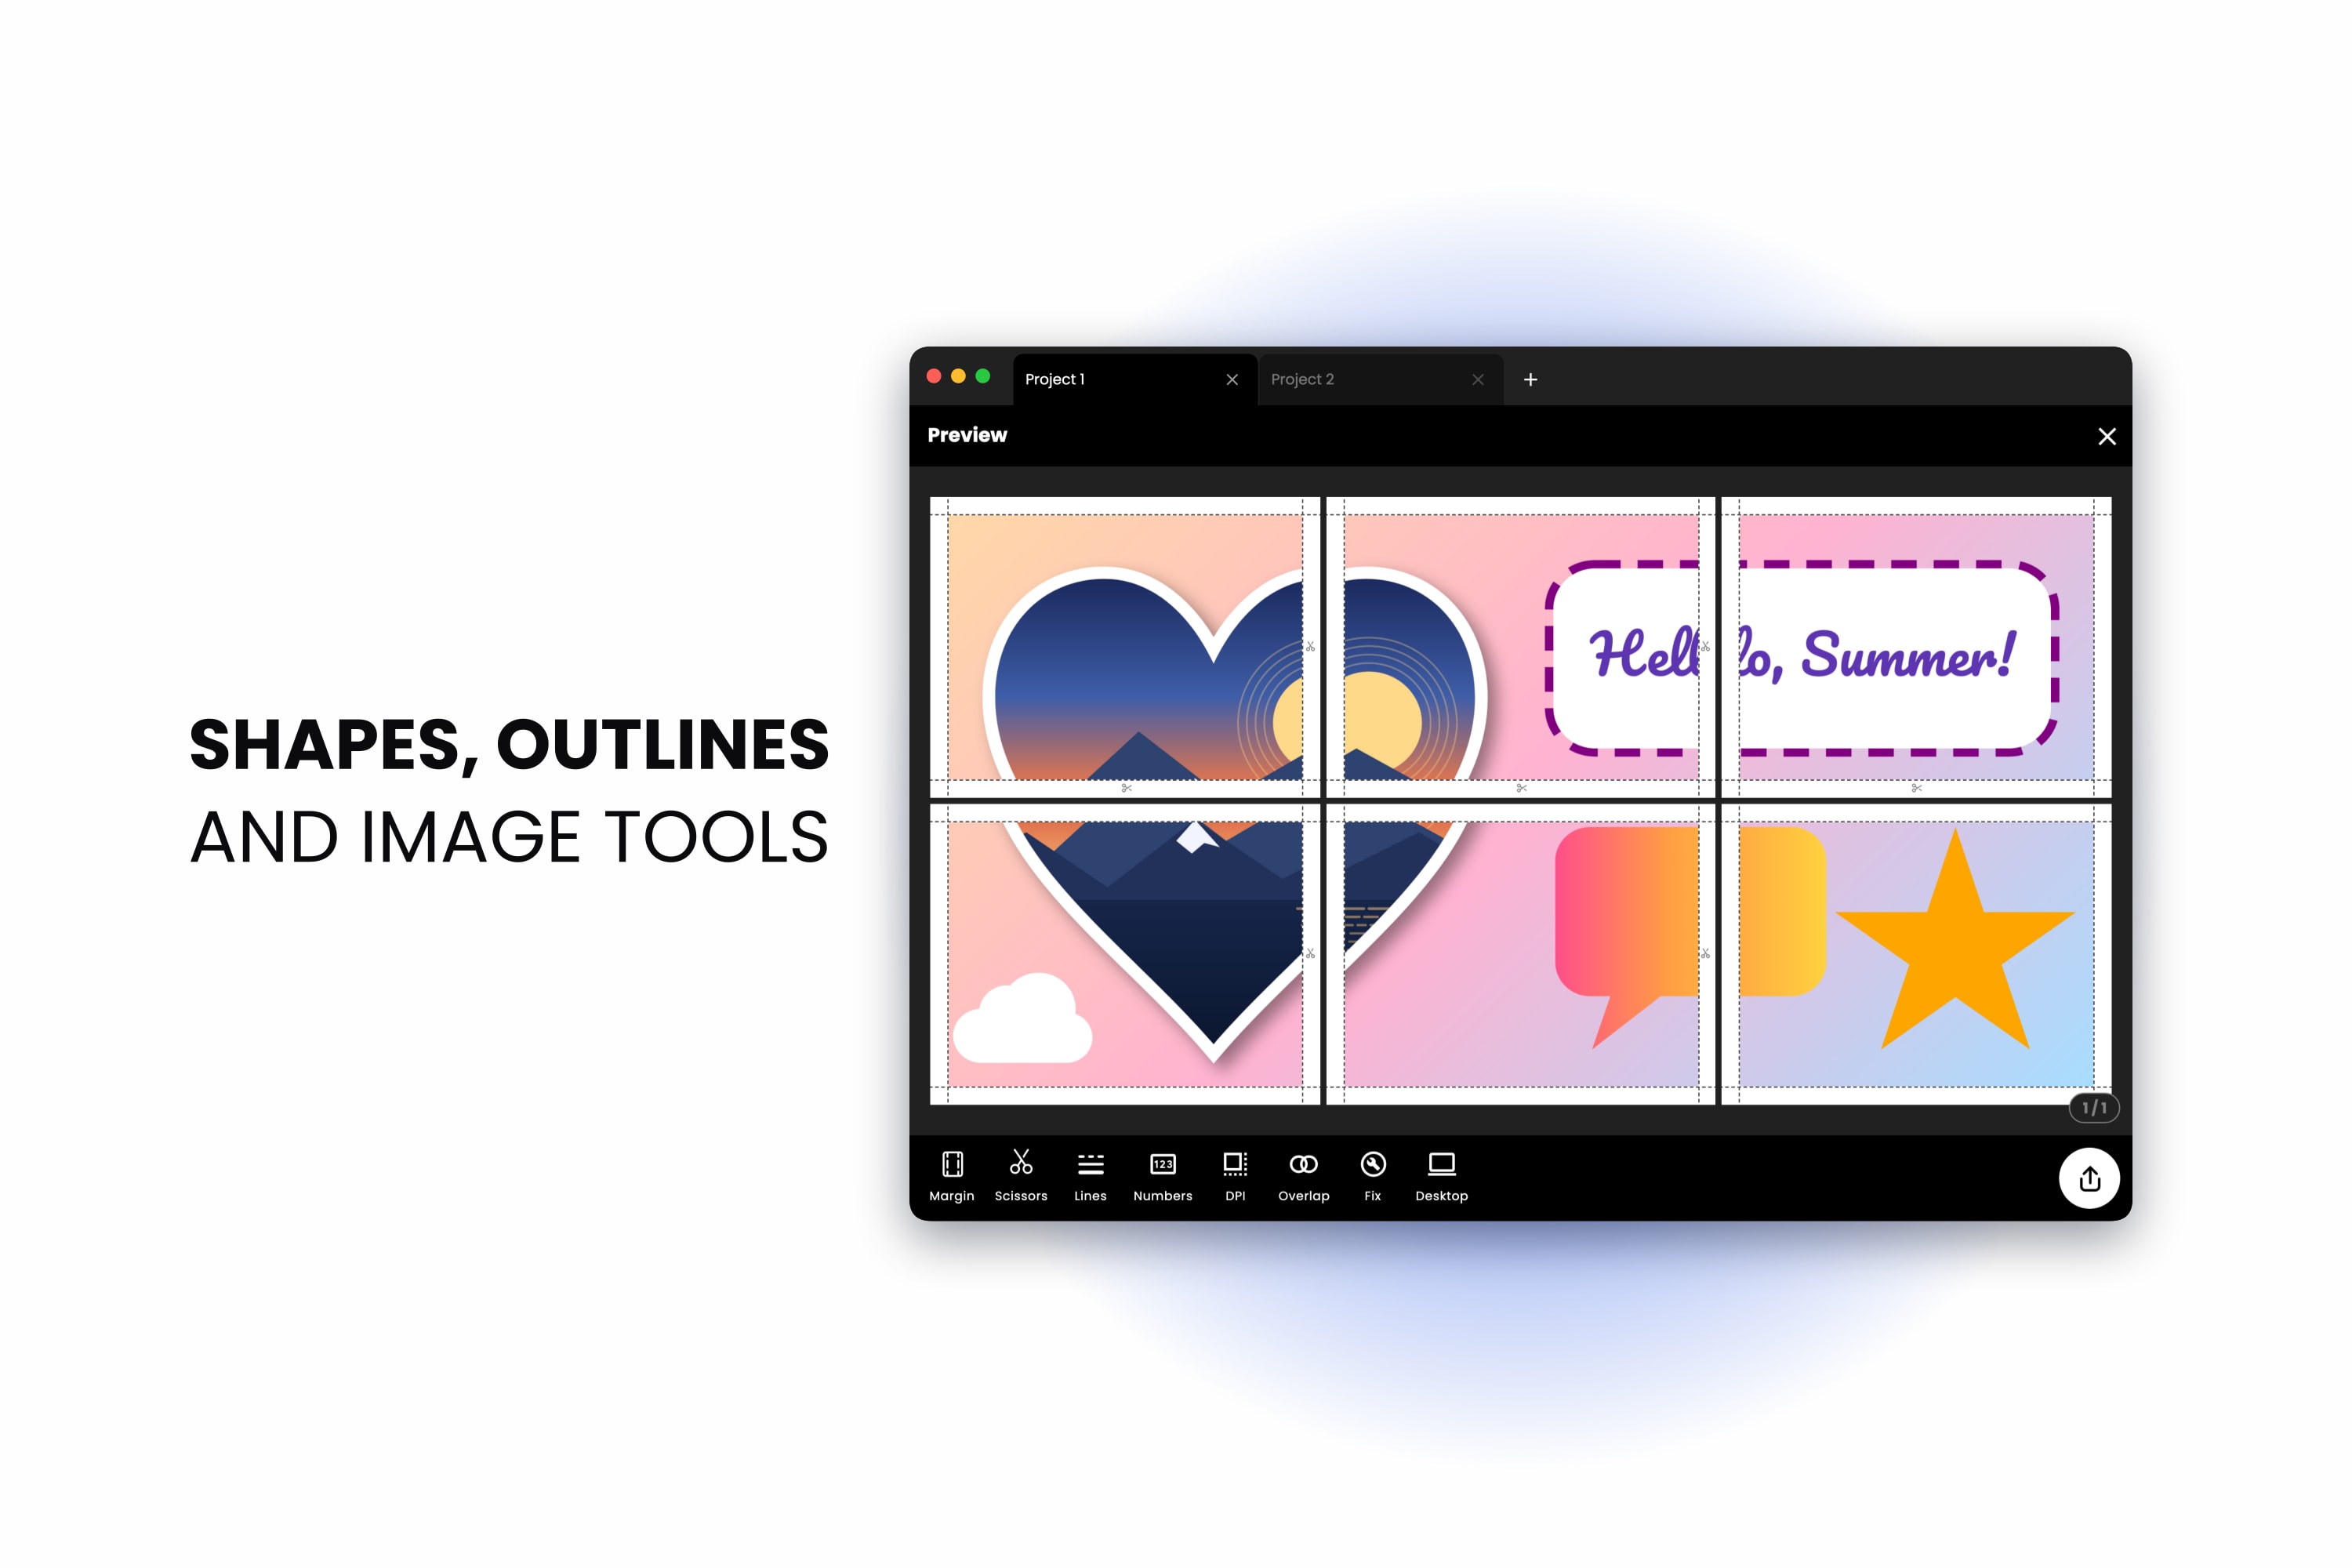
Until now, a Docuslice poster was mostly what you brought to it: a photo, a PDF, an SVG, and the words you typed on top. That's still the heart of it — but plenty of posters need a little more. A colored panel behind a headline. A photo in a circle. A star, an arrow, a speech bubble. A dashed line to show where to cut.
This release brings those tools into Docuslice itself, so you can design the whole poster where you print it. Here's everything that's new.
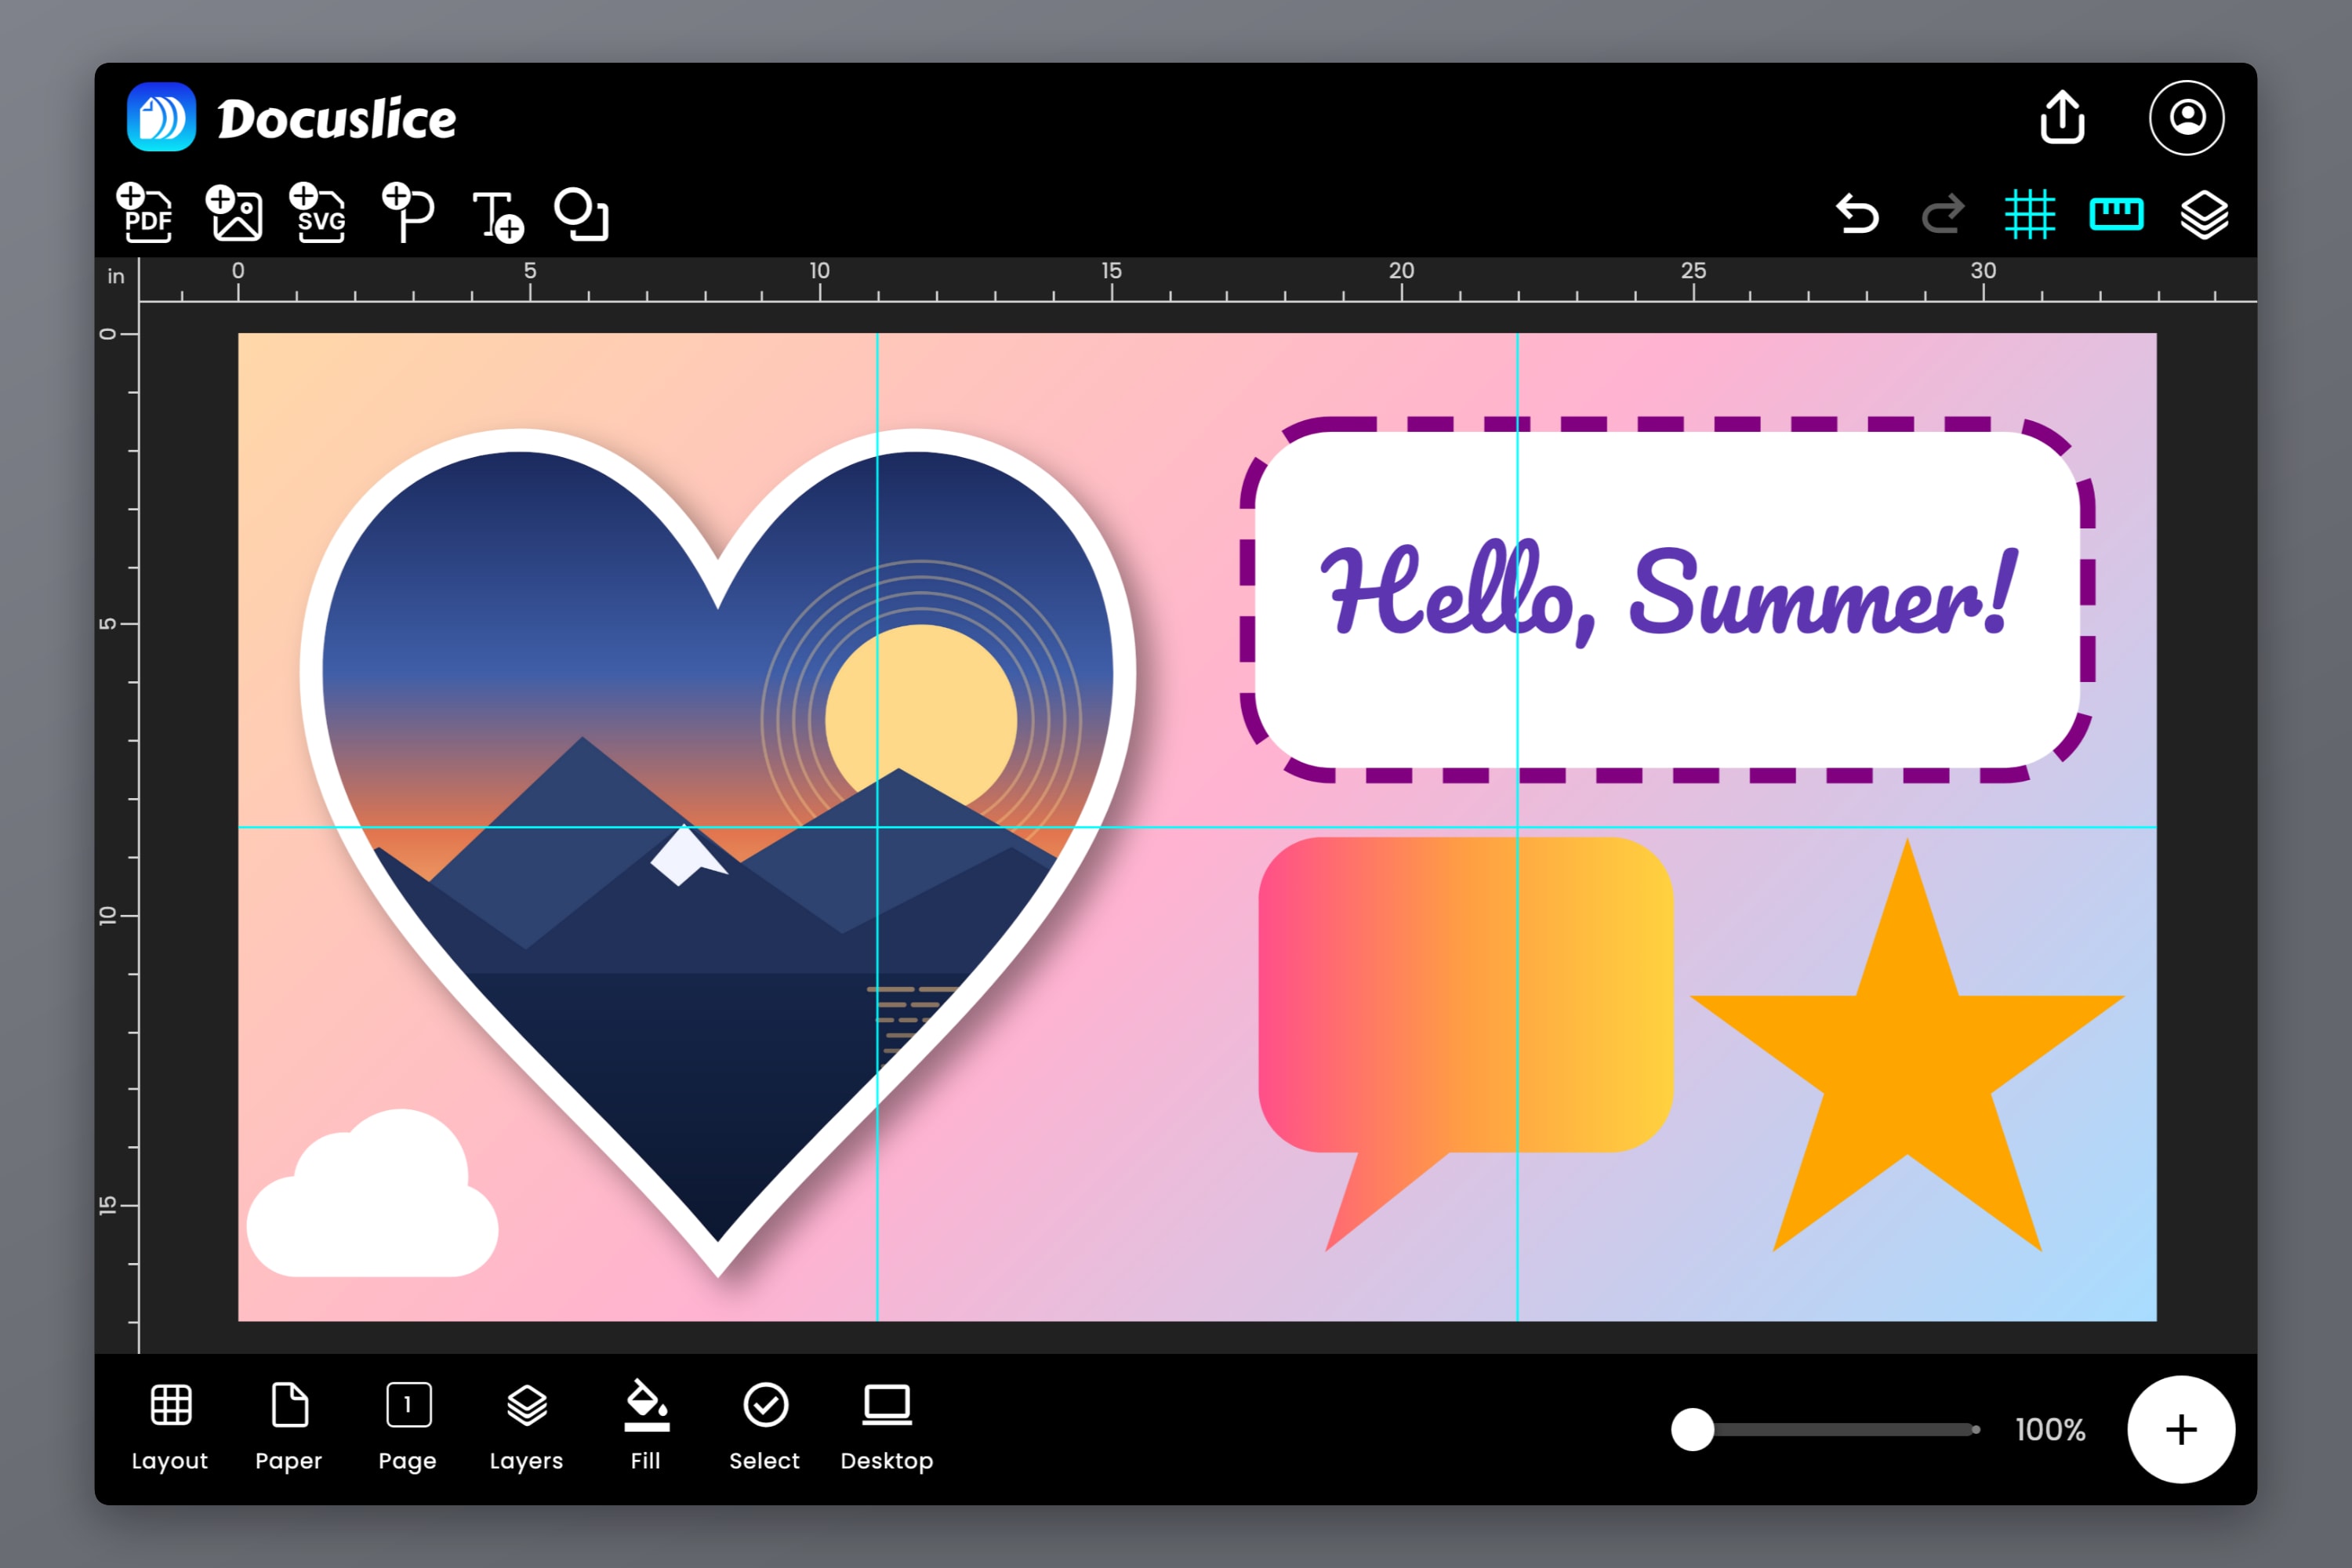
15 Shapes
The new shapes icon in the header, beside the text and paragraph buttons, opens a sheet of fifteen shapes: Rectangle, Ellipse, Triangle, Diamond, Pentagon, Hexagon, Octagon, Star, Rounded star, Heart, Cross, Arrow, Arch, Speech bubble and Cloud.
Shapes with a natural proportion arrive at it — a triangle is equilateral, a star is a true five-pointed star, a cloud is wider than it is tall — and from there you can move, scale, stretch and rotate it like anything else on the canvas. A rectangle can also have rounded corners, all four at once or each one on its own.
Solid Colors and Gradients
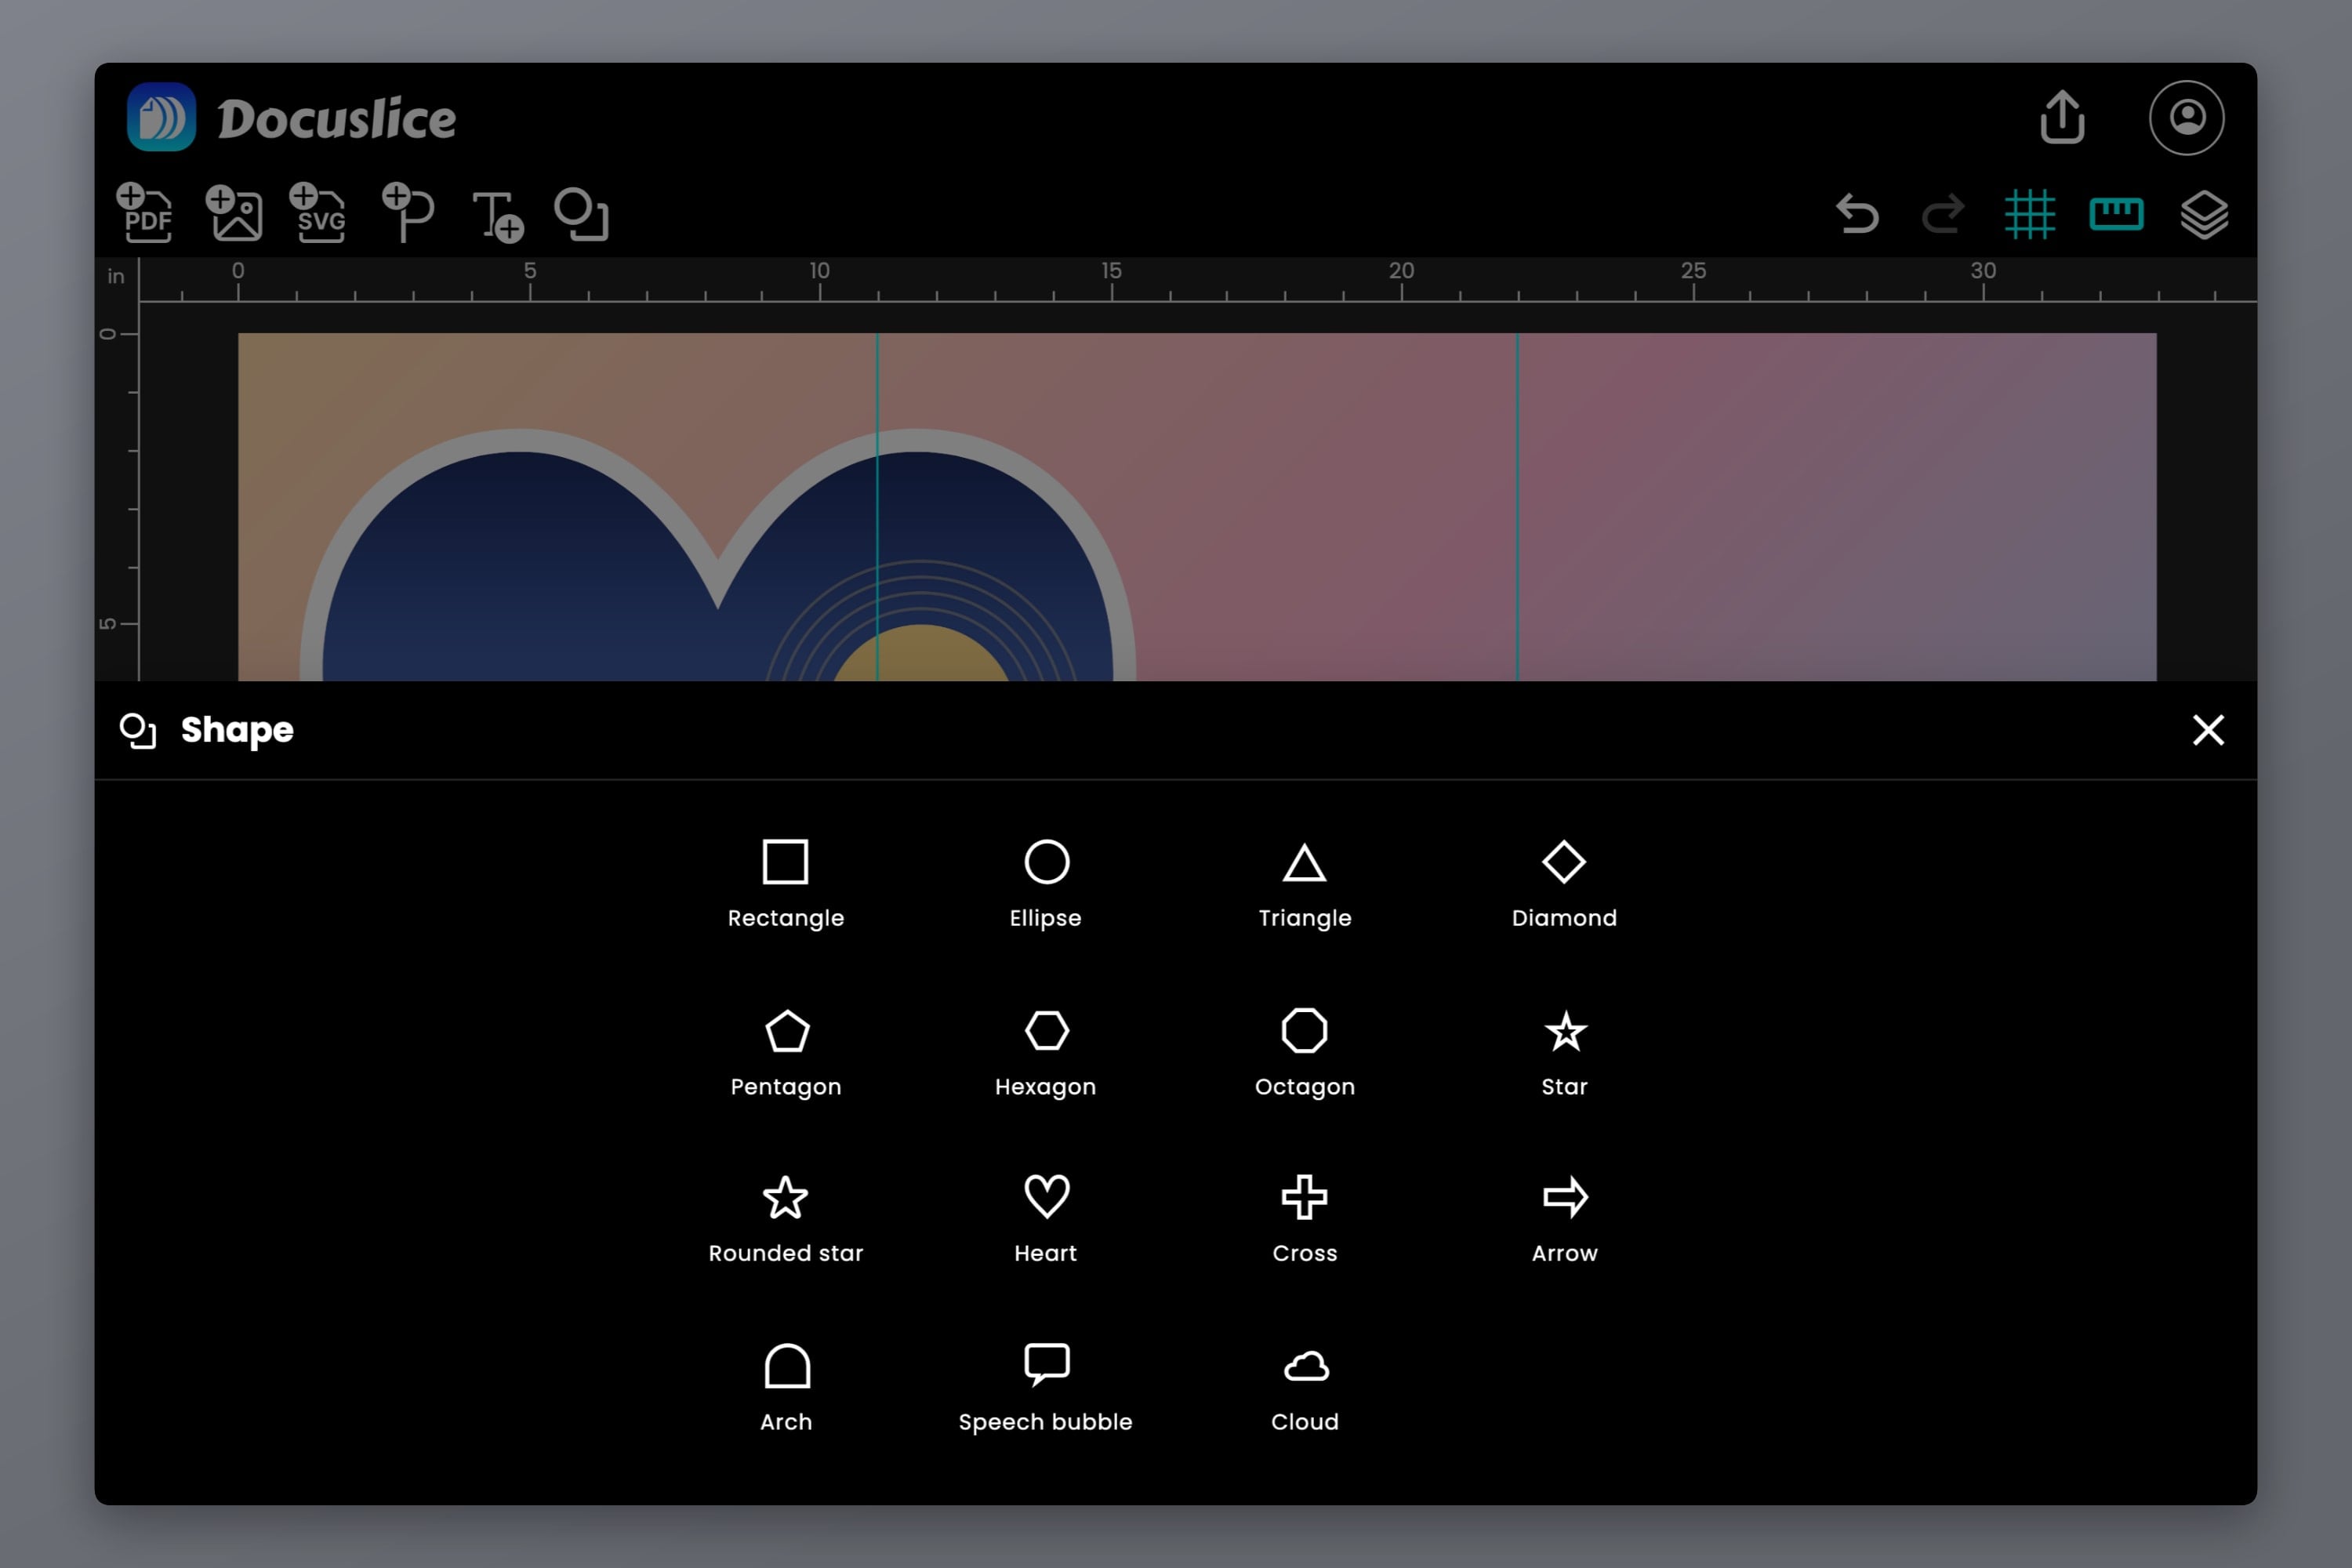
Fill opens a row of circles: your recent fills first, then a set of ready-made colors and gradients. Tap one and it's applied straight away, with the sheet left open so you can try the next. None removes the fill, and + opens the Color sheet, with three tabs:
- Solid — pick any color from the color square and hue bar, or type a hex code. An Opacity slider makes it see-through.
- Swatches — the standard colors, one tap each.
- Gradient — a bar of color stops. Drag a stop to move it, tap + to add one (up to five), and tap a stop to change its color and opacity. Pick a direction from the Style tiles — left to right, top to bottom, either diagonal, or radial — or set any Angle you like.
Fill works on text too, in place of the old Color button. A solid color can go on a whole text or just the words you've selected, while a gradient runs across the whole text. Choose None and give the text an outline, and you get hollow, outline-only letters.
A Background for the Whole Page
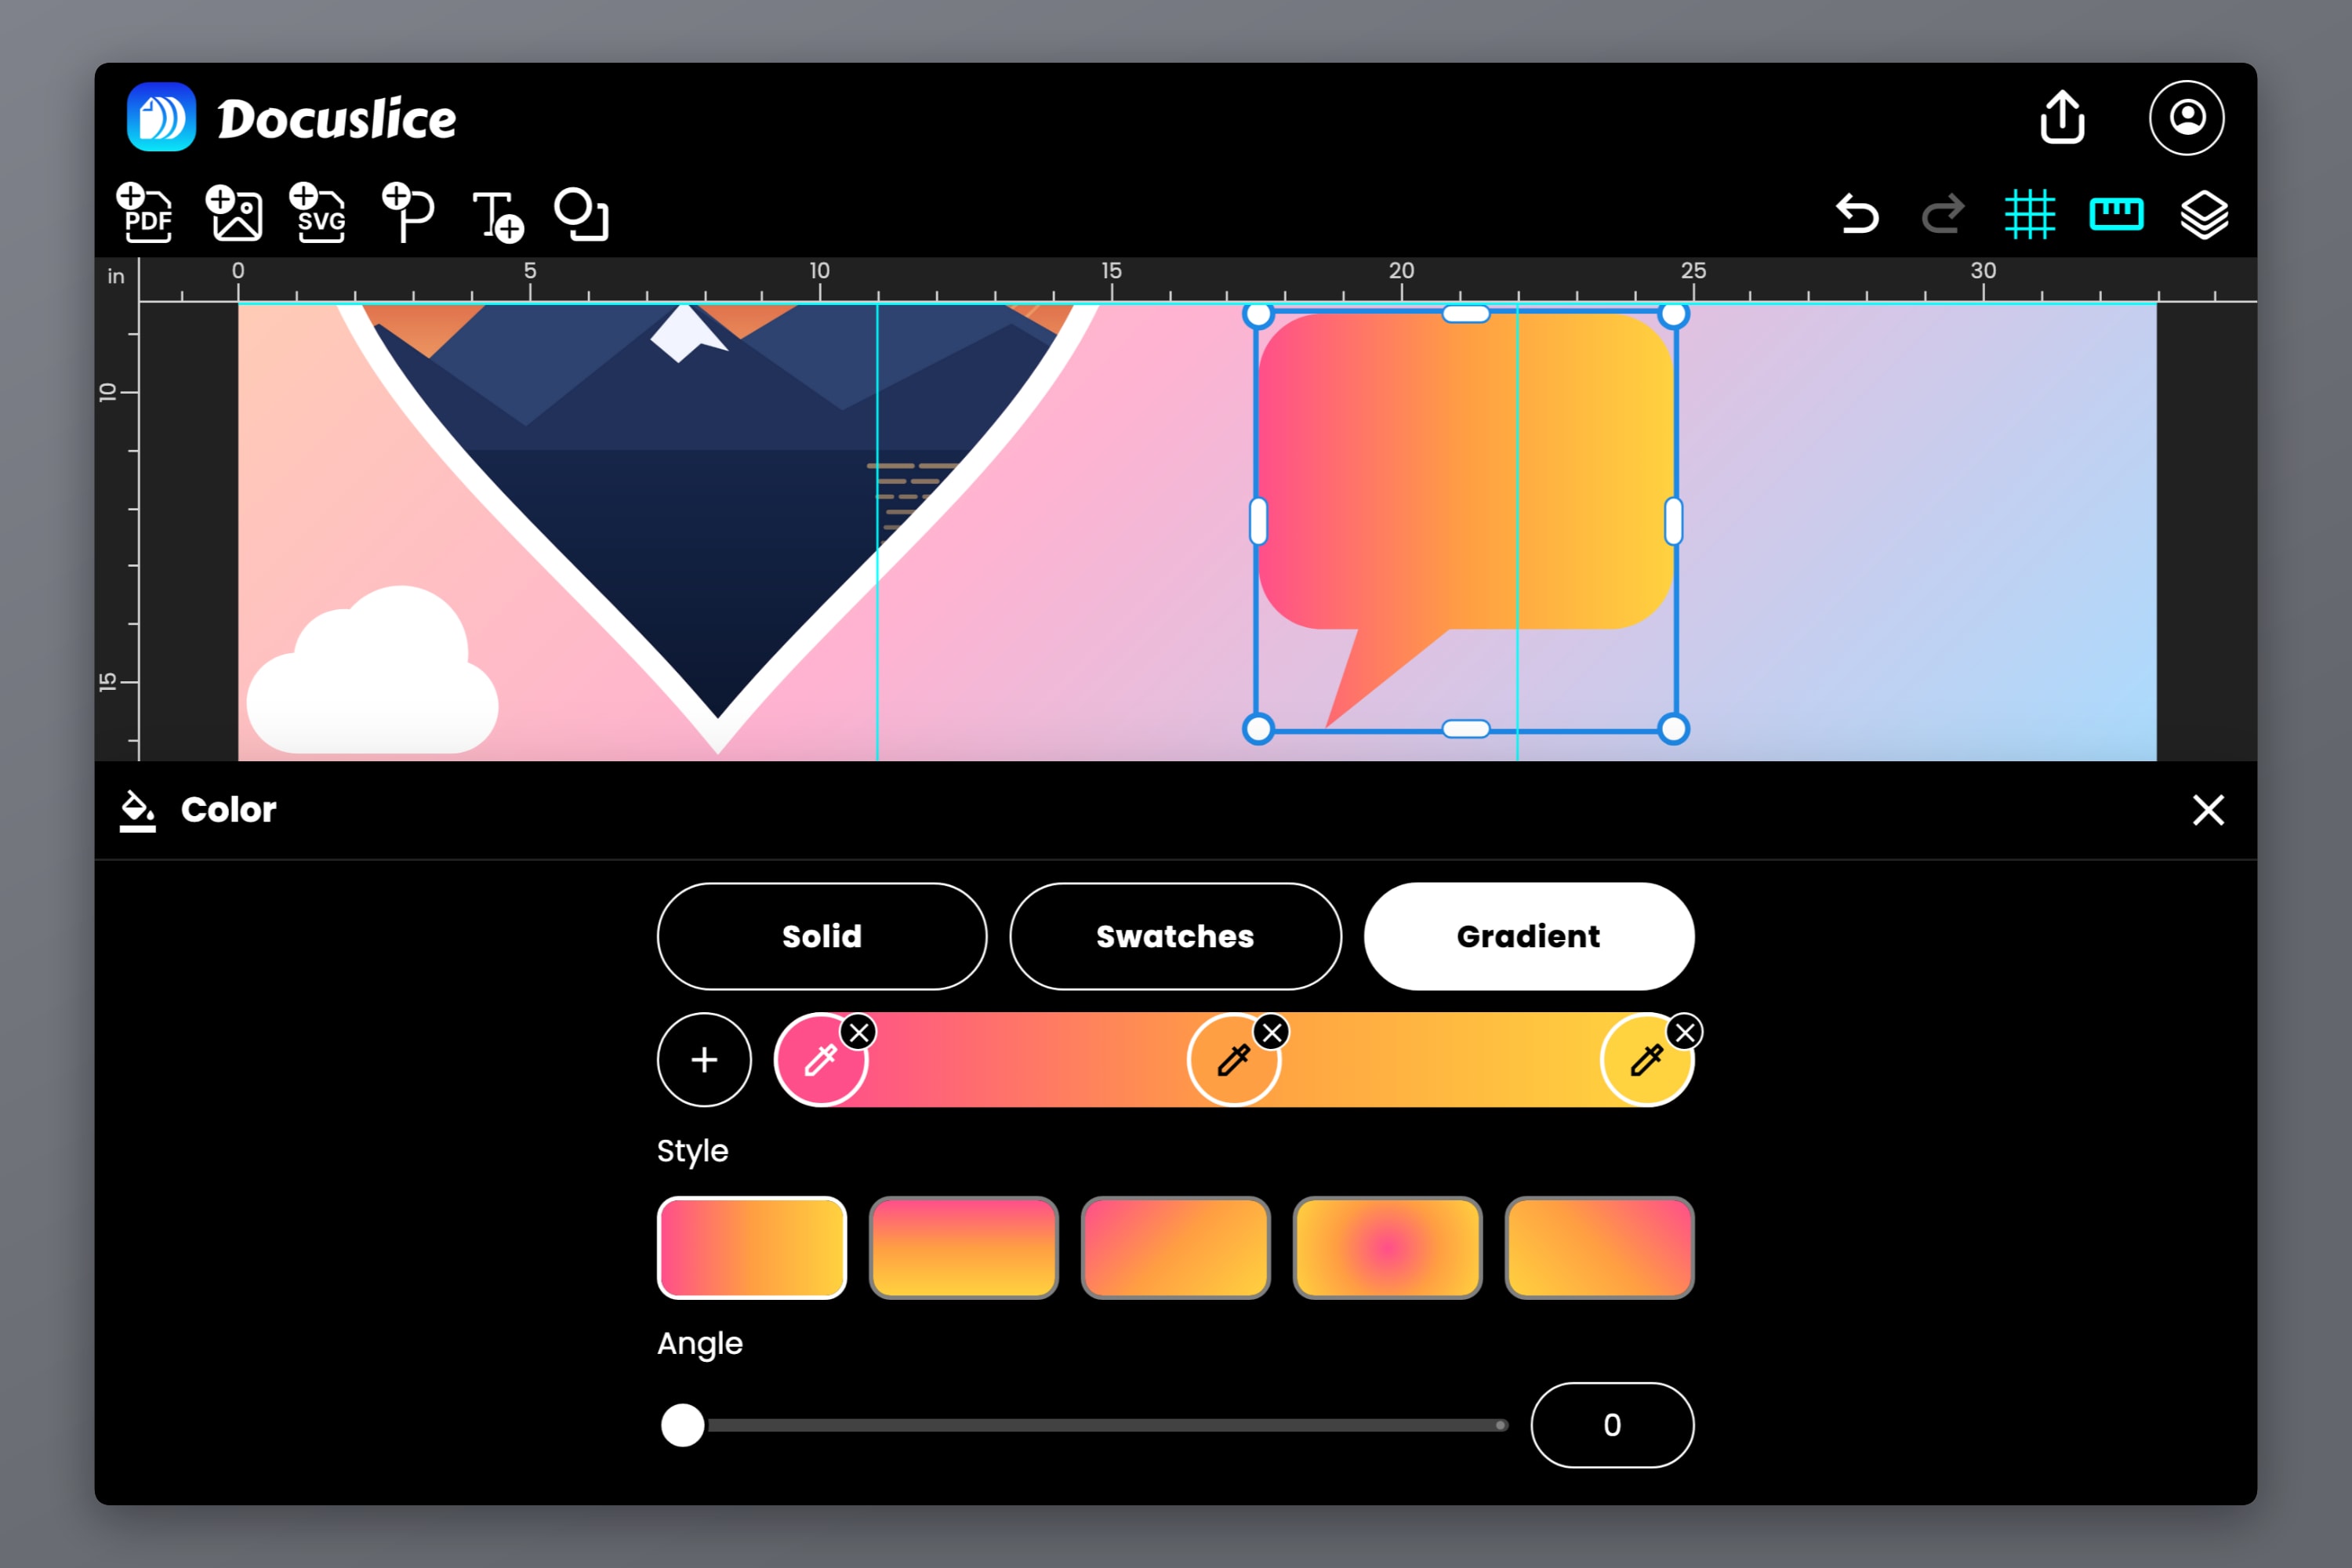
With nothing selected, the Fill button in the canvas toolbar colors the page itself — a solid color or a gradient behind everything else. It runs to the edge of your poster and stops there, so the paper margins stay white for cutting, and cut lines stay clearly visible on top of it.
Outlines on Everything
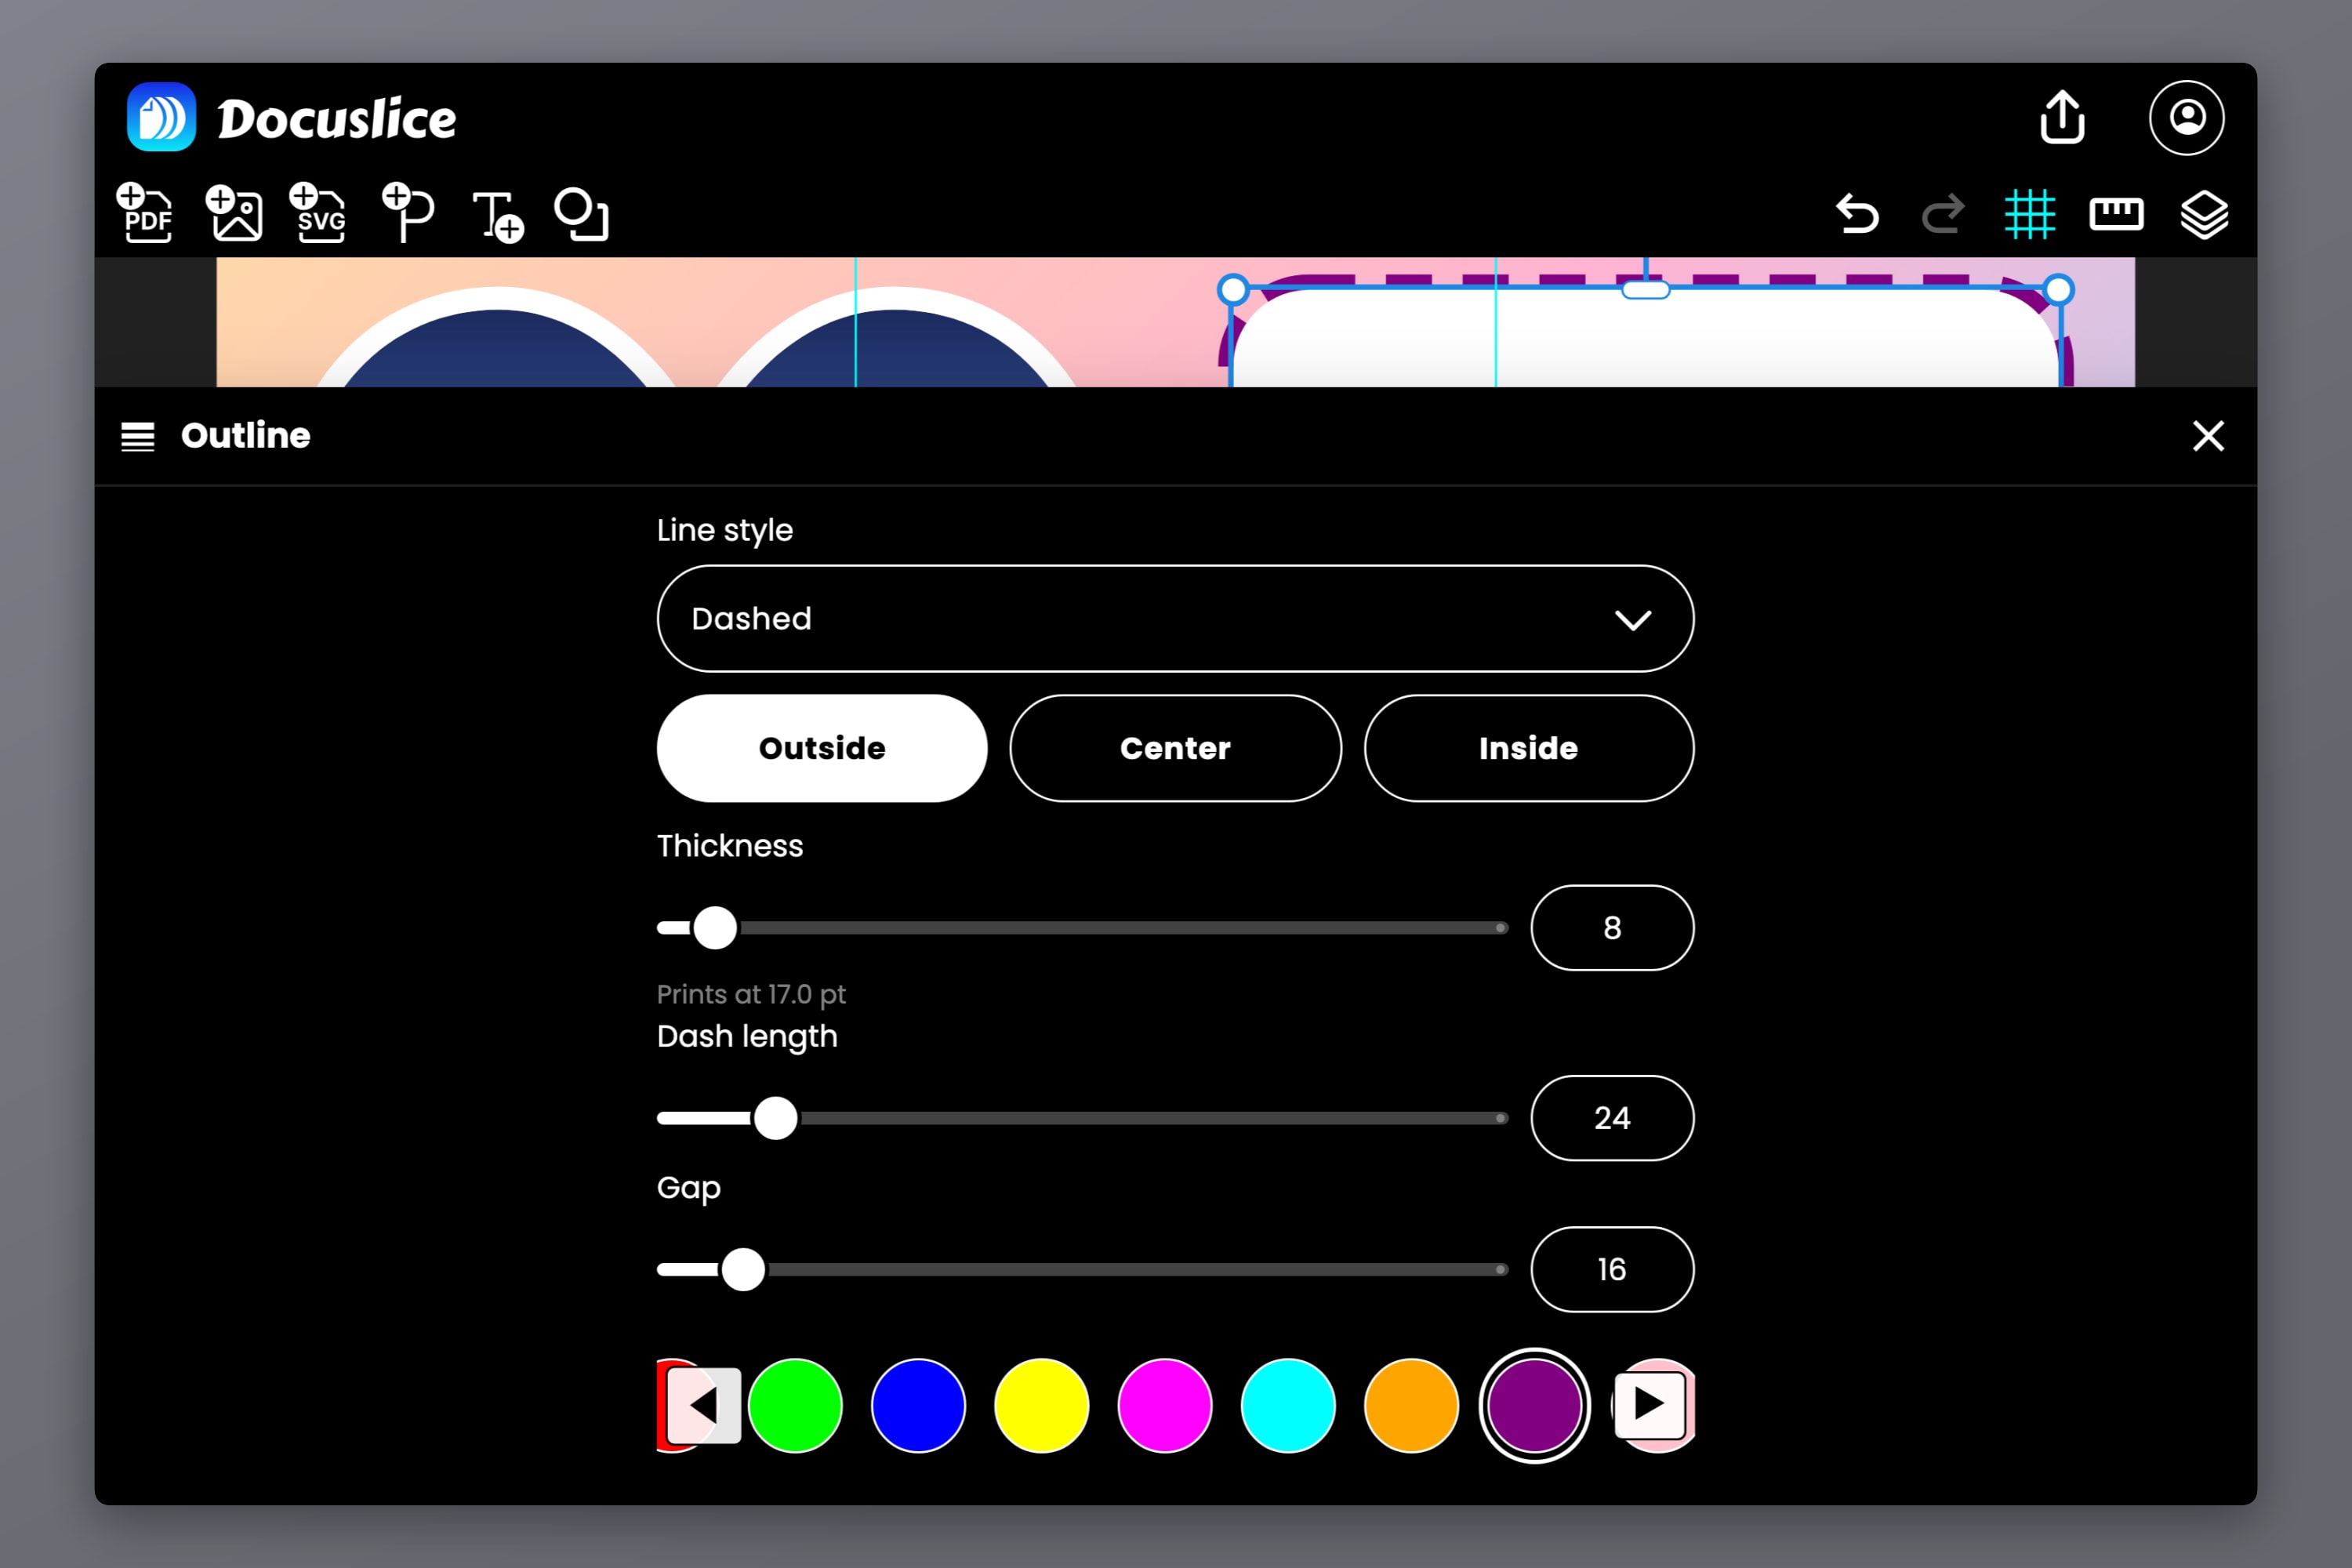
The new Outline button works on every kind of object — shapes, photos, PDF pages, text, paragraphs and SVG art — and the outline follows the real shape: the letters of a text, the paths of an SVG, a shape's points and curves, a photo's rounded corners or mask.
- Outside, Center or Inside — where the outline sits relative to the edge. A new outline starts Outside, so it never covers the object.
- Solid, Dashed or Dotted — with sliders for the dash length and gap.
- Thickness — with Prints at underneath, showing how thick it'll be on paper.
- Any color or gradient, from the same row of circles as Fill, with its own opacity.
An outline never changes an object's size or position, so nothing on your page shifts when you add one. And a dashed outline makes a handy "cut here" guide — see How to Print Large Letters to Cut Out.
Opacity and Rounded Corners
- Opacity fades any object, from fully solid down to invisible. The object fades as one piece, outline and shadow included, so you never see a darker band where an outline overlaps its fill.
- Corners rounds the corners of photos, PDF pages and rectangles. One slider rounds all four; the link button beside it splits them so each corner gets its own.
Crop
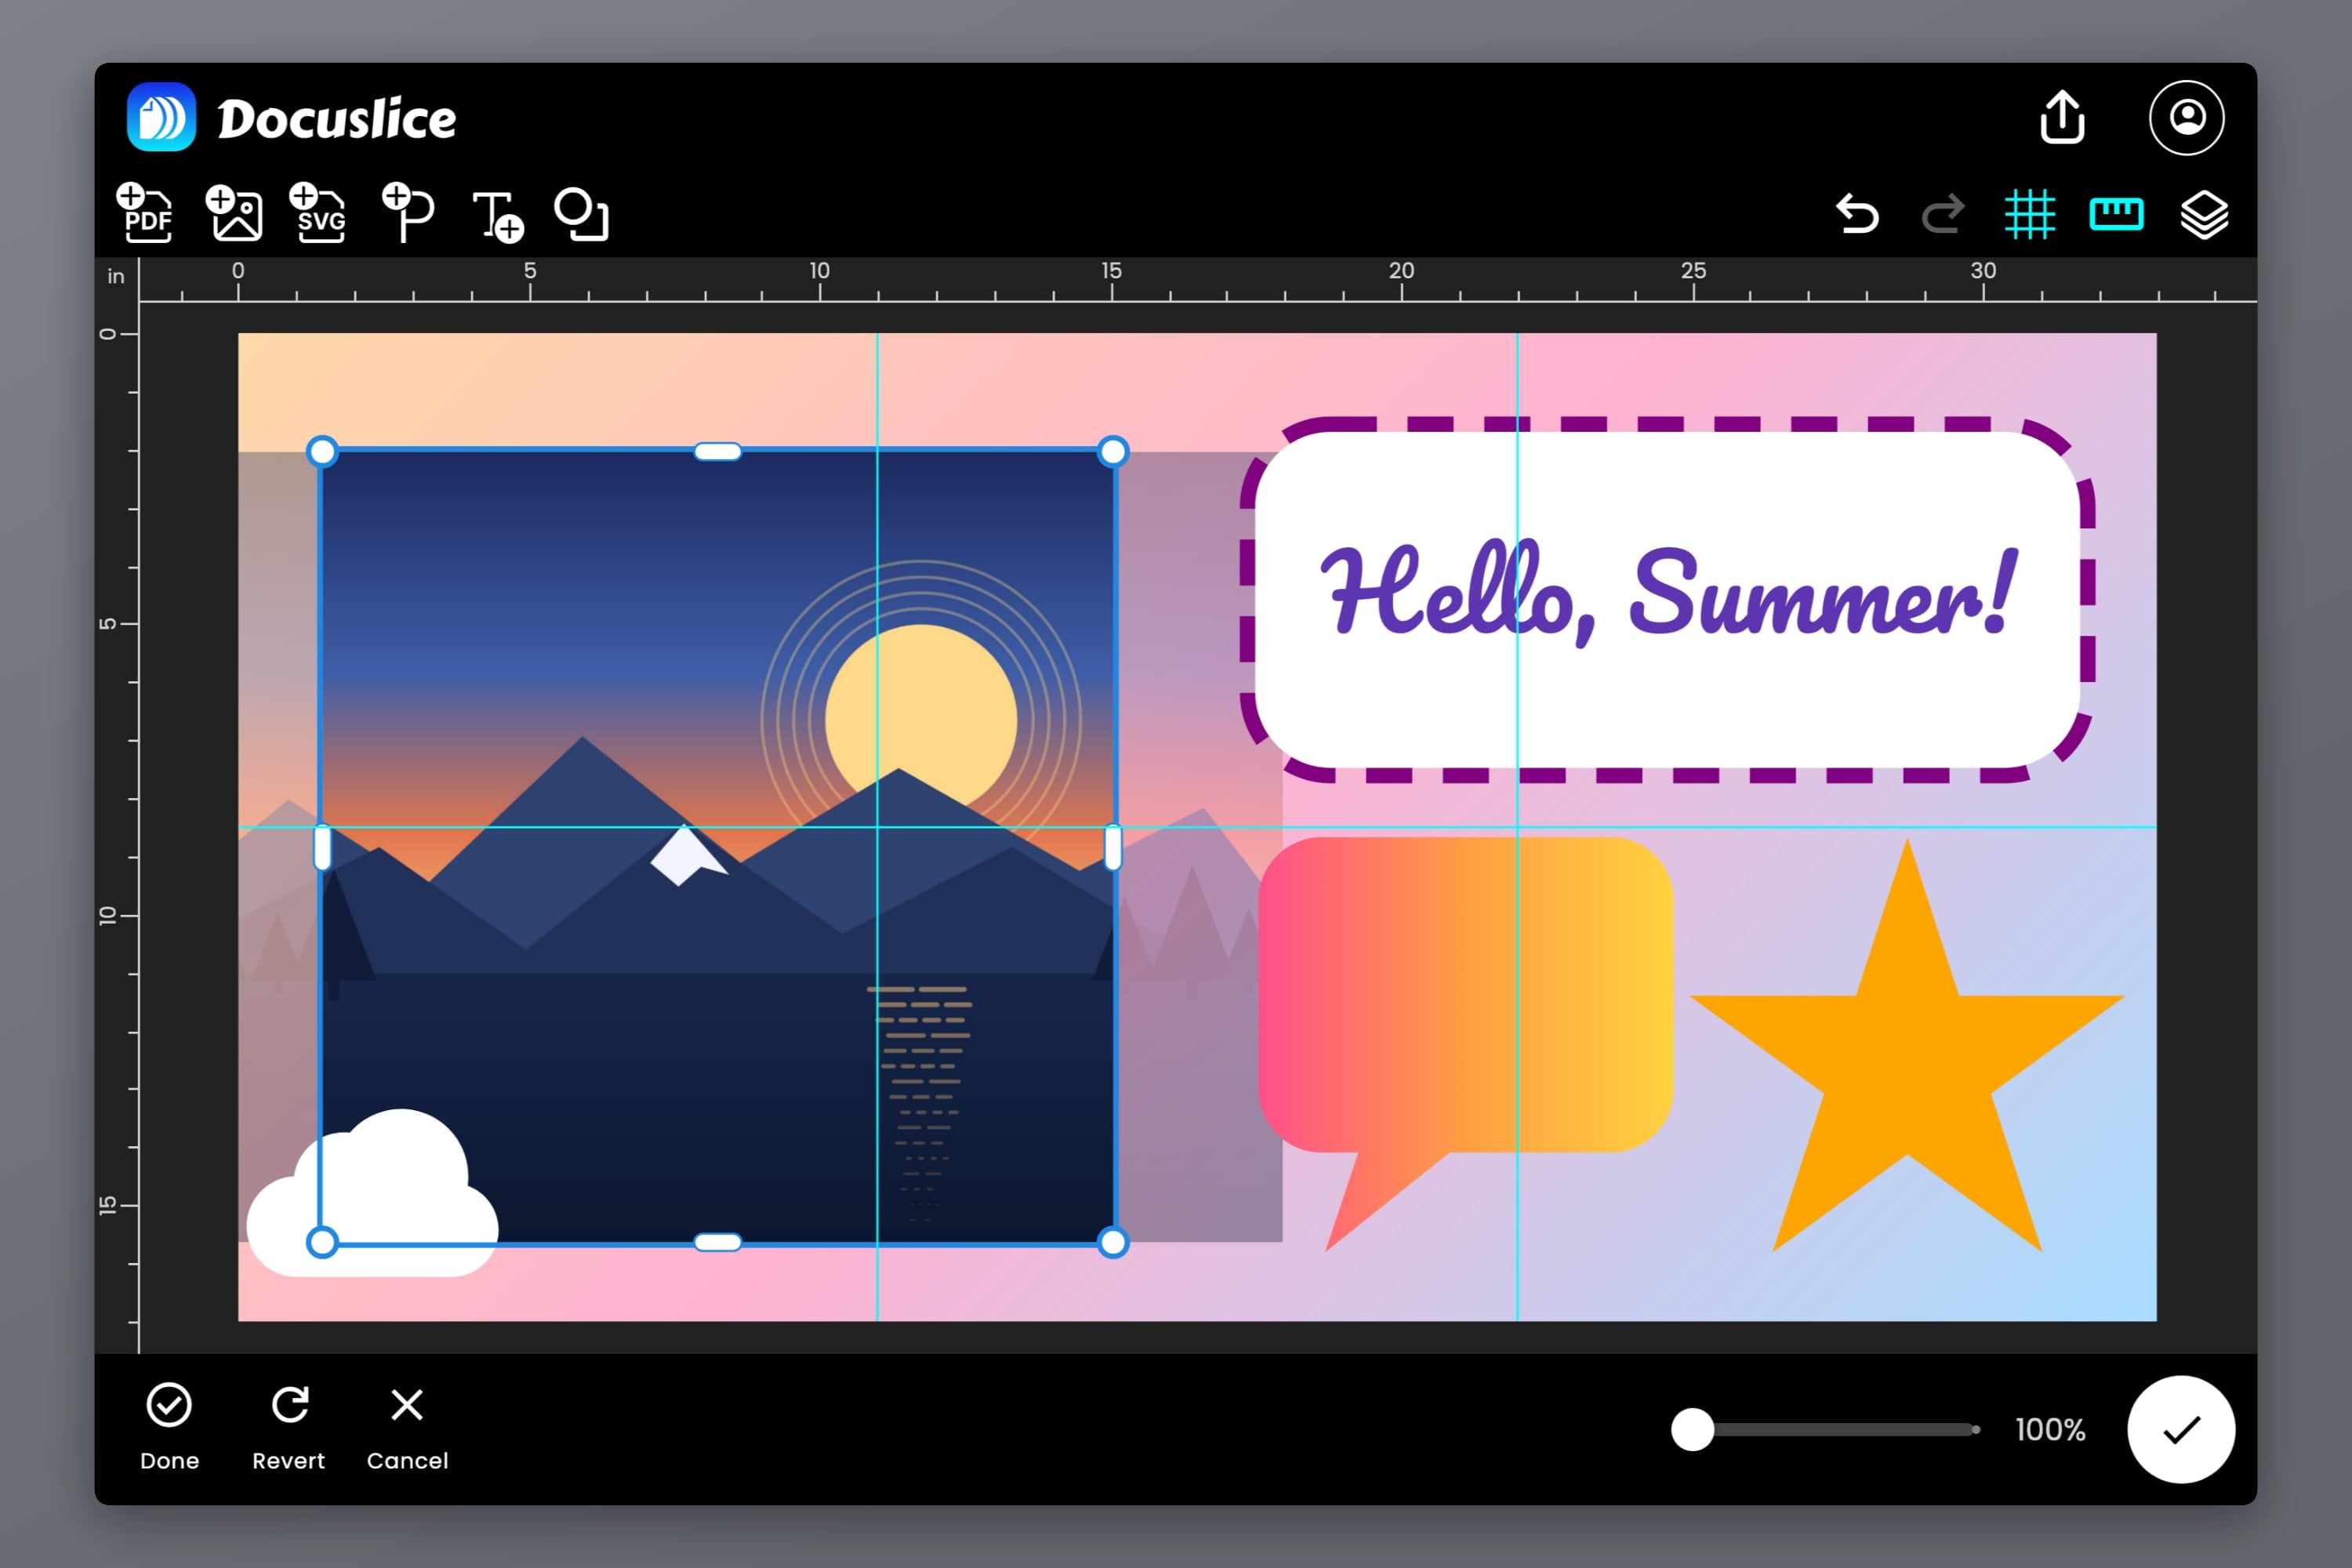
Tap Crop on a photo or PDF page — or double-click it in the browser and desktop apps, or double-tap it in the Android and iOS apps. The whole picture appears, faded around the part you're keeping.
- Drag the picture to choose what shows inside the frame.
- Drag the handles to change the frame itself.
- Done keeps the crop, Cancel throws it away, and Revert brings back the whole picture.
Mask a Photo Into a Shape
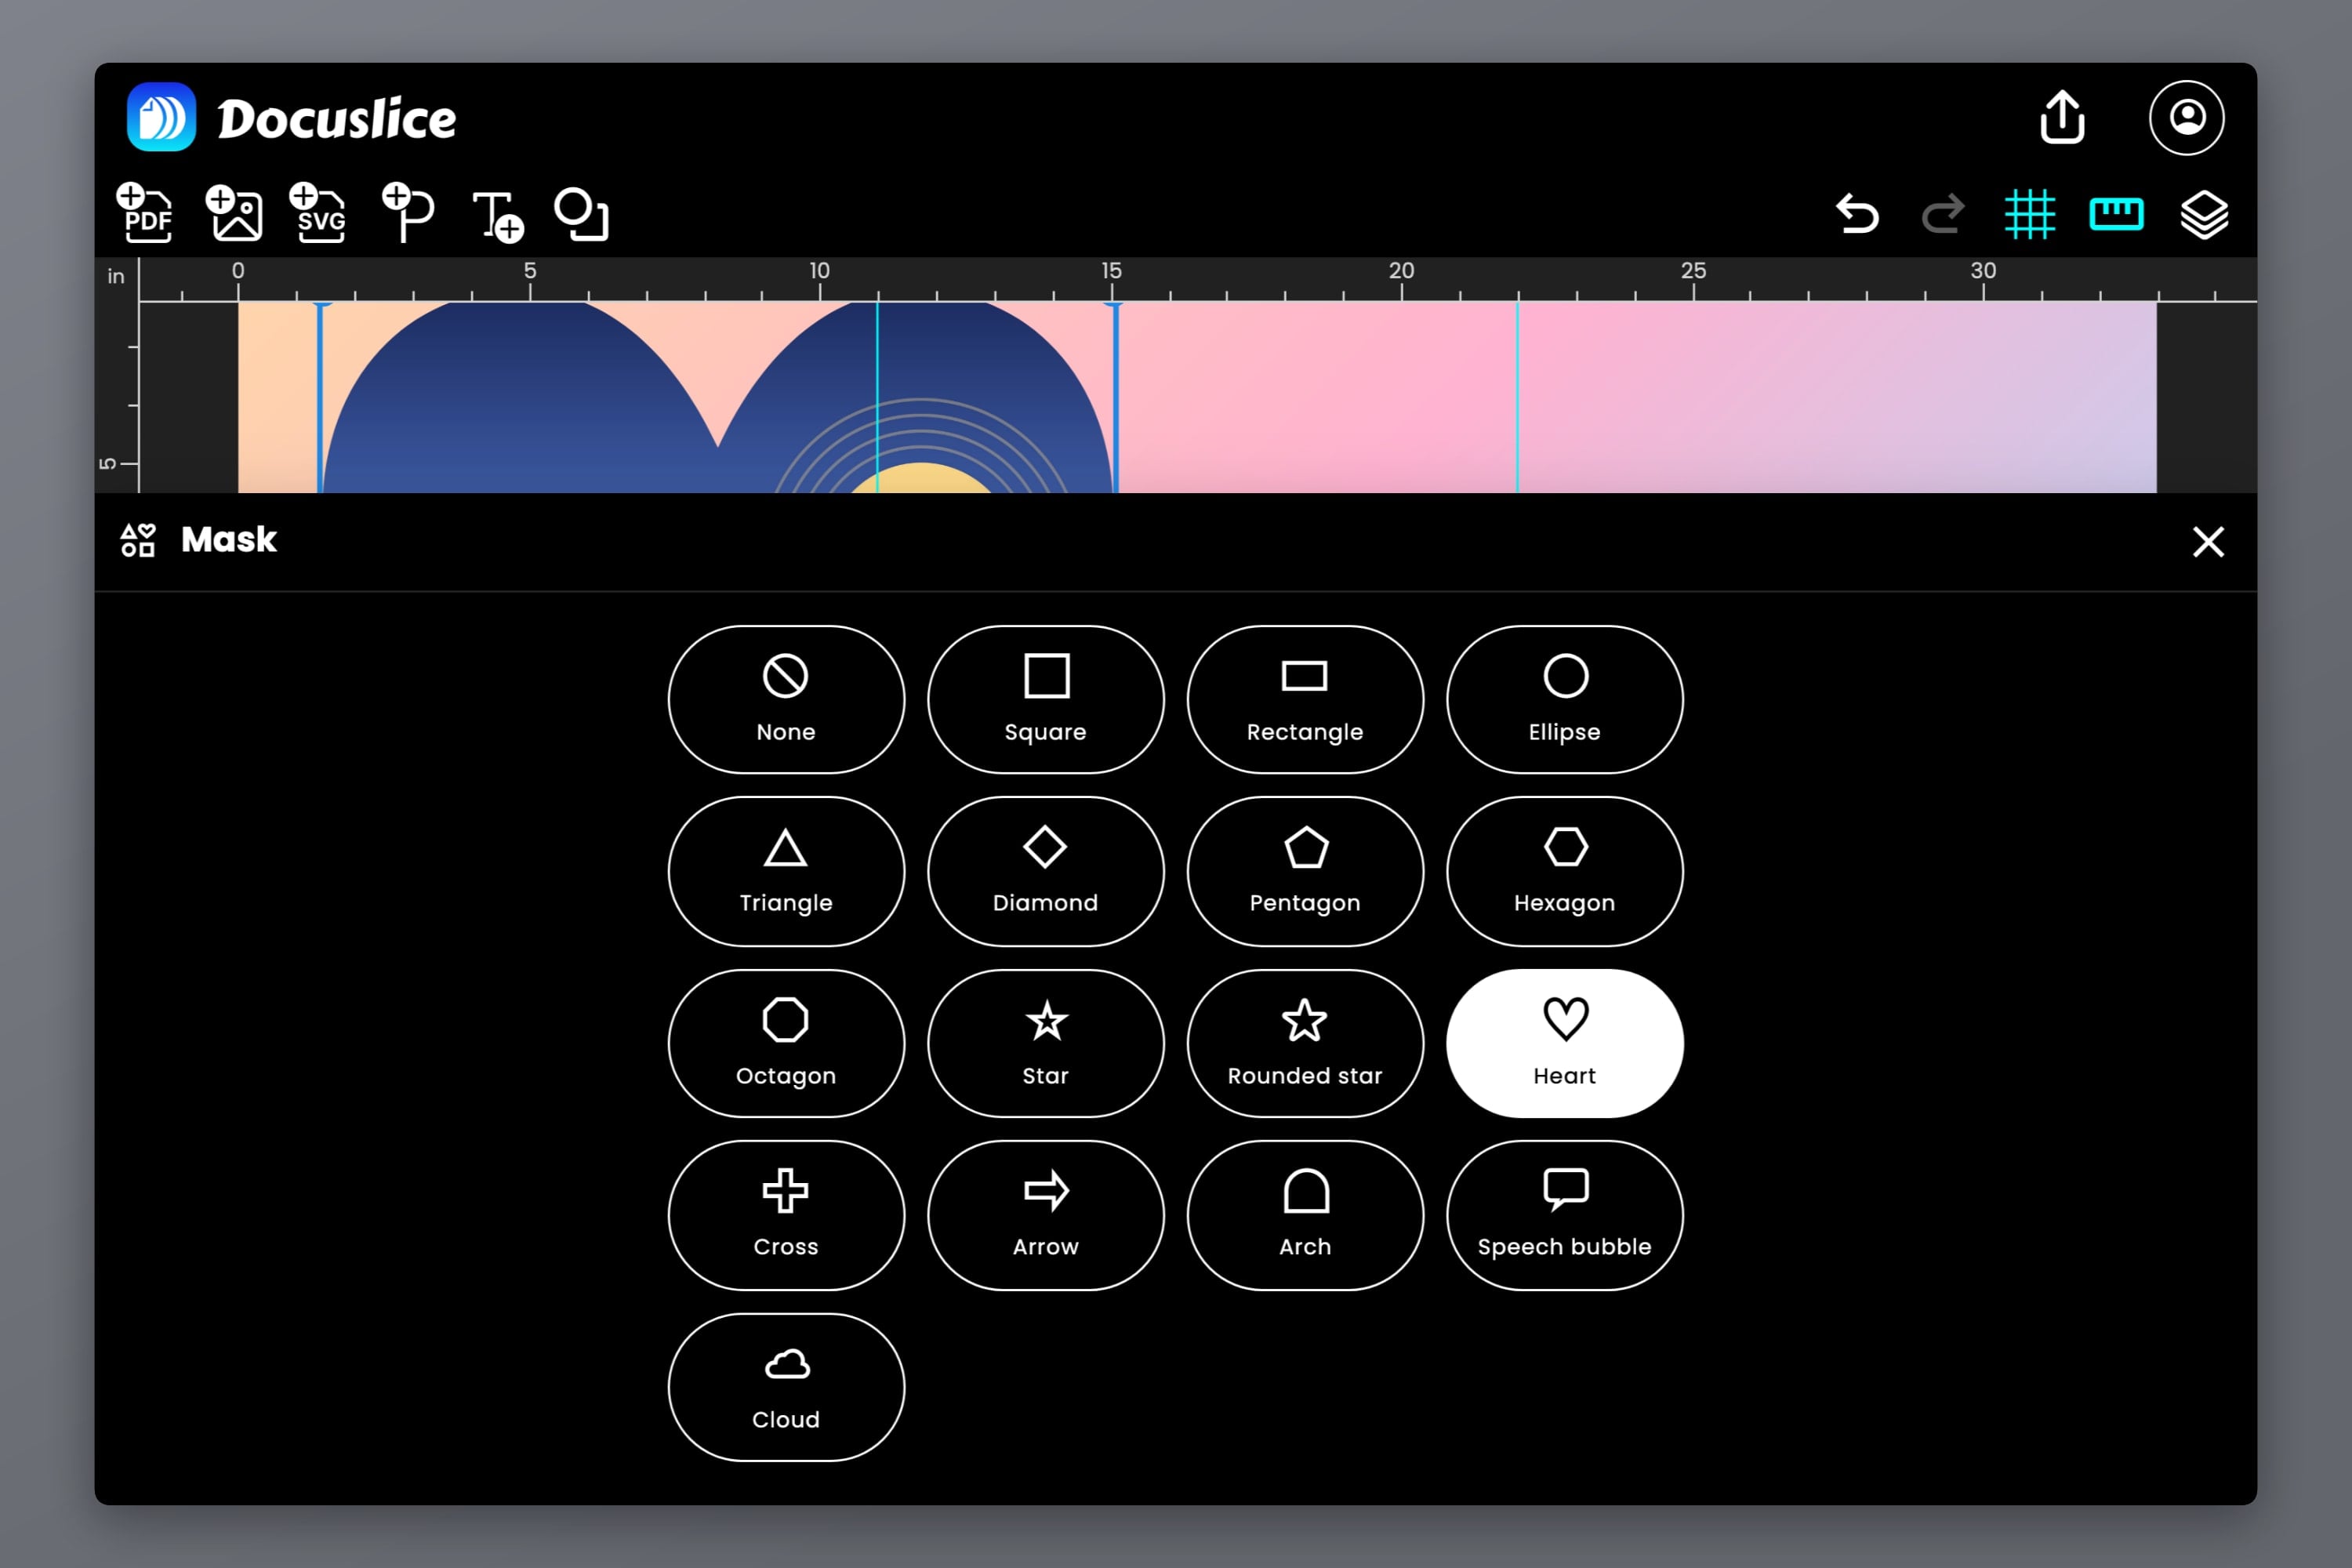
Mask shapes a photo or PDF page into a circle, a heart, a star, a cloud — any of the shapes above, plus Square and Rectangle for clean 1:1 and 3:2 frames. None takes the mask off and shows the whole photo again.
The photo keeps its proportions: pick the ellipse on a wide photo and you get a circle, trimmed from the middle, rather than a squashed oval. Then use Crop to slide the photo around inside the shape until the right part shows.
Put a Photo Inside Text or a Shape
For anything more than a single shape, use any text, shape or SVG as a mask. Place a photo above it, tick both in Layers (··· → Select) — once the photo covers the text, a tap only reaches the photo — and tap Use as mask: the photo now shows only inside the letters or the shape. It's the easiest way to fill a name with a beach, a number with confetti, or a heart with a wedding photo.
The two become a group. Tap again to go into it and move the photo; to edit the text, tap its Mask row in Layers. Release mask shows the whole photo again, and the two stay grouped until you tap Ungroup. Putting a photo inside text or a shape has the details.
Flip
Flip mirrors any object — choose Flip horizontal or Flip vertical. Text flips too, and stays editable: handy for iron-on transfers, which have to be printed back to front. Select several objects and they flip together, as one picture. In the browser and desktop apps, Shift + H and Shift + V do the same.
Replace a Photo, Keep Its Style
Spent ten minutes getting a photo's mask, outline, corners and shadow just right — then found a better photo? Tap Replace and pick the new one. Everything about the object stays: its size, position, rotation, outline, corners, mask, shadow and layer. The new photo fills the frame, centered, and Crop lets you reframe it.
Drop Shadows
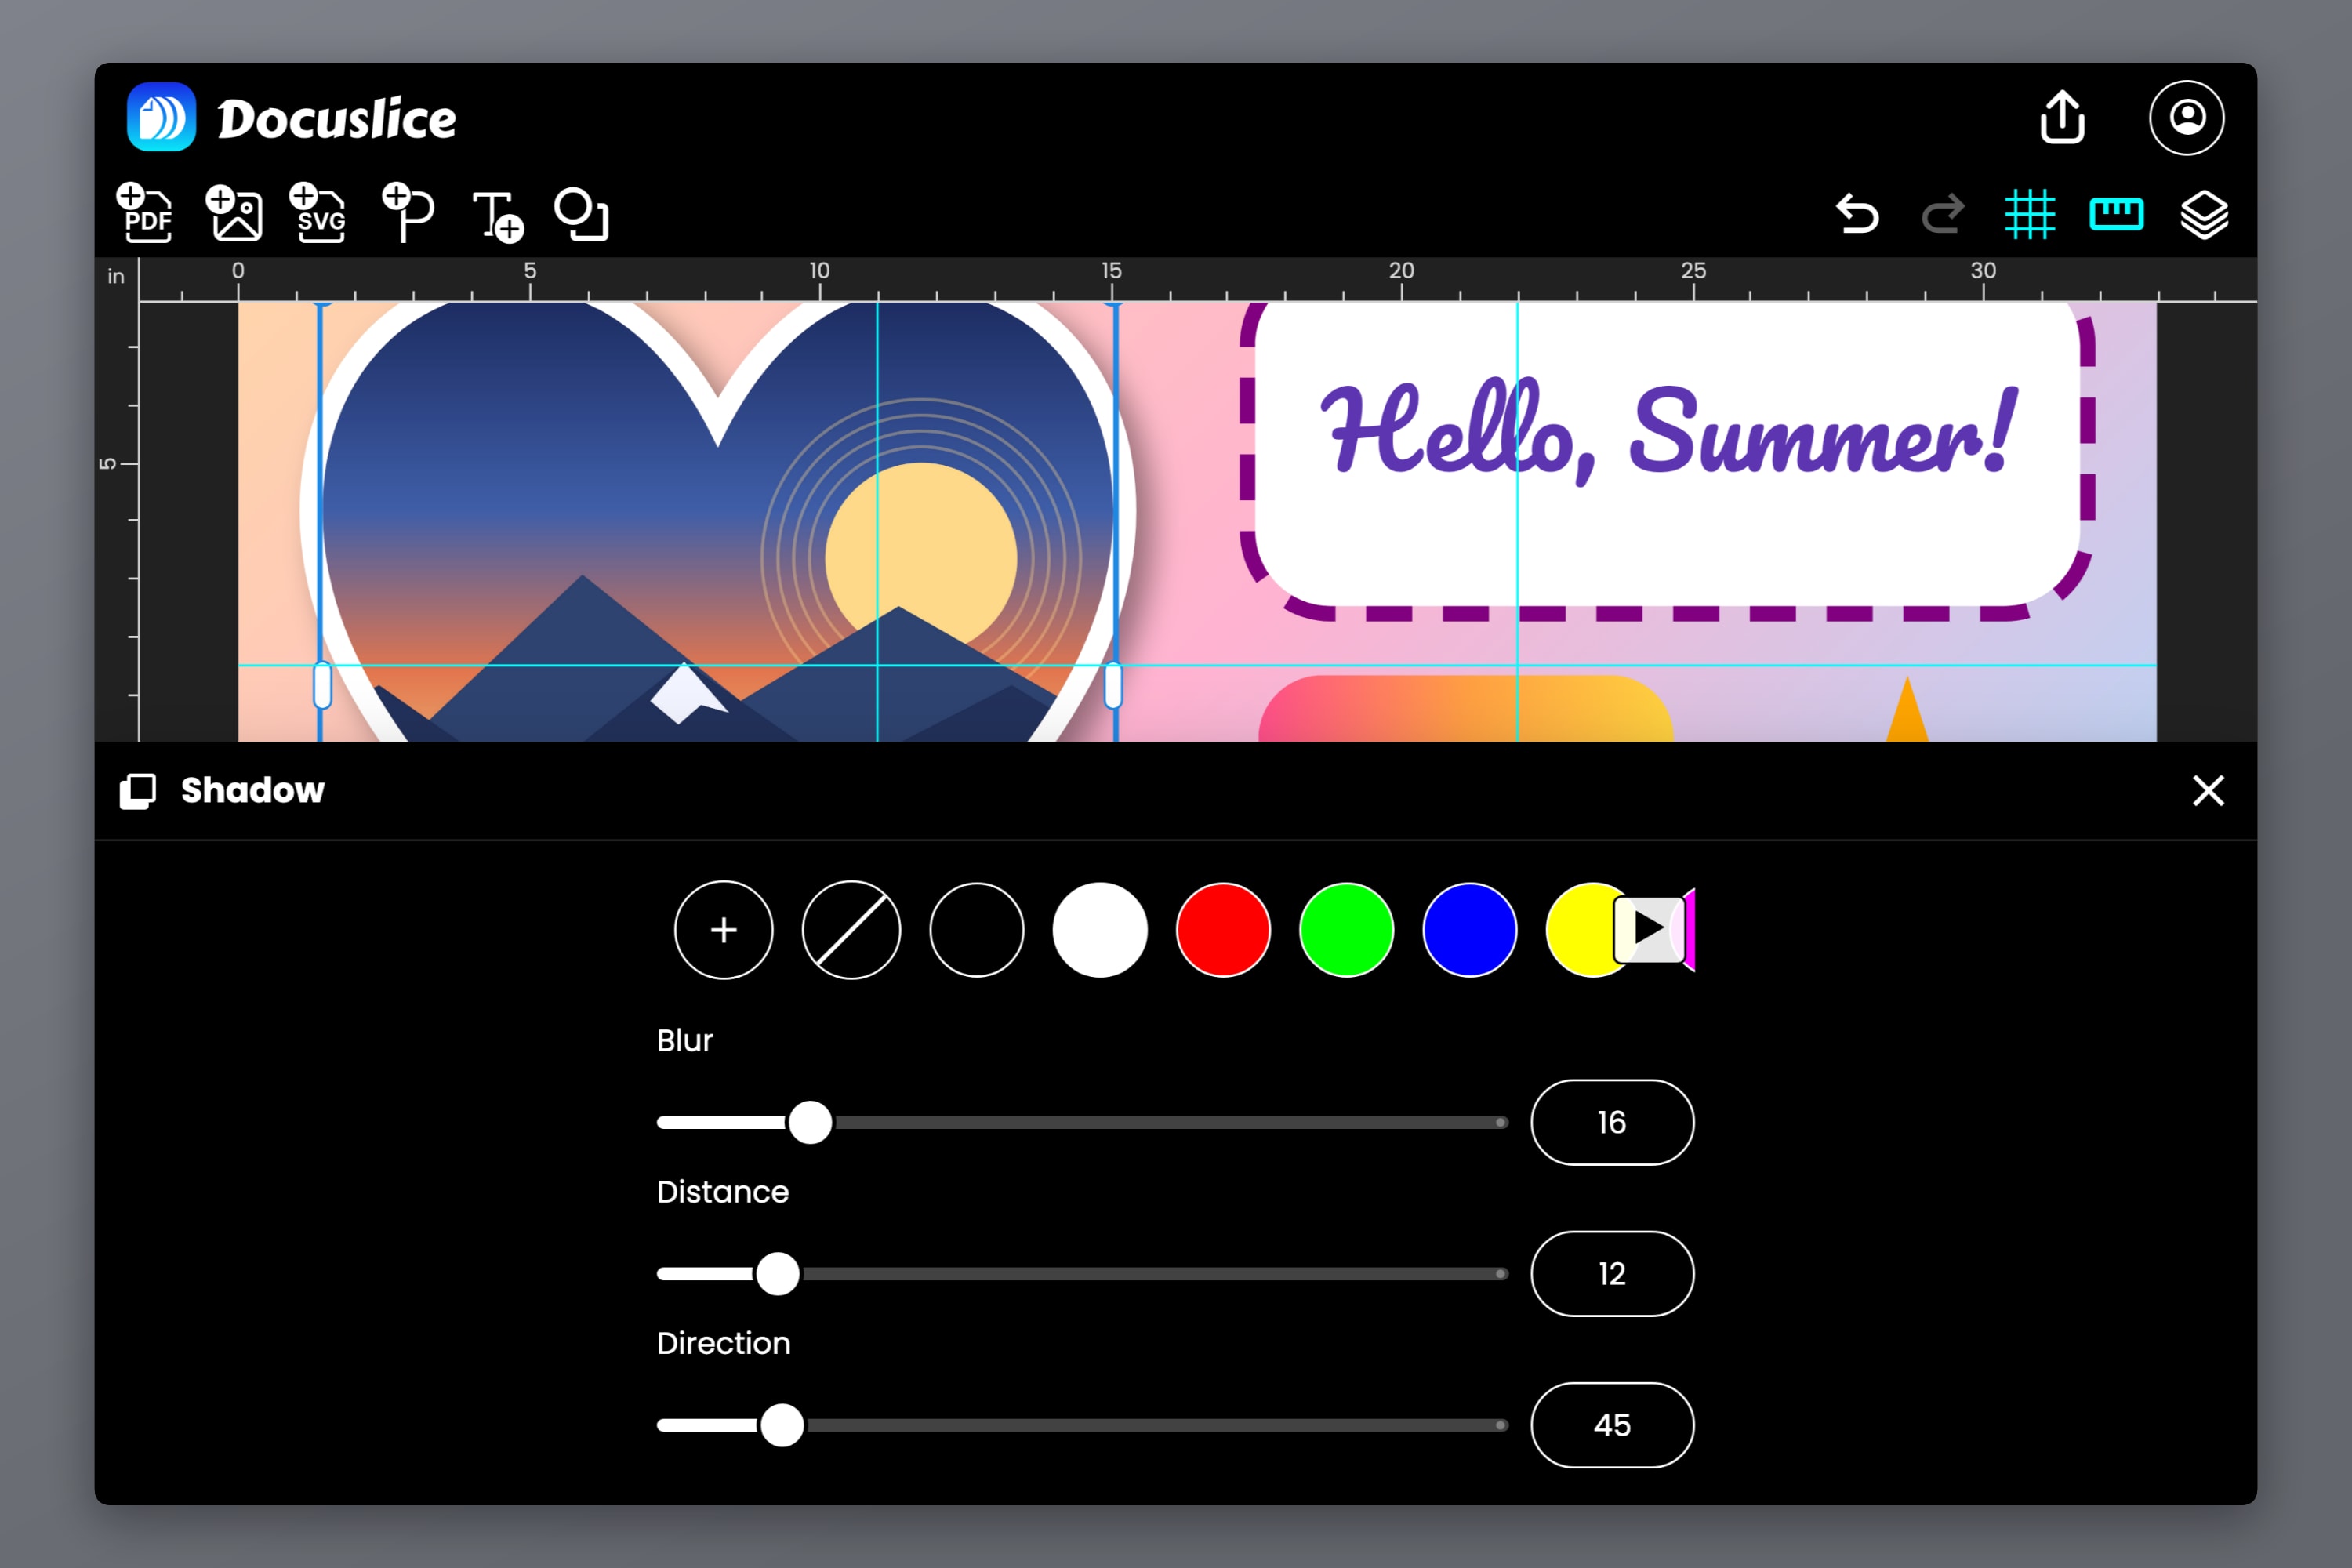
Shadow adds a soft shadow to any object. Pick a color, then set the Blur, Distance and Direction. The shadow follows what's actually drawn — the letters of a text, the outline of a shape, the edges of a photo in a mask, even the cut-out of a transparent PNG. Choose None in the color row to remove it.
Prints Exactly as It Looks
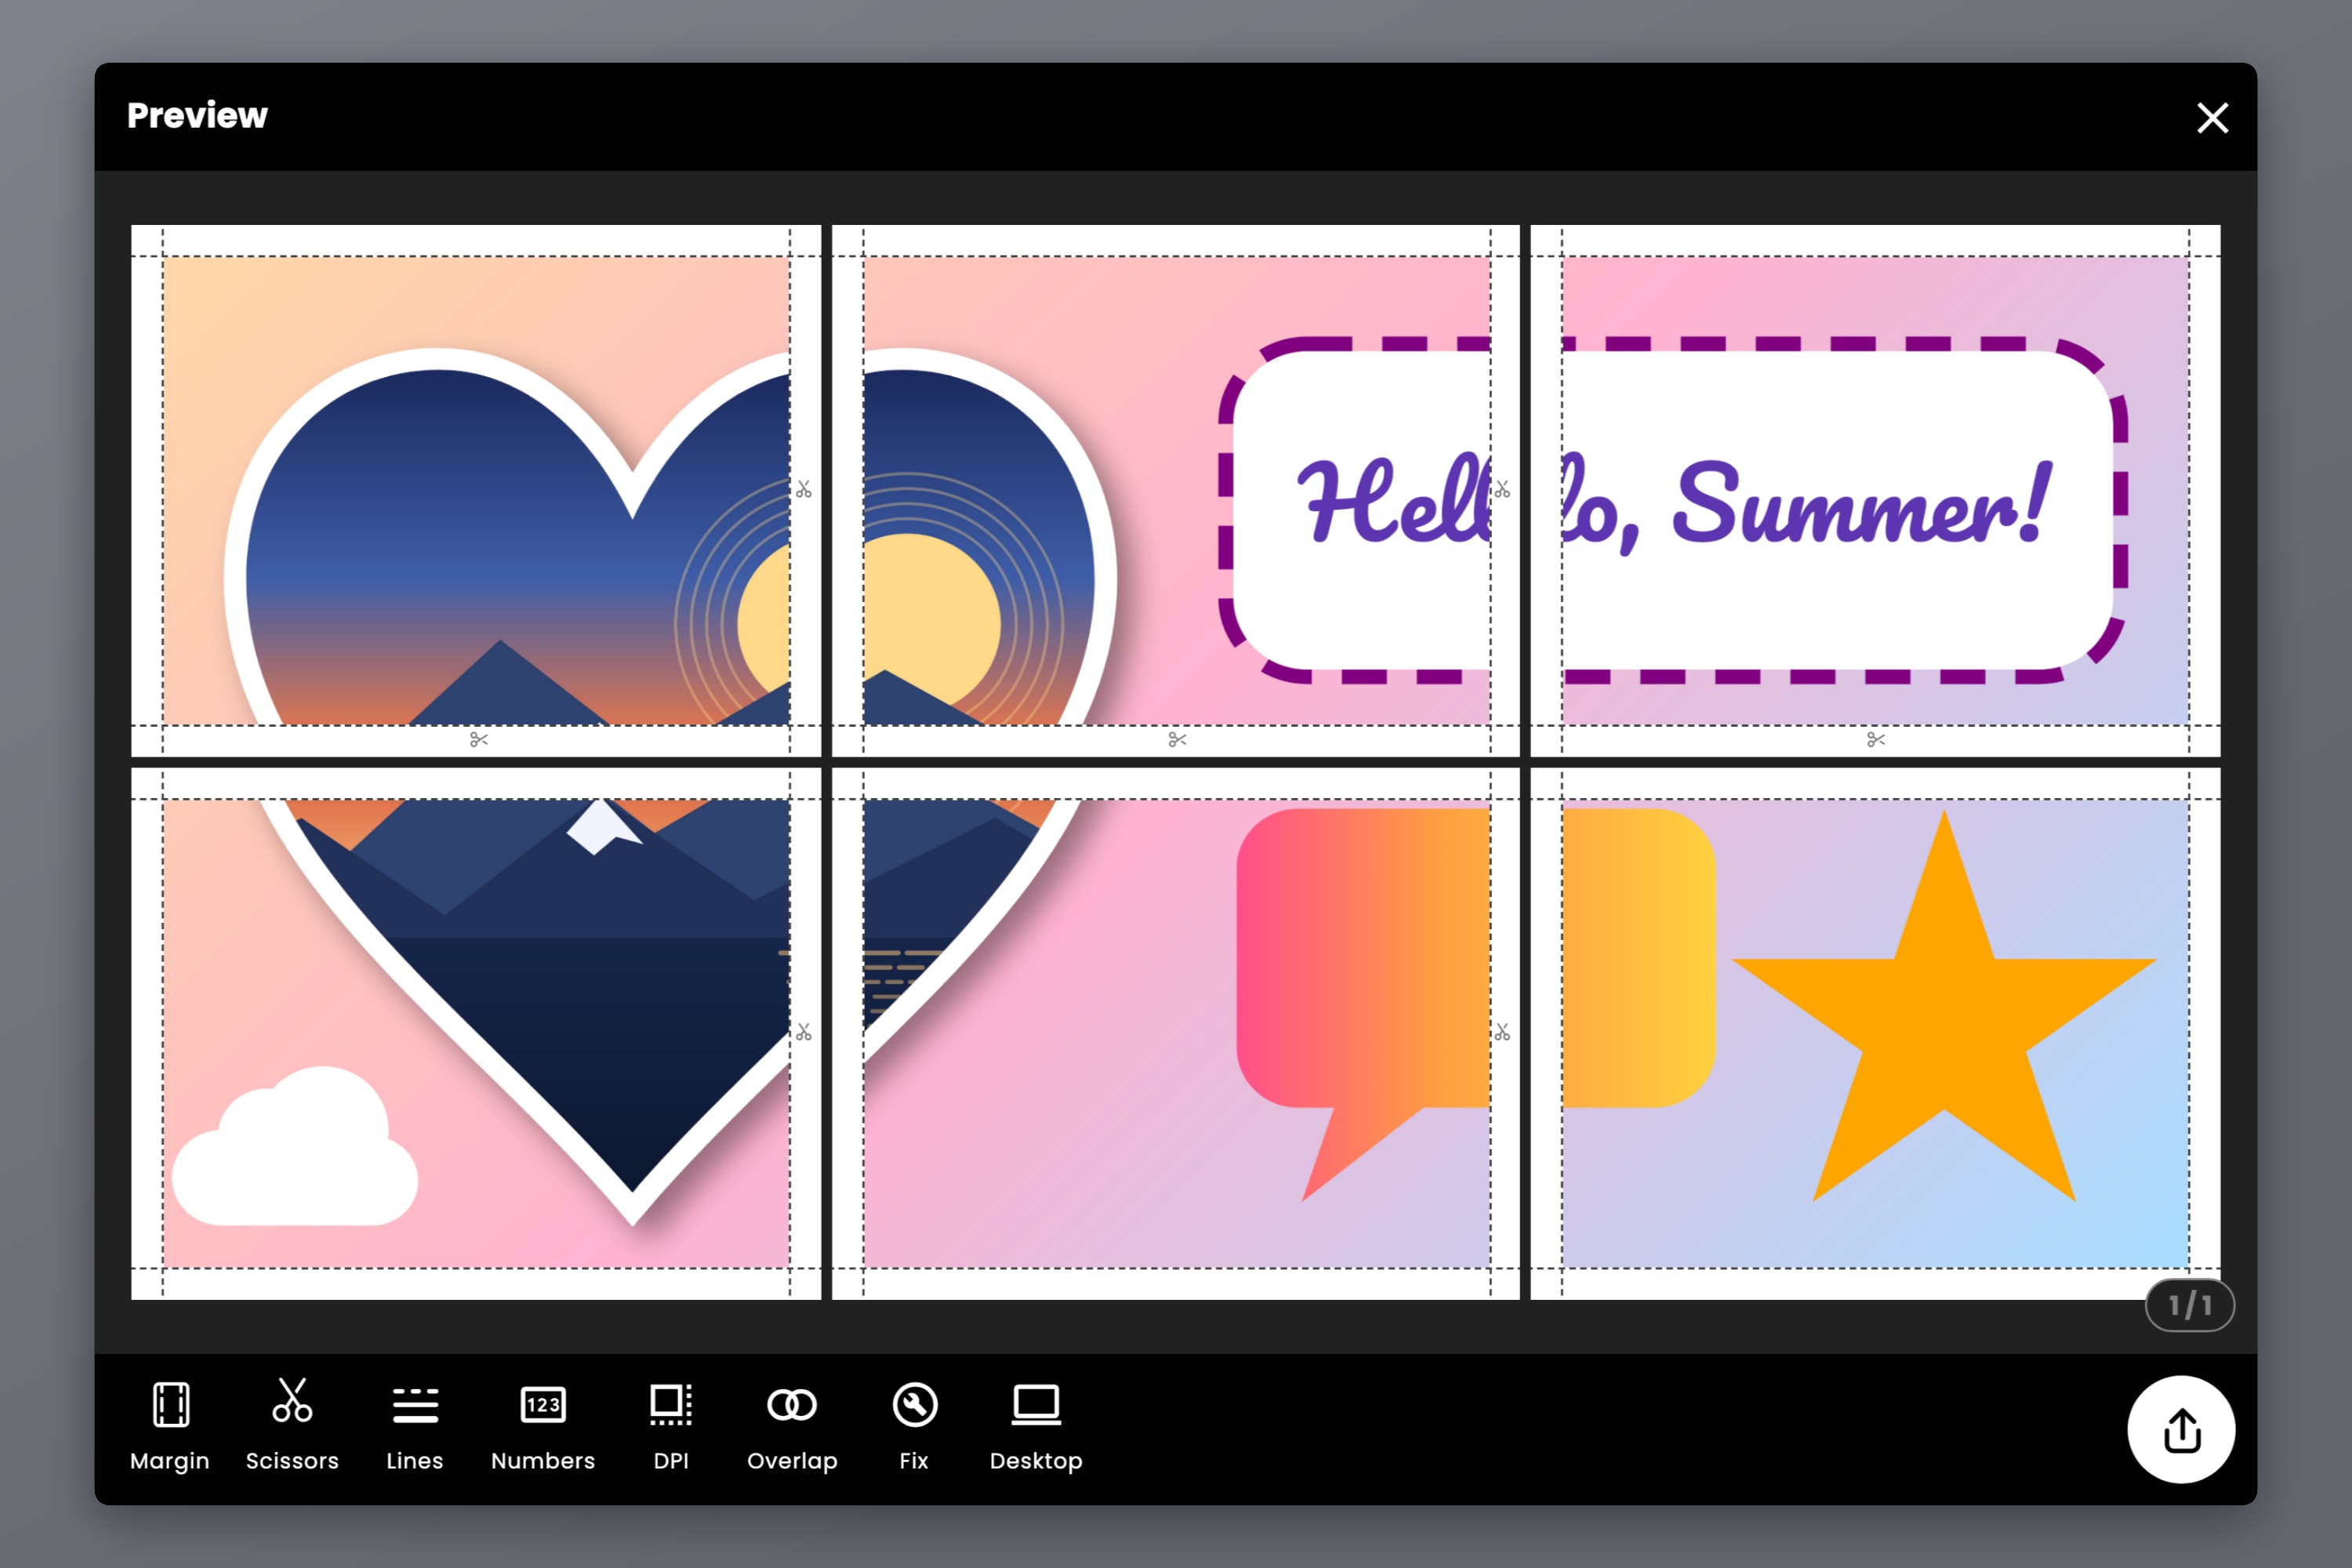
Every one of these tools appears in the export exactly as it looks on the canvas — on every sheet, across every seam.
- Standard PDF and image exports draw shapes, gradients, outlines, masks and shadows at the export resolution you choose.
- Vector PDF export keeps shapes, gradients and outlines as true vectors, and cuts crops and masks with exact vector edges, so edges stay razor-sharp at any print size. A gradient that fades to see-through is drawn as a smooth image inside the object's vector edges, and a drop shadow as a smooth image beneath it, while the object itself stays vector. With some blur, neither has a hard edge to pixelate.
Available on Mobile, Web, and Desktop
Every tool in this post is available in the mobile app (iOS and Android), the web app, and the desktop app (Mac and Windows, part of Pro+) — and every one of them is free, on every plan. Vector PDF export remains part of Pro and Pro+.
The docs cover each tool in detail: adding shapes, fill, gradients and opacity, outlines and drop shadows, and cropping, masking and replacing images.
Frequently Asked Questions
Yes. Shapes, fills, gradients, outlines, opacity, rounded corners, crop, masks, flip, replace and drop shadows are all free on every plan. The paid plans add Vector PDF export, higher export resolution and overlap, and remove ads.
All of them: shapes, photos, PDF pages, text, paragraphs and SVG art. The outline follows each object's real shape, so text is outlined letter by letter and an SVG path by path.
Mask, on a photo's toolbar, shapes that one photo into one of the built-in shapes. Use as mask works with any text, shape or SVG you've placed on the canvas: select it together with a photo above it, and the photo shows only inside it.
Yes. Select the text, set Fill to None (the crossed-out circle) and add an Outline. The letters print hollow — great for coloring pages and stencils, and very light on ink.
Yes. Select the text and tap Flip, then Flip horizontal. It stays editable while mirrored: when you tap in to type, it reads the right way round until you're done.
Yes. A gradient whose colors are all fully opaque stays vector. A gradient that fades to see-through, and a drop shadow, are drawn as smooth images — the gradient inside the object's vector edges, the shadow beneath the object. Neither has a hard edge, so neither looks pixelated however large you print it.
No. The page background stops at the edge of your poster, so the margins around each sheet stay white and easy to cut.
Yes. Select it, tap Replace, and choose the new photo. Its size, position, outline, corners, mask and shadow all stay as they were.
Download Docuslice
Update or download Docuslice today, and design your next poster from the first shape to the final sheet.