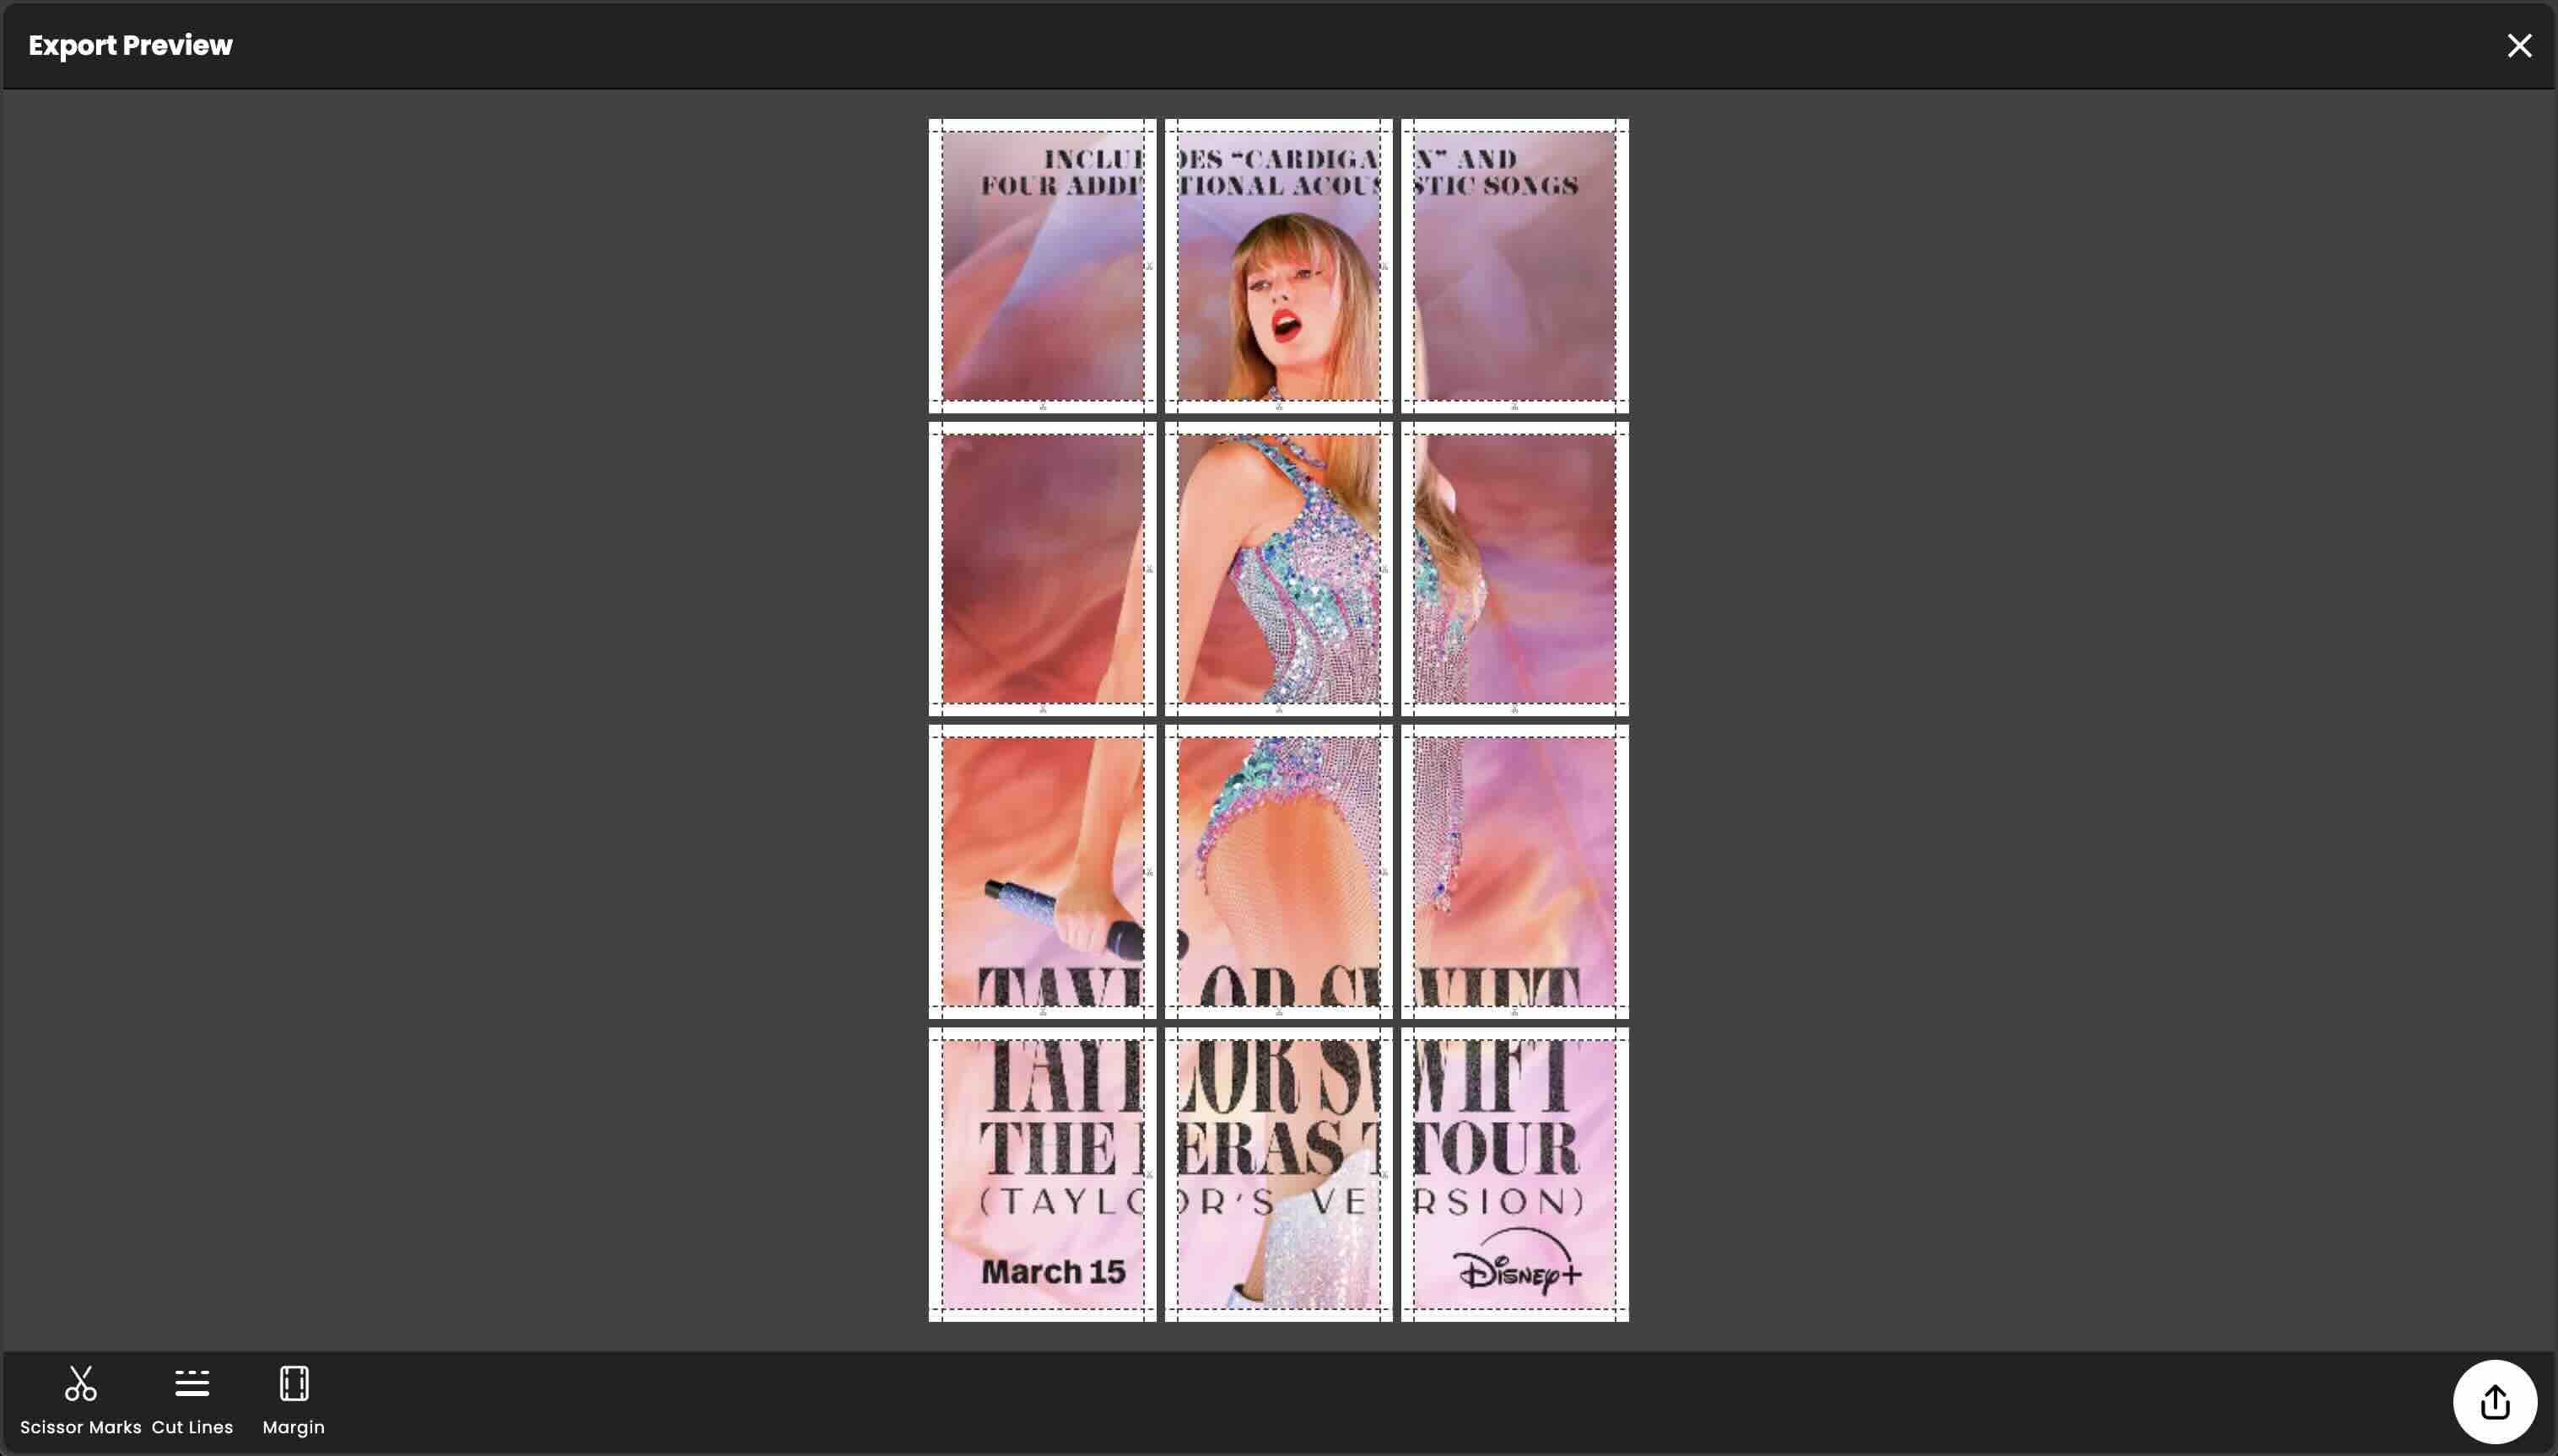
Are you a die-hard Taylor Swift fan looking to spice up your living space with a massive poster of your favorite artist? Well, you're in luck! In this DIY guide, we'll show you how to create a larger-than-life Taylor Swift poster using the innovative Docuslice app for tiled printing. Get ready to bring some pop star glamour into your home!
Introducing Docuslice App
Before we dive into the creative process, let's talk about the star of our DIY project: the Docuslice app. Docuslice is a user-friendly application designed specifically for tiled printing. It allows you to print oversized images by dividing them into smaller, easy-to-handle tiles. With Docuslice, you can transform any image into a stunning poster without the need for specialized equipment or software.
Materials You'll Need:
- High-resolution image of Taylor Swift (You can find plenty of options online)
- Smartphone with the Docuslice app installed. You may also visit app.docuslice.com to experience our free online app.
- Printer
- A4 or letter-size paper
- Scissors
- Tape or glue
Step-by-Step Guide:
- Select Your Image: Choose a high-quality image of Taylor Swift that you'd like to turn into a poster. Look for images with vibrant colors and clear details to ensure the best results.
- Download Docuslice: If you haven't already, download the Docuslice app from the App Store or Google Play Store. It's free to download and easy to use. You may also try our online app here.
- Open Docuslice: Launch the Docuslice app on your device and select the option to create a new project.
- Import Your Image: Import the Taylor Swift image into the Docuslice app. Follow the on-screen instructions to adjust the image size and layout according to your preferences.
- Set Printing Options: Choose your desired printing options, such as paper size and orientation. Docuslice will automatically divide the image into multiple tiles based on your selected settings.
- Print Your Tiles: Once you're satisfied with the layout, print the tiled image using your printer. Be sure to use high-quality paper for the best results.
- Assemble Your Poster: Carefully cut out each tile along the designated lines. Arrange the tiles in the correct order, using the provided guidelines for alignment.
- Piece It Together: Use tape or glue to affix the tiles to a blank wall or poster board. Take your time to ensure that each tile is securely attached and aligned with the surrounding tiles.
Voila! You've successfully created a stunning Taylor Swift poster using the Docuslice app. Step back and admire your handiwork as you bask in the glow of pop music perfection. Whether you're decorating your bedroom, dorm room, or entertainment space, your larger-than-life Taylor Swift poster is sure to be the envy of every Swiftie in town.
Final Thoughts:
With the Docuslice, turning your favorite images into eye-catching posters has never been easier. Whether you're a Taylor Swift superfan or just looking to add some personality to your living space, DIY projects like this one allow you to unleash your creativity and make your mark on the world around you. So go ahead, channel your inner artist, and let Taylor Swift inspire you to create something truly extraordinary!
Stay tuned for more exciting DIY projects and creative inspirations right here on our blog! And remember, with a little imagination and the right tools, the possibilities are endless. Happy crafting!
